I am late to this conversation, but in reading many of the posts, I have not heard anyone ask if the Module for the lens/body combination had been installed. I downloaded the raw image, opened it in PL6 and VOILA! The Module was installed and sharpening and color balance improved substantially. There is some overexposed reflection in the woman’s forehead, but the photo was shot in perfect focus. The variations in focus you are seeing is a result of the aperture setting at f/1.2. The image displays a very shallow depth-of-field. But I installed the Module on this image resulting in a great deal of improvement. See DxO discussion - YouTube for the video of what I did.
1 Like
@PhilHawkins, hello! The module has been installed for decades of cause. The question was not about plain sharpness, but about color rendering and the way how texture looks in different areas. @AttaBoy achieved very close result (but still not the same in highlights)
1 Like
The highlights are depressed (greyish render). Can you tell how to do Matrix Linear Curve?
Which ones would you suggest?
…which has had no update since 2014. Camera support is therefore quite limired.
https://www.raw-photo-processor.com/RPP/Supported_cameras.html
For nikon •
Nikon D1 and all other Nikon DSLRs (up to D4S, D810)
That’s 2014.
George
Question:
At the website I find supported Mac Version Downloads are very old
and supported cameras are very old
Supported cameras
I own Mac version 12.6 and for example a Oly OM-D Em5Mark II
Will it work?
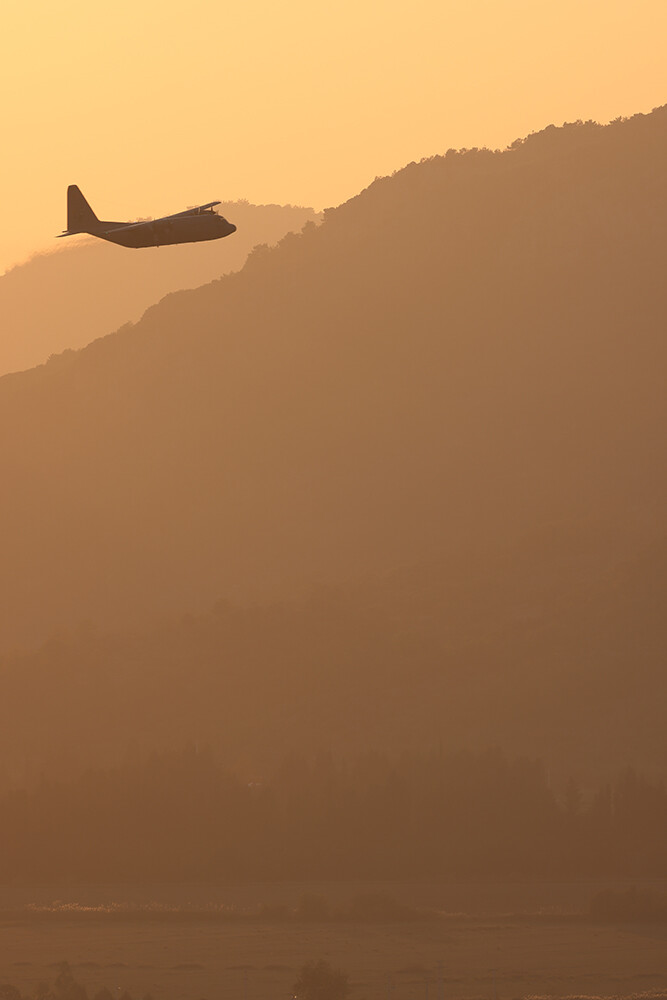
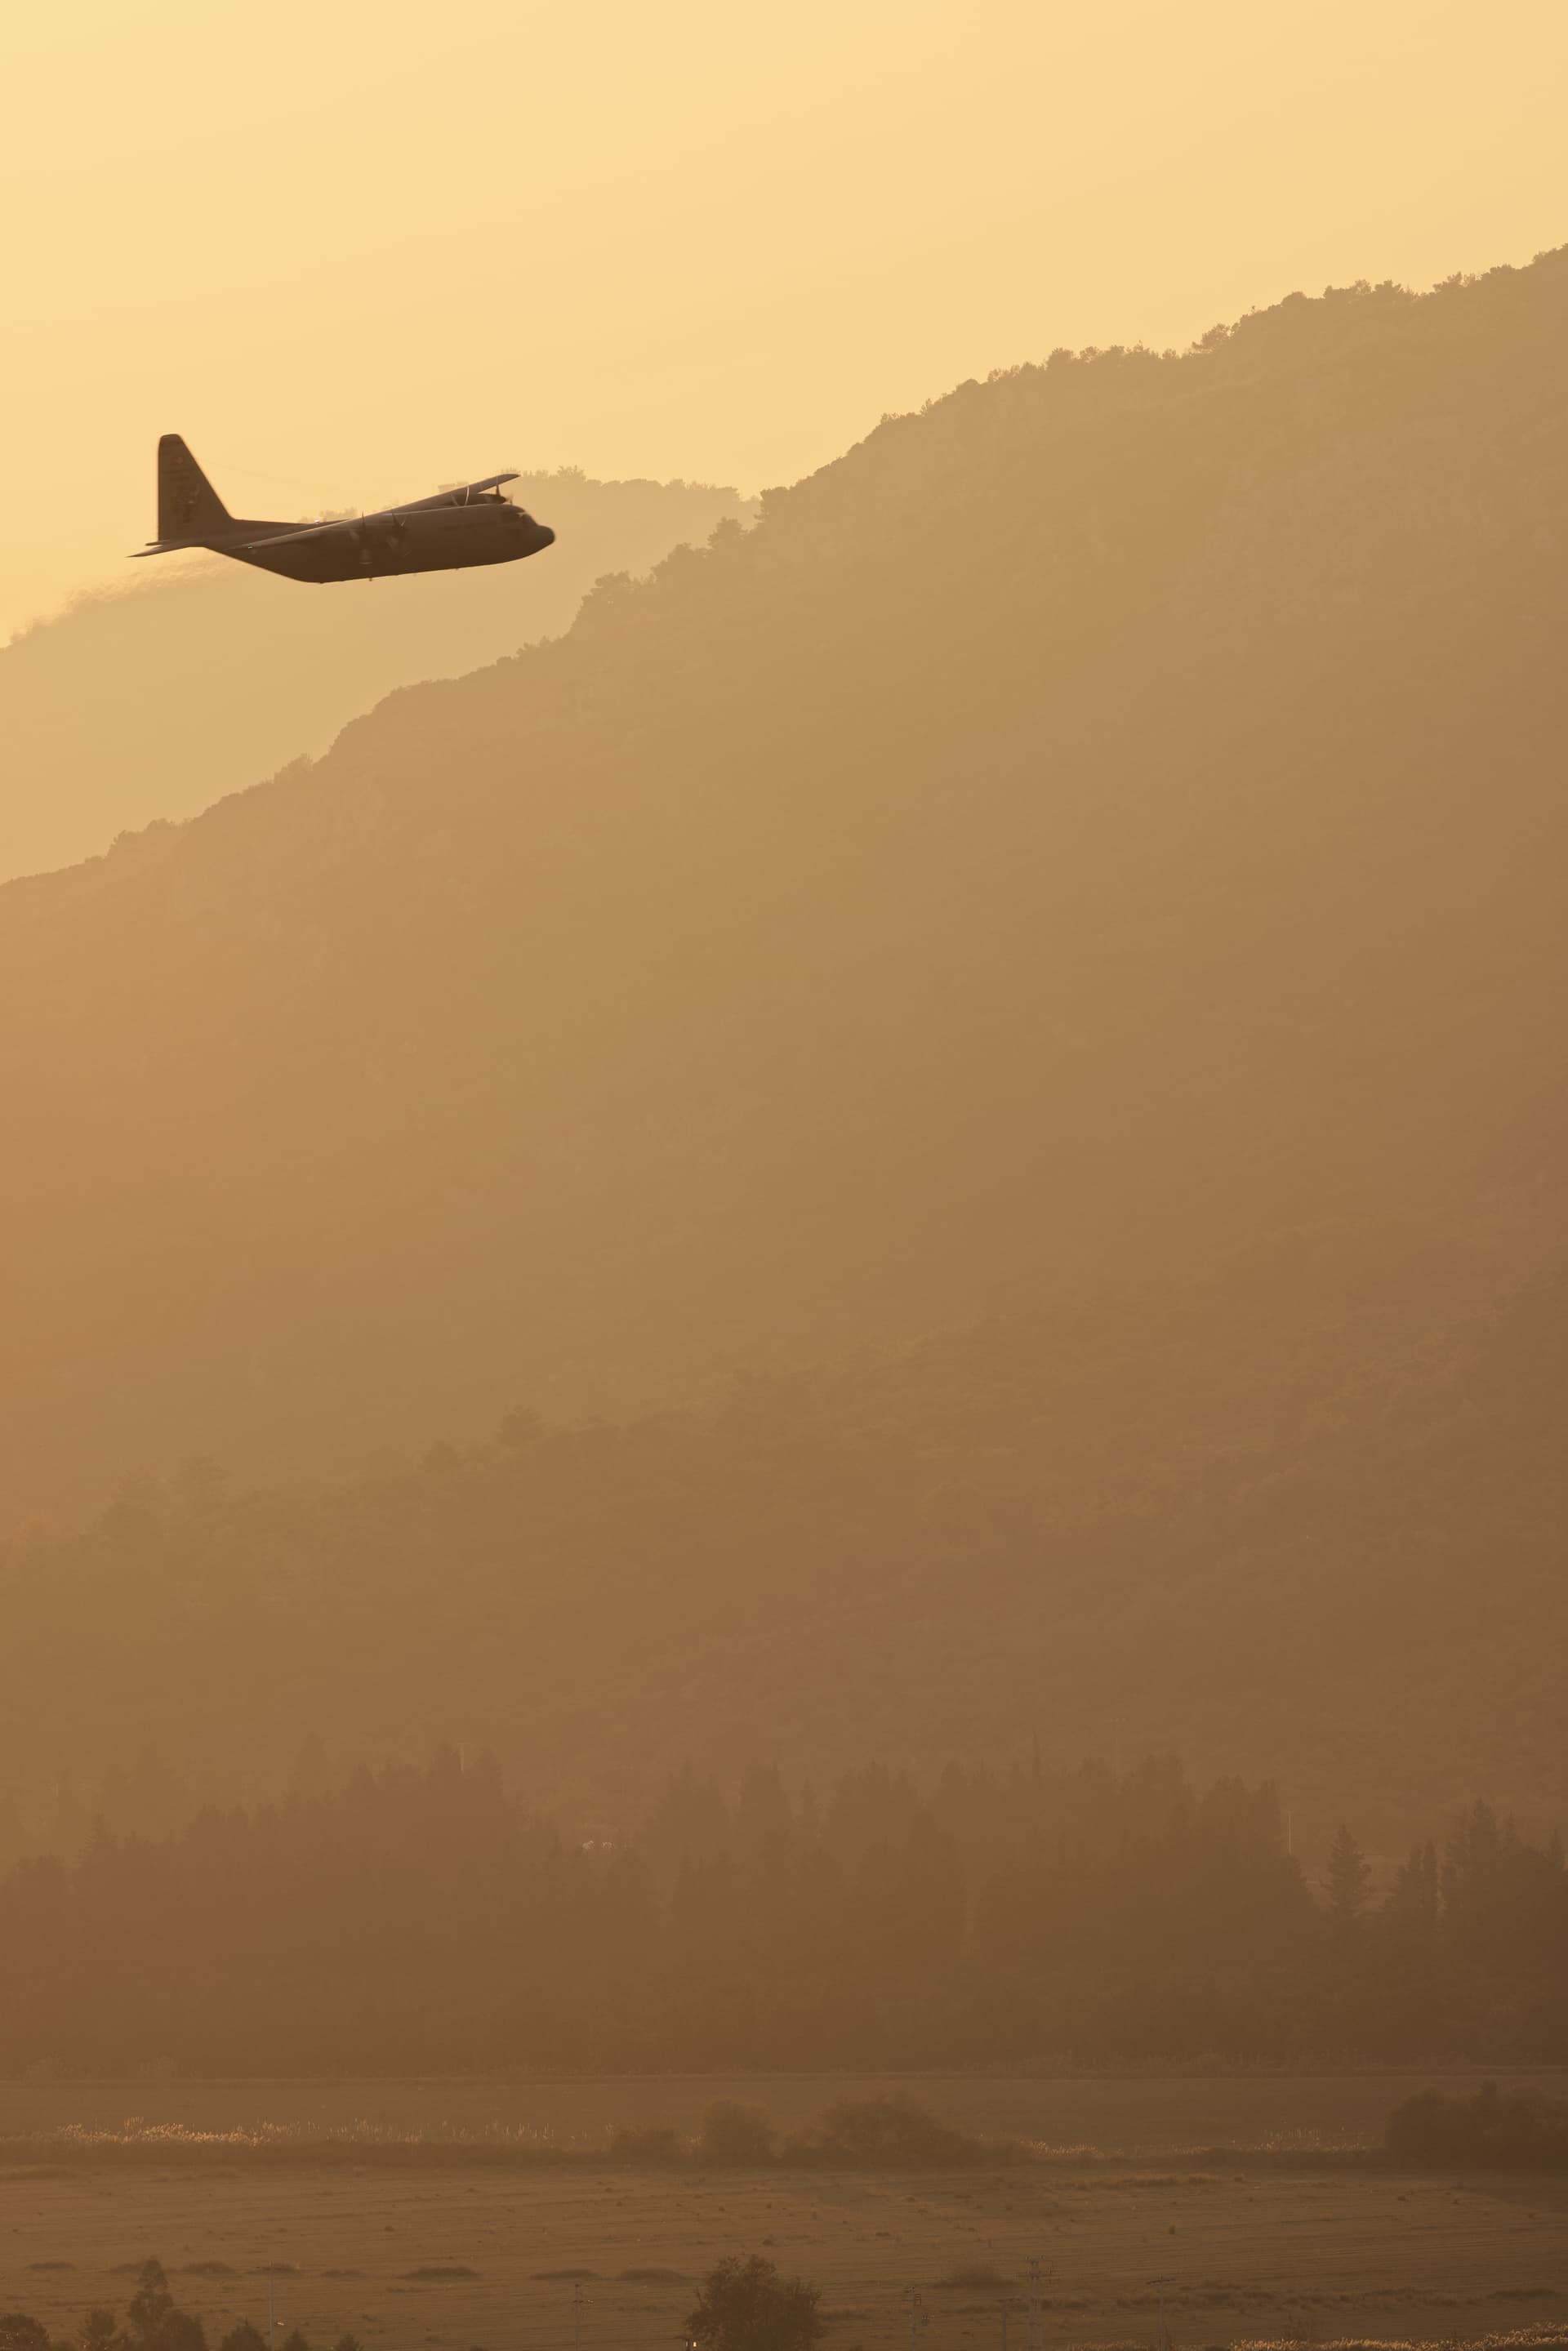
Will try to play with classic DxO profile and render to other cameras profiles. And actually I don’t mind DxO skintones, I do not always like how it renders clarity (sounds weird) in the out focus areas. And here is another example, I was trying to make Hercules engines heat wave make more pronounced like in DPP (yes I see DPP oversharps by default) but did not succeed in air colortones transitions (preview image below, all files in the folder). IAN_6934 image
My quick edit. It’s all about what you want out of the image. I would like some more texture in the scene rather than only a muted colour silhouette, discovering details in the scene which aren’t immediately noticeable, but that’s my point, it’s personal ![]()
It seems I was unable to explain what this talk was about. Yes, I know we can easily go and play with contrast, clarity, micro contrast and other sliders. Yes we can change picture look in many ways with no problem. I was talking about the starting point, and the way how DPP and DxO renders colours and clarity out of the box. It does not mean DPP works in the best way, but for my taste it gives more volume and punchy colours in skin tones, especially in out of focus range without having to dim down highlights. Have to say again, it’s not a crucial difference, but it is there. For noisy images DxO makes amazing work, hands down
This is totally irrelevant. It makes absolutely no difference what the starting points look like, as long as one can use the RAW processor to make the image look the way they want it to look, I think that I have demonstrated this for you in a previous post. This is the whole point of using a RAW processor in the first place.
I see. Personally rather irrelevant as the vast majority of raw converters allow you to set your “own” default. Camera manufacturers raw converters reflect in camera settings so their defaults change with camera settings.
Reminds me of Adobe LR where people used to complain about the dull, flat image Adobe Standard used to give, (supposedly best for further editing), so they introduced Adobe Chrome which had more saturation, contrast, sharpening, clarity etc. (NB: I haven’t used LR for some time so exact names may be off).
BTW, if one is looking for the maximum “editing-range” at his/her disposal, he/she should use a linear profile to begin with…but as a starting point, your image will look very dull, like a C-log video (pretty flat and washed out).
Ian.
You can use that profile neutral gamma or something like that, I forgot the exact name. It is a very flat starting point that contains all the details. But it is necessary to apply some curve on the image afterwards.
Pardon? Would you say that to someone’s face? There is no need to be so rude. I’m stunned that anybody here is still responding to you.
6 Likes
Ian, if you have FilmPack, I’d suggest trying some of the other profiles. Some of them increase detail in subtle ways, create more texture. I’d suggest that you try Leica M9 profile, Fuji Pro 400 and Fuji Velvia 50 to give you an idea how the colour profiles can change how an image turns out. This might not work, but it’s worth a try.
I’m shooting Nikon since a few years (Canon before that but tired of the cripple hammer on video features), the Leica M9 profile gives a Nikon Canon colours without giving up any detail or texture.
Fine Contrast (mostly at 20) is the tool which gives me the best detail without looking gritty.
What DPP is doing is basically what those colour profiles do, a specific kind of processing which increases detail and contrast.
@rrblint I’m not a huge fan of relying on DeepPrime XD, first as it’s much slower and second it’s definitely inventing detail. We should probably include DeepPrime as the main processing variation with DeepPrime XD as a secondary reference.
To each his own Alec. I’m not working on a large number of files at a time, so the time factor doesn’t bother me. If I was working on large numbers of files at a time I would probably agree with you and use DP as default. My GPU is not a speed-demon though it has gotten about 40% faster with the recent updates to Nvidia’s drivers.
About the “invented” details, I have not run across a file where this has bothered me or degraded the photo in any way. I always either don’t see these extra details or like them. I guess I am just not as picky about them as you are.
3 Likes