i was looking at a explanation about “cell size” and stumbled on this:
The text:
3.3 – Adjust the size of the cells and the captions
To adjust the size of the cells and the spacing between them on a PC, use the Height and Width sliders in the Cell size palette; on a Mac, enter a value in the input fields in DxO – Layout > Cell Size > Specify cell size .
To caption each cell, choose Image name and date rather than displaying the shot metadata (which tends to be only of interest to you, and which you can find in the DxO Optics Pro EXIF palette).
Still NO CLUE what it says.
So top to bottom:
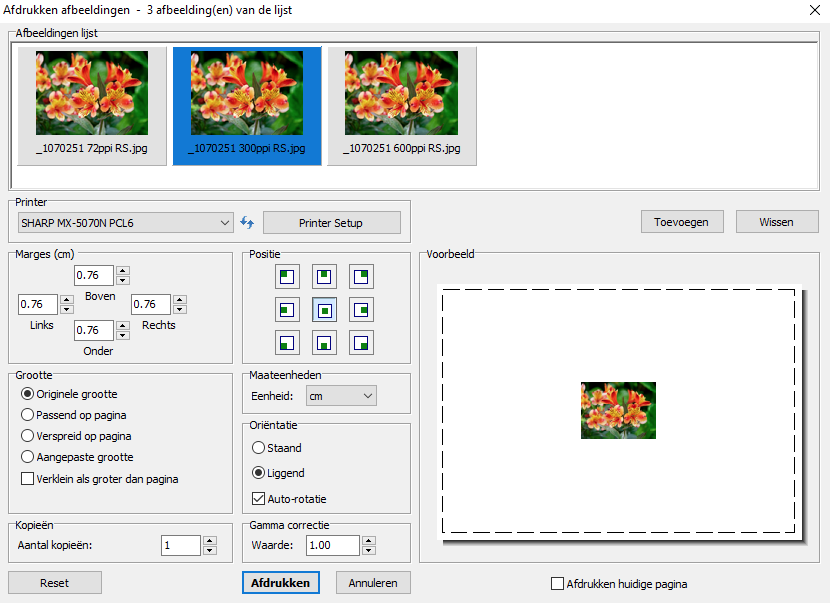
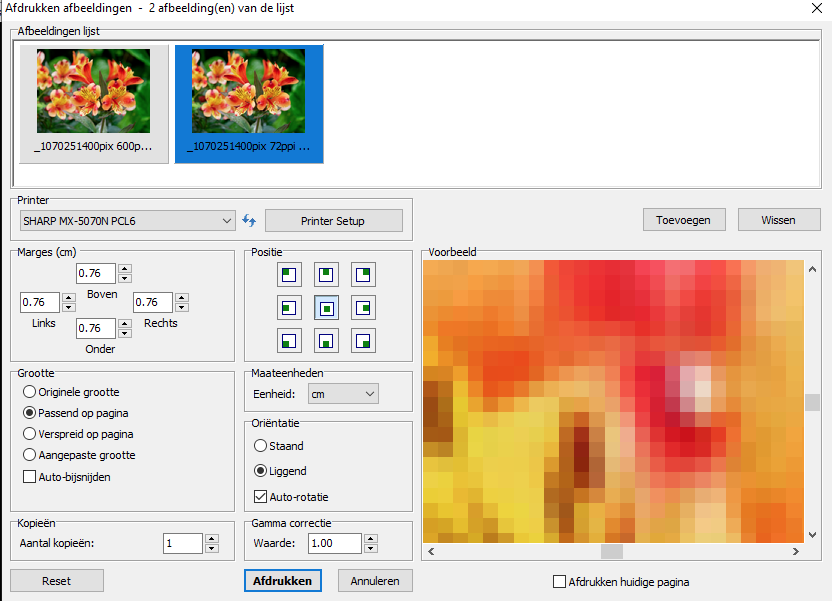
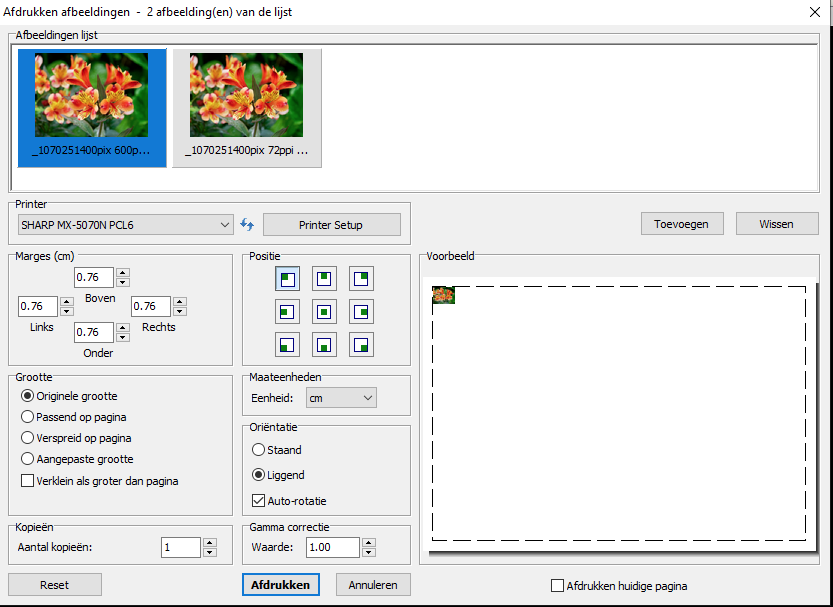
“Printersettings”:
logic apart from dpi, two things enter doesn’t show the 200 dpi when changed i must click on an other feature/setting to get it. Two: It should handle the pixels per inch (amount of undimentioned pixels in a inch so the printer can scram that info in a dimentioned, by its own native resolution, dotted /inch. preview doesn’t show.
( a 400x300 jpeg would be changing in preview when i change amount of pixels/inch. (change the size of the existing pixels to fit in a A4/A3.) It keeps full spread.
“color and Sharpnes” for anyone who is playing with colorprofiles. Sharpnes? USM? (confirmed by the text.) this is something i would let handle by the printer unless i am confident to handle it better.
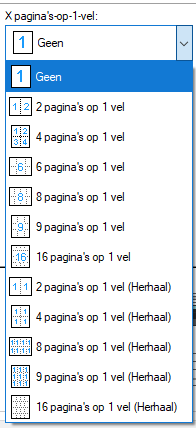
Layout: contact printing and multi image on one sheet.
Margins well any one knows that, the non printed area’s between paper edge and image’s inbetween.
Cells? of the row raster from layout? What?
help guide:
" Cell size
The Height and Width sliders let you make the following changes so you can adapt the page or pages to the content that you want to print:
-
Single image : One lone image on the page is a cell by itself; use the height and width slider to move the image horizontally and/or vertically.
-
Multiple images or contact sheets : Use the sliders to modify the size of the image cells as well as the spacing between the cells, both horizontally and vertically."
Eh can’t i do the same with raster layout and margins? And i am need to use “cells” to skrink the image on the page wile i expect this behaviour with “resolution adjustment”.
If you see this video
Margins: ONLY margins of the Sheet not in between the “cells” the printer can handle this so is this connected? or overrulls the printerdriver the software?
And Cells? again printer can do this also:
What is miss in this window is:
Actual reaction in the “preview of my print” when i change resolution in dpi. (i change my print"resolution" so i want to see this in my preview.
A “100% view” in preview, if i can change a thing as print resolution for foto’s i thunk i like to forcast how this will look on paper when printed. (Say when i use my trusted “loup” that enlargement factor. in fact create a software loup.) Printing a A0 and discover you need a bit more DPI well i would be mift trowing that piece away and print again.
A preview is a preview of the “print” not a sheet with layout examples.
if this is the case the User interface needs to interact with the printerproperties. (which settings is done in my printer to enhance/lower the result) or atleast let you choose which will be leading the show. (sharpening is one of them by laserprinters)
it’s a mixed bag for me this print interface.
as techy i mis the real preview when i use the “resolution-slider” so it’s a trial and error based concept.
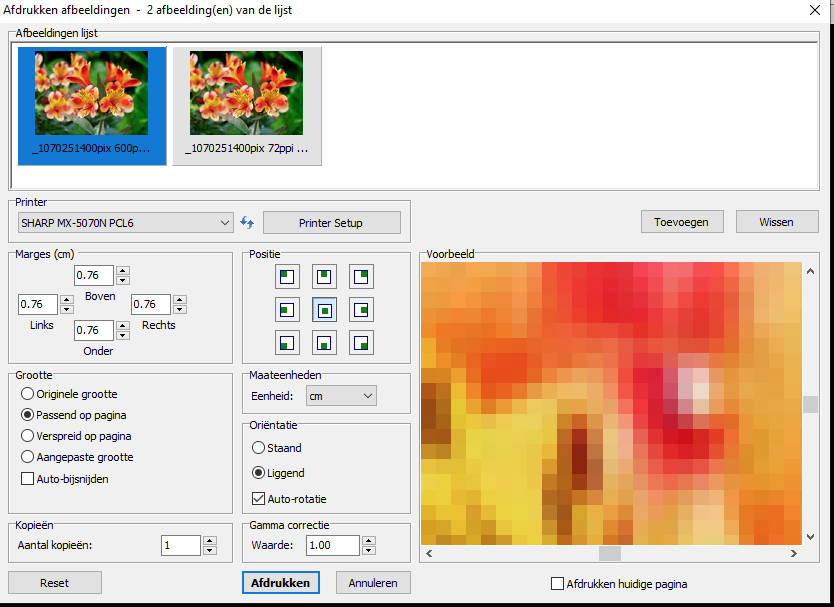
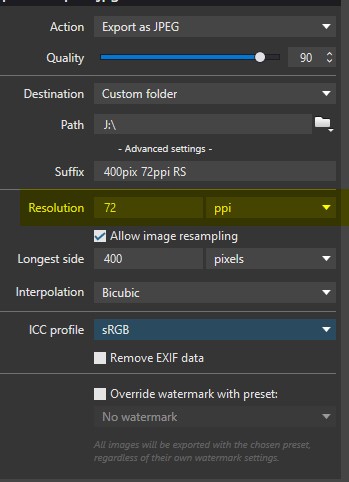
I expect to see differences in size in this case:
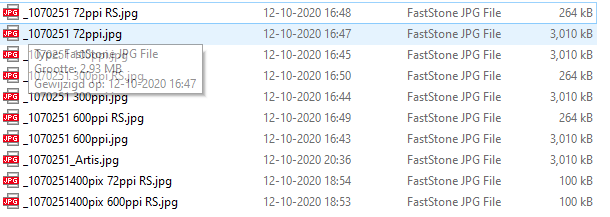
See the ppi’s differes and resampling is also a factor, but non of this is visible in the preview…

As almost never print myself (at home) i like the easy layout.


 )
) )
)


