What is sharp - part 2
I would start by saying I believe “sharp” is a perception, not a mathematically defined concept.
in the “good old days” of film, sharpness of an image depended on the type of film used, grain size, etc. When you focused a print, you would look for the grain being sharp rather than a feature of the image - if the grain was sharp and the image wasn’t, it meant that the negative was soft and you would need to get into techniques like unsharp masking, which involved the production of an intentionally blurred second copy and the precise positioning of both in a sandwich in the negative carrier of the enlarger.
The main problem with unsharp masking, which is available for digital images in PL5, is that it produces an effect something like this example I copied from Wikipedia…
… where the lower area has had USM applied and has a contrasting and complementary “halo” on either side of a transition from dark to light.
When using PL5, we now have lens modules which are capable of applying appropriate sharpness according to the module.
However, this is still based on creating the illusion of sharpness by enhancing contrast on a transition from one tone to another.
Here is a screenshot at 600% with no lens sharpening applied…
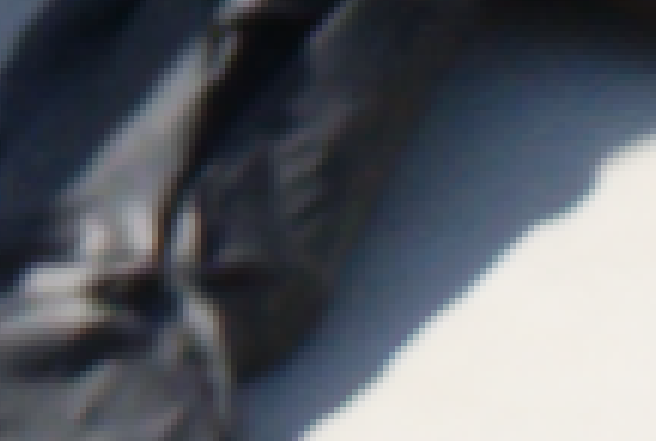
Then I applied the default lens sharpening from the module…

You should be able to see a slight “halo” on each side of the transition. To make it more obvious, I raised the sharpening to +3…

Now it becomes more apparent and starts to look like what the traditional unsharp masking tool would give. The main difference being that the lens sharpening tool is primarily engineered based on known softness in a lens and may take account of known differences in softness over the entire image area.
The unsharp mask tool is very much a blunt stick and is applied globally and, with its four sliders, can be a lot more difficult to apply subtly.
So, whether we use traditional film or digital, sharpening is all about increasing the local contrast around a transition in tones. If the transitions in our original image aren’t sharp enough, all we can do is fool the eye with this local contrast trick.
Sharpening in camera vs PL5
Now we know how difficult it is to truly “sharpen” an image in post-production, it should become apparent that we need to get it as right as possible in the camera.
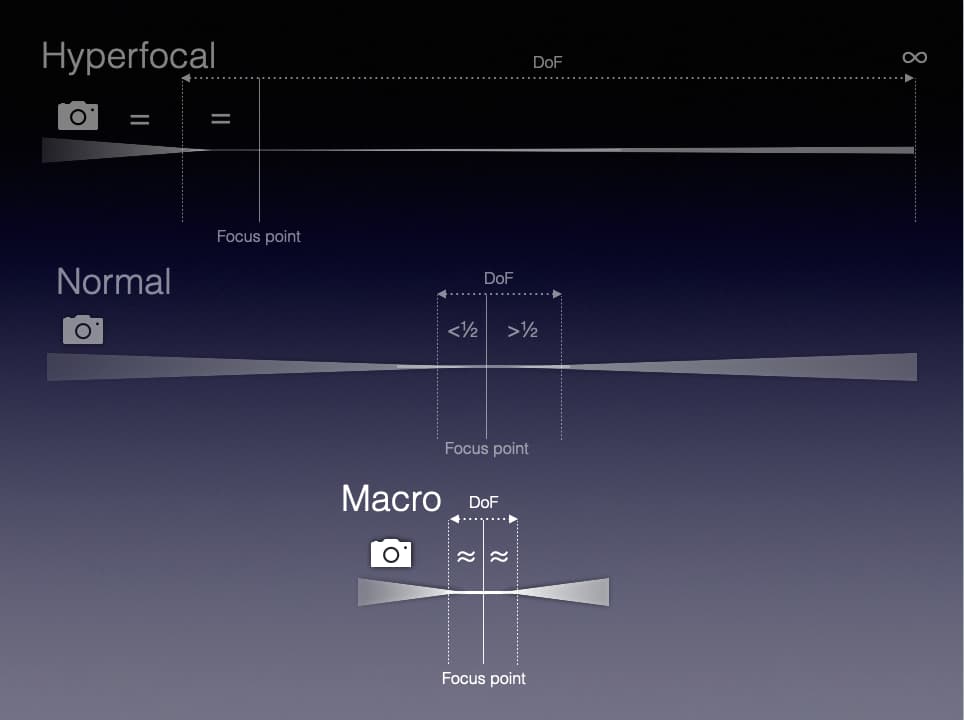
We know that DoF is all about acceptable sharpness on either side of a point of focus. here is a slide from one of my courses…
Depending on the distance to the focus point, the defocus blur gets larger the further away you get from that focus point - and the shorter the distance, the more the front and back parts of the DoF become equal.
Acceptable defocus blur is usually calculated as 30µm for a full frame sensor and is designed to give an acceptably sharp 10" x 8" print, printed at 240ppi, held at arm’s length, not when inspected at 200% at 18" to 2ft from a screen with a resolution of 110ppi.
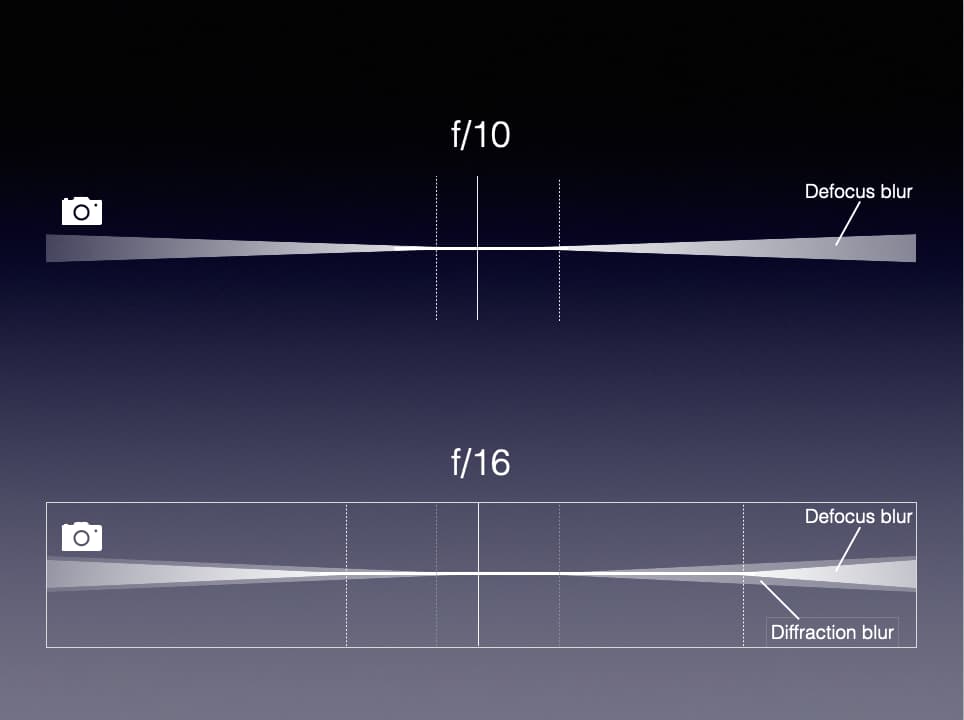
Then, on top of defocus blur, we need to consider the further softening effect of diffraction, due to too small an aperture.
Even though we may be within acceptable defocus blur limits, too small an aperture can add diffraction blur, as demonstrated but this slide…
What we can do, which will improve perceived sharpness, is to calculate an optimum aperture that suits the DoF, without diffraction, that we want to achieve.
Blur Spot Diameter
Blur Spot Diameter is defined as a combination of defocus blur and diffraction blur.
The methodology I picked up from George Douvos’ writings, to determine the blur spot diameter, is to concentrate on the distance between the pixels on the sensor and double it - this gives us enough area to record a dot that might appear at the junction of two pixels.
I use the Digital Camera Database site to find the details for a particular sensor and, for Mike’s D750, the pixel pitch comes out at 5.95µm (call it 6µm) - this gives us a minimum possible blur spot diameter of 12µm.
So, if you want the sharpest possible image without diffraction, you need to feed this diameter into TrueDoF-Pro, or whatever DoF calculator you use (as the CoC) and this will give you the smallest possible aperture that will not incur diffraction.
Using TrueDoF-Pro, 12µm gives me an aperture of f/6.3. The problem is that f/6.3 gives a very limited DoF. So we need to choose an acceptable blur spot diameter that is a compromise between diffraction-free sharpness and DoF.
George Douvos recommends 20µm as this gives an aperture of f/10 and produces a marginally sharper image than the default 30µm but still allowing a reasonable DoF.
I leave my aperture on f/10 unless I want to expressly limit DoF or when doing macros shots where DoF can be as small as a couple of millimetres and a compromise becomes necessary, unless I use focus stacking.
The end goal of all this is to give PL a fighting chance of using its lens modules to provide you with the sharpest of images without having to resort to too much USM or other tricks.
After all that, please try this stuff out and let me know what you think