Yes i agree and i wish it could be used in local adjustment …i think it would open another dimension for PL if all functionalities, including those of the pluggins (but especially all the fine contrast sliders), could be used in local adjustment…
2 Likes
The point of clearviewplus is it try’s to detect edges and enhances this wile it saturate the planes of colors. So it isn’t evenspread like “microcontrast” is.
I use it often to set base, gentle push of the slider.
On problem is when you use “vibrance” to get “blue” in the sky , microcontrast tend to over draw the edges and it gets “unreal”.
So vibrance up means clearview/mircocontrast down.
Fine contrast is like blacklevel in other applications but not the same. Works great to saturate , turning brightnes down, colors without sharpening. Skin of people benefits from finecontrast. And sky. And grass, (highdetailed smal things) which got oversharpend when using clearview in higher levels.
Best way to find your way in al the contrasttools is open your application which have a known behaviour in clarity and dehaze and such, create a project, folder with some examples you would use contrast as tool and push a slider al the way up to 100% and -100% to see what happens and then try to replicate that preview in PL.
Repeat this with all tools until you can connect slider effect of first app with the slider(s) in PL.
Would be good if PL had blend modes for its adjustment layers. In the original Nik software I’d make the adjustment layer Overlay or Multiply for the control point then opacity to taste. I’d occasionally use either for blown out cloudy skies.
Blend modes like Screen Overlay and Multiply have got to be the easiest (and oldest) feature to code, another one for the suggestion box at DXO.
1 Like
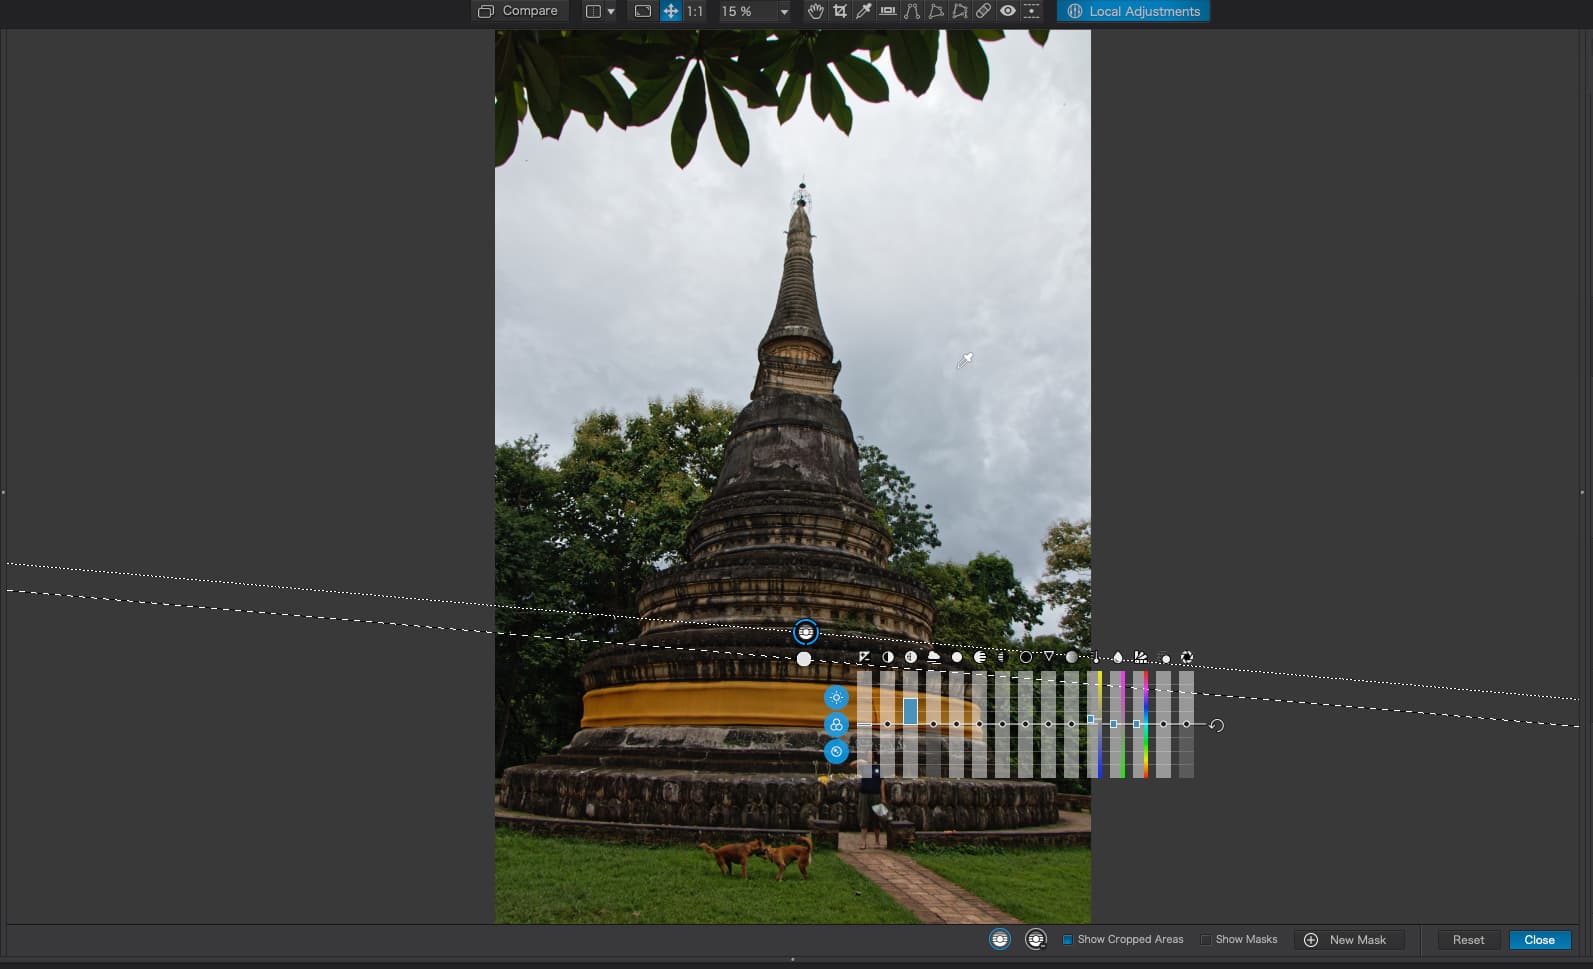
Your first screenshot shows that you have applied a gradient over almost the entire image, therefore, any adjustment you make will only apply in full at the start of the gradient and then fade away to nothing by the time it reaches the other end.
I take it you mainly want to balance the exposure, which is easily done with the Spot Weighted Smart Lighting tool; and then introduce some texture into the sky with a Control Line?
Here is how to place the Control Line with the pipette on the sky…

Then set the selectivity to exclude everything else; I increased the Luma selectivity to 59.
Subtly adjusting Microcontrast…
… to give you something like this…
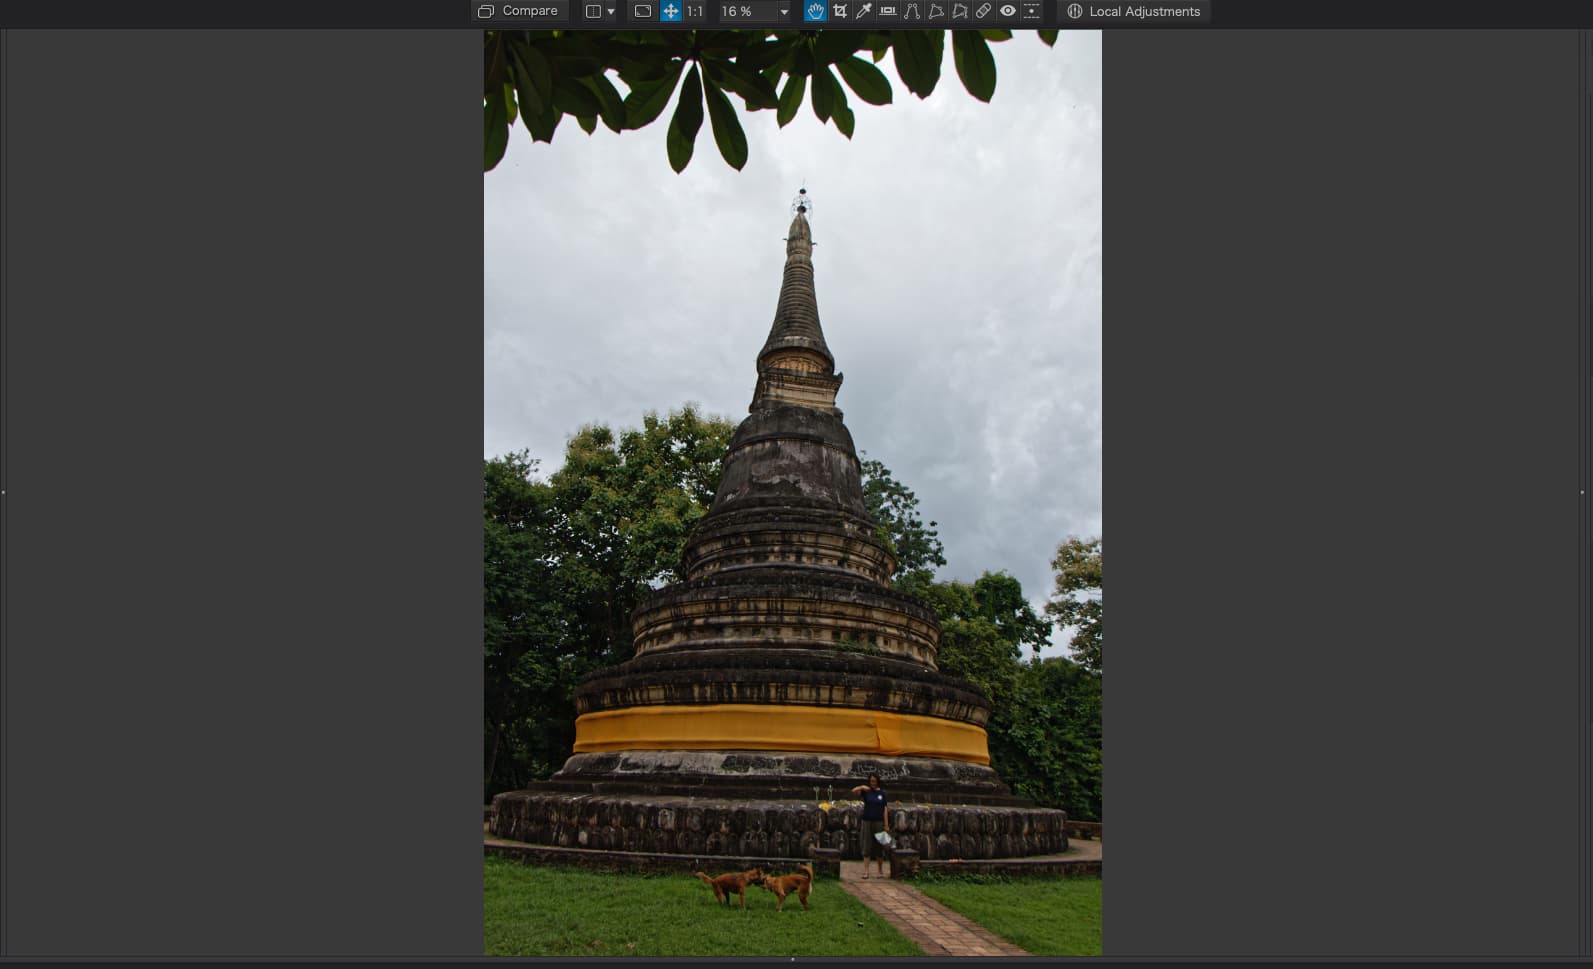
There have been strong rumours that this might be in the pipeline, which would be great, but applying the Microcontrast only (subtly) can give excellent results.

right, got the time to do some work in this:
first step:
FRV,
shadow boost:(made on my camera DR settings)

highlight data:
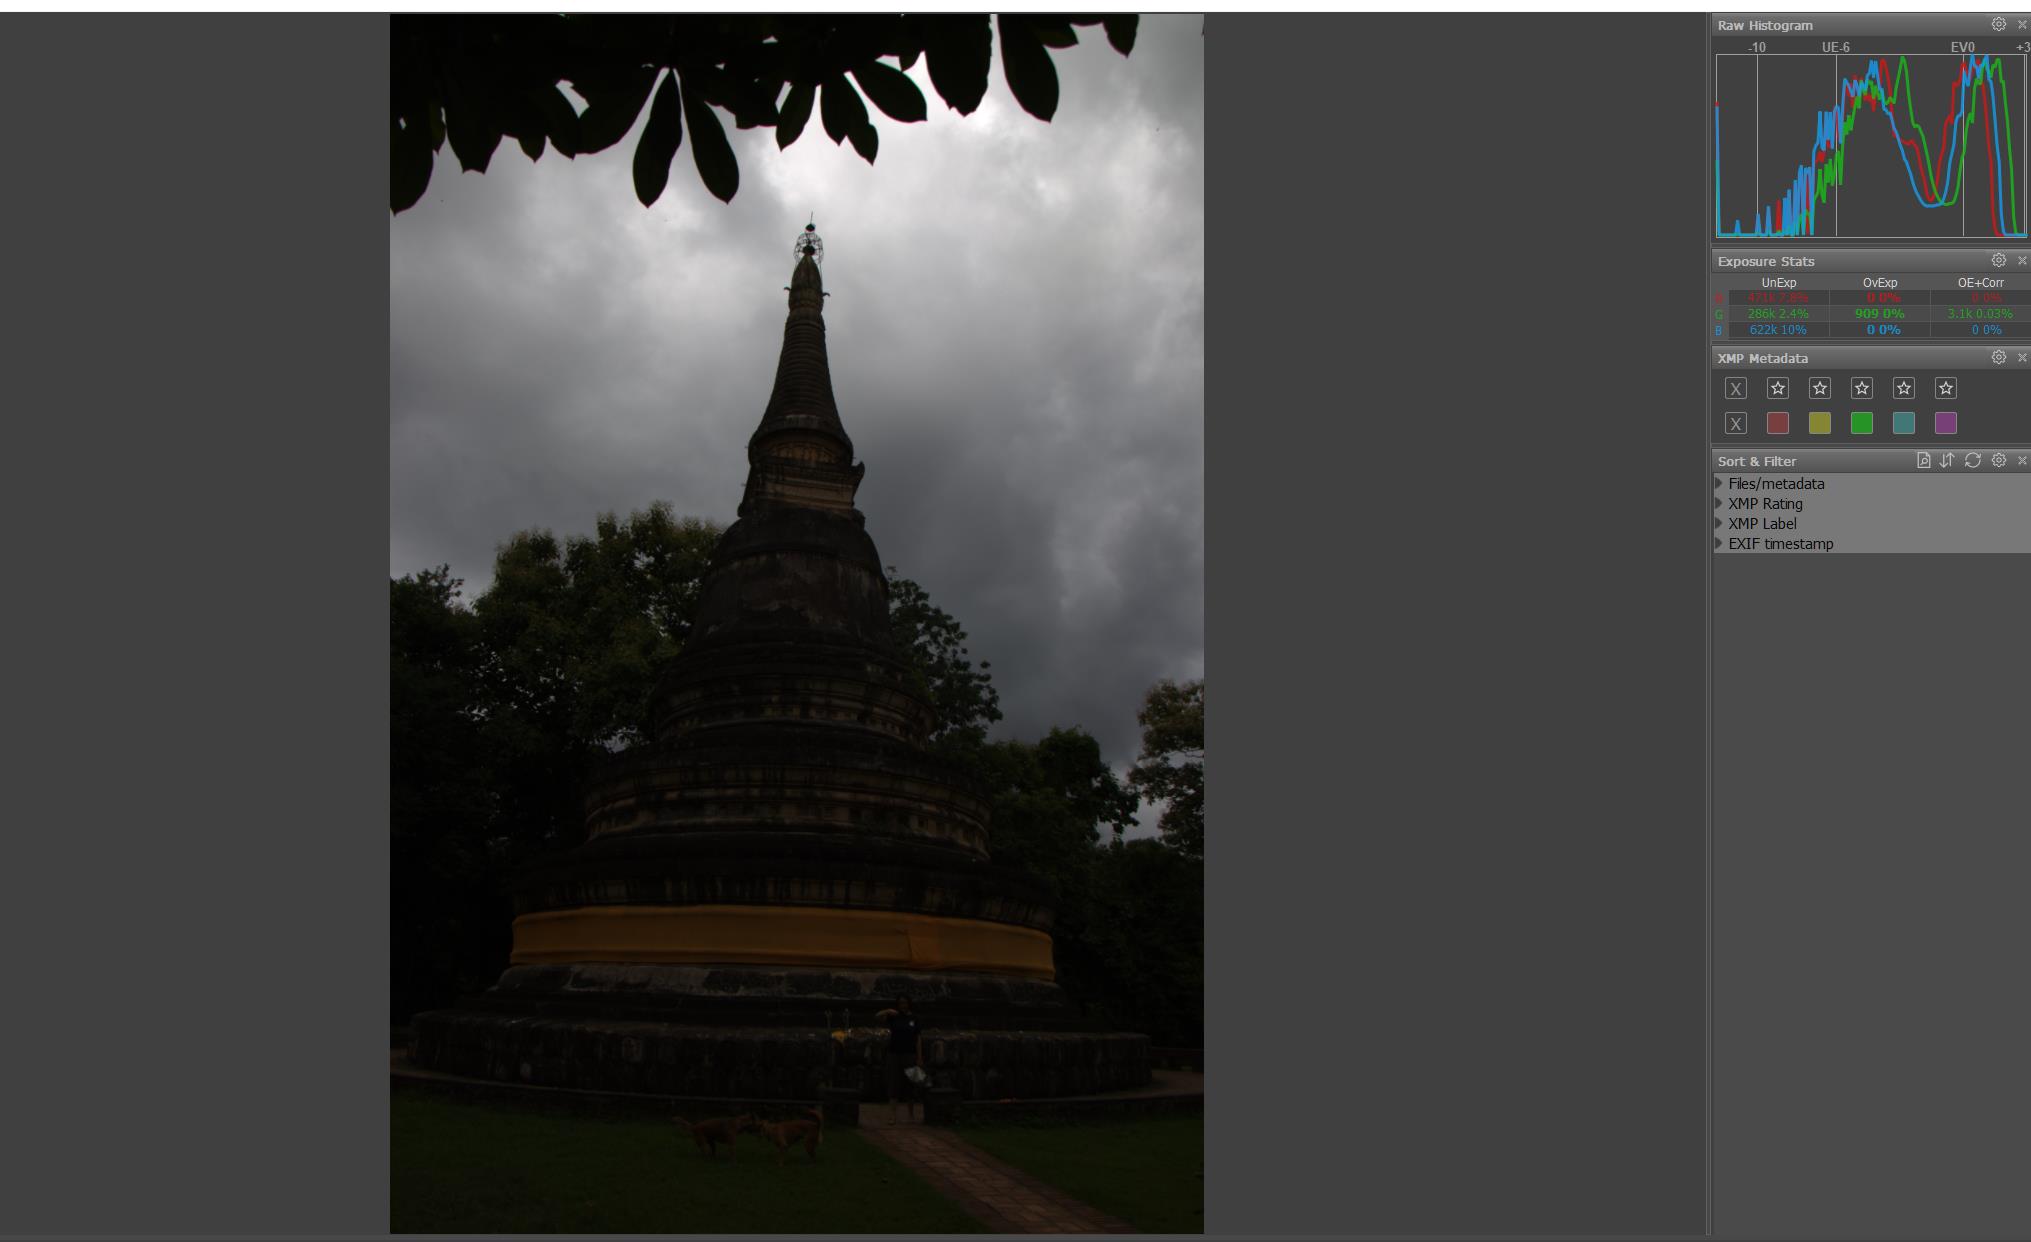
neutral tonality (flat contrast)

This shows all the data is in there.
one problem focuspoint is of or Dof is too small:
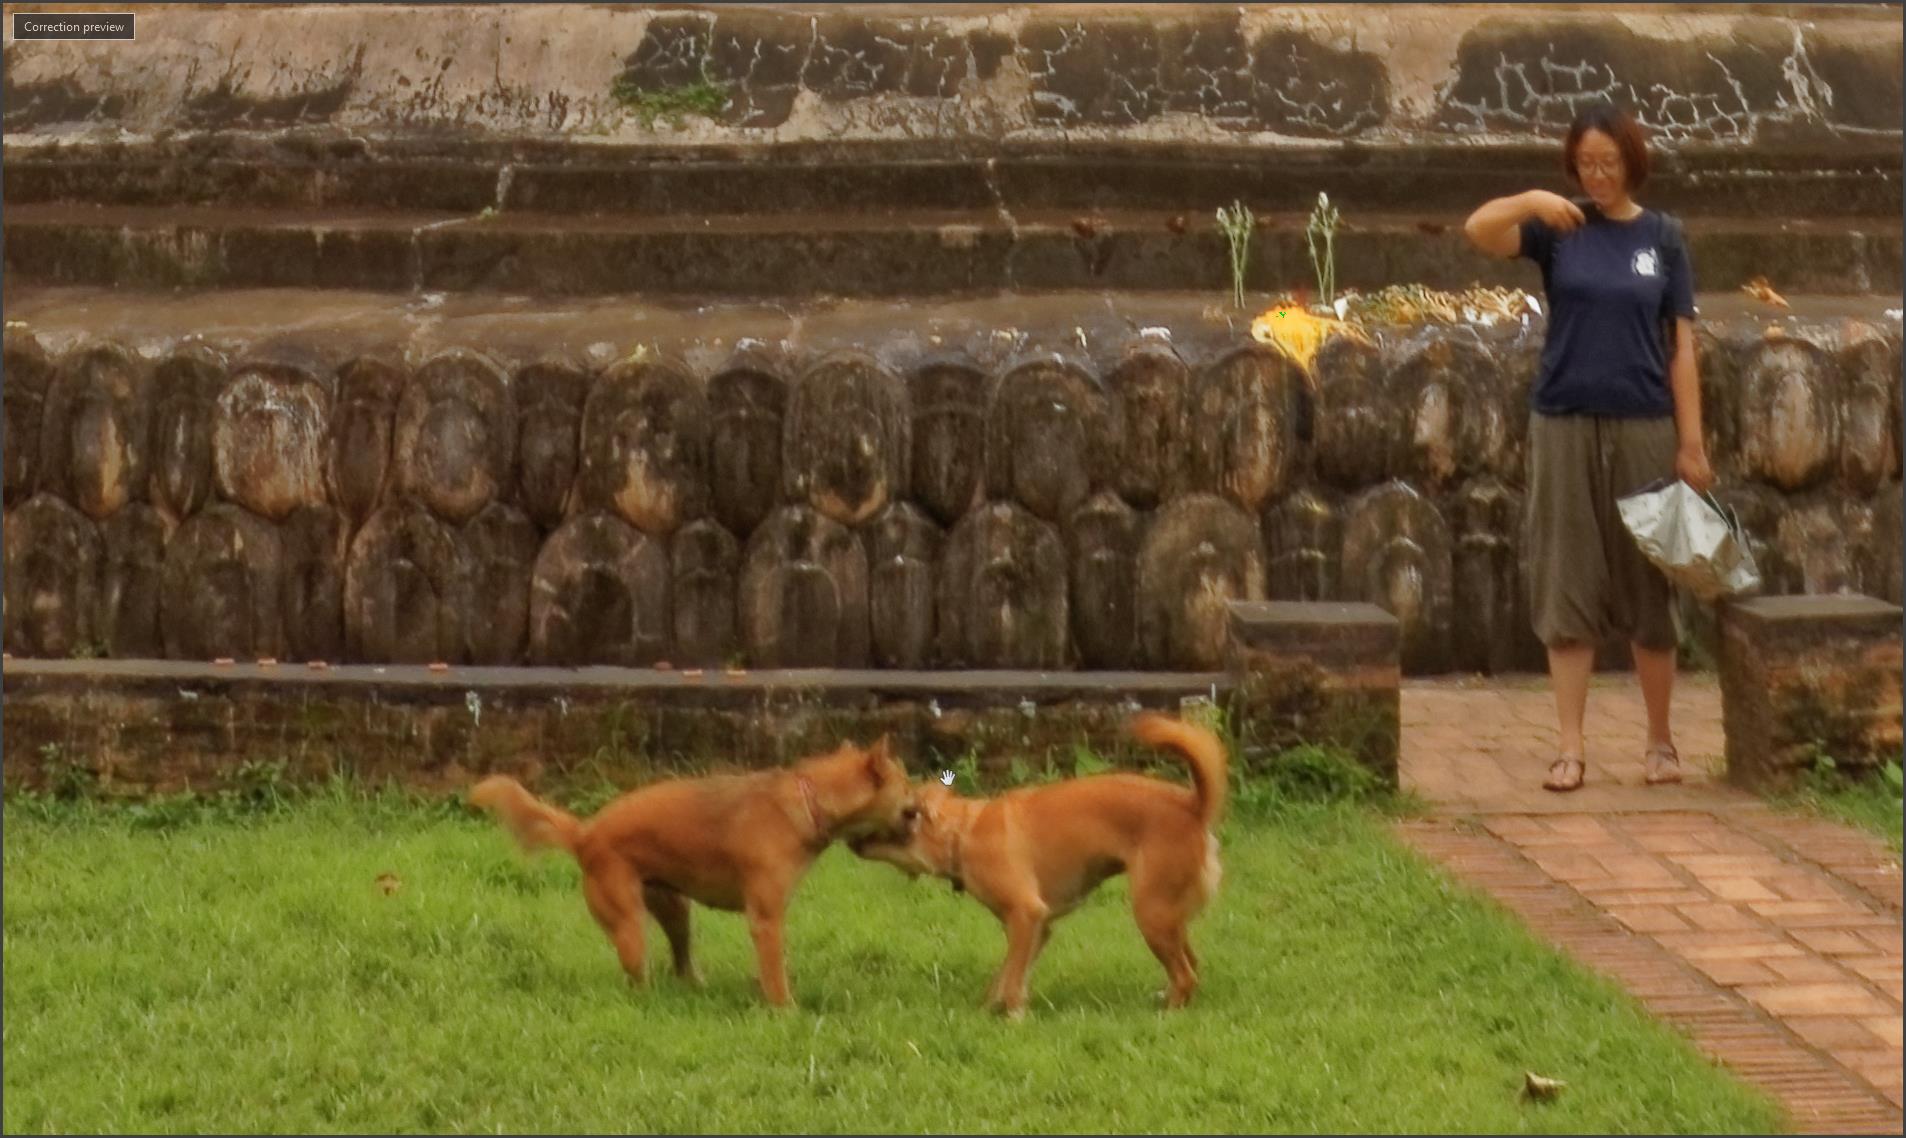
i think you used centrefocus mostly:
eos d77 16mm lens f5.6 at 10meters from object is 8m till infinity. So if you took focus point and drag it to the person you would be probably safe. (Photographers companion app also in dutch)
anyway i came up with this:
IMG_7713.CR2.dop (12,2 KB)
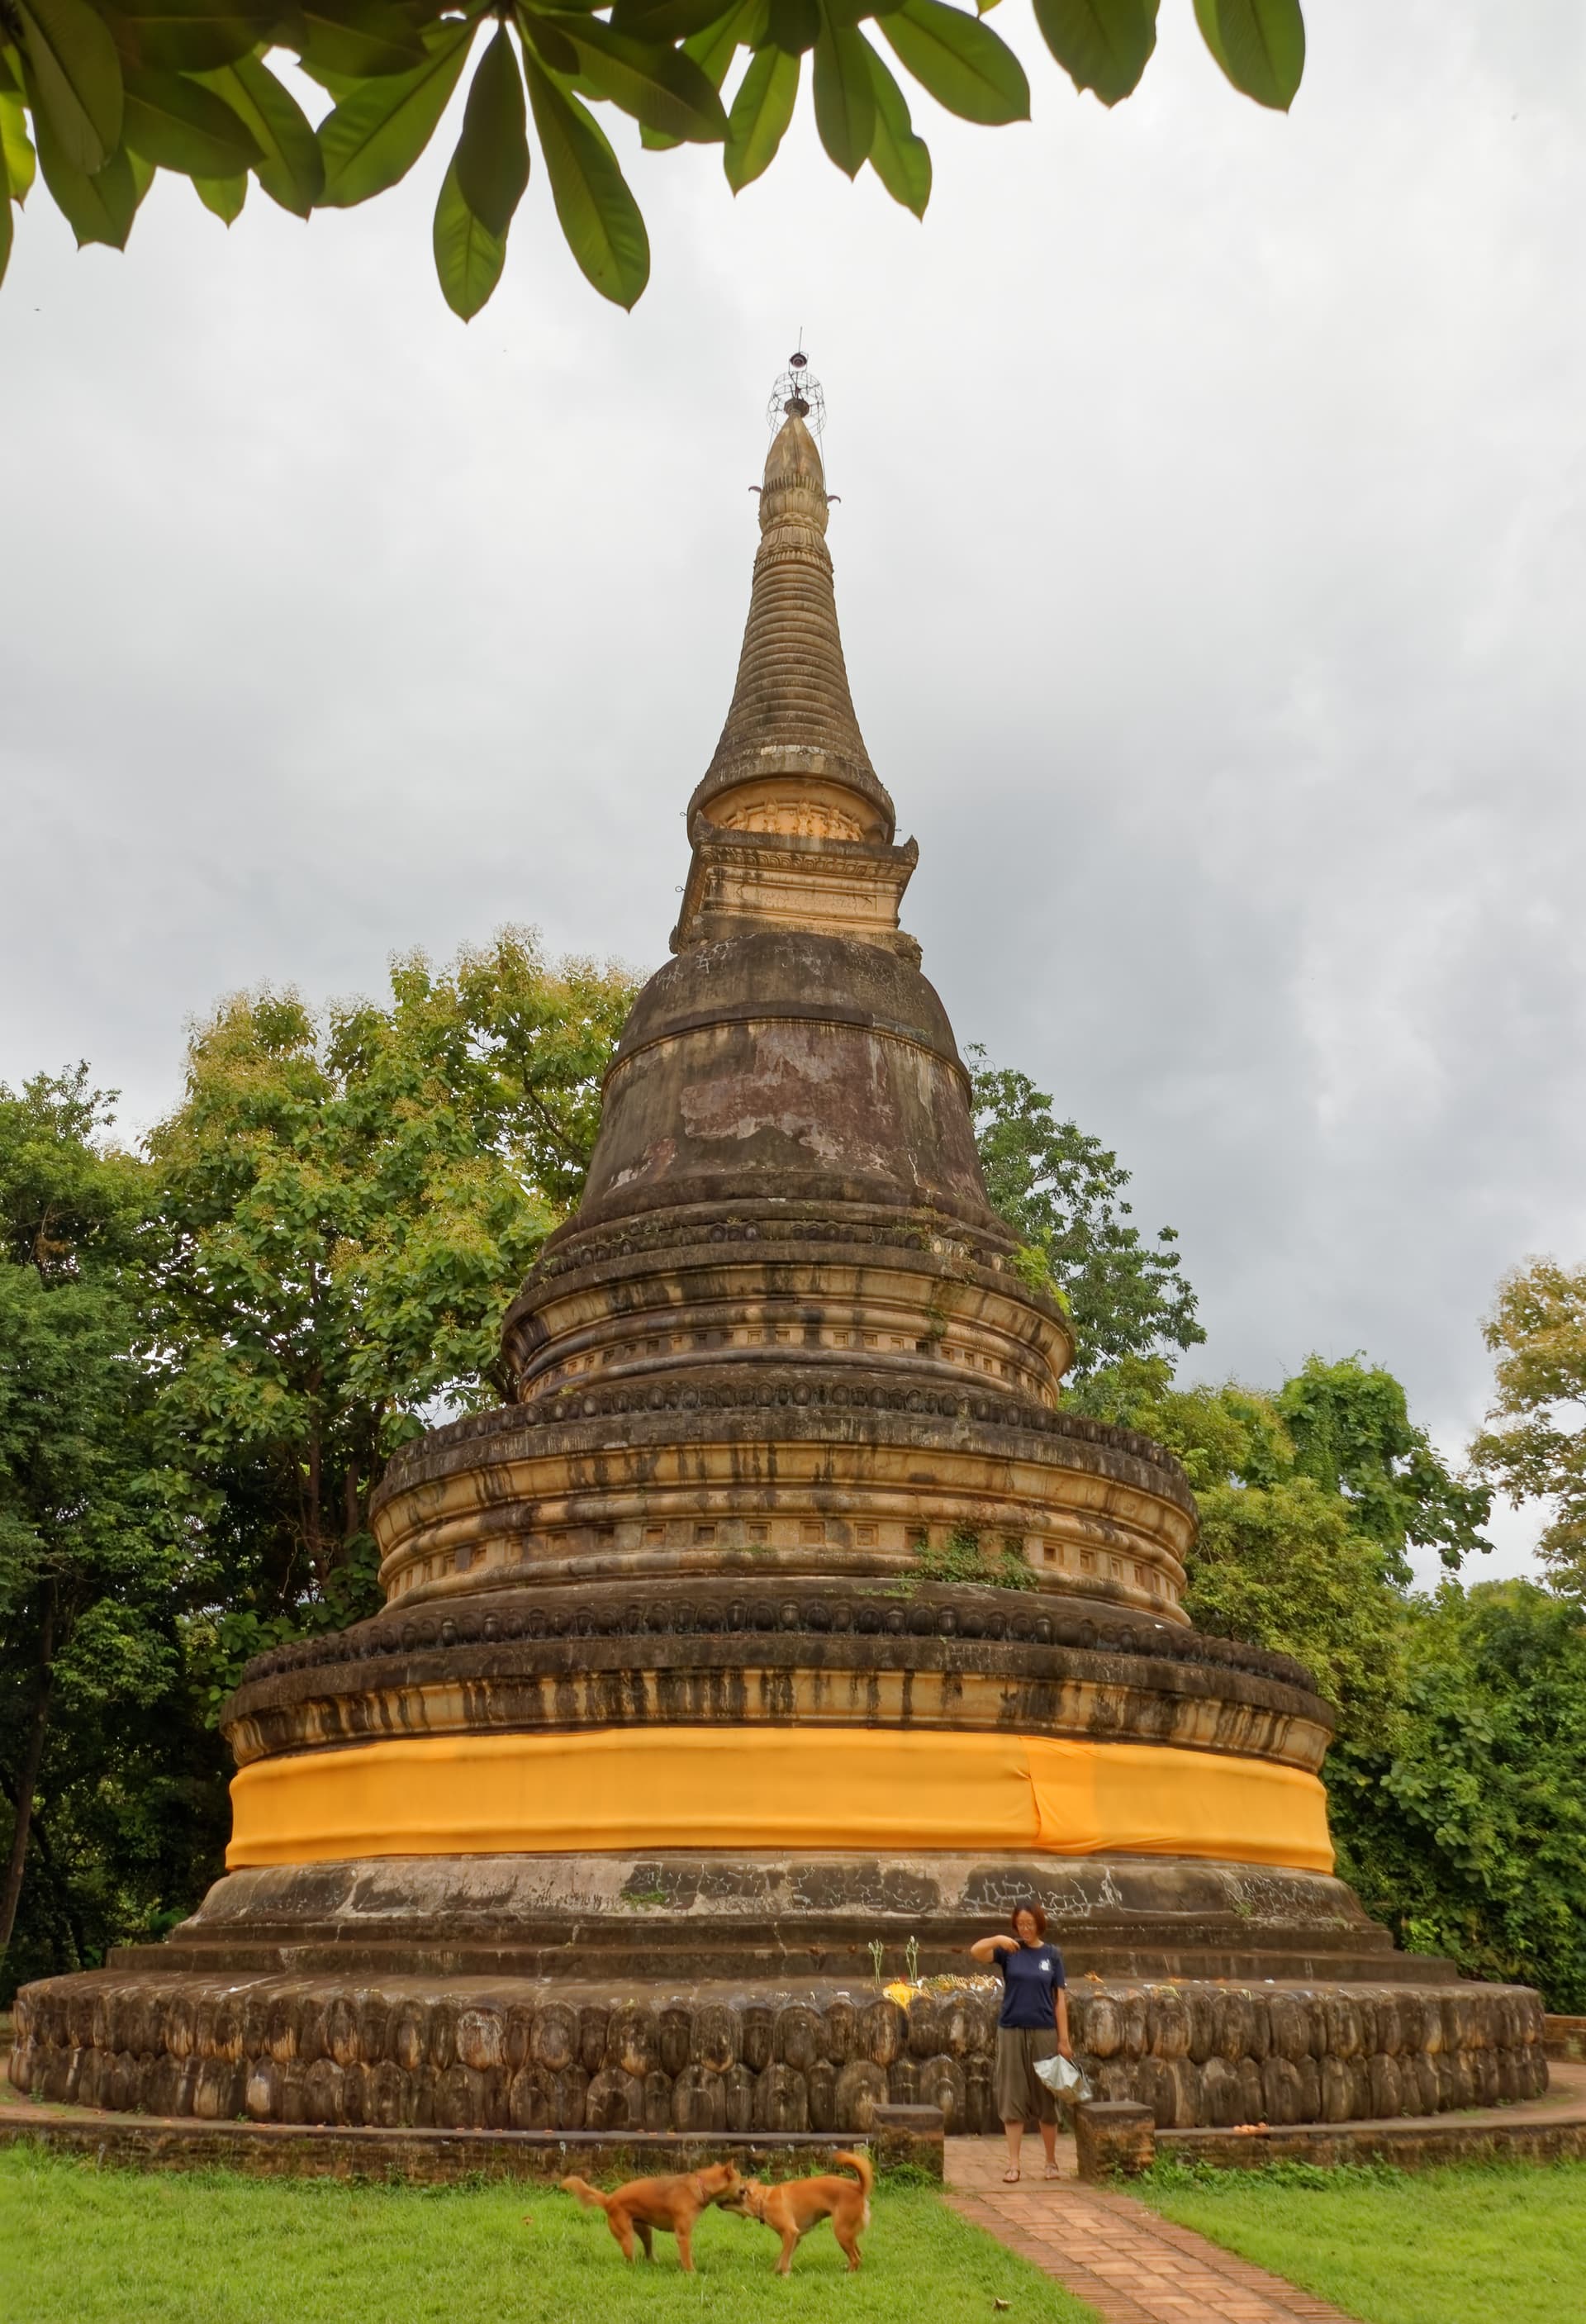
and yes it’s highly saturated/color hyped. as in give it a “pop”, the sky is not so interesting and this front section draws the attention away. it lines up to the dogs and the woman infront. (so in that case it 's a pitty the focus is not completely right on them, but it is as it is
 )
)
1 Like