hi all,
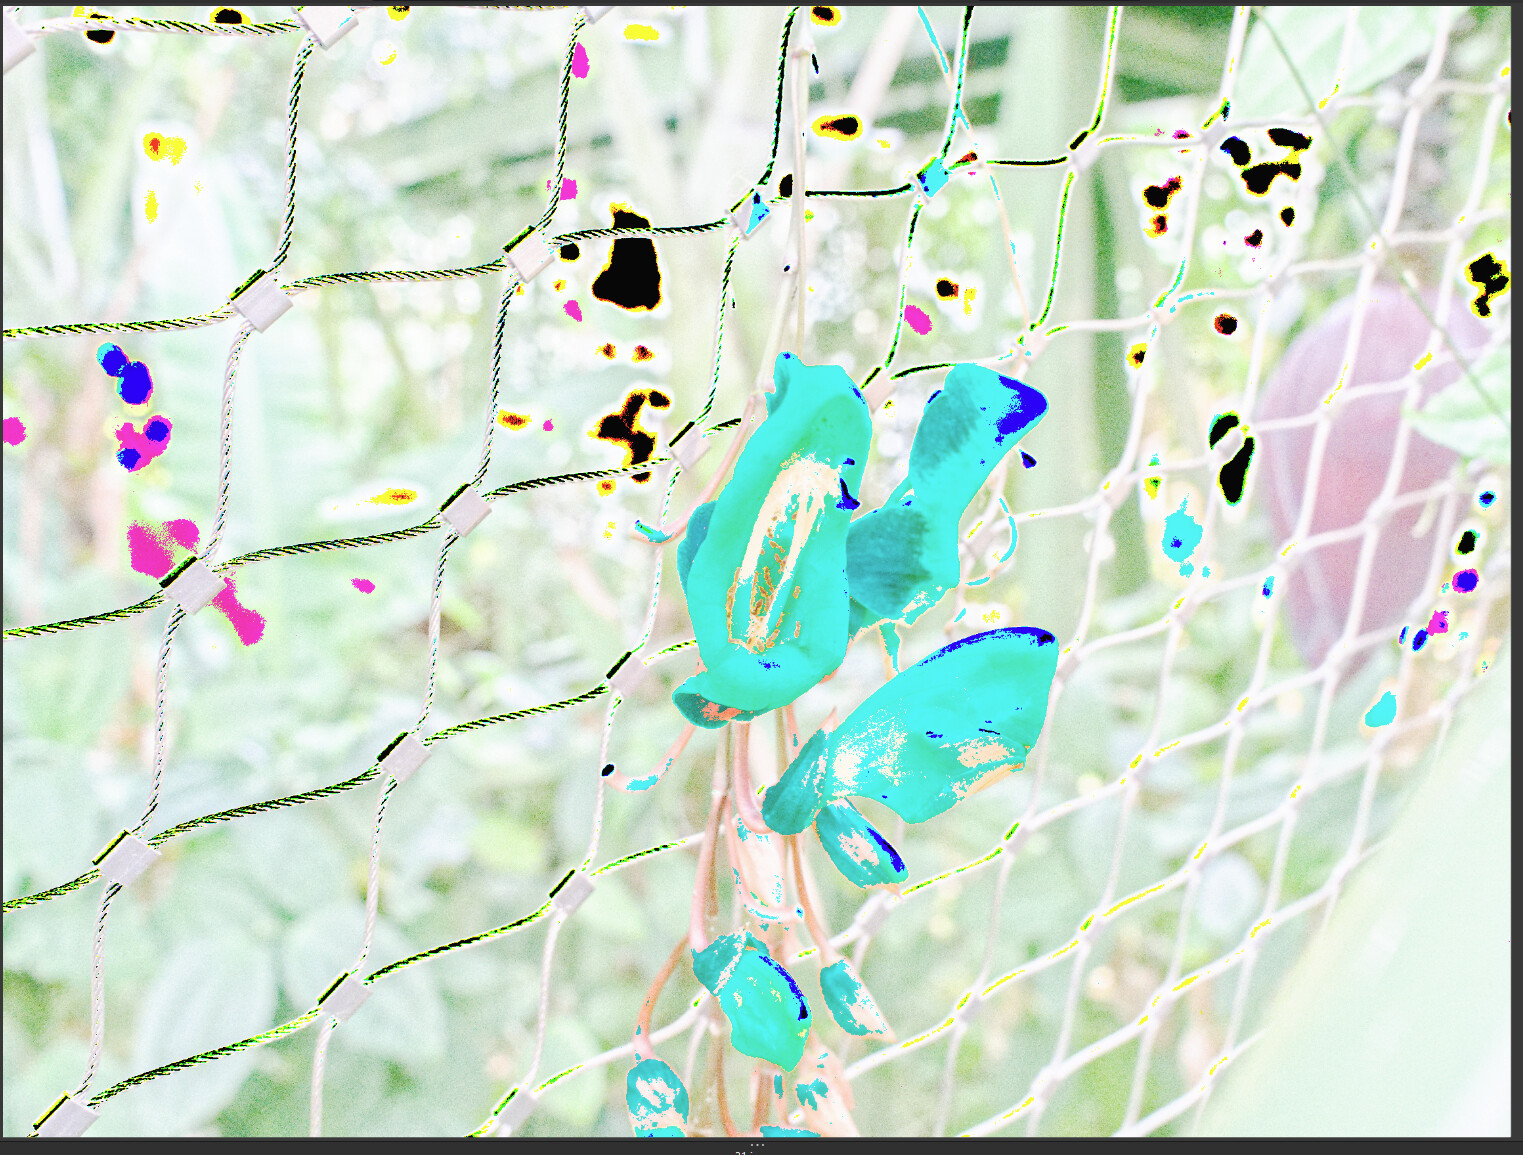
i am pretty sure i watched a video or a artikel about the types of colors a clipping warning layes over a image.
The colors it’s mean something and i forgot where i put the info.
Blue seems 10 over shot.
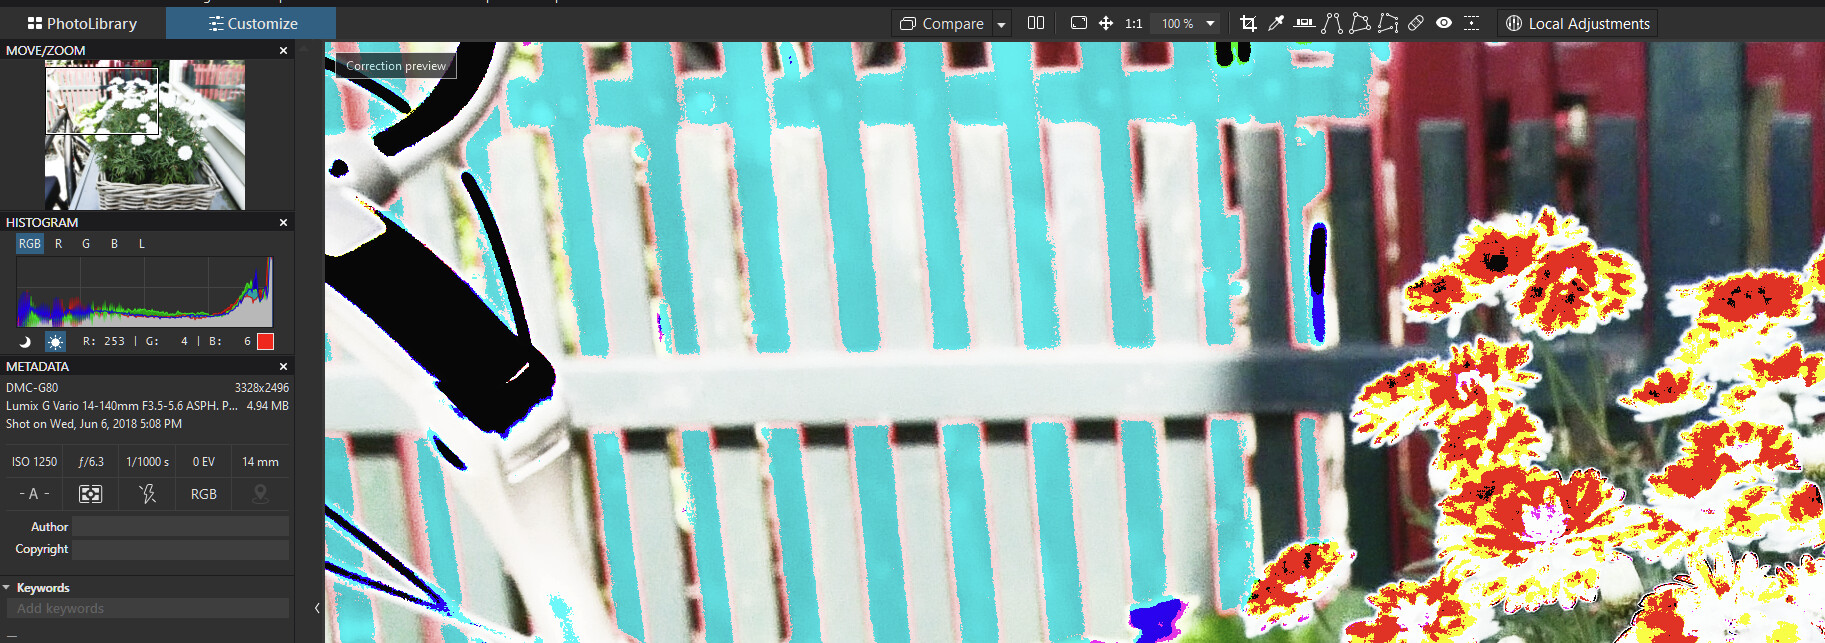
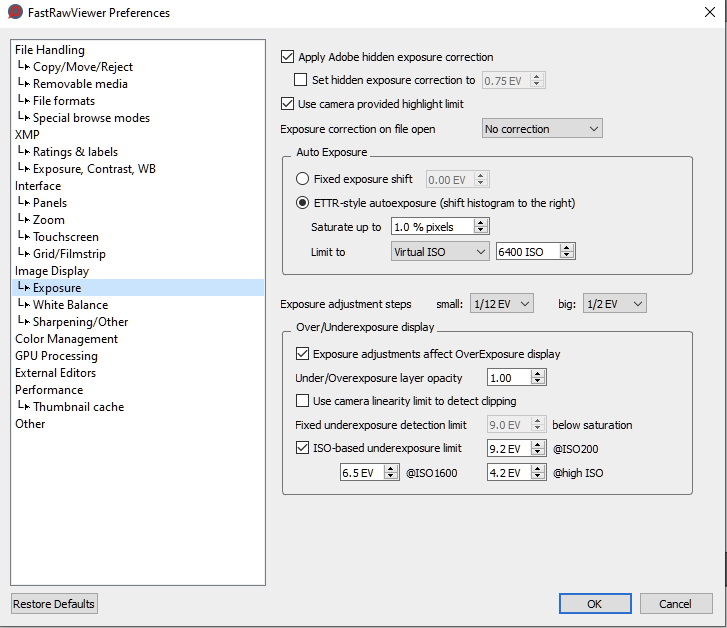
question: why is that square showing the clipping colormask and not the real image color beneat it?
reading is strange:
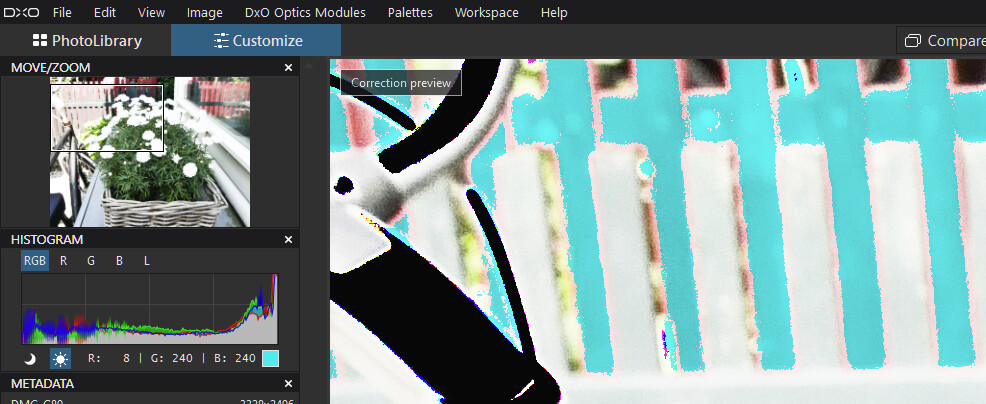
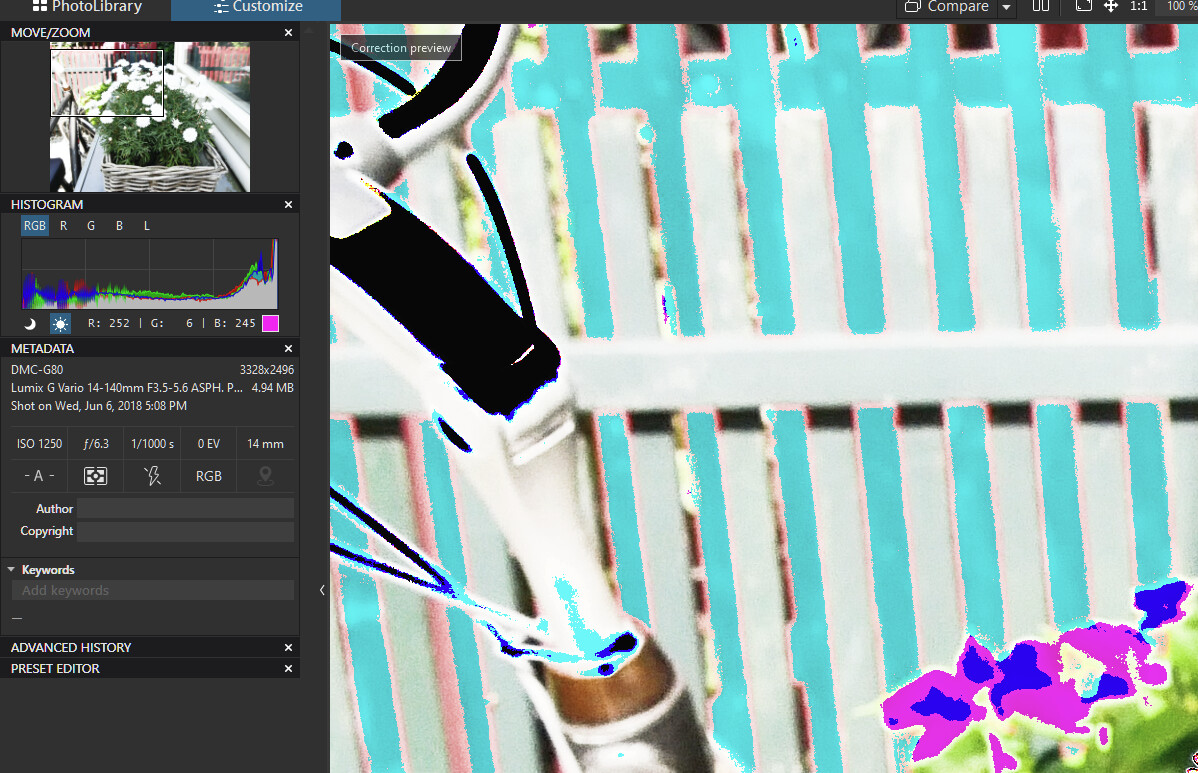
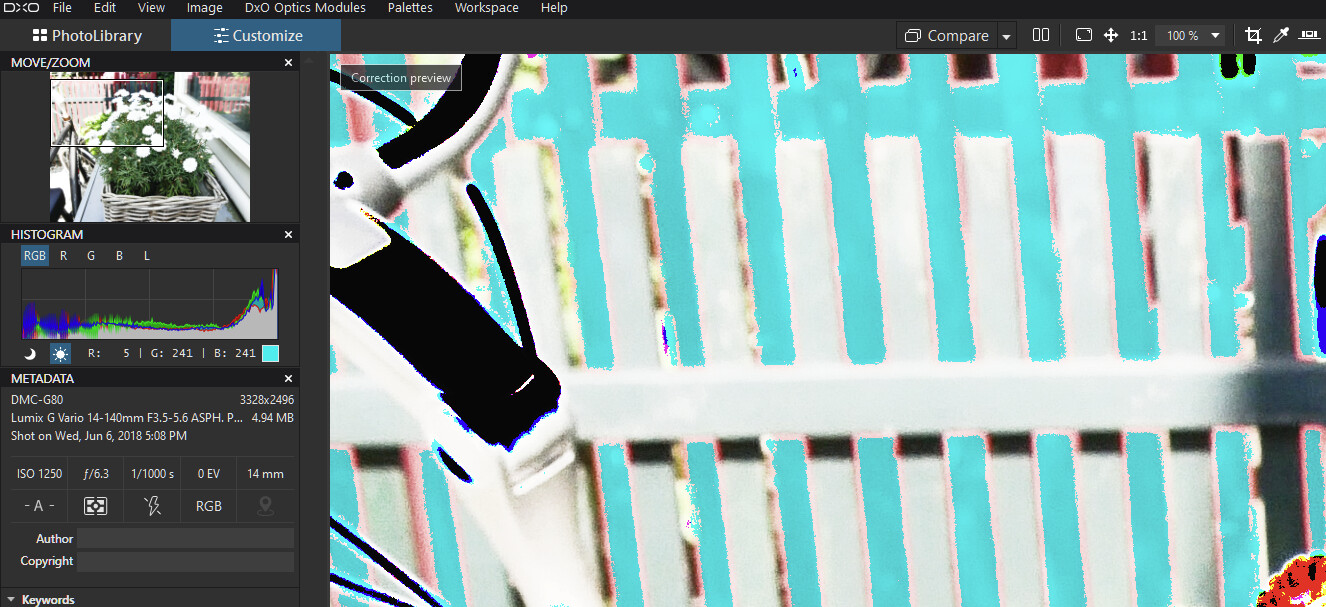
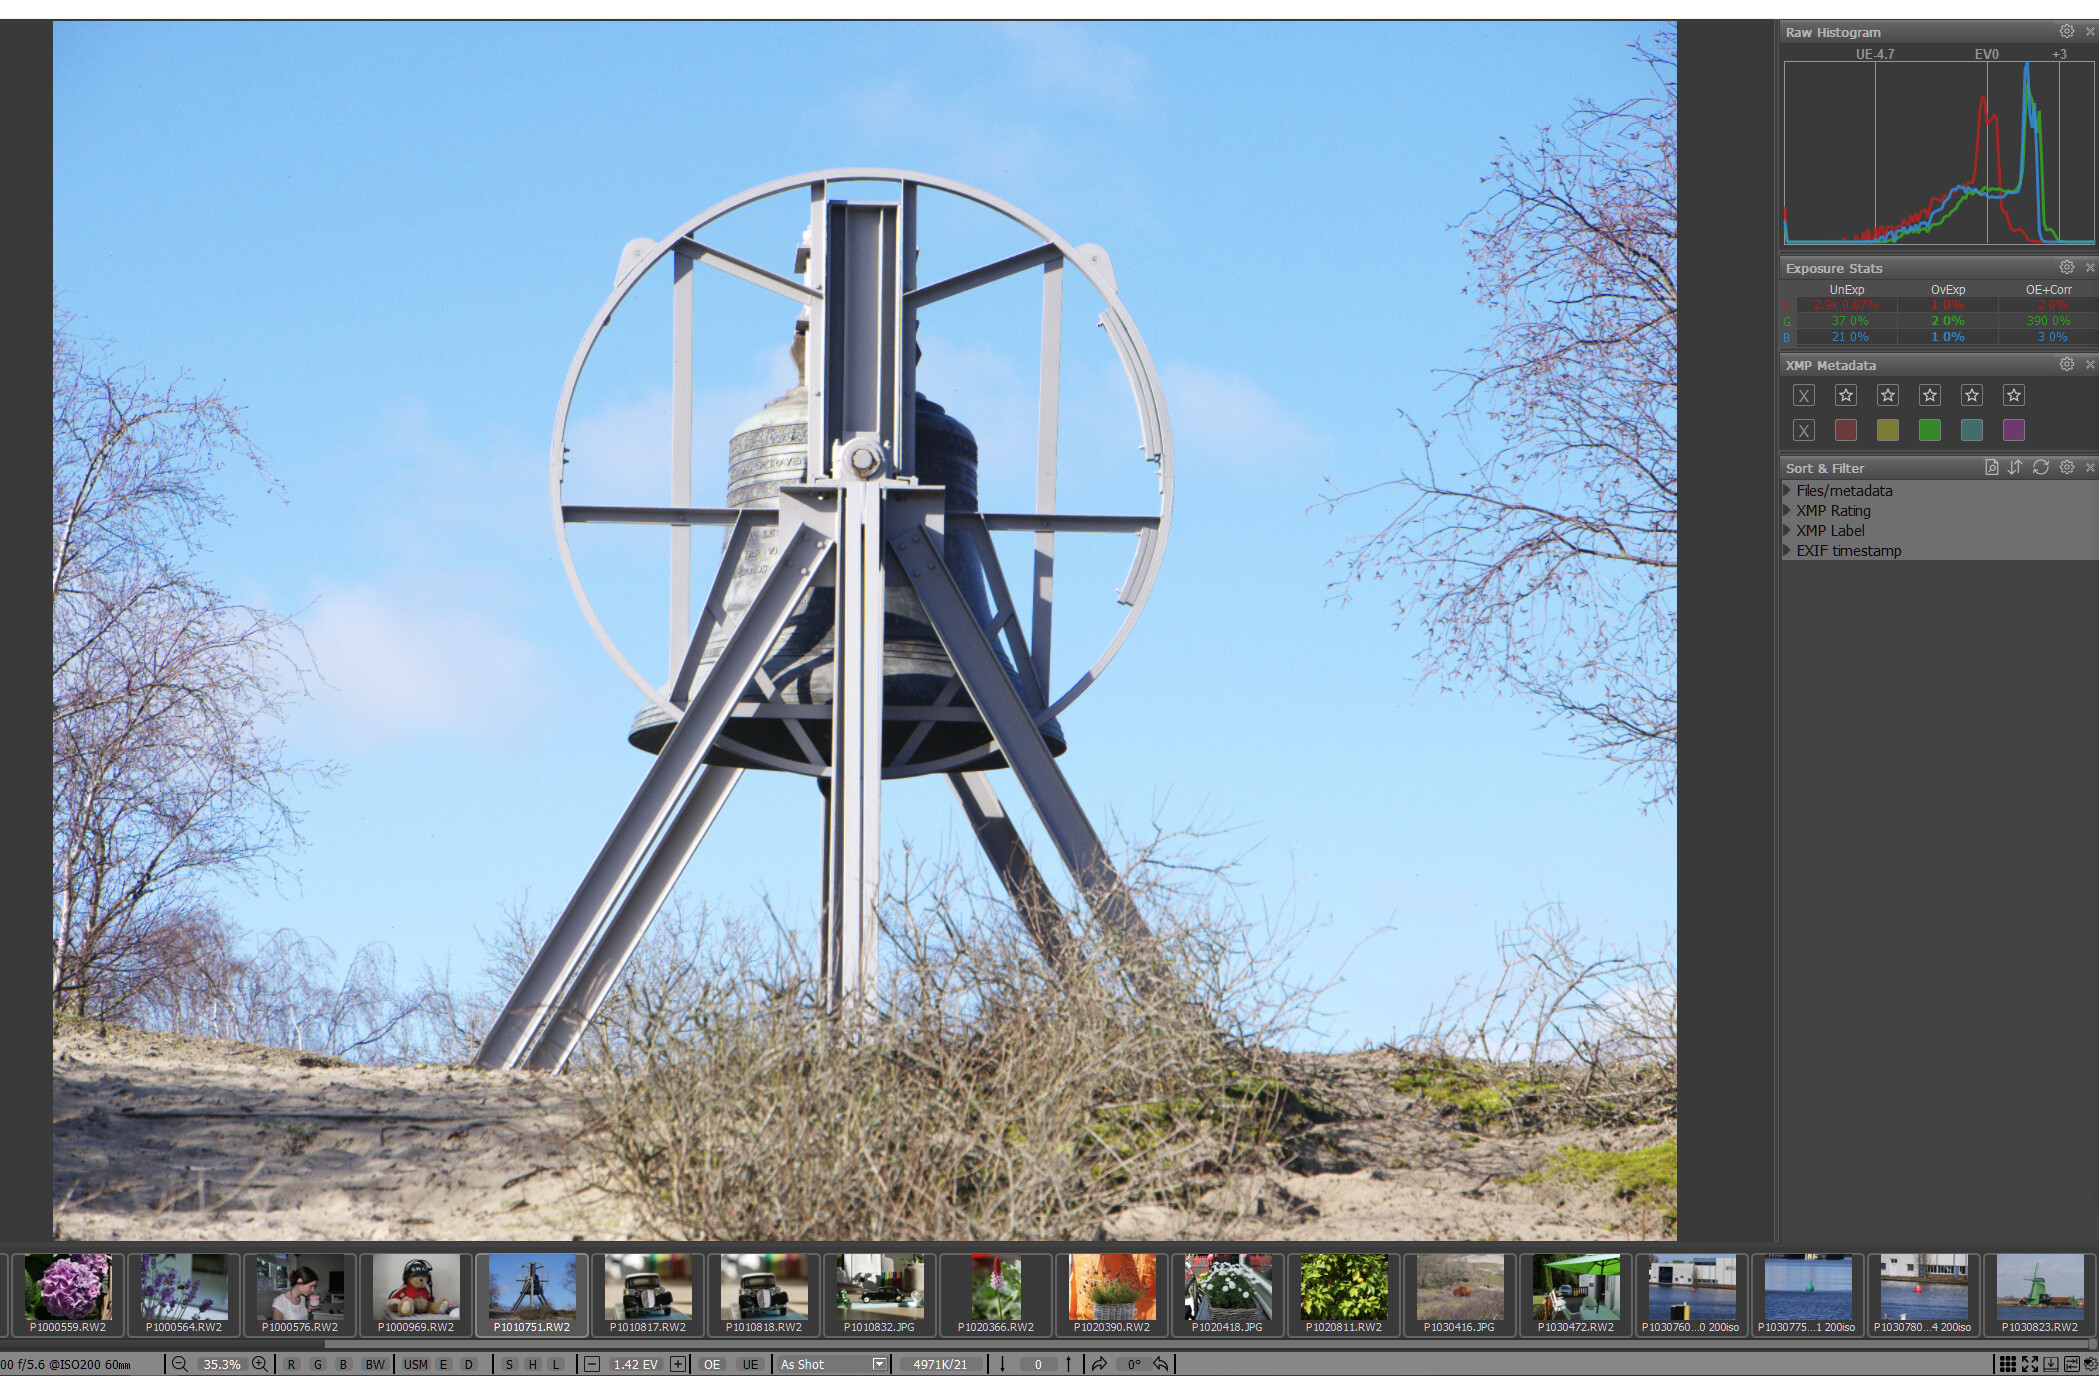
see overexposed fence:
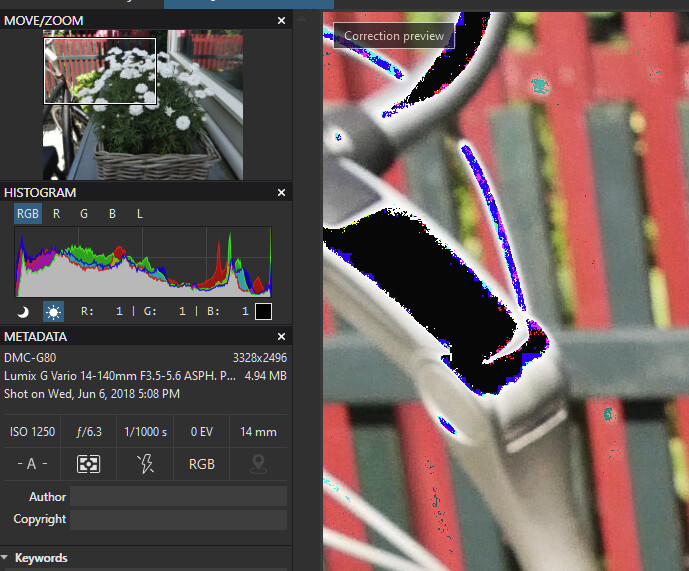
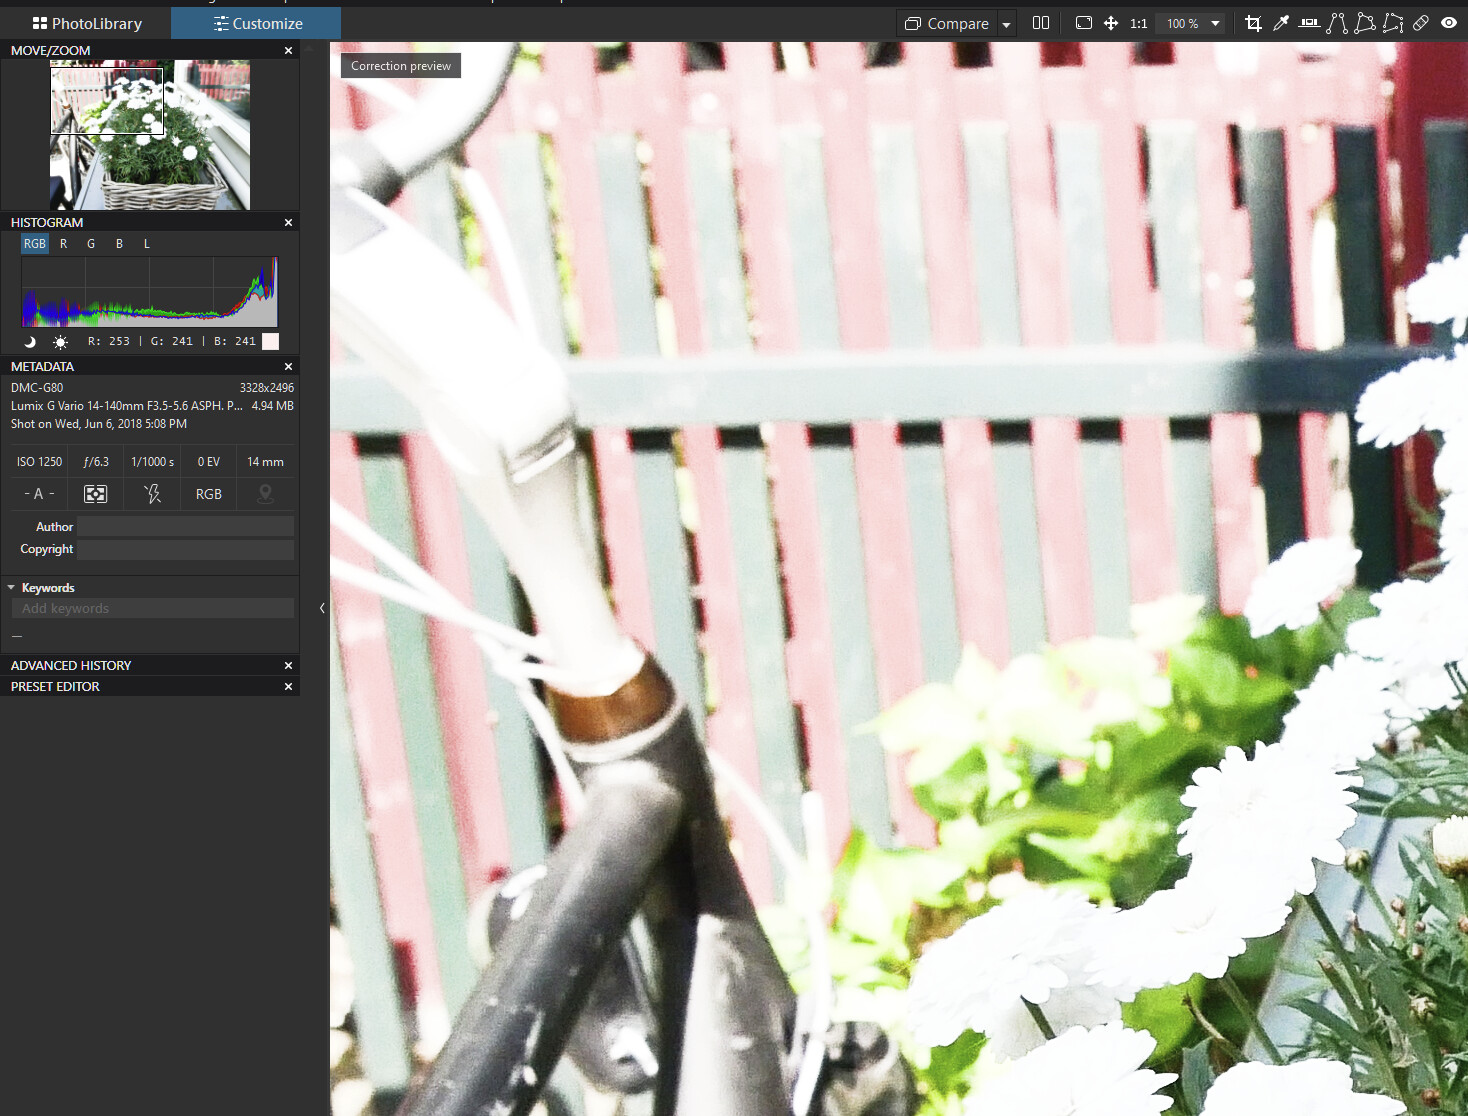
no sun active:
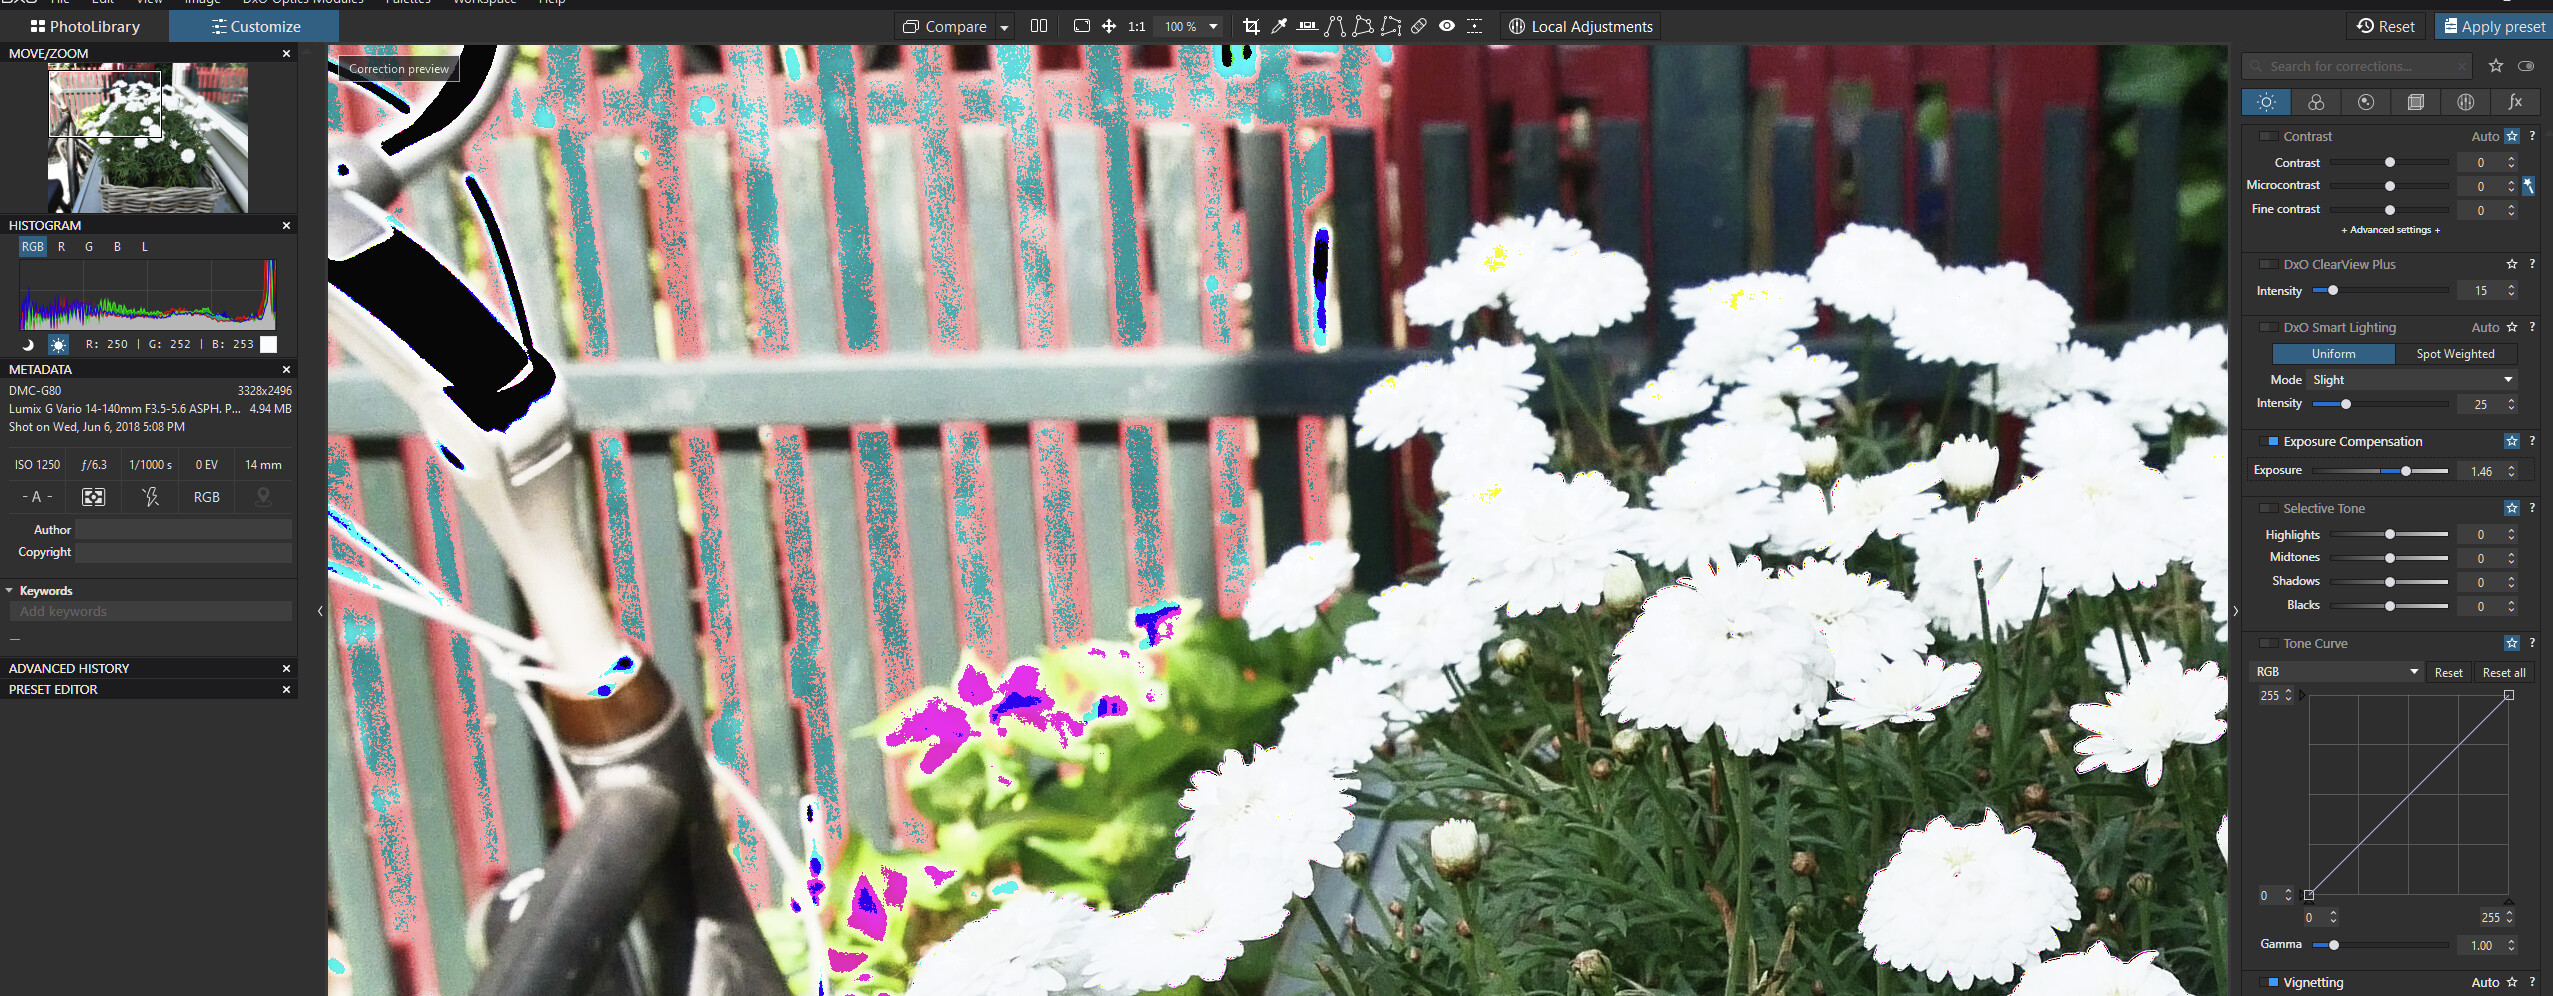
Try playing with the ends of the R, G and B tone curves while the clipping warnings are showing. Sometimes you may need to adjust the combined RGB curve, sometimes the individual ones. This will allow you to reduce the clipping only in the colour that is blowing rather than across the board.
The clipping indicators also show when colours are over-saturated so you might want to play with the colour wheel.
You can also lower the exposure massively and check the histogram. The colour, that extends most to the right, is the one clipping first. If the right edge of the histogram (with lowered exposure) looks like a white spike and a cliff, all colours are blown.
That what I wondered too.
But if you put the mouse on a clipping area and use the CTRL-W or CTRL-B shortkeys, then you toggle between on/off and can see the real values.
Point is every one uses this feature to adjust shadow and highlight but just pull and push on things until the warnubgs are mostly gone. On instinct so to speak.
Me i start with checking FRV to see how much is clipped in the rawfile.
Then the histogram in dxopl.
Turn on the warnings.
Use smartlighting in boxes mode to pull down highlights and adjust exposure correction to raise or lower shadows.
About the color saturation i watch the number of activity in colorprotection which i have on magic want.
So in practise i don’t realy look at the colortype of the warning other then black is really bad, nonrecoverable bad dark saturated colors you can by carefully adjust global and local bring back to live , pastel colors who cares? Smal adjustment and there gone or apeare again.
Few months/years back i played with this subject and found a explaination of those colors. Maybe of other brand of rawdeveloper can’t remember.
But non of this matters, DxO should write this detail about the color code down in the online manual. How to interpretate this tool completely. Not as we do now, dark is bad pastel is okisch.
I know how to fine adjust oversarurated colors with different tools.
Even use tonecurve’s channel correction or local atack with controlpoint and HSL.
My question is about the sun and moon’s clipping warning colors explanation.
And the strainge behaviour of the colorbox next to the levelnumbers when clipping warning is active. Why see i the warning color? It should be the image color on all times and why are the clipping area’s showing a 10 or 6 and not 255+10 and 255+6 or a +10 if the full writing dont fit.
Warnings starting at 95% of 255 i think.
And if you look at FRV you see a channel based schematics which shows % of underexposed , inside DR, and overexposed per channel. Which give much more info in combination with the colors of warning in the image.
Maybe i am the only one but the present working of the clippingwarning isn’t optimal used.
Peter. I’ve been thinking about this and am wondering if the colour of the warning were that of the wrong colour, then we wouldn’t know whether it was “wrong” or not. I am guessing that the colour shown is the inverse or complementary colour e.g. cyan for red, magenta for green, yellow for blue, etc.
This would make sense but, of course, it means having to remember which colour is the complement of the one shown
While knowing what a clipping indicator colour means can be interesting, it does not have much practical value imo. If things don’t look as we like them to be, we can use whatever tool gives us the wanted result.
Out of gamut warning is a different thing, specially when printing and if we can set the reference, against which the warning will be calculated.
1: If i have more then one image of the same scene i can find the one with the best starting point.
2 i use the two highlight and shadow check for details in both.
3 it shows the maximal wiggle room in the file.
Then you talk about softproofing?
Yes i wrote earlier that we need a new exporting window.
Three main tabs.
Library
Customising
Exporting
And exporting has
Watermark settings
Softproofing
Printing profiling
Exif iptc setting for jpegs
I still don’t know how FRV can help you with the editing in PL. FRV is dealing with the sensor, the histogram shows the values of the sensor, the input histogram. As a photographer I deal with the output histogram. That’s the only thing I can work with: how does it act on my output device.
The input histogram is as interesting as the output histogram.
If the input histogram shows highlight clipping,
→ highlights CAN NOT be recovered
→ if the output histogram shows NO highlight clipping, highlights are faked
If the input histogram does NOT show highlight clipping
a) if the output histogram shows highlight clipping,
→ customising/processing has clipped the highlights;
b) if the output histogram shows NO highlight clipping,
→ customising/processing has not clipped the highlights.
We usually want case 2b) - or ignore the stuff for whatever reasons whatsoever.
Update: I thought of mentioning @Joanna’s way of exploring a camera. Luckily enough, she added her input below… There’s more than one way in real life
That’s all quite logical. But it doesn’t tell me how FRV can help me.
If I want to be save I’ve to turn off all pre-editing in PL, including lens corrections.
Fast Raw Viewer helps to build experience and confidence in exposure skills.
Try FRV on a series of bracketed shots in order to see how far you can expose without burning the highlights - using FRV’s input histogram.
EV0 – the level that corresponds to the middle gray. If exposure adjustment has not been applied, it’s set to 3 photographic stops below the saturation level of a camera.
I just don’t know what to do with that statement.
And further
-5 – the level that corresponding to the level of the underexposure indication (see below)
It seems that a camera can have only 8 stops of DR.
this does not mean, that the DR is limited to 8 EV (together with EV0=saturation-3EV). The minus 5 statement is about underexposure indication and has nothing to do with what the sensor/camera can do. It’s still relevant for viewing and printing though.
Underexposure (UnExp) is 2.45% in the Red channel, 0.29% in the Green channel, and 1.78% in the blue channel – those pixels are in the underexposure zone, that is 8EV (with standard settings) below the saturation point for the camera.
No matter what software you use to analyse images after they have been taken it is a far better idea to get to know exactly what your camera is capable of.
After having tested mine (Nikon D810) I can confidently state that it has a 14EV dynamic range with 2⅔ to 3 EV above standard 18% greyscale reading before losing highlights and 11EV below before losing shadow detail.
Armed with those test results I can tell whether an image is within range without even looking at the back of the camera. Not boasting, just knowing and following the capabilities of my camera. And I ignore the blinkies on the back, which are based on a jpeg rendering in camera.
say my camera is in dxo mark 12,5 stops. (G80)
Photographically useful dynamic range is about 3 stops less
So usefull DR is 9 stops at base ISO (200) and decreases every ISOstop around 2/3stop to 1stop.
so 6400iso would be the max in photograpic use. (4-5 stops DR)
So that’s what you set in FRV. YOUR usable DR range.
according to this the Clipping warnings are adjusted to the camera you use.
So using this settings FRV is “telling you” when your rawfiles are not proper exposed. (overexposed is clipped channels in rawfile. and under exposed if headroom (last point of the histogram) is more then 1/3 of a stop. Note: your histogram in your LCD of the camera is based on the ooc-jpeg NOT the rawfile.
so colorspace is then sRGB or AdobeRGB and not camera’s colorspace which is always bigger.
So your camera can be at correct ETTR showing a good exposure but the rawfile has stil 2stops more headroom. which would be a bummer if you needed more detail in the shadow. => over expose in EVC +2 and your shadows are better detailed. (Use in post the slider to turndown mid and high 2ev and your done.
example:
this image could be exposed 1.42ev more before rawfile is clipped in the highlights.
if i had deepshadows i could be having used EVC on my camera to go 1 1/3 stop up and stil have no problem on the highlights in post.