Stenis
(Sten-Åke Sändh (Sony, Win 11, PL 6, CO 16, PM Plus 6, XnView))
1
I´m not really a “friend” with this tool yet and are a bit disappointed so far. I expected this tool to have more sophisticated masking tools with more possibilities to refinement than what I could see. Am I missing something? I expected some sort of precision improvement of the masking tools in Photolab since that is mainstream these day
Nothing seems to have happened with the “Local Adjustment” and the brushes there either.
It is a vast improvement over the previous version and has features that I believe are not available in any other similar tool. The mask refinement abilities are really extraordinary. What do you believe is missing?
Mark
1 Like
Stenis
(Sten-Åke Sändh (Sony, Win 11, PL 6, CO 16, PM Plus 6, XnView))
3
Well, you say so and I presume you have figured it out then? I can´t figure out how to make the brushes in this Retuch-tool to stay within “the lines” or how to refine it. Do you?
Even Lightroom has it despite Adobes legendary slow R&D.
So how do I do? It´s fine just to have it as in LIghtroom and it would be nice if it worked the same in “Local Adjustments” “AutoMask” too, because I have never been all that impressed with the precision of that tool.
Yes, the Retouch tool is discussed in great detail in the downloadable PhotoLab User Guide starting on page 214 and ending on page 228. That is 14 pages of text and graphics on this newly redesigned tool. It has significantly more functionally then Lightroom’s Clone and heal brushes and allow you to remove far more complicated distractions more cleanly and with much less effort. After you have ingested the information and play with the tool, if you still have issues using it please ask us, Many of us have significant experience with this tool and can probably answer any questions you might have.
With this new tool you can increase or decrease the size of a target mask, modify a mask size and shape later on, if you wish, without completely redrawing it. You can modify the source area by resizing it, rotating it, stretching it horizontally and vertical, creating a mirror image of the source area both horizontally or vertically, and use the Add Stroke feature to create a single mask in multiple non-contiguous areas. To rotate, small rotation arrows appear outside of the source masks boundaries. You can separately modify the vertical height and horizontal width of the source mask’s content non-proportionally or proportionally. The mirror reversing feature can be especially useful in complex situations.
Mark
Stenis
(Sten-Åke Sändh (Sony, Win 11, PL 6, CO 16, PM Plus 6, XnView))
7
Thanks Mark. I will study the manual closely. I wrote this because I just couldn’t make it work the way I saw it used in the few videos there are out there so far. I guess it 's still to new.
As an old designer of user interfaces I am struck by how unconsistent the masking control interfaces are in Photolabs different parts like this Retouch tool, in the Color Wheel (where there are no masks and where a selecting affects all places globally where a selected color is present) and in for example when using the brusches and automask with the Ajustment tools and Control Points. Concerning the Colorwheel they could for example have made it possible like in Capture One to create a mask of a picker selection and make it possible to edit and refine it. Nothing happened there either.
There is absolutely no concistency.
I once in the nineties worked as the product manager responsible to market Microsoft Windows (from version 2.21) and all the then new Windows applications att Swedens then biggest IT-distributor that later on got the biggest distributor in the Nordic countries.
At that time the idea with Windows was to get uniformity of how to carry out processes and get a common interface for periferial equipment drivers.
One standard in Windows was to first select what data to apply changes to and then select the tools to apply but of course there is always players that will break the rules and one of these was Lotus with for example their spreadsheet software Lotus 1-2-3. That software was ported from the IBM OS/2 platform where the processes were completely the other way around. Here you first picked a tool and then selected where to apply it. Lotus 1-2-3 went from a market share of more than 60% to virtually nothing in just a few years when people started to use Excel instead.
So interfaces matters and the ones in Photolab suffers from structural growt where some of the tools more or less were boulted on Photolab without any further thoughts so far. In some cases it’s not all that intuitive. If I as an old IT-developer and computer user since the eighties fails to figure out how this Retouch tool is working after having seen and built so many software solution interfaces through the years I think it’s something wrong and I have never been impressed by the Automask brusches precision either in PL. Control points are mostly fine but sometimes their precision is just not enough. As a long time user of Capture One I have to say that I prefer how they are doing it all days in the week. They have taken the masking precision and editing a lot more seriously than DXO. Compared to that I think Photolab still is an inconsistent mess and I must say it feels a little strange to admit that I in this case even prefer some of the solutions I have seen in Lightroom. I thought I would never write anything like that!
What I need too is some well-made Youtube instruction videos and I´m sure they will appear in some weeks when more people will start to use these tools in their every day work.
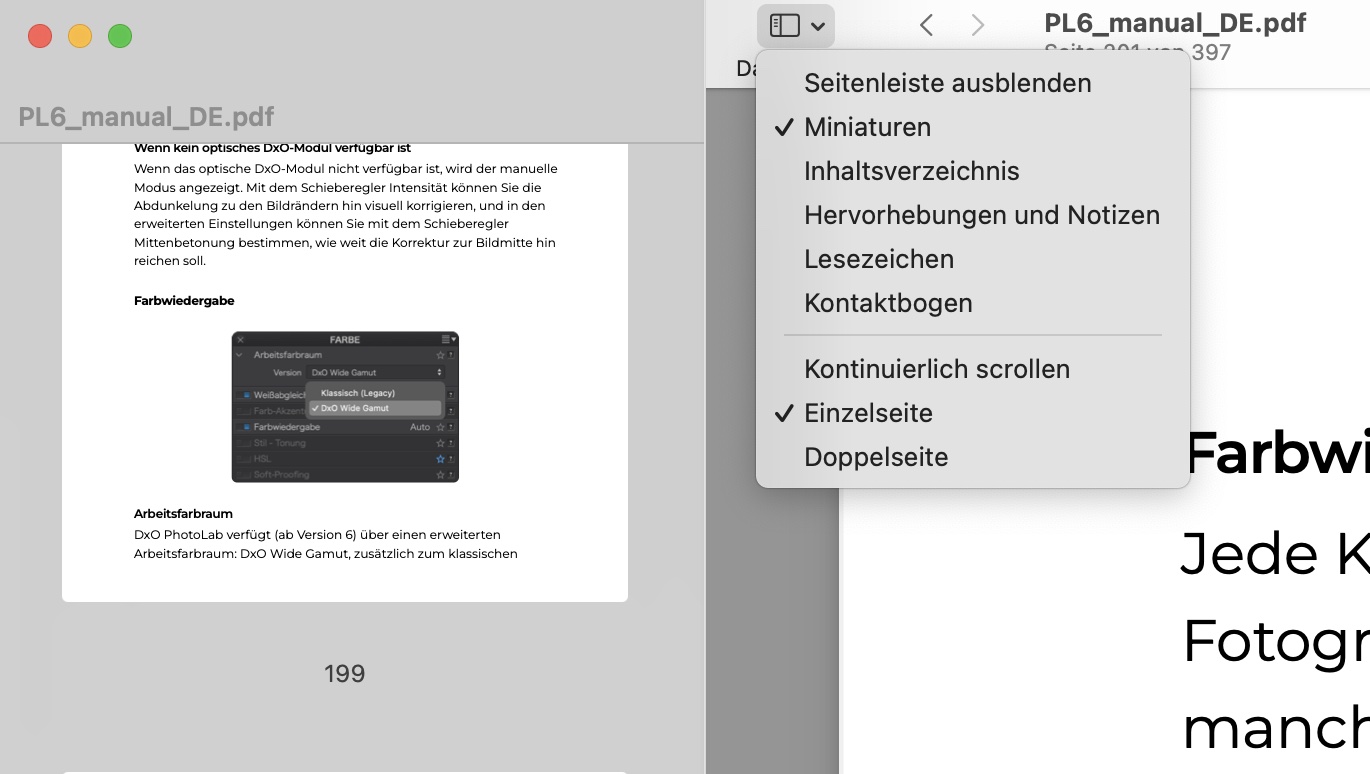
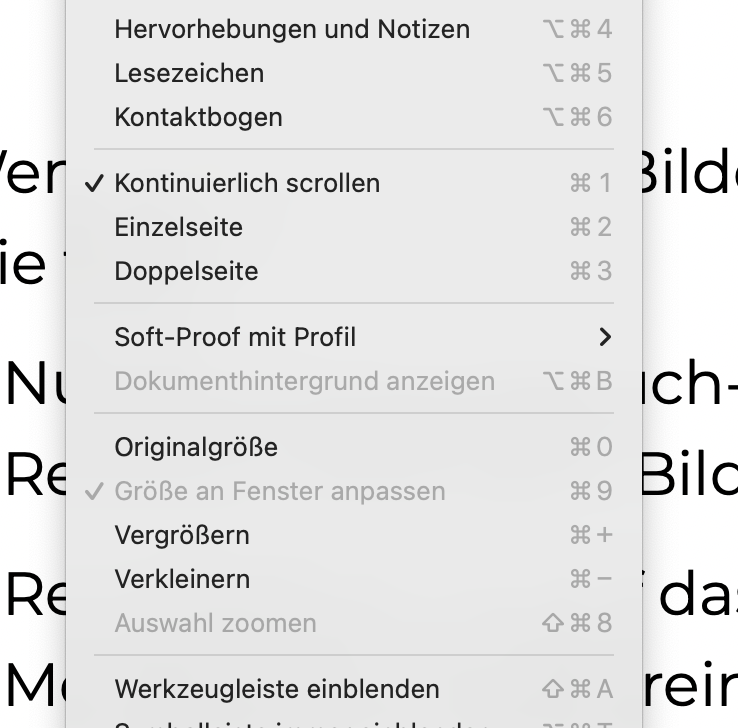
Grrrr…in the German pdf there are no page numbers at the bottom of the pages. And yes you can jump to e.g. page 227 with the info in the page reference, but by scrolling up and down you loose any feeling where you are. That’s one of the basic skills I train students of my word courses.
It definitely took me a few sessions to get a feel for the all of the capabilities of the new tool. I went back to try to edit some “challenging” repair photos that I basically couldn’t clean up with the old tool and could easily clean them up with the new tool after getting used to it.
I did play with it for a few weeks before I really got the hang of it.
Didn’t notice it. But this is probably also because I always use the “Miniaturen” view when there are no tables of contents. Unfortunately, DXO has not bothered to integrate such for the PDF.
Whereas for the search, I prefer to use the PDF, including view “Miniaturen”.
Stenis
(Sten-Åke Sändh (Sony, Win 11, PL 6, CO 16, PM Plus 6, XnView))
12
You seem to have had access to a Beta. I haven´t but I have read the manual now and I also think it´s good in version with the pop-up tool and short cut menus both in Retouch and Local Adjustment mode. As is most other situations a little concentrated training is never wrong.
The Clone and Repair tool has been around for a long time and I have used them quite a lot cloning and repairing all sorts of things mostly retouching old repro photographed positive color films that has bothered me but rarely anything more complicated. Removing pimples or electrical cables has never been a problem but when I have to remove things where irregular or distinct patterns in the background has to “fit” it´s quite a different thing.
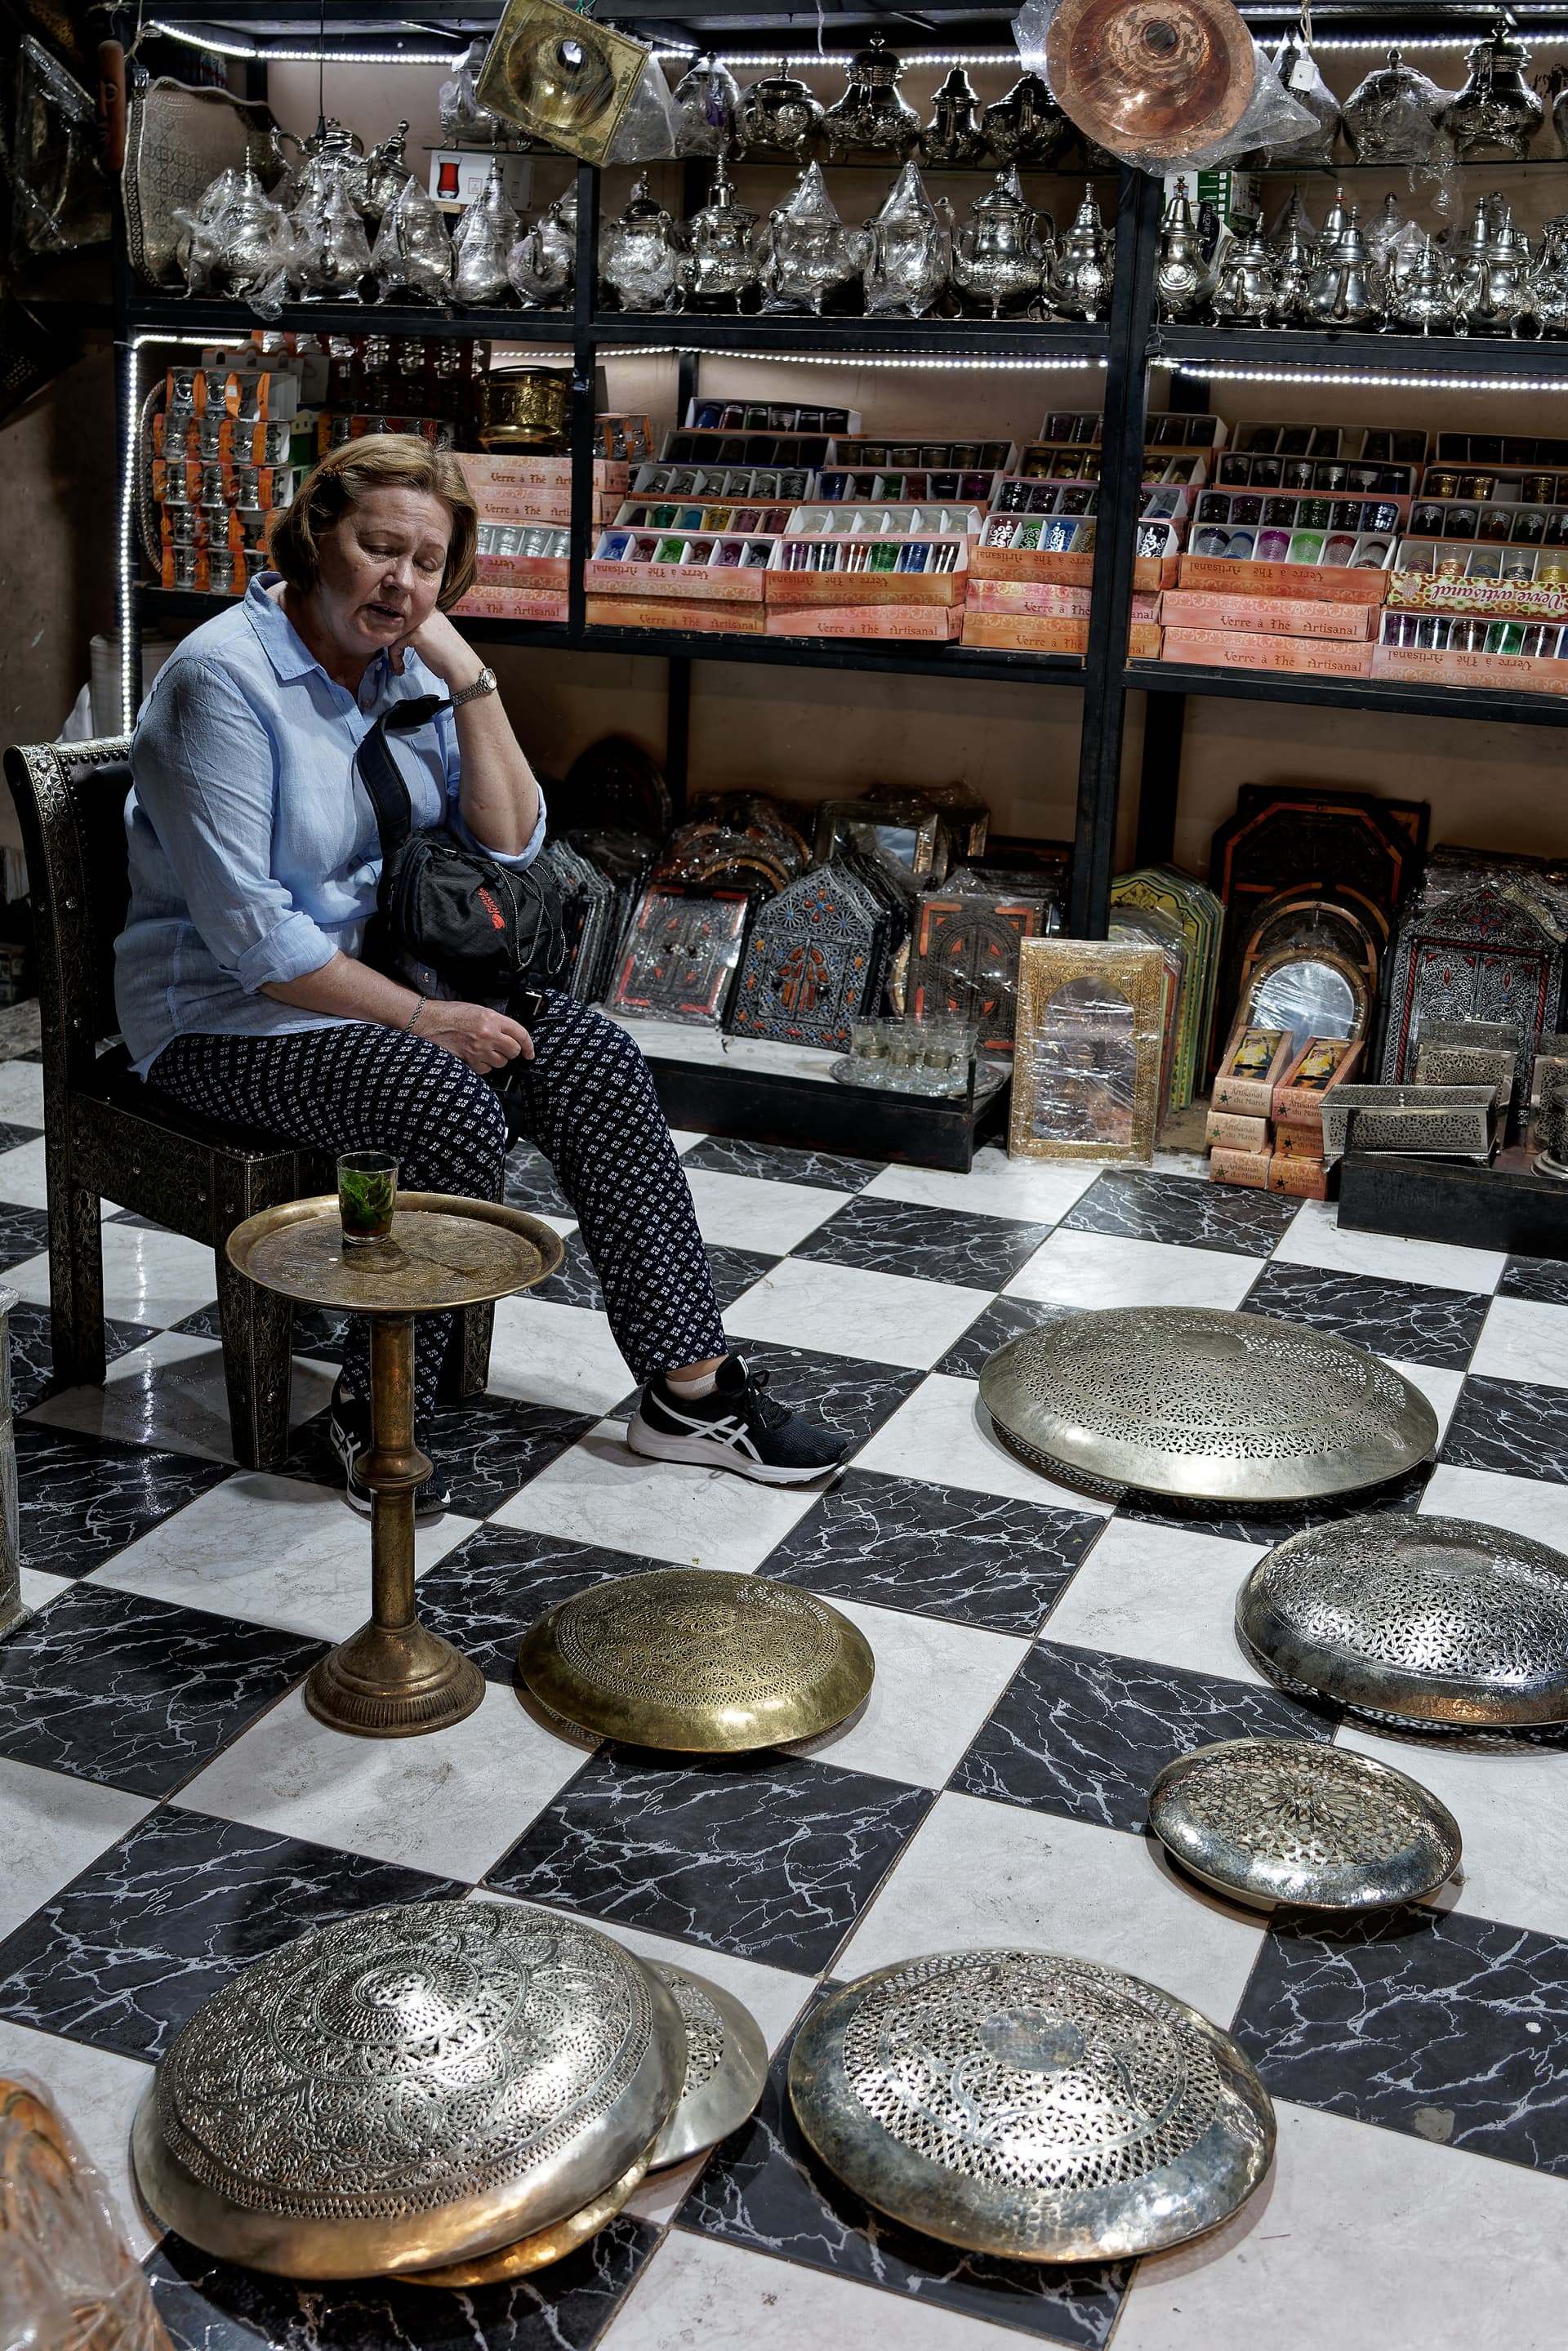
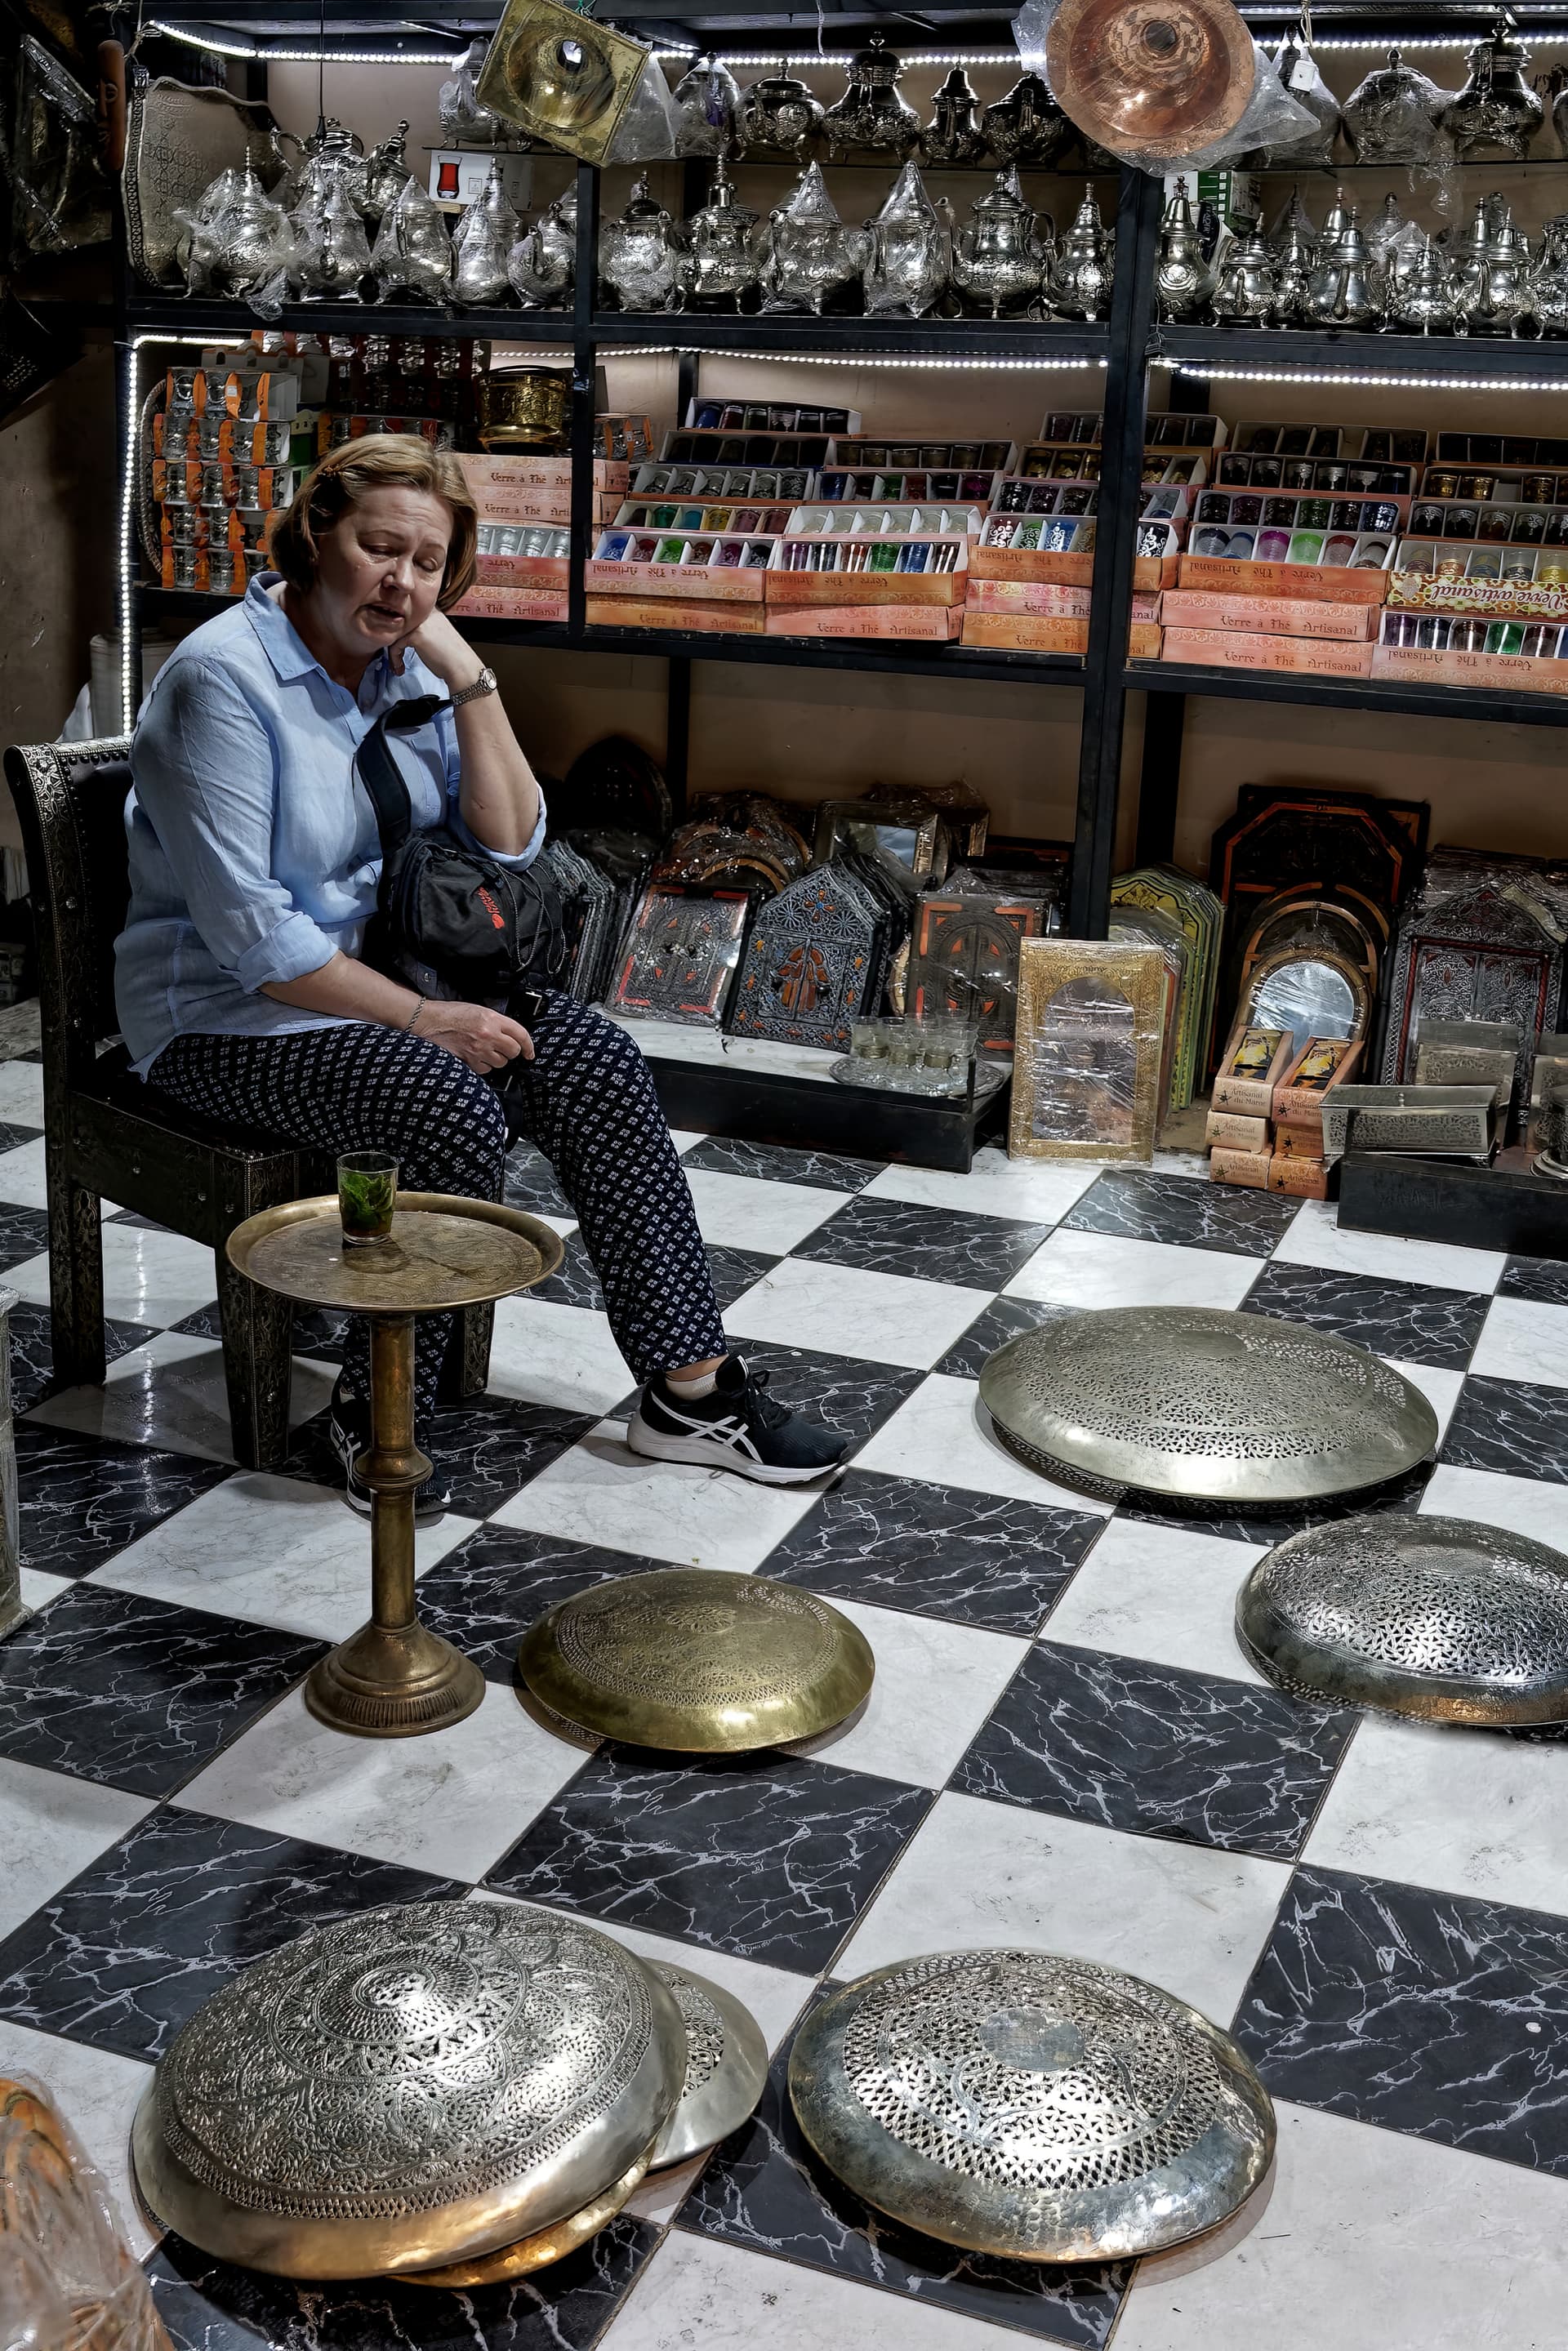
As a test I tried to remove one of the lamp discs from the floor of this Moroccan handicraft store in Marrakesh, with no real success even after reading the manual. I think I got as tired as my wife looks in that picture trying.
One big reason writing this is that masking and manually refining masks can be a very time-consuming matter causing great inefficiencies in the work flows. Thats why I think the new automask tools we now find in many of Photolabs competitors is of such a good value to us users, Fast, reliable and accurate automasking is missing today in Photolab and I wonder if all that has happened the last years in that respect totally has floating away beside DXO and Photolab. The tools in this area of Photolab seems to needs a facelift or two. I hoped version 6 should be at least part of the solution of these long-neglected problems but I´m sad to say it´s not.
It certainly can be done with the new tool. It just takes an analysis of where the source masks will come from and bit of time using smaller masks. I’ve successfully cleaned up far more difficult images. Learning how to use the tool itself is pretty straightforward and simple,. Learning how to employ it effectively in complex situations requires a greater learning curve and lots of experience.
I’m not sure an automask feature would be that effective in a complex removal situation. It assumes that the software knows exactly the objects you want to choose and what you want to replace it with. In difficult situations like the clean removal of long pipes in front of a complex piece of machinery it can become a very labor-intensive effort, but the results if done with care can be absolutely excellent. I don’t think the current AI mask selection tools and functionality are quite up to that level of difficulty yet, although they may be in the not too distant future.
Mark
Stenis
(Sten-Åke Sändh (Sony, Win 11, PL 6, CO 16, PM Plus 6, XnView))
17
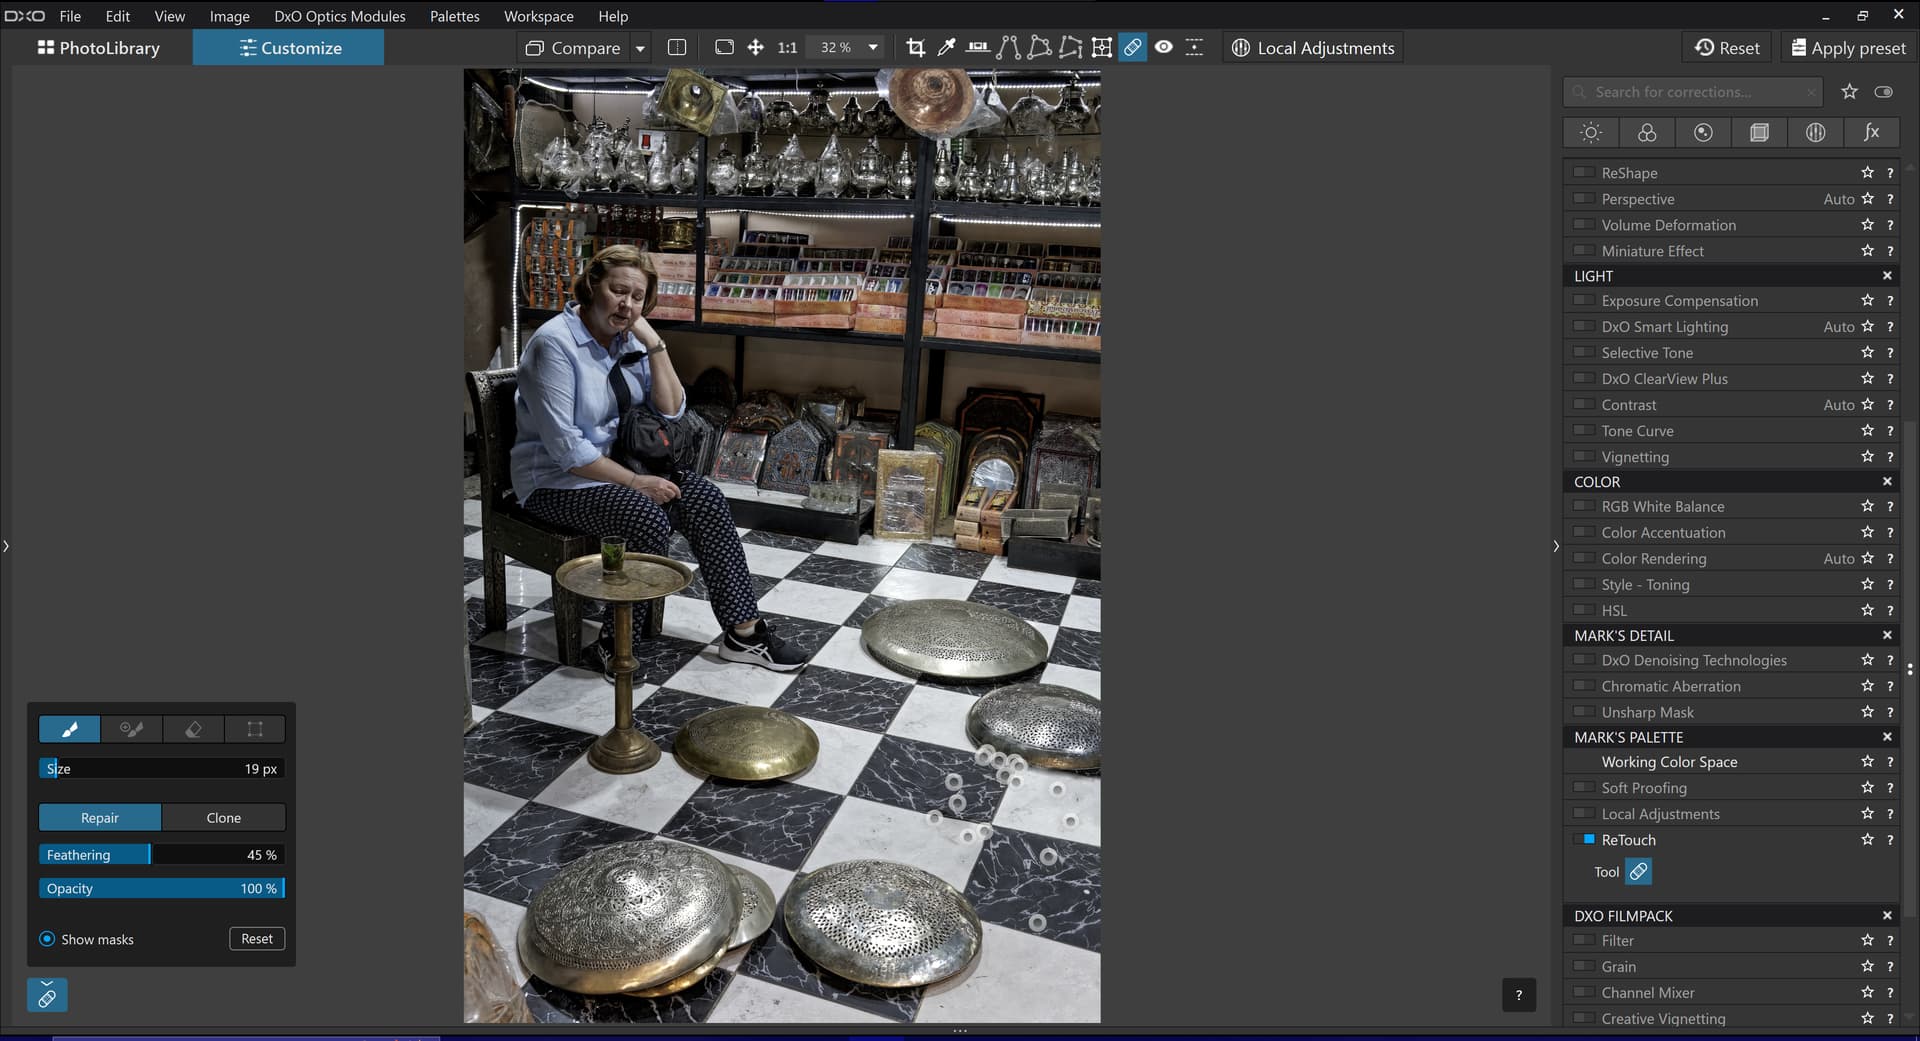
Thanks for your input, Mark. What disturbs me is that if I mask one of the discs properly i still get a proposal of a replace area that are of a completely different shape than my masked area. If it had been exactly of the same size and shape or just i little bigger than the area I have masked, it had been far easier to place the replacement area correct on that flor pattern than it is now. It would be faster to use if the system would automask the area I point to like in many other softwares today. These discs are fairly well defined, aren´t they, so that shouldn’t have to be any problem, I think.
They could also have improved the U-point automask brush as well in the same manner, like a lot of other companies have done already or at least provided a “Refine mask” function like in Capture One that could have traced the border area automatically. Refining masks is sometimes a very tidy and time-consuming work.
I haven’t used the tool in a couple of weeks, but ithe source and target masks should be identical in shape and size, unless you enlarged the source by adjusting the boundary square horizontally, vertically, or both. Perhaps you could post a screen capture so I can see exactly what you’re seeing.
At this point I’d rather not get into a side discussion of other things that you would to see changed in PhotoLab and instead focus our attention on any issues you’re finding with the Retouch tool.
Edit: I just checked to make sure nothing had changed and can confirm that the target and source masks are identical in shape and size. I suspect you may have inadvertently modified the shape and size of the source using the transform bounding box.
Mark
Stenis
(Sten-Åke Sändh (Sony, Win 11, PL 6, CO 16, PM Plus 6, XnView))
19
The source and target areas are of the same shape but they are different than the masked area , which is quite smaller and of a different shape and that is my problem.
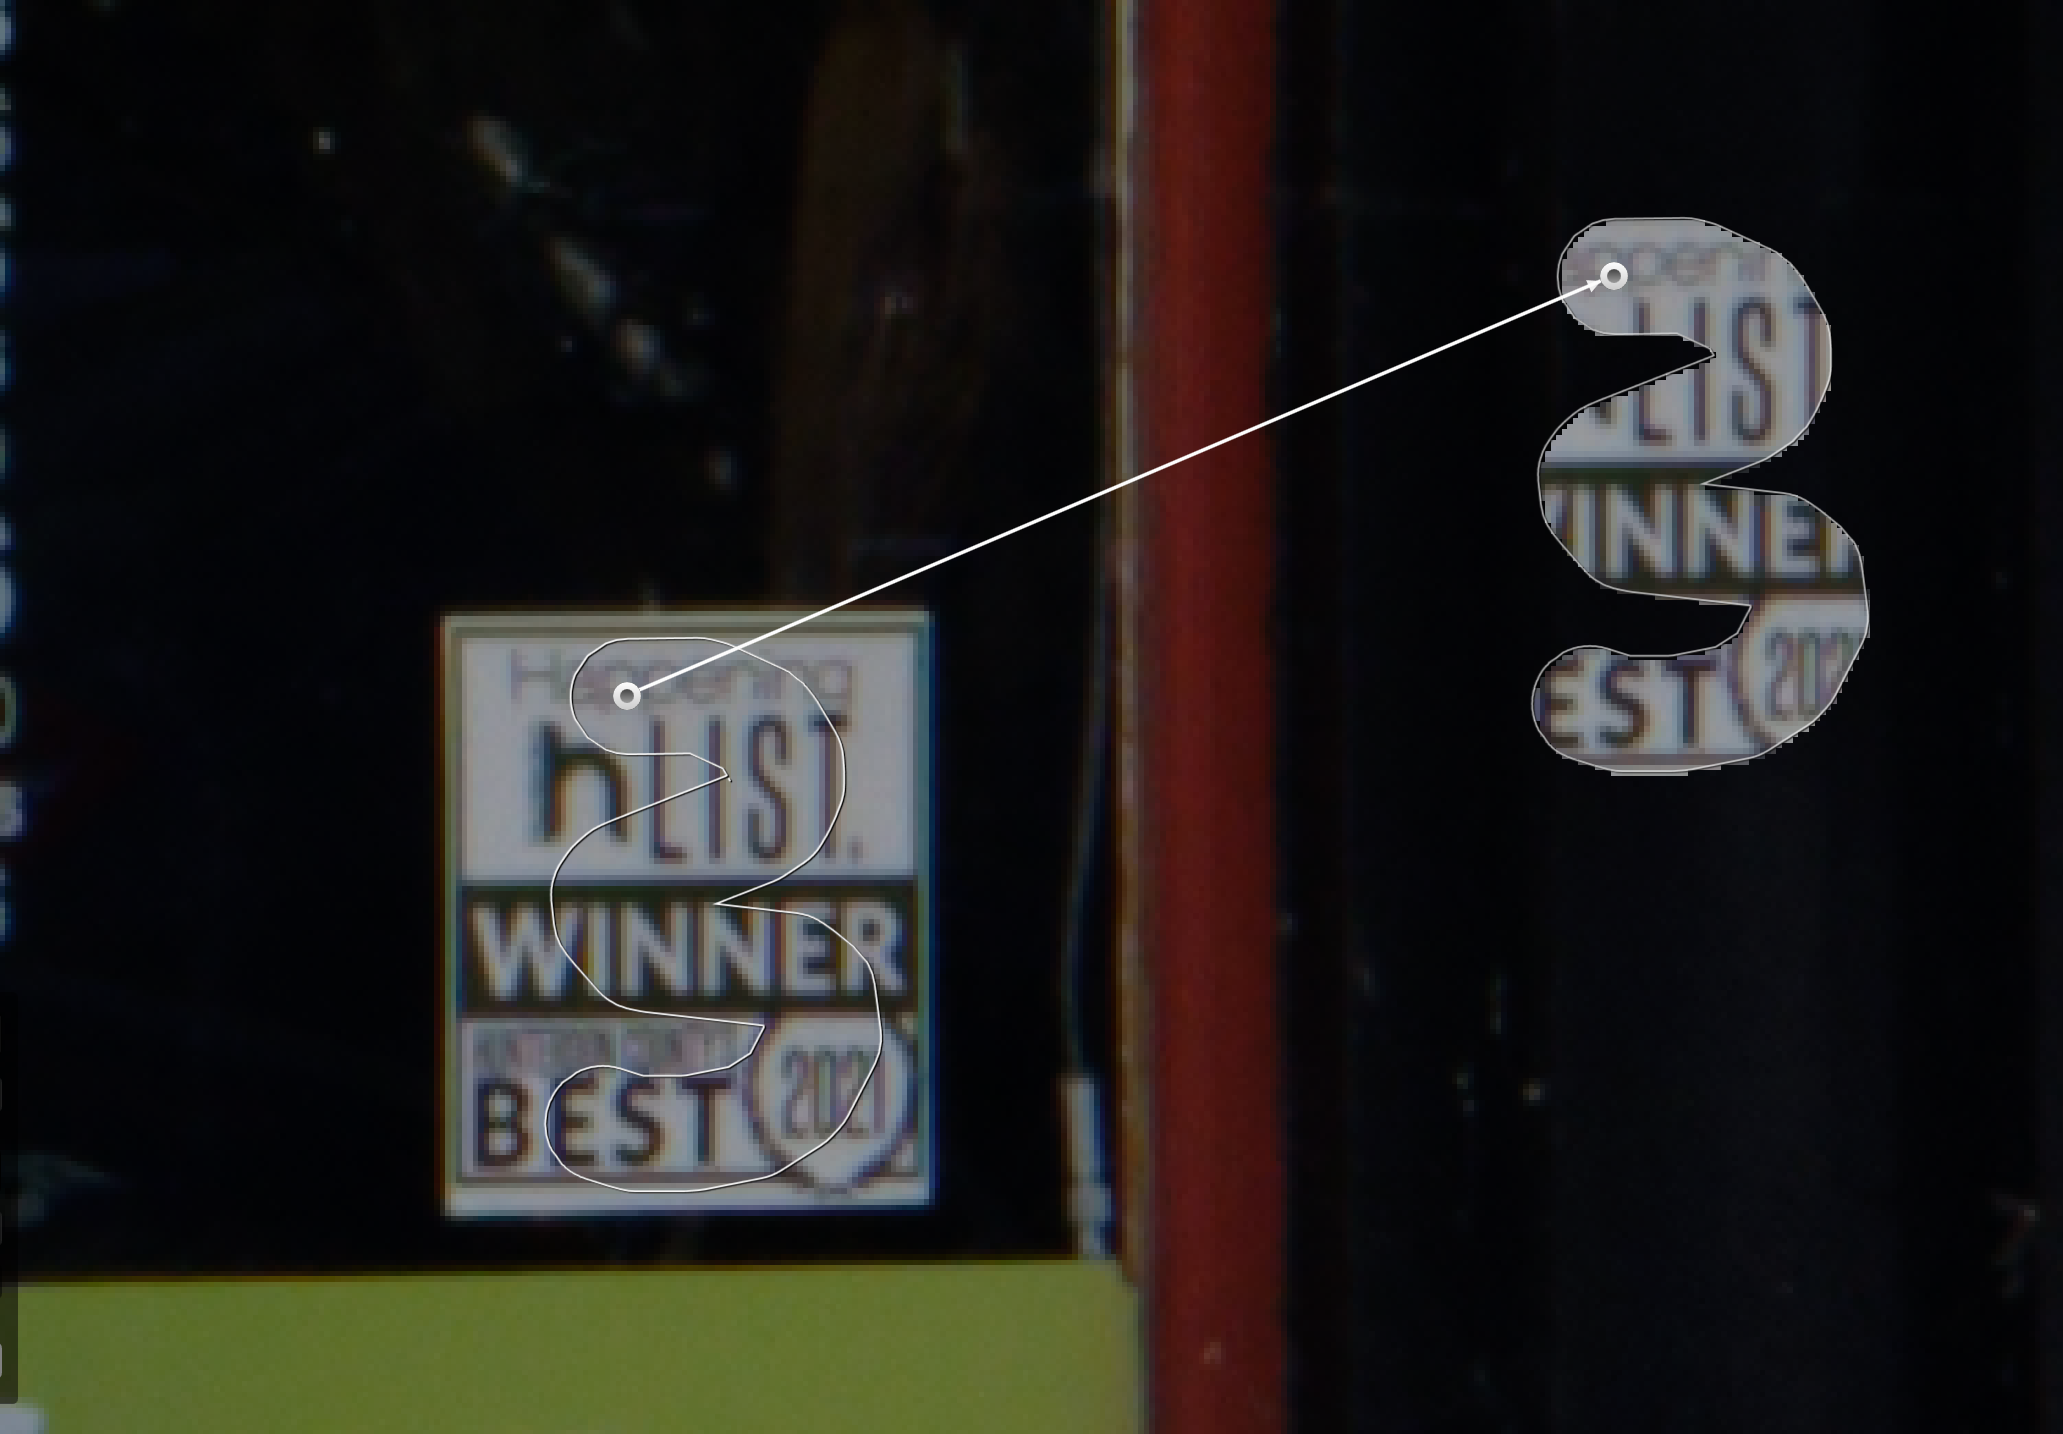
I took this as a challenge and it was more challenging than I thought it would be. I had to use all of the new capabilities of the new Retouch tool in order to do it. After enlarging the photo for a better target, I used nothing but the new Retouch tool.
I am still not following exactly what you mean by they are different than the masked area which is quite smaller and of a different shape. The attached shows identical target and source masks and represent exactly what I drew.
Mark