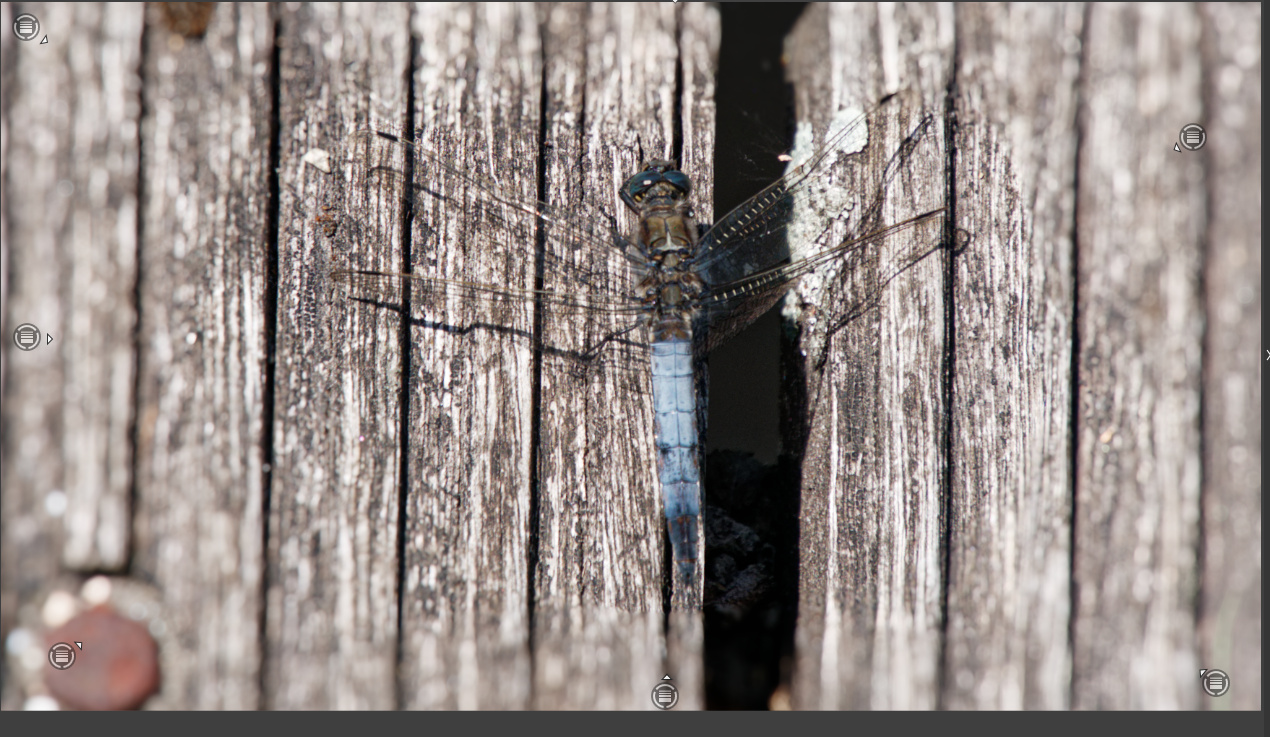
Ok i did some “creative vignetting” more some creative blurring ;-0
just for fun see if it’s working
maintool gradient filter in local adjustments.
took 6 gradients and made a form of “tunnel” to look in to and then used the erasor to clean the dragonlfy from the effects.
Does it works? yes.
few thing i found strange doh.
1 most local tools work as one layer if i make new controlpoints or mask brushes and have one menu control. unless i ask for a new layer. Gradient doesn’t. it every time creates a new layer when i make a new point of origin. A bit inconsistent imo.
2 if you need to feather smoothen the effect, the erasor you need a big circle and then lots of feathering. a bit of practise is needed.
3 because they are not connected the erasor works only on the selected one which is a pain getting things smooth.
So why is gradient not working as my other layer tools? (or is missed something)
video of the gradient filter effect
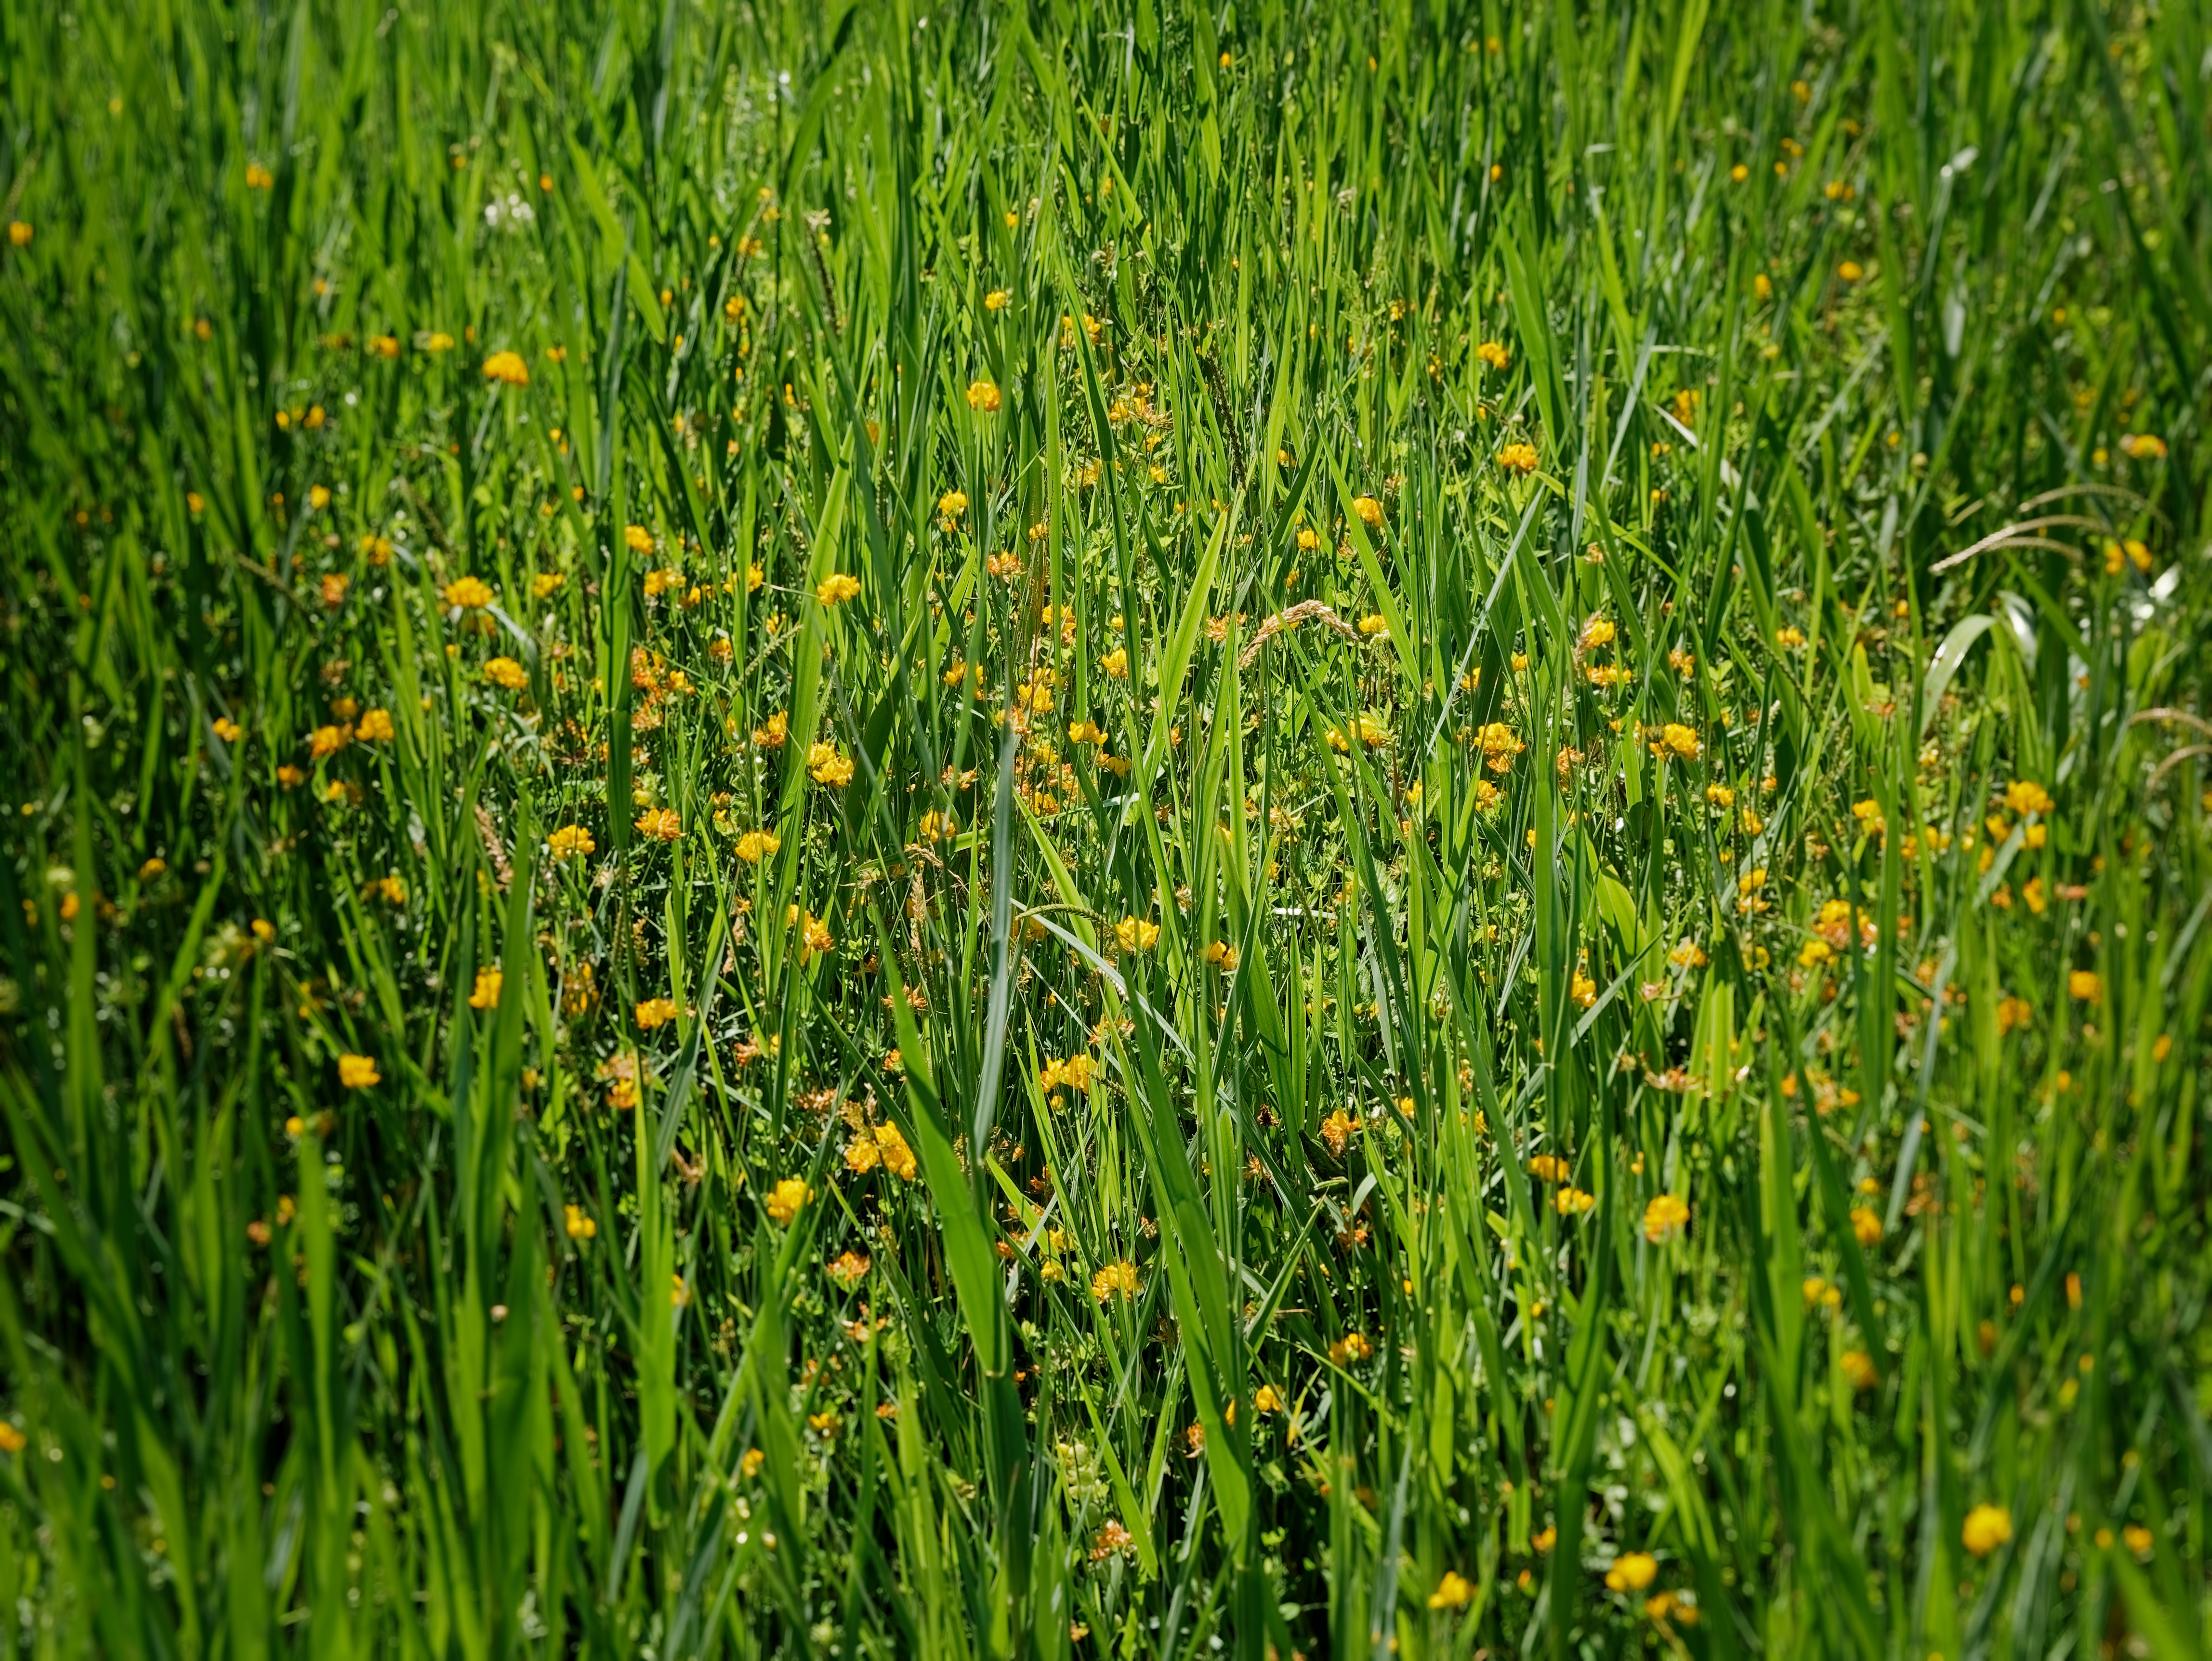
And wile i am at it i tried a other one as new aproach:
Miniature effect of viewpoint.
this is in fact a “vignetting/diffraction” bokeh module
Bokeh because i can choose the “blades” and the softness of the DoF overlay.
Vignetting because it starts from the sides to the middle.
Diffraction, well thats seems to be more a problem in a lens on the outer side of a lens then in the centre and normaly we will corrected this behaviour.
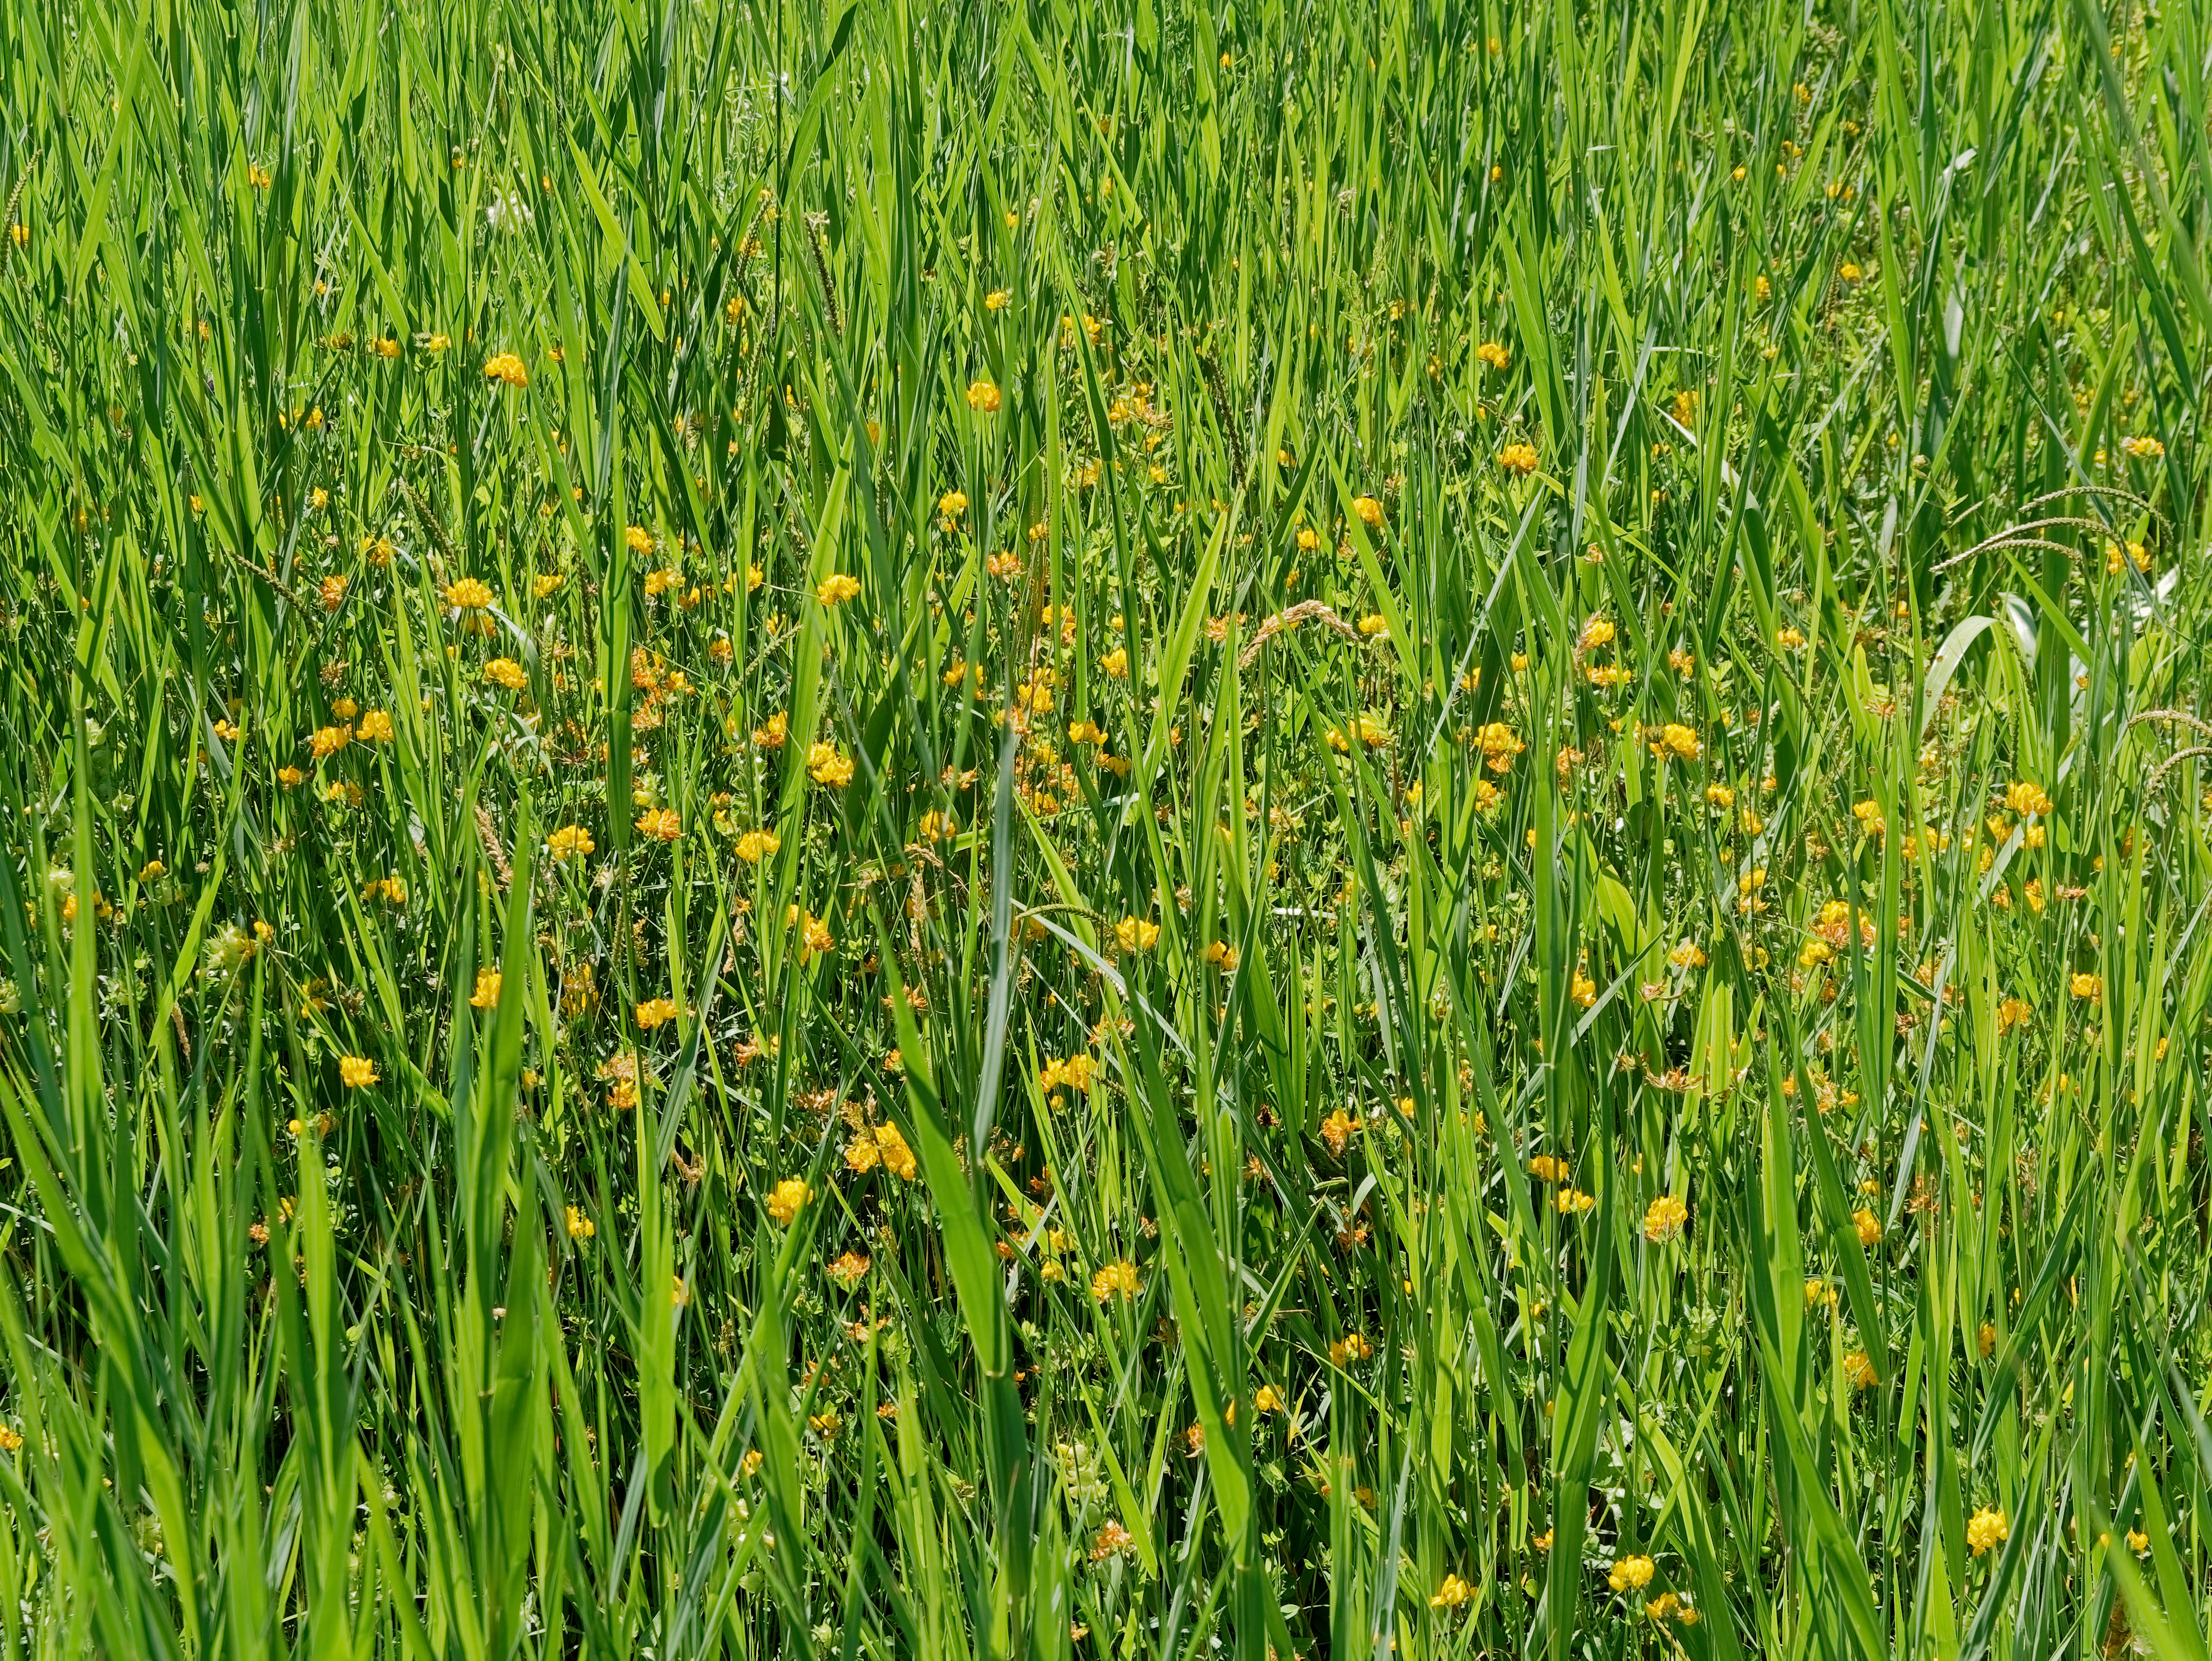
I took a shoot of a field close up only because of the green and yellow richness. in f7.1 why i wanted to control the DoF in post. (why? practise experience no real season)
So turned down green a bit and turned up yellow in HSL corrected over saturation in highlights sliders.
then the 9 blades miniture effect at 25%
i liked it.
post DoF controle LOL
reverence, normal image, no blurring:
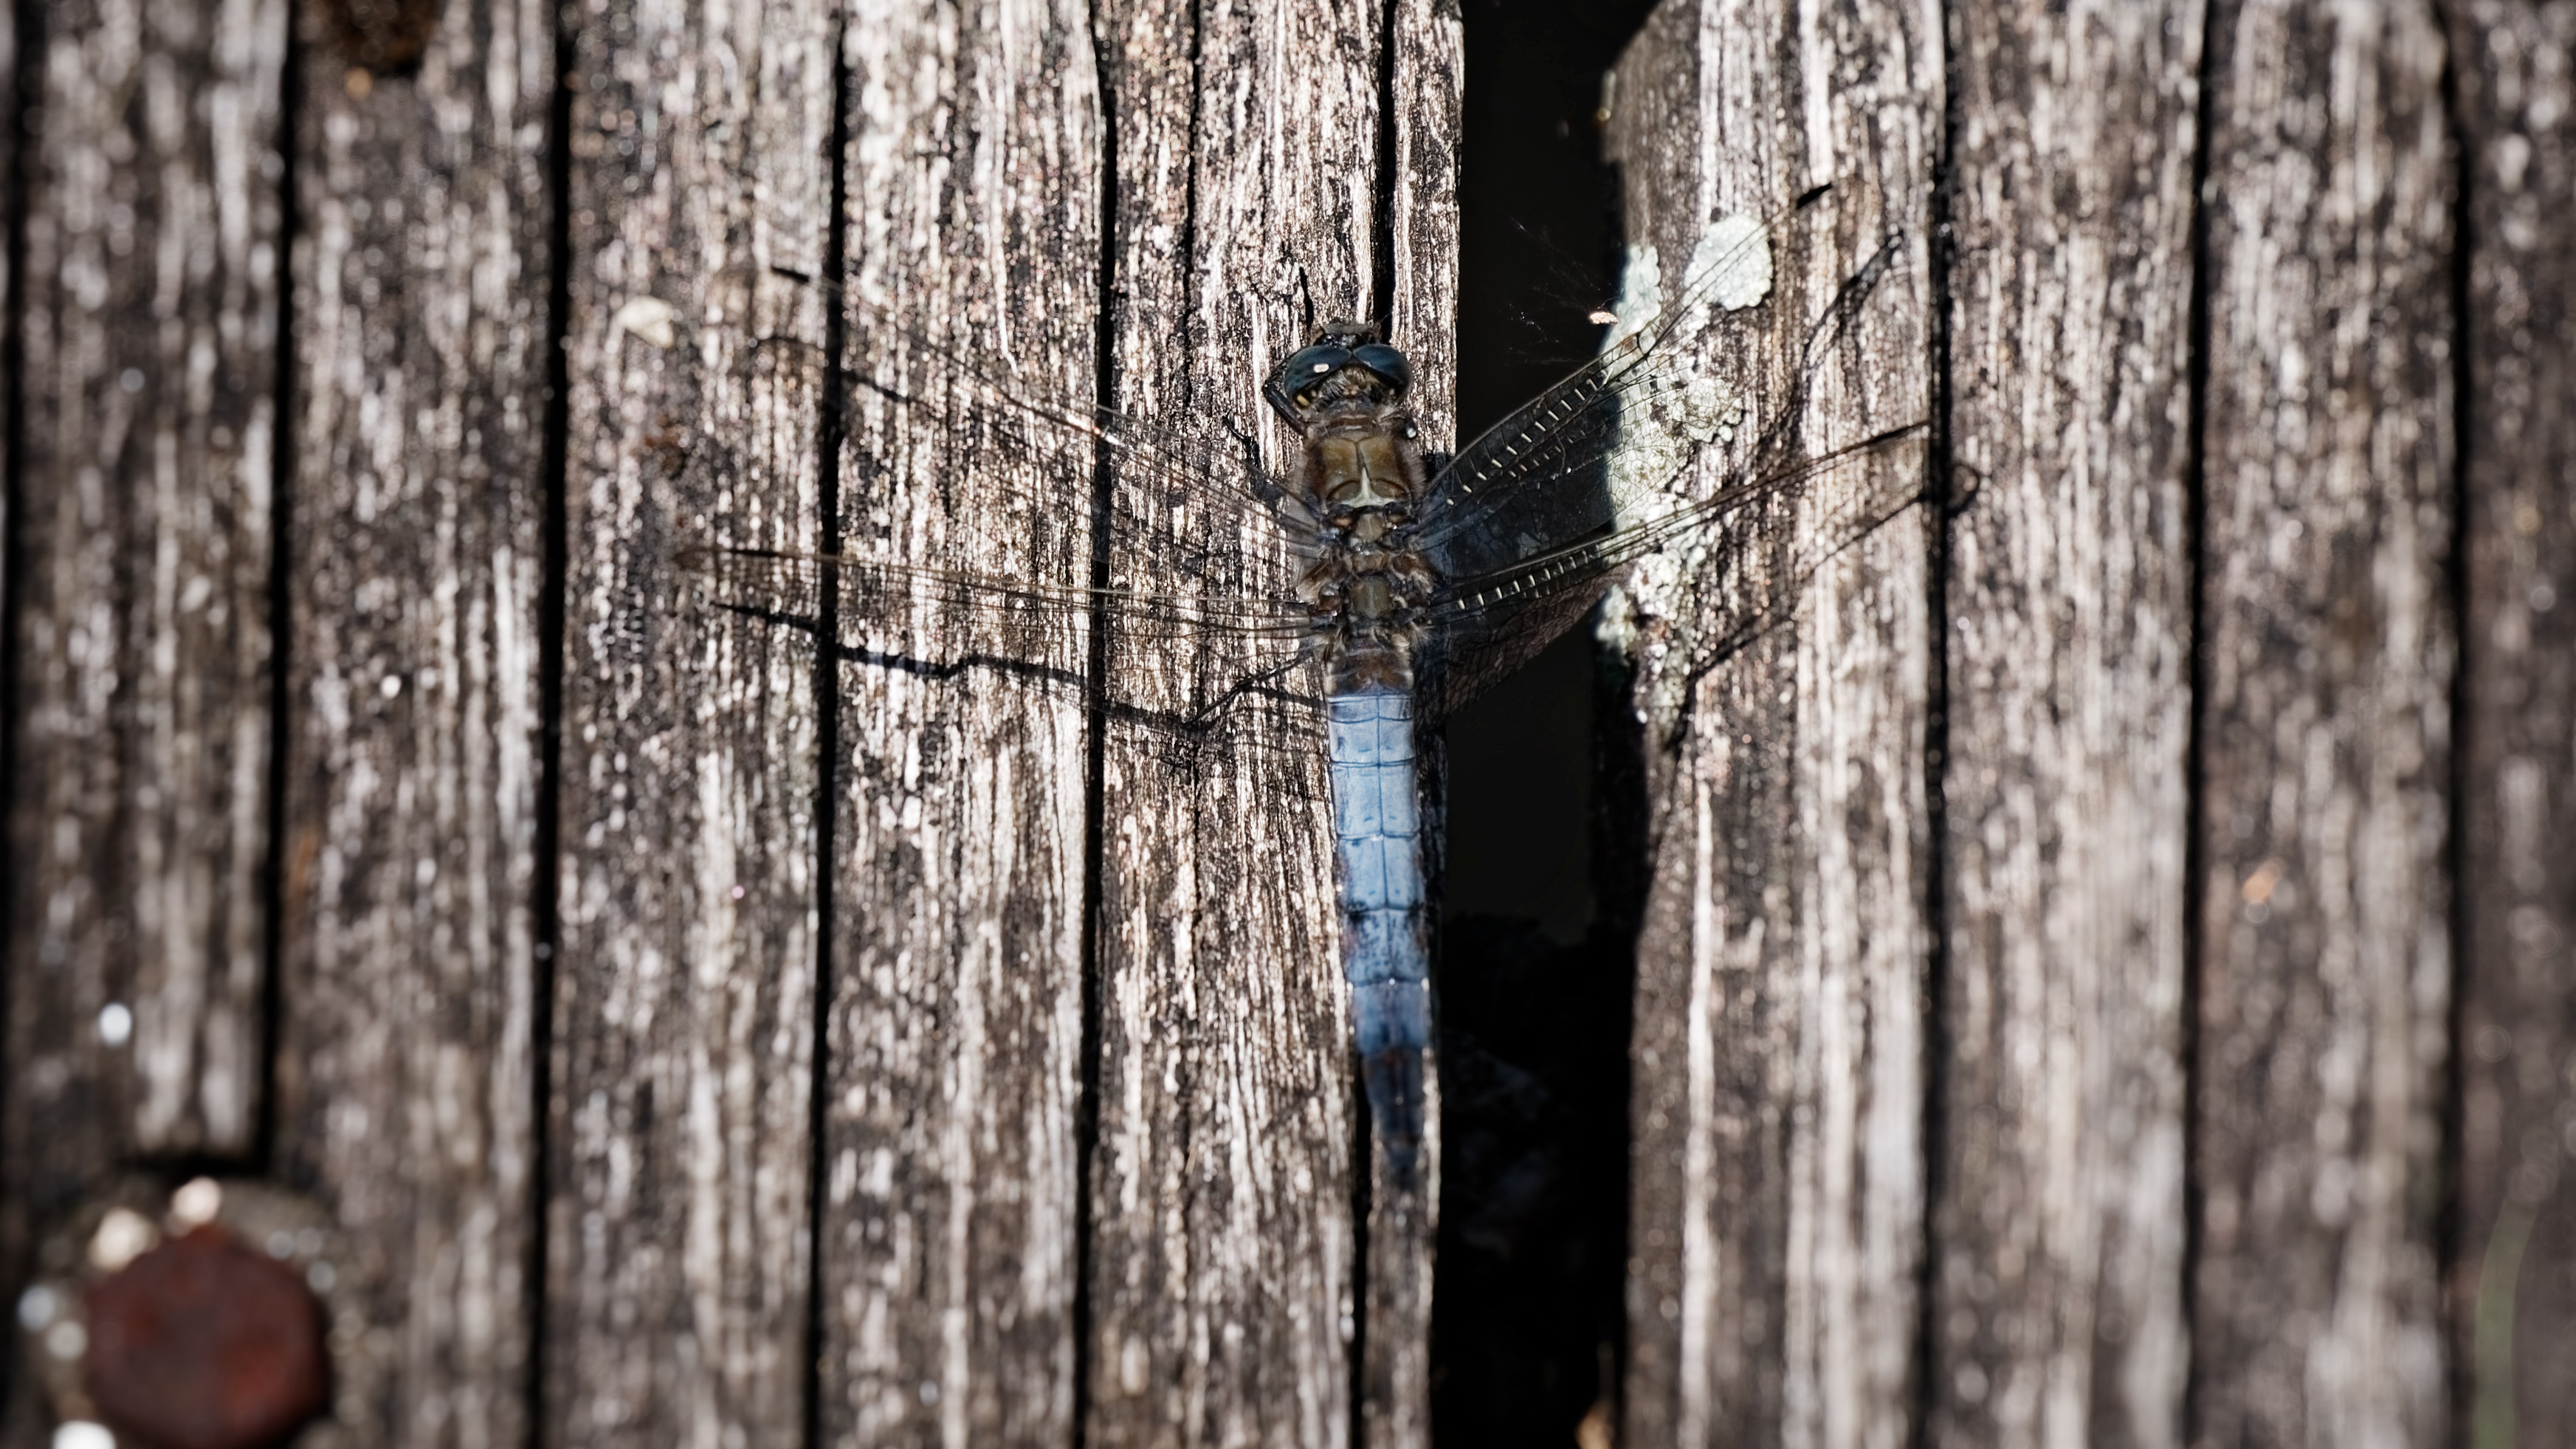
And my made partial gradient vigenting, partial gradient vignetting.preset (1,7 KB) i made earlier as quick and dirty example.
turned opacity of al four gradients down to 25%
aint it fun?
video => Did the dragon fly also again with my new partial tool:
one thing realizing when i mucking about is i would like to add info on my VC’s.
 I will try this next time.
 damm.
damm.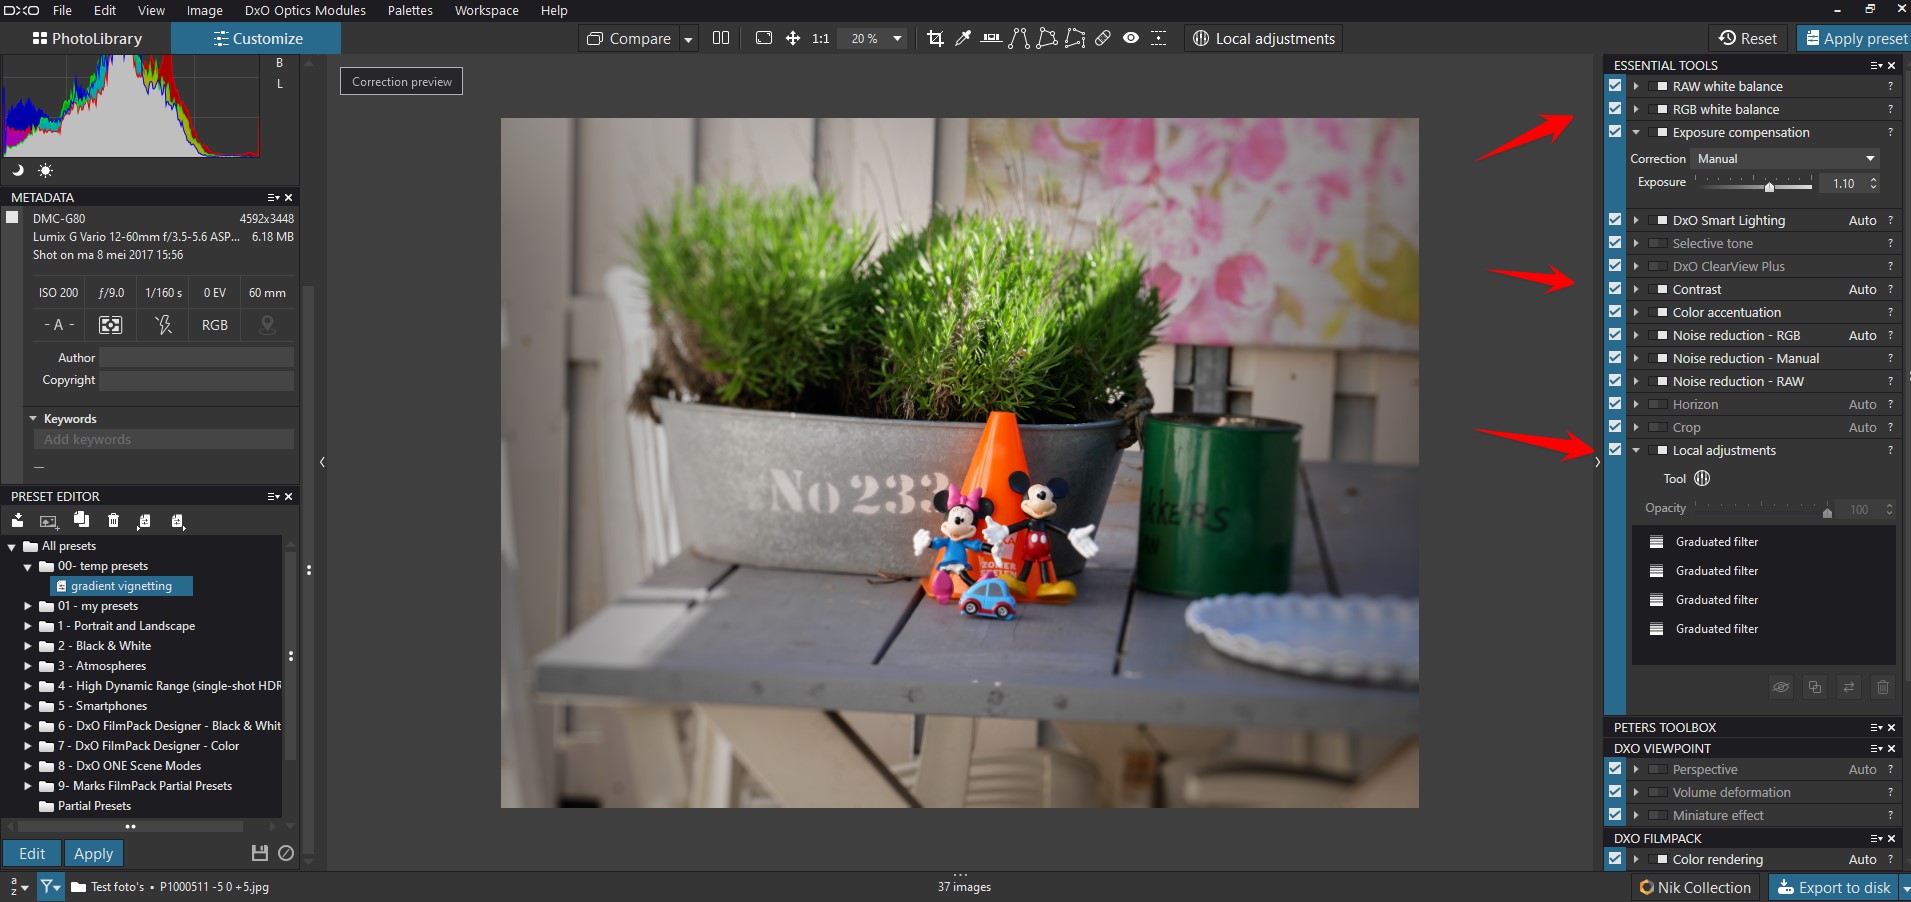
 … John M