open a second Finder window and arrange the two windows so you can see both the Presets folder and the folder where you unzipped the file you downloaded
delete the Mike Testing folder from the Presets folder
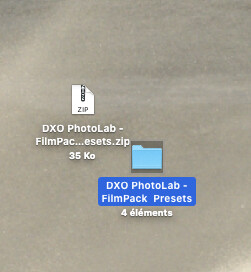
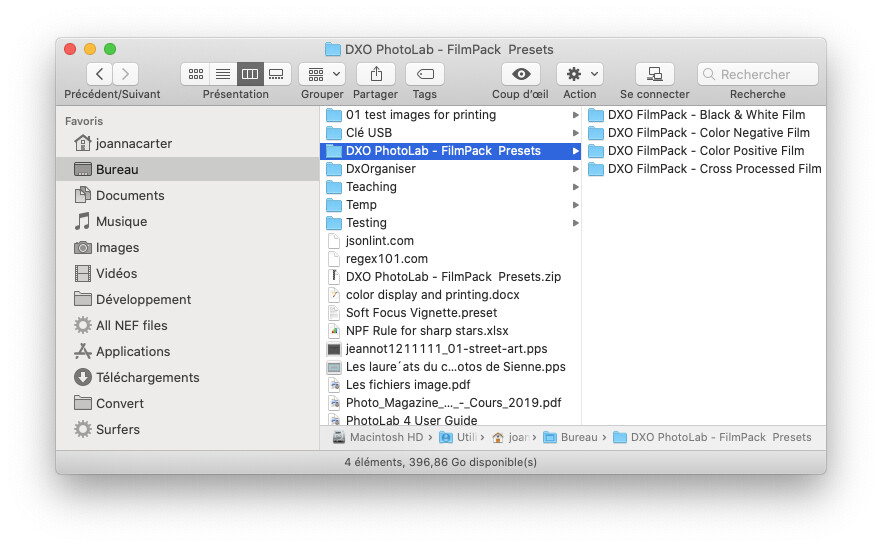
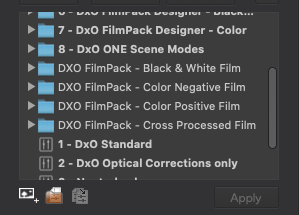
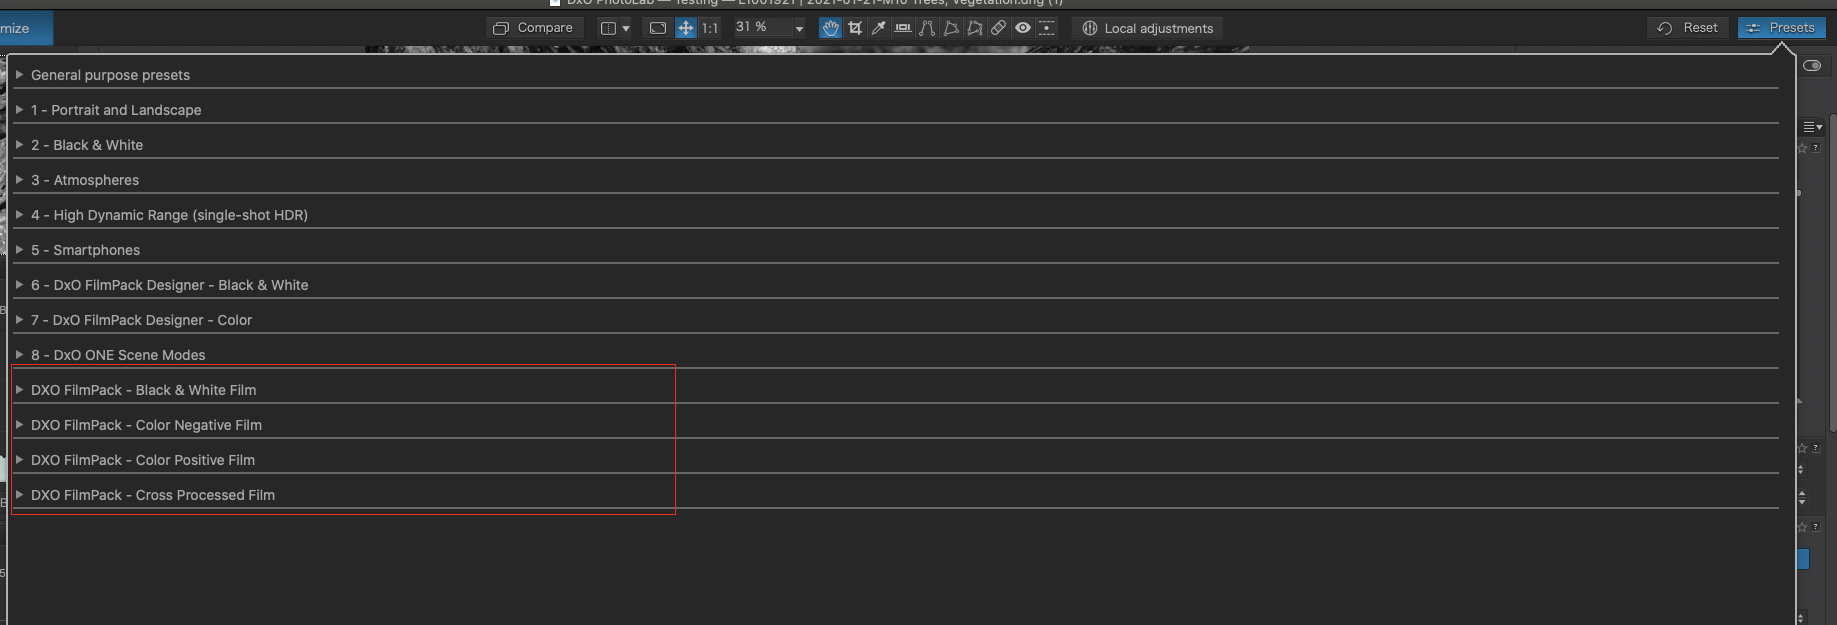
drag the four folders from the unzipped folder to the Presets folder…
Not today, but this coming week I will follow your instructions step by step. Strangely, it all seems to make sense to me - it almost sounds “intuitive”. Thanks for the “step by step” instructions.
Just one question/suggestion - the next time somebody wants to do the same thing, and isn’t sure how to do so, how will they ever find what you’ve just written? Brilliant information like what we’re seeing here deserves to be placed in some kind of “help database” for anyone using PL4. …something for you (and DxO) to think about.
Back to me, I would prefer to concentrate on one thing at a time. This weekend’s project is to set up my Workspaces, based on what I’ve just learned.
The way I see it, this feedback forum is a searchable help database. I’ve used it that way. Not ideal, I suppose, but better than some other product support sites I’ve used.
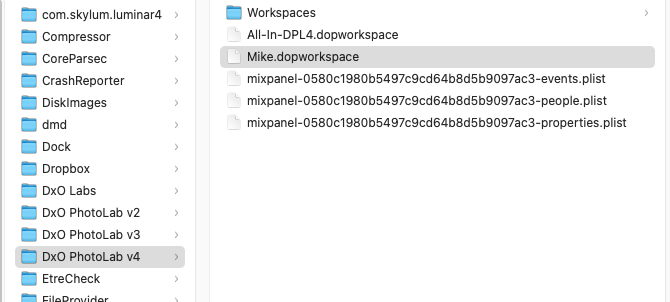
That might explain my current problem. Yes, I un-zipped them, and got the two files. I have. copied them into the “Workspaces” folder, but the finder shows they look very different from the three workspaces currently saved there.
Correct, I’m not that comfortable with the Mac, and I try not to do things that are way over my head.
According to “Get info”, my Mike.dopworkspace is an 11 KB document.
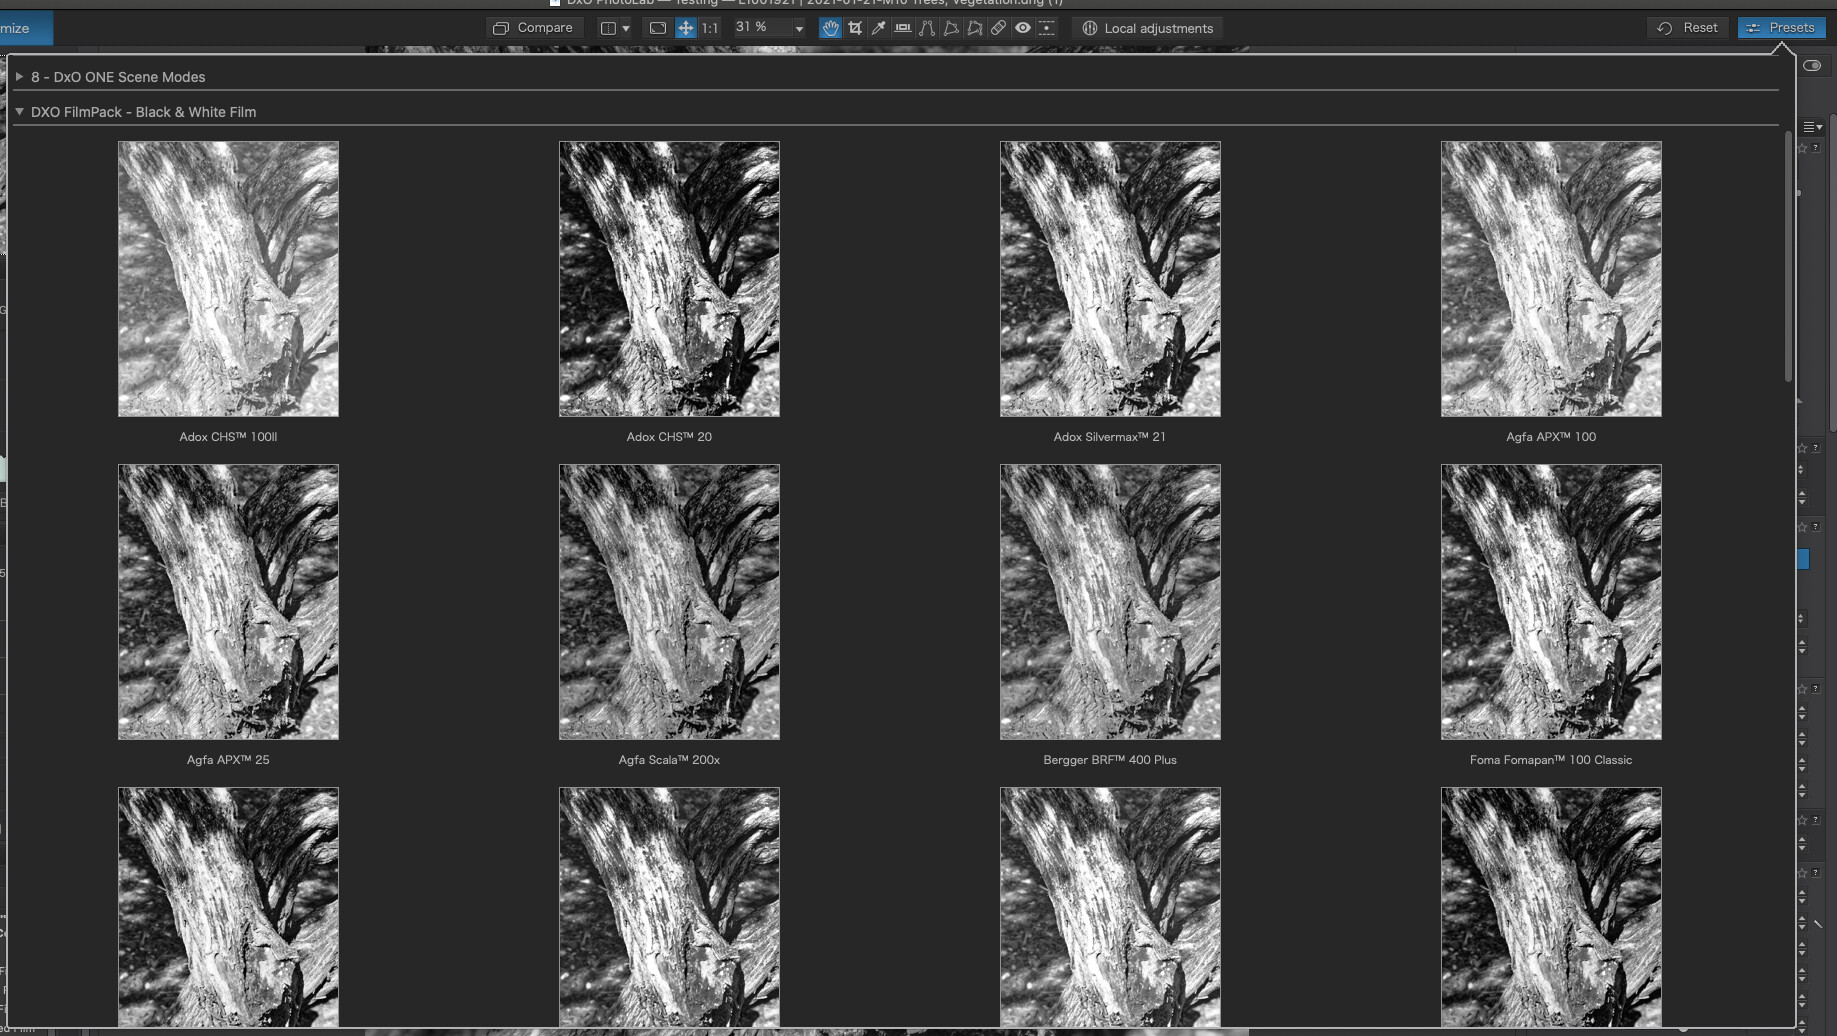
Thanks so much for these presets, they are extremely useful and a much faster way of applying them to a photo than the native PL4 method. Thanks again.
QUESTION: I should ask, is it possible to create, and if so has anyone created, presets for all of the various camera bodies that appear in PL4? For example, I might be shooting with a Canon but under the colour tab - colour rendering - camera body tab I might instead apply one of the Leica body profiles to my picture. Has anyone created presets that reflect those various camera bodies?
To the best of my knowledge no one has created those presets. Other than selecting one of the camera profiles, what else would you want the preset to do? If nothing else, then it is just as easy to just select the camera from the list when you need it. If however, you will be using a specific camera much of the time than I suggest creating new preset based on DXO Standard and add the camera of your choice to it.