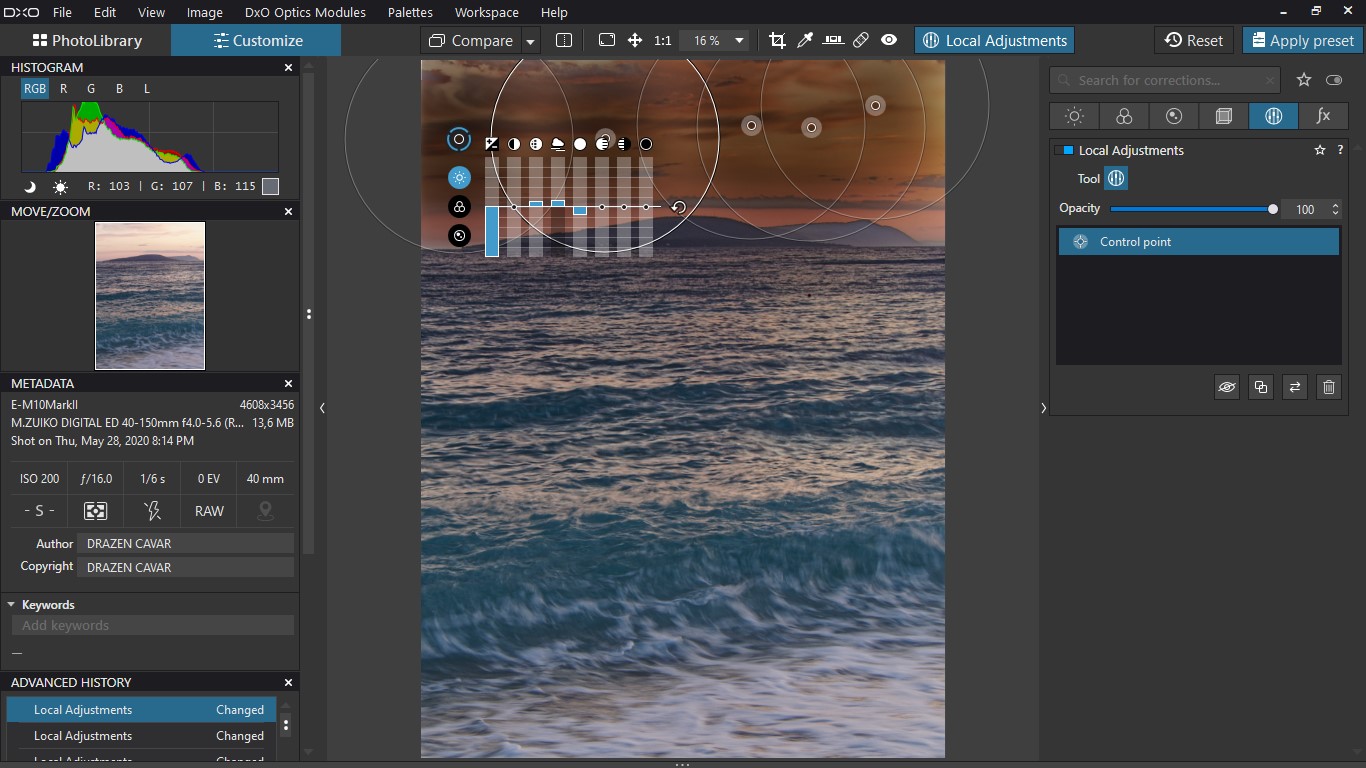
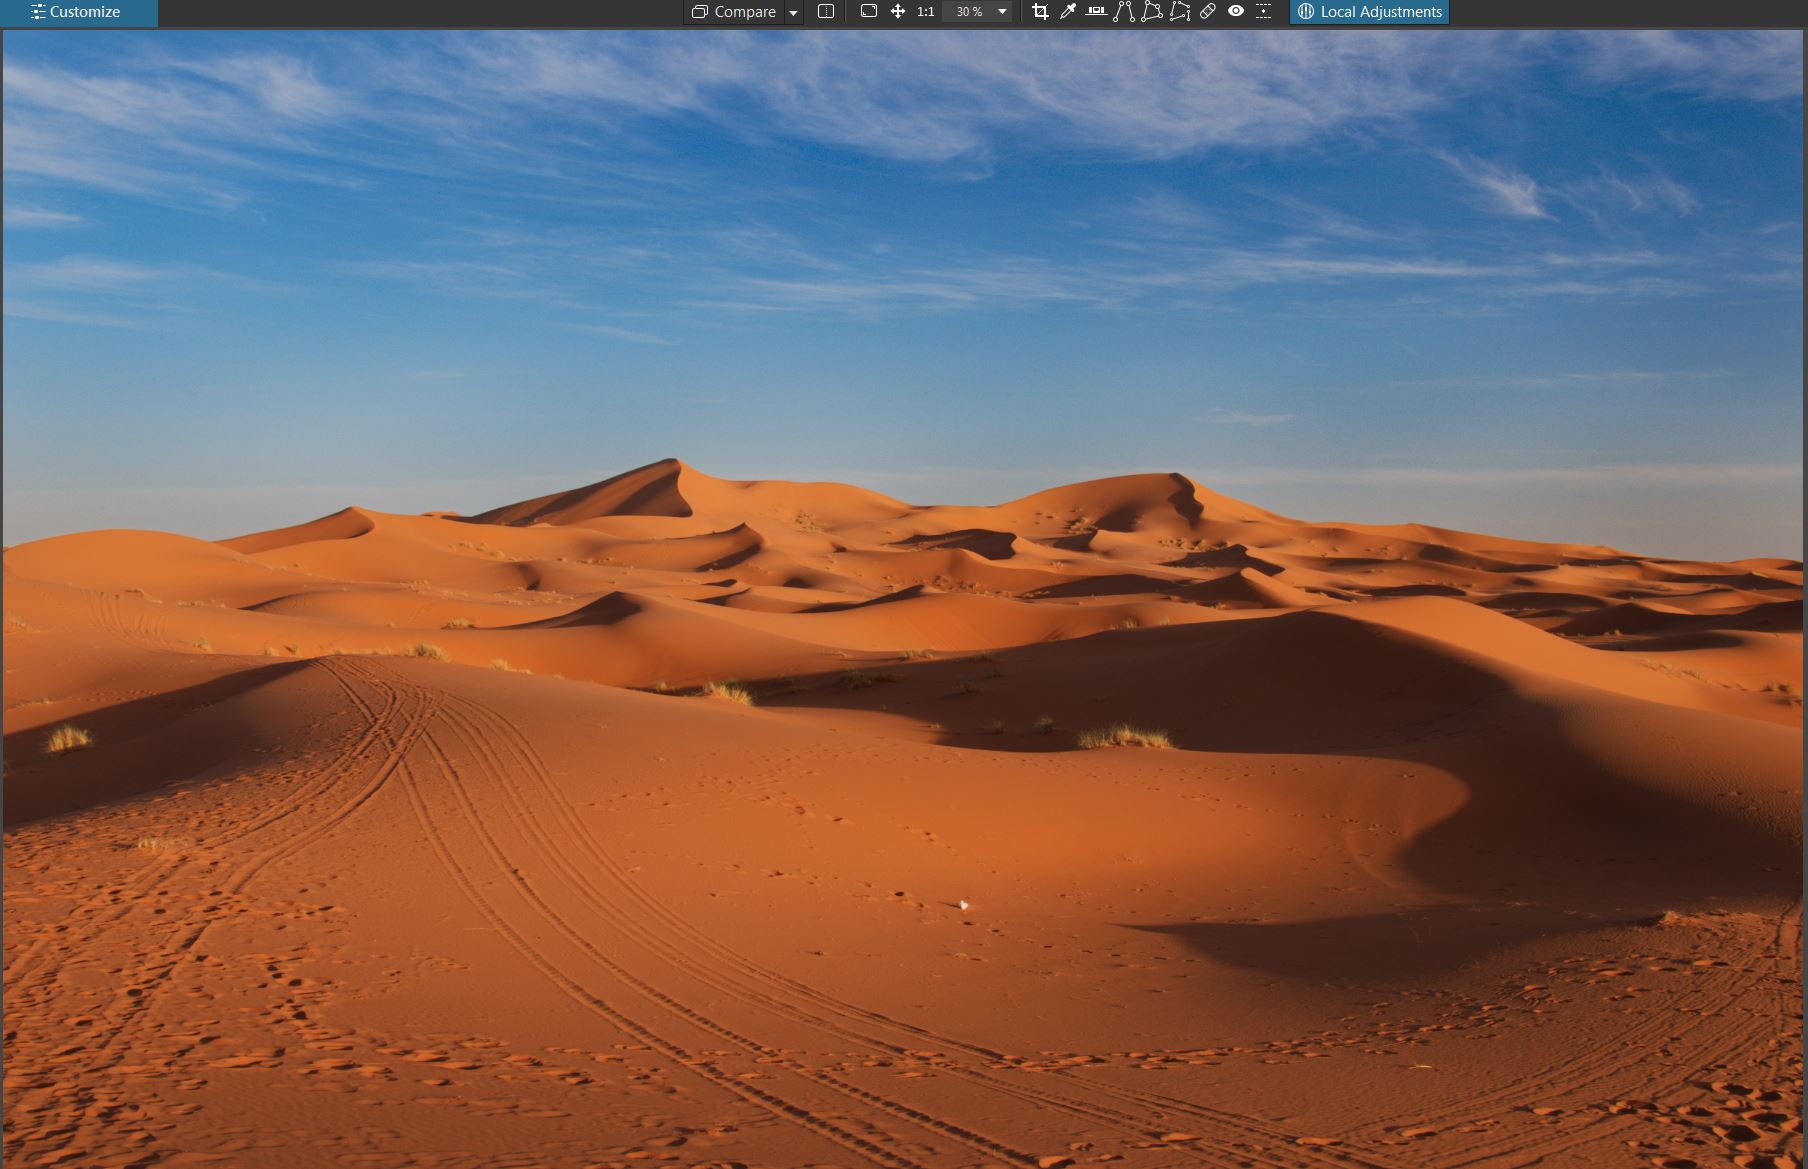
This is my trial of the U-point technology, an attempt to make simple sky selection.
On main and 5 secondary points to get completely smudgy look. As far as I can see, the application mask is dense in the center of the point, and than fades away toward periphery, in spite of all tutorials that say circles only present area of influence, they are not like radial filters.
How many control points should I put to make simple uniform selection over the sky?
I tried another approach, to put one control point that would cover the entire sky, but than there was lot of overflow of similar tonality into the sea area. 10 negative control points were not enough to get rid of that overflow.
I am aware that erase brush would be more efficient, but what is point of control points than? This selection could be done easily even in Lightroom, other software not to mention.
Is there any way to equalise mask density within control point? As far as I can remember, there was not such issue in old Nik, there was no so high difference between center and periphery of the circle.
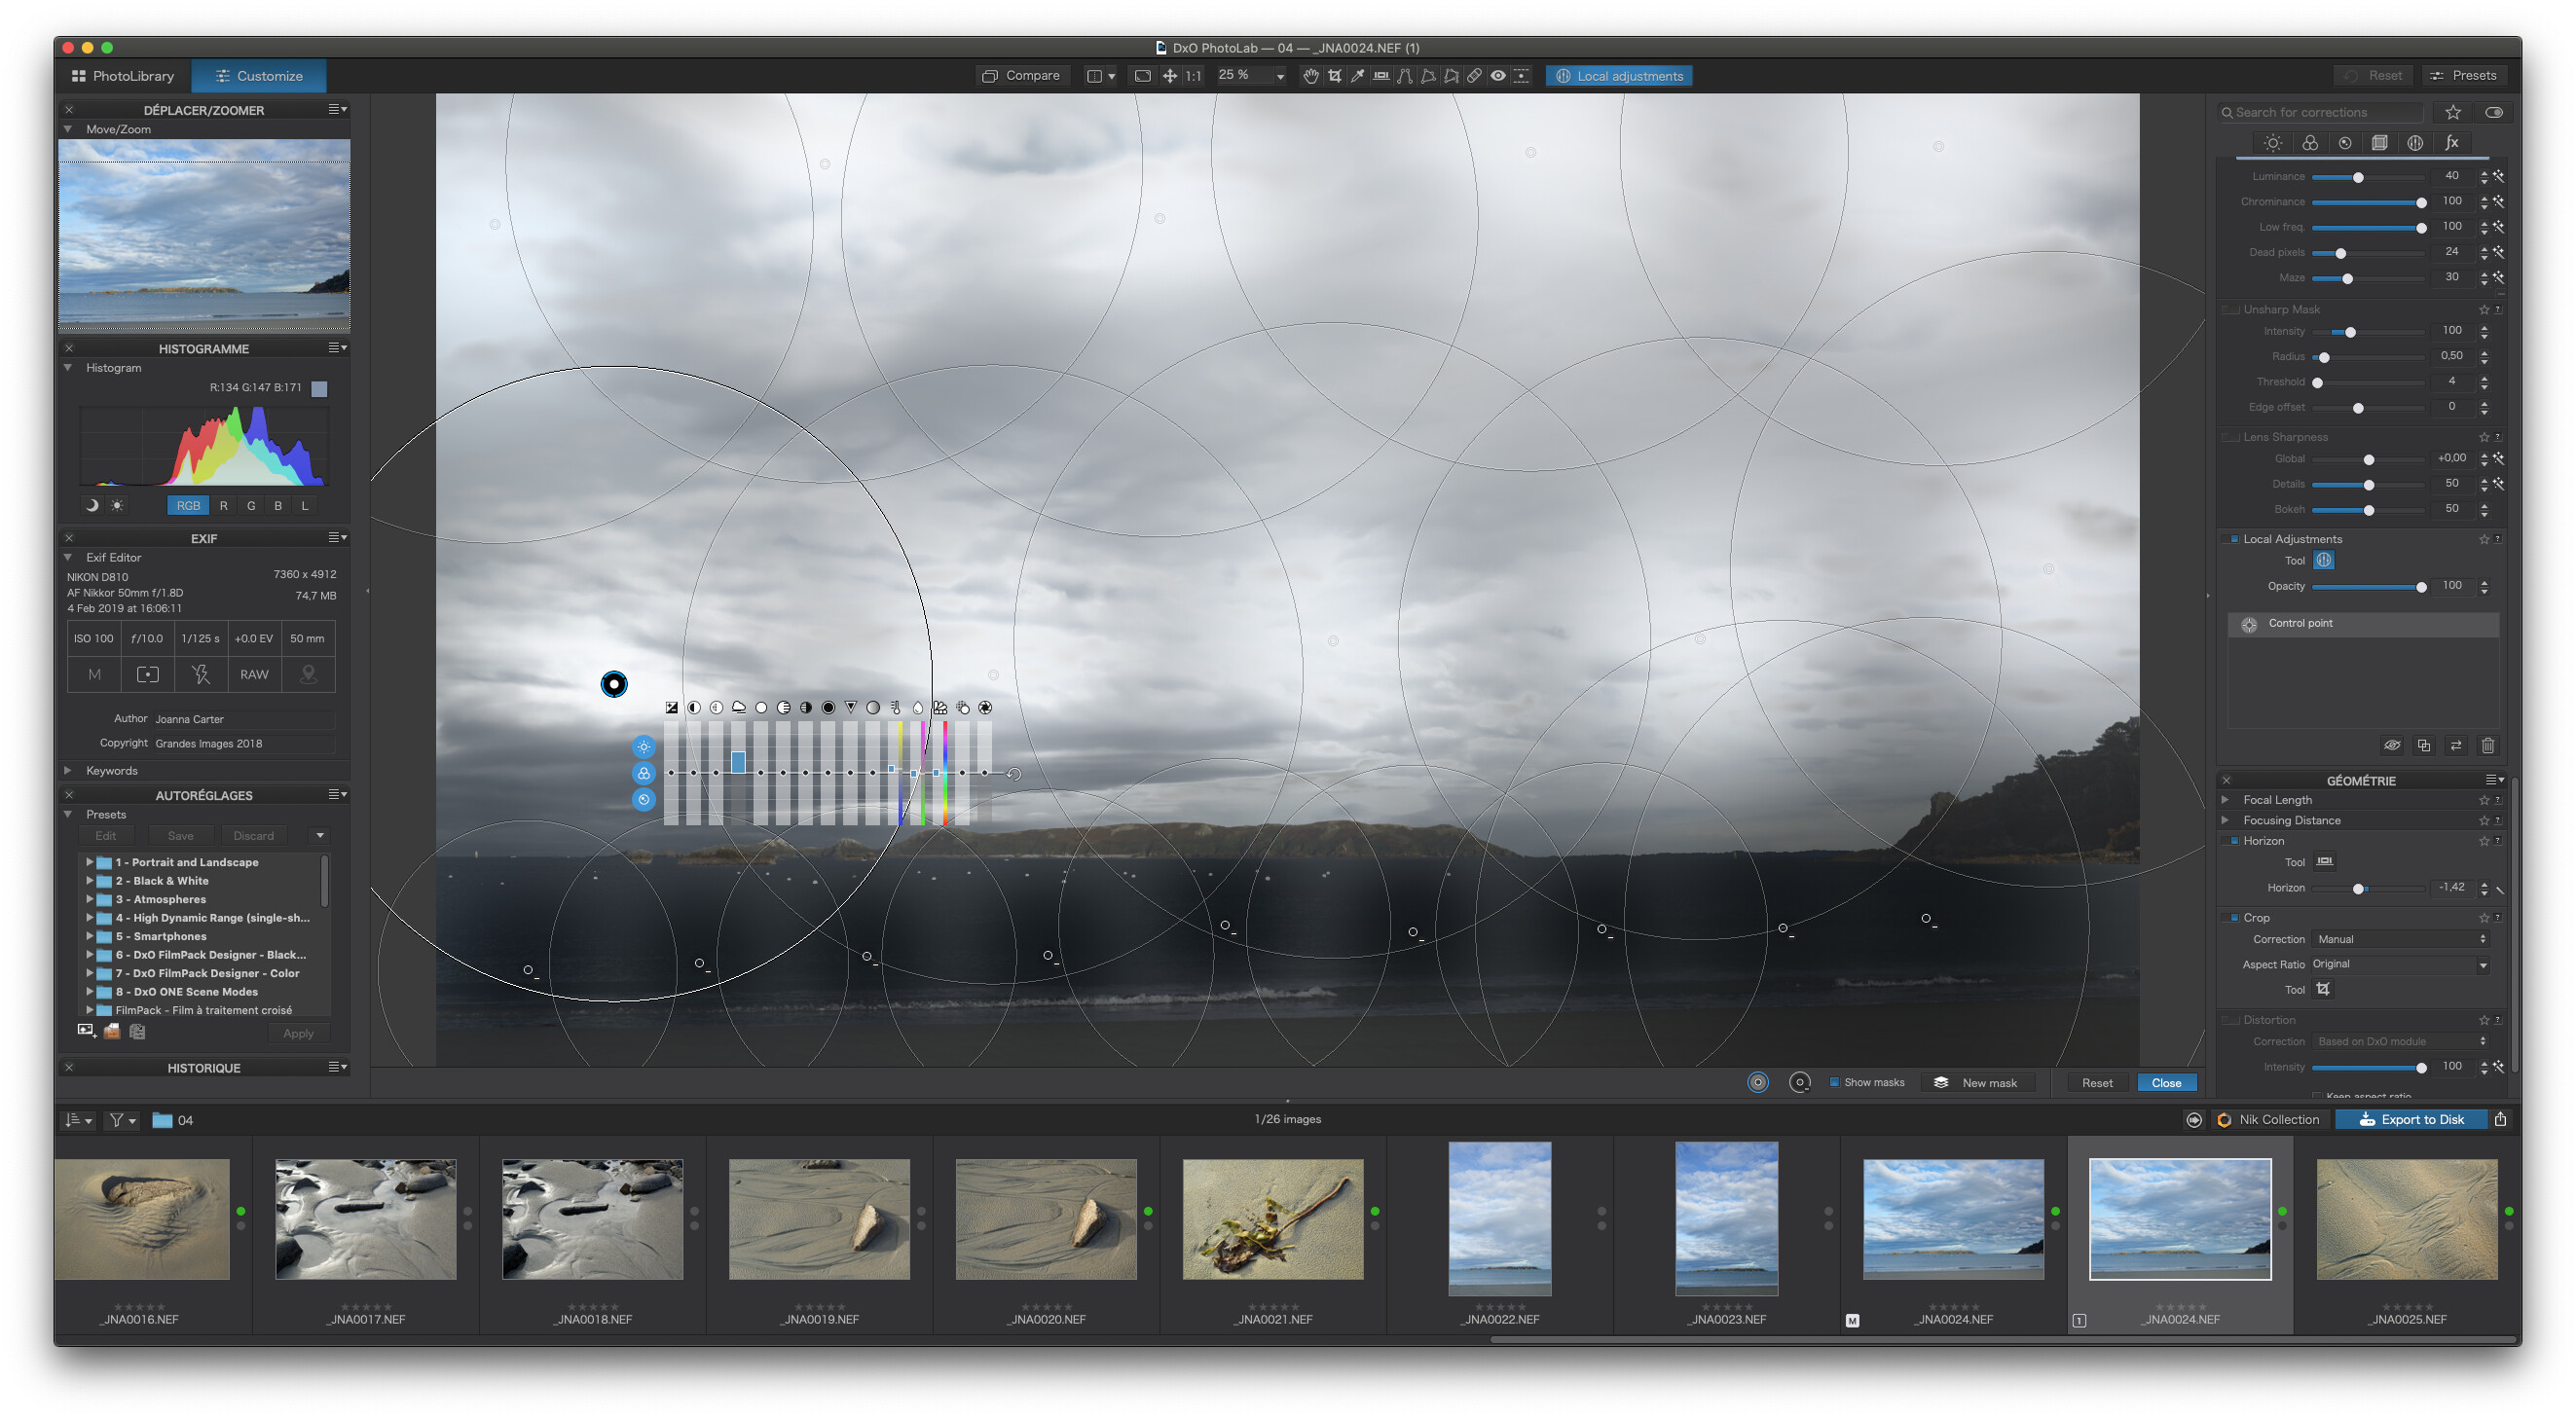
The problem I see here is that you have placed the centre of the control points on an area of darker cloud. I would have placed them more on the lighter sky since, presumably, the aim is to add ClearView+ mainly to the sky
As well as better placing the centre of the control points, you should definitely place a line of smaller negative control points just below the horizon.
But, apart from using this image as an example of trying to master control points, for this image, I would have used a graduated filter.
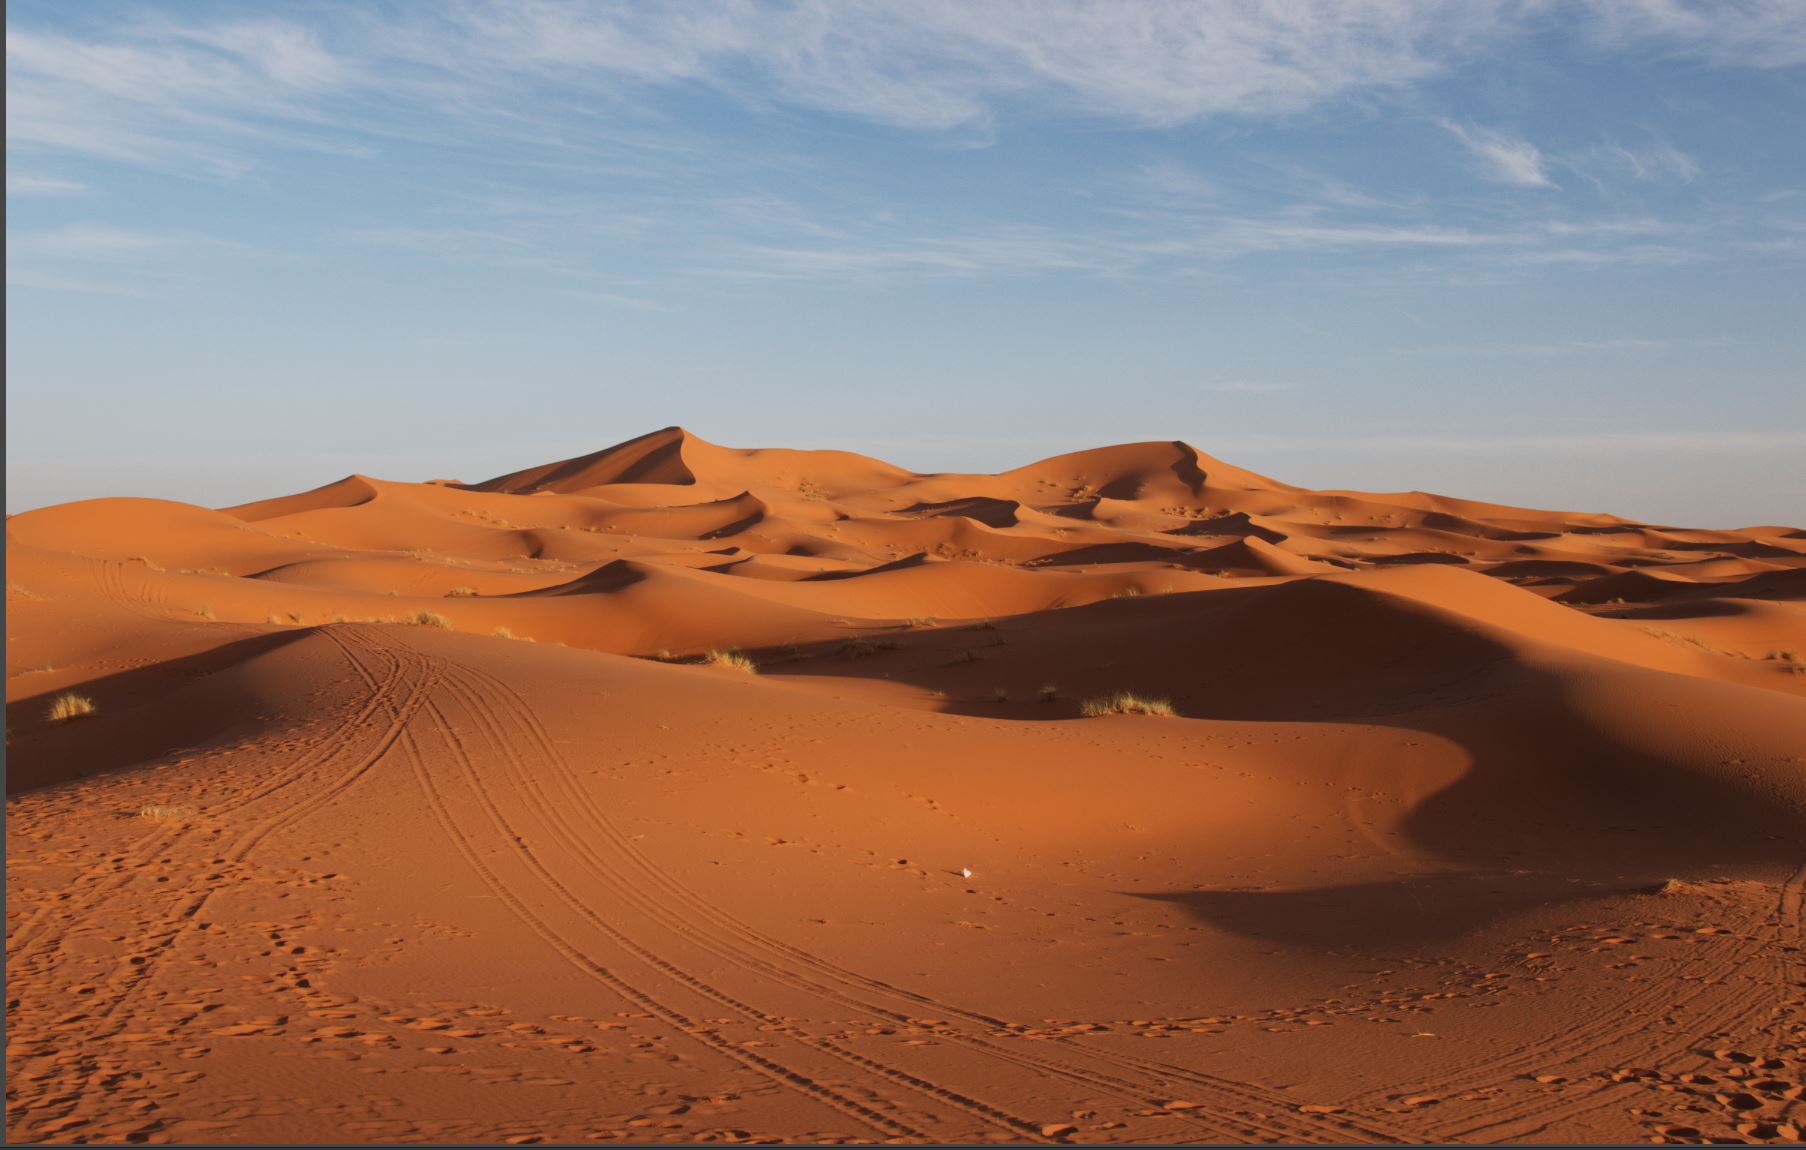
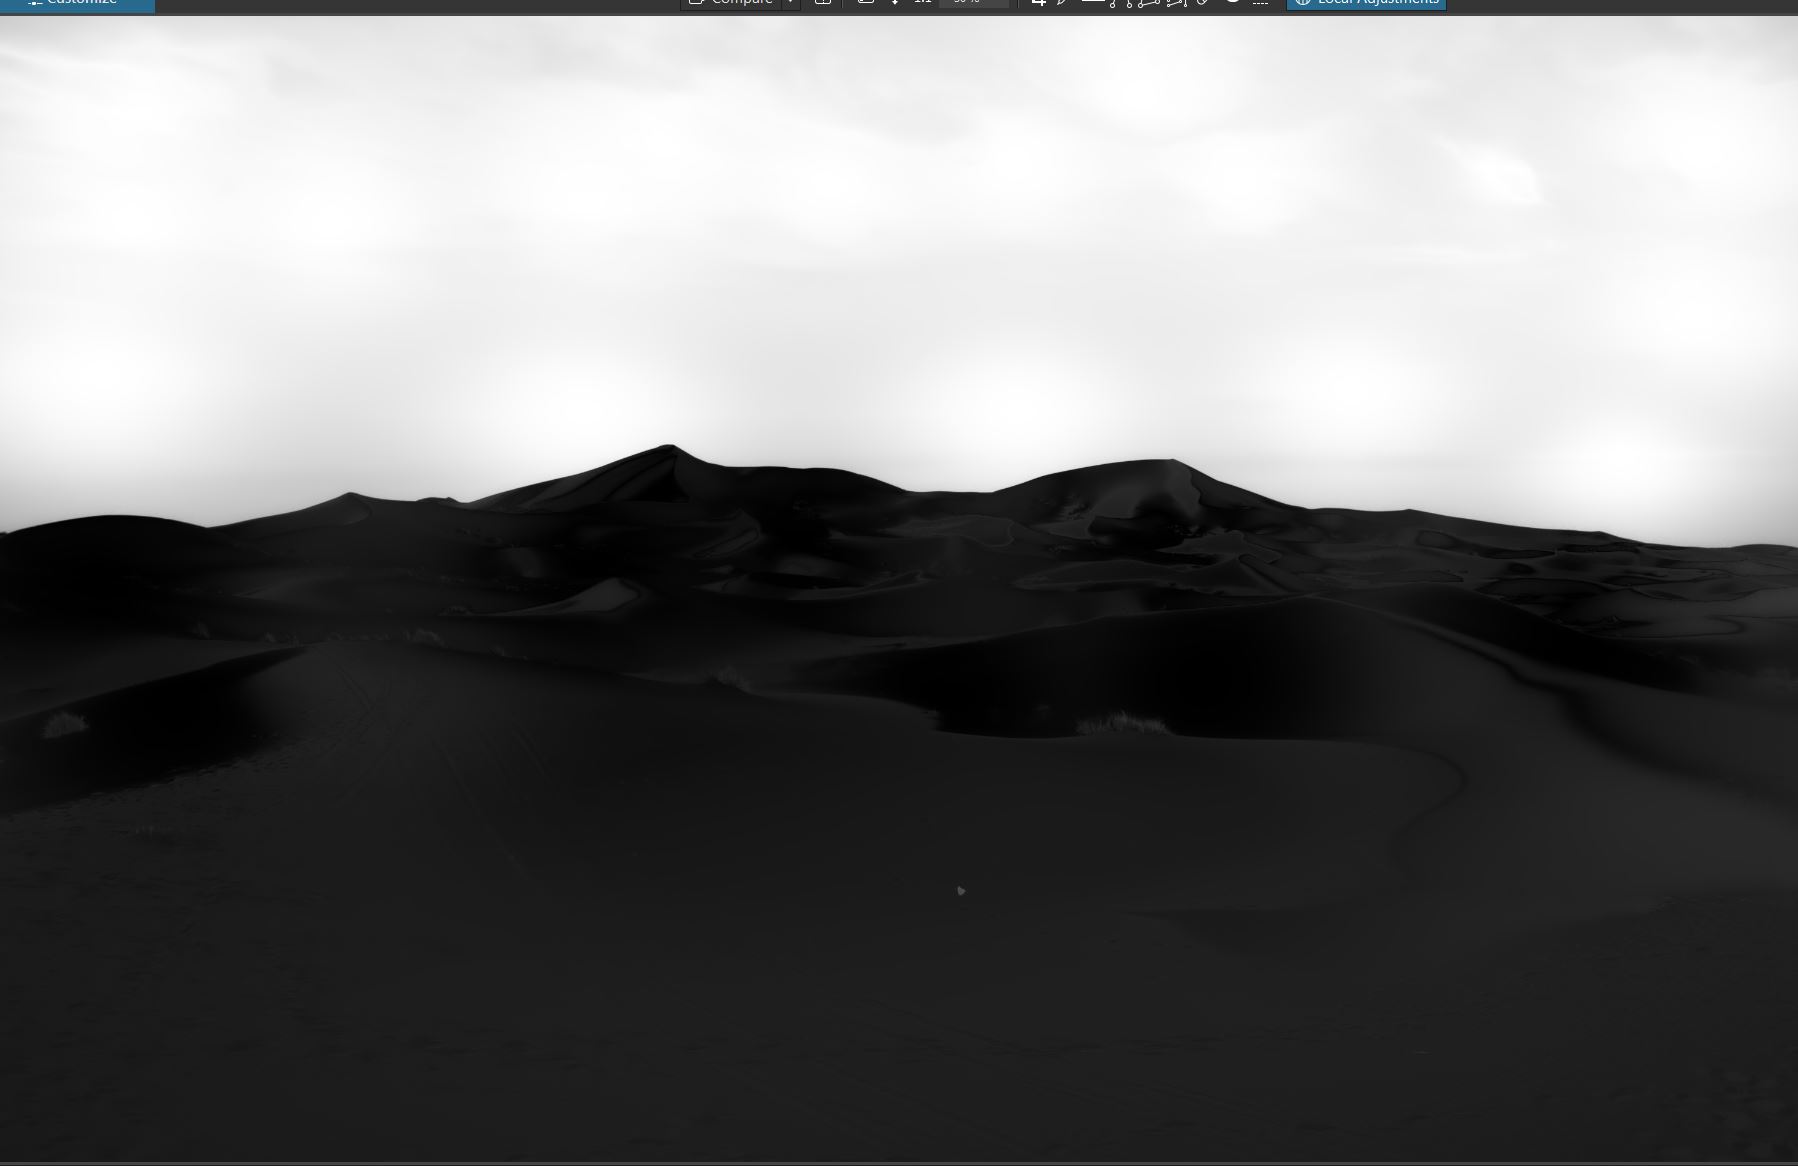
Control Points (CP) are auto selection so you just need to tell them what to select. Remember that Alt click gives you a negative CP which says “don’t select colour/tone” like this. When you are doing the selection have the grey scale mask visible (M key). Then it’s simply a few seconds of clicking and Alt clicking to make your selection.
Long suffering wife timed me at 3 sec for this selection:
In LR you might use the gradient tool but you usually draw the gradient, finesse the position and feather and then need to erase the mask from anything projecting into the sky. Far quicker with CP, if you can overcome the reluctance to click Actually takes a lot longer than simply clicking.
Also remember that you can vary the opacity of the layer and copy and invert the mask.
Couple of tips, if you remember LR when it had “Fill Light” then treat DXO Smart Lighting as “Fill Light”, have your default preset at 0 and adjust to taste. The selective tone control labelled “Highlight” is not a highlight recovery slider.
You need to understand that a gradient or brush mask is location active and has no interaction with the masked area other then the applied correction you did.
A controlpoint is color and lightnes selective, the combination is the selection.
A sky isn’t homogene in color thus very difficult to “grab” mask equaly with controlpoints.
Use “m” to get the black and white masking view.
Black is no effect, no connection and white is maximal effect, closest to the selected color and lightnes. With alt click you can place negative controlpoints, Block the effect of a controlpoint.
Controlpoints are great for amorfe forms and colorgroups.
Clicking one control on multiple places. (one slidermenu and multiple pins, “eye’s”)
This groups those selection as one. You can widen the color and lightnes selection of the master eye.
You can also make two master “control-eye’s” which have both a color lightnes selection and take with those a wider color selection to create a more feathered selection.
I should possibly me more specific in what I see as a problem. I watched enough appealing tutorials, and made use of previous Nik to get some grasp on control points.
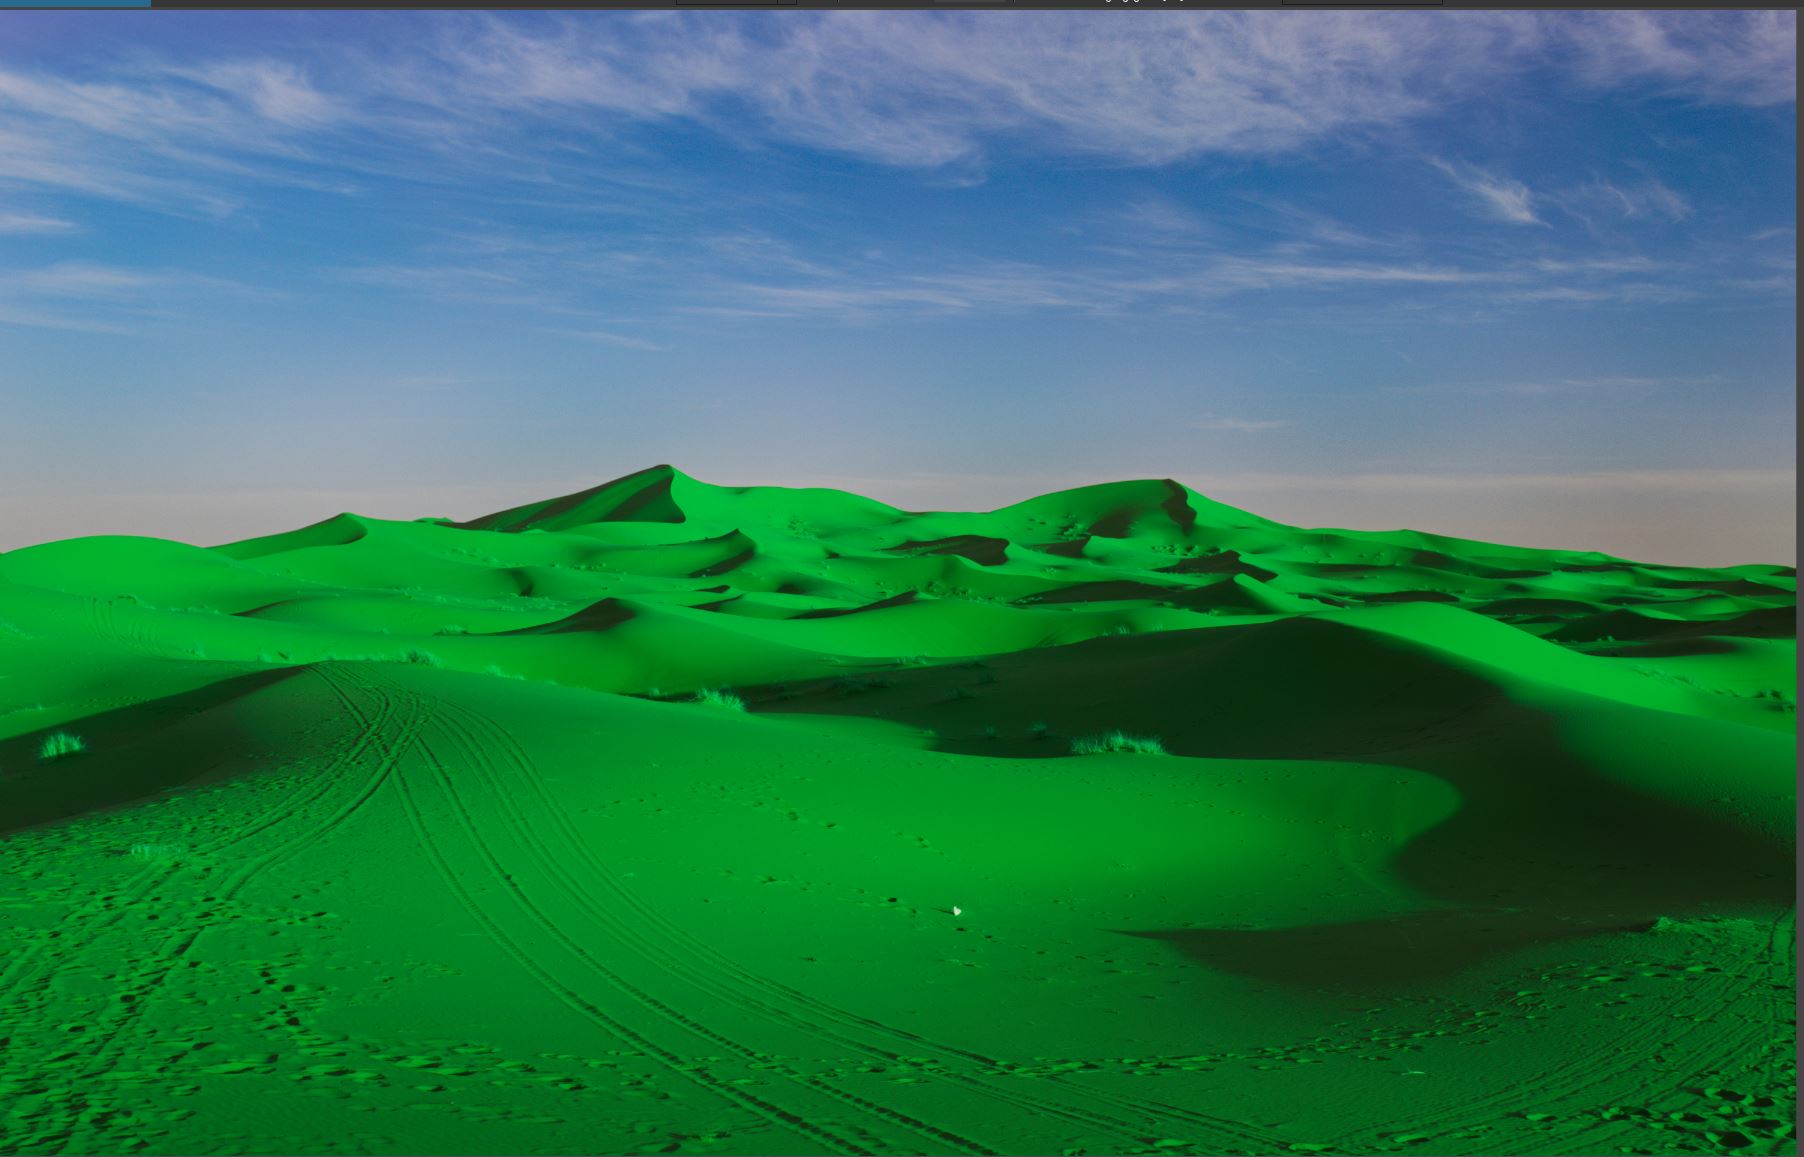
What bothers me is smudges at the centre of circles, that have higher density of mask compared to periphery no matter which tonality I selected. I tried to select darker and lighter parts of the sky area, and always got smudges.
And these smudges don’t follow shapes of selected tonality, they simply appear as large stains at the centers of CP circles that cover everything.
I see the same smudges at Joana’s and Ians’s examples. Am I really the only guy bothered by that??! I would have not opened this thread if I hadn’t be bothered. Looking at the image and being able to tell where control points are placed (when sliders are pushed a bit heavier) is really not appealing to me.
The old examples, for instance Dan Hughes who puts one large CP on the sky and the negative one at the bottom border, to get perfectly balanced selection - is related to the old Nik.
These are excellent tips thank you so much for the great explanation and the illustrations as well… it’s overwhelming how many unknown unknowns I have with this program and while I try not to sweat it I can’t help but contemplate how many tools I am not knowing or overlooking their effectiveness as far as your excerpt here I already screenshotted it and I’m going to reread it because I’ll forget it if I don’t Matthew a question on the last part you said something about the Highlight not being a slider that got me through a loop a little bit could you elaborate on that just a little bit if you don’t mind when your other time? Thank you so much again