Local Adjustments in new Photolab 1.2

I just downloaded and installed PhotoLab 1.2 which became available today. I am extremely pleased with the enhancements to local adjustments. The addition of color functionality now allows me to easily adjust colors and even completely change them locally The addition of local selective tones means I can now adjust highlights, midtones, shadows and the black point exactly where its needed without disrupting the balance of the rest of the image, There also seems to be some improvement to the automask and control point accuracy, but that may just be a result of my improved skill using them. This was a great enhancement.

Mark

5 Likes

Thank you, Mark

Hello,
I don’t agree that auto mask has been greatly improved, since the only improvement that would make auto mask usable at all is still missing. :frowning:

Quote from my original post on the old forum on 02. February 18 (after already having discussed this for a longer time with german email support):


Hello,
when PhotoLab was introduced, I immediately loved the local adjustments and bought the upgrade from OpticsPro right away.

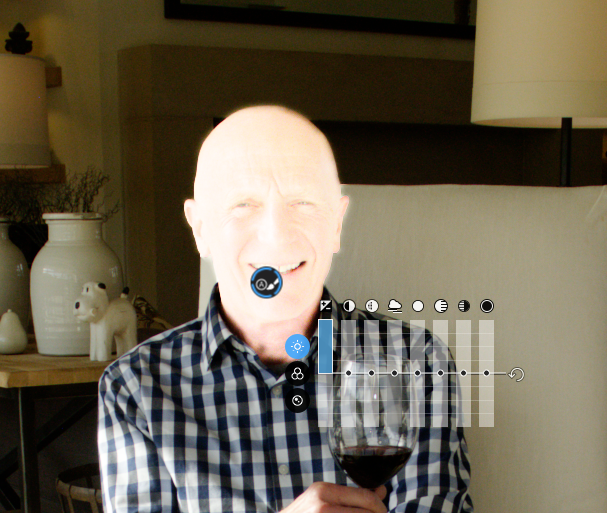
However, particularly the “auto mask” function is far from being really useful the way it is implemented now, unfortunately. The problem is that you don’t get any feedback about which part of the image really gets selected, and, even worse, you don’t have any influence on that.

I’d like to strongly suggest an (urgent in my eyes) improvement to the auto mask function. It should work in a way that during selection, you can already see which area is selected. Then, you could also modify the selection with the standard tools like brush, pencil and eraser to correct details that “auto mask” missed (or picked wrong).

This modification would also make the local adjustment functions more consistent. All other tools exactly reflect the state of selection during input, only “auto mask” does not.

As a reference for such an implementation, you might have a look at the “Smart Photo Editor” of Anthropics.

I would be really glad to see this improvement, it would make PL yet much better than it already is.

Thanks for any feedback (from other users and/or DxO),
Tilmann


See the whole discussion here:
Local adjustments - auto mask

I really expected that this new release would fix that…

Regards, Tilmann

Hi Tilmann,

Just pointing out to other readers; Svetlana did respond to you, in the forum you referred us to … as follows;

Which should mean that it’s “in the works” - and you should see this correction in a future release.

John

1 Like

Hello John,

read further: A few weeks later (March 12), Svetlana wrote:

We are currently working exactly on implementing this feature. So you’ll have it pretty soon.

At least to me, that doesn’t sound like it would come in some further future release… After that post, I was really expecting that fix with the next upcoming relase. (Note that this is three months ago now.)

Regards, Tilmann

Yes sometimes the coverage is incomplete.
Insist on this area, it works.
Press alt key for the eraser.

Despite these display defects is my favorite tools.

1 Like

Hello,

Actually a part of the work is done and we delivered it with PL1.2 - it’s a mask for U-point and a possibility to on/off the blue mask for other tools. But the issue with auto mask equality to the correction applied is still in progress as it’s absolutely not an easy thing to implement.

Regards,
Svetlana G.

Hello Svetlana,

thanks for your feedback. Do you have any timeframe for the release with “working” auto mask?

Regards, Tilmann

Not now, but as soon as I get the info I’ll let you know.

Sorry for the inconvenience,

Regards,
Svetlana G.

Important Note: Even though this post is in the Windows category it also applies to Macs (what I use), I placed it here for continuity of the subject.


In the interim time until we have a greater degree of visual feedback while painting (!) with the “auto mask” brush here is a work around I have found to be useful - especially considering the current state of affairs (“flying blind”).

If You are trying to learn the nuances of the “auto mask” brush the following tip should be especially valuable.

Separate Note:
IMO the large blue circle showing the area of influence would be better as a dotted line like the “Control Point”.


Steps:


  1. With the “auto mask” brush selected - make sure “Show masks” in the bottom control bar is deselected.

  2. Before any painting~selection is done with the brush make an adjustment to an equalizer parameter(s) that will contrast with the area around the element to be masked. e.g. in a low - normal key image I set the exposure to maximum value (+4 ev) - a highly exaggerated setting.

  3. Start painting the area to be masked making sure the small interior circle covers the variations in the element to be masked (tonal values, etc.)

  4. Upon release of the mouse button your selection should show up quickly and easily seen. Use the eraser to remove stray selection areas if needed - again the results will show up quickly & easily visible.
    Please see Fig. 1 below.

  5. Once the selection is made to your satisfaction reset the “exaggerated” brush parameter(s) to default and set the parameters to your actual desired values.

Fig. 1

4 Likes

That’s VERY helpful, Jim … I, for one, would appreciate any other tips you may have in use of the new LA tools.

John M

Hello,
this also is a very old issue - the problem was introduced with PL 1…
Are there any plans for a fully working (and editable) Auto-Select, meanwhile?

(Remember, on March 12 (2018) Svetlana wrote “We are currently working exactly on implementing this feature. So you’ll have it pretty soon.” in the old DxO forum.)

Thanks,
Tilmann