I honestly doubt that you would ever get a totally clean mask, given the similarity of tonalities between the animal and the background. Don’t forget most folks won’t be pixel peeping and are unlikely to notice a subtle softness in the mask.
I agree and this is what I told in my last post (in second time).
But looking at TorsteinH mask, all we can tell is it is unusable : look fur at 100%.
If we could blend several masking method it could probably be acheived very well, because @TorsteinH nicely acheived to mask white fur under the ears. Even if it is not easy at all.
Nothing stops you from applying more than one local adjustment. The beauty of the Control Line tool is that you can combine multiple positive and negative lines and points in the same single mask, as I have done in my example.
But most important of all is to get the selectivities right in the mask view before applying any corrections.
I’ve tried to and didn’t succed very well.
This is why I would like to start from Torstein dop.
I’m not sure I understand this very well (neither my brain, neither deepl could make me sure I understand what you mean here).
Oh, yes. Its about mask value and color sensitivity ?
Here is the palette for the local adjustment I made to this file…
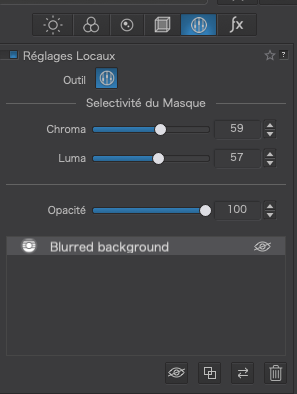
You need to place the pipette on a tone that you want to select and then adjust just how different the rest of the image can be before it is either selected or deselected.
I just ran that sentence through Deepl and found it really didn’t say what I intended, so let me know if you need further clarification.
Ok. I understand and this how control points have to be used. Contol line have a more tweakable way to work with it’s free to move color selector. This is how I use them. And I like very much what can be achieved with those tools. But I’ve already tried this in this particular case with no luck (Not saying it is impossible, but I couldn’t).

deleted by user.

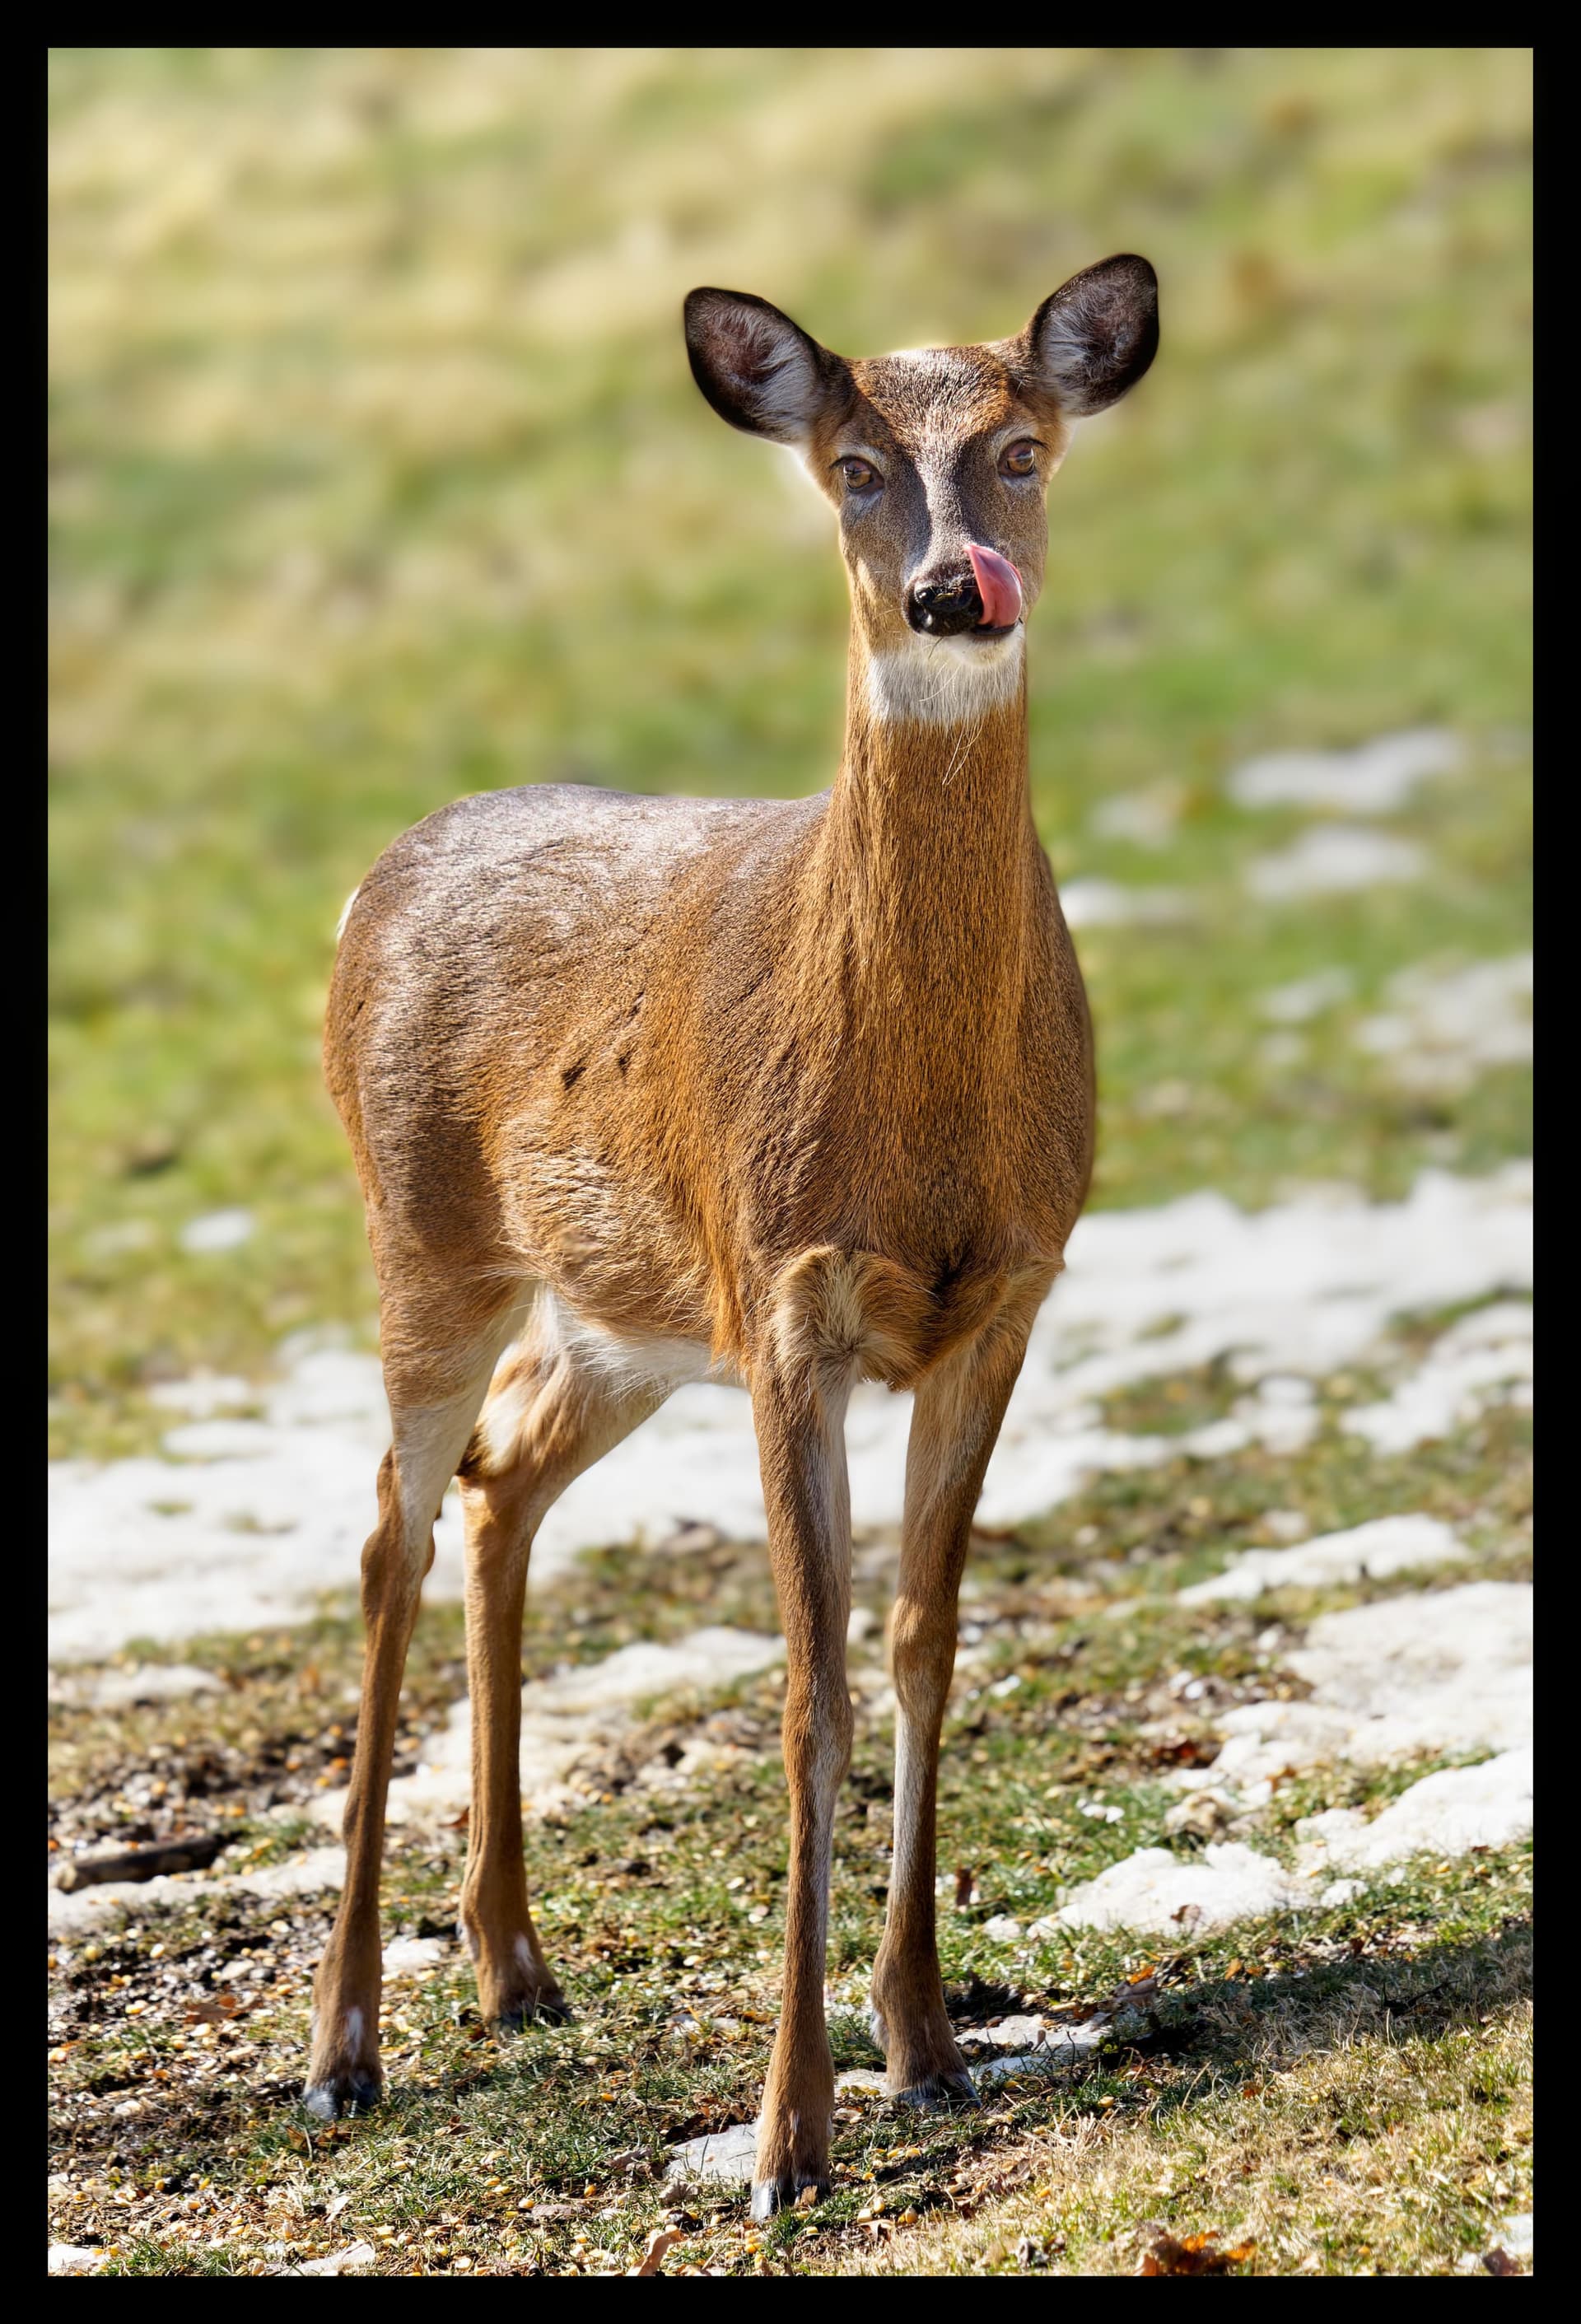
Made with 2 automasks, 1 from the deer then reverted. Don’t hesitate to eat a little bit more on the edge without trying to follow it exactly.
Play with the settings to dark the background and highlight the deer. I could separate it more but in this case I just gave a natural look and feel to not denaturate this picture. But it’s obvious that if you want to get the deer more visible, you just have to up the contrast that is composed with light and color saturation.
Then I used a control line tool to dark the top head of the picture and blur it a little bit.
Open it in full window coz what I am seeing in the preview upload is just lacking of vibrance effect I customized, surely because the uploader is killing ICC profile…
It’s up to you now !
Edit : don’t trust this file even by downloading it, the colors have been washed by the upload process…
1 Like
@Deneice
Just try to do what is asked in this topic (first post). This is the point.
Not trying to get a nicer color/contrast picture.
When doing gradient-blur, there you really see how your masks behave for what is asked.
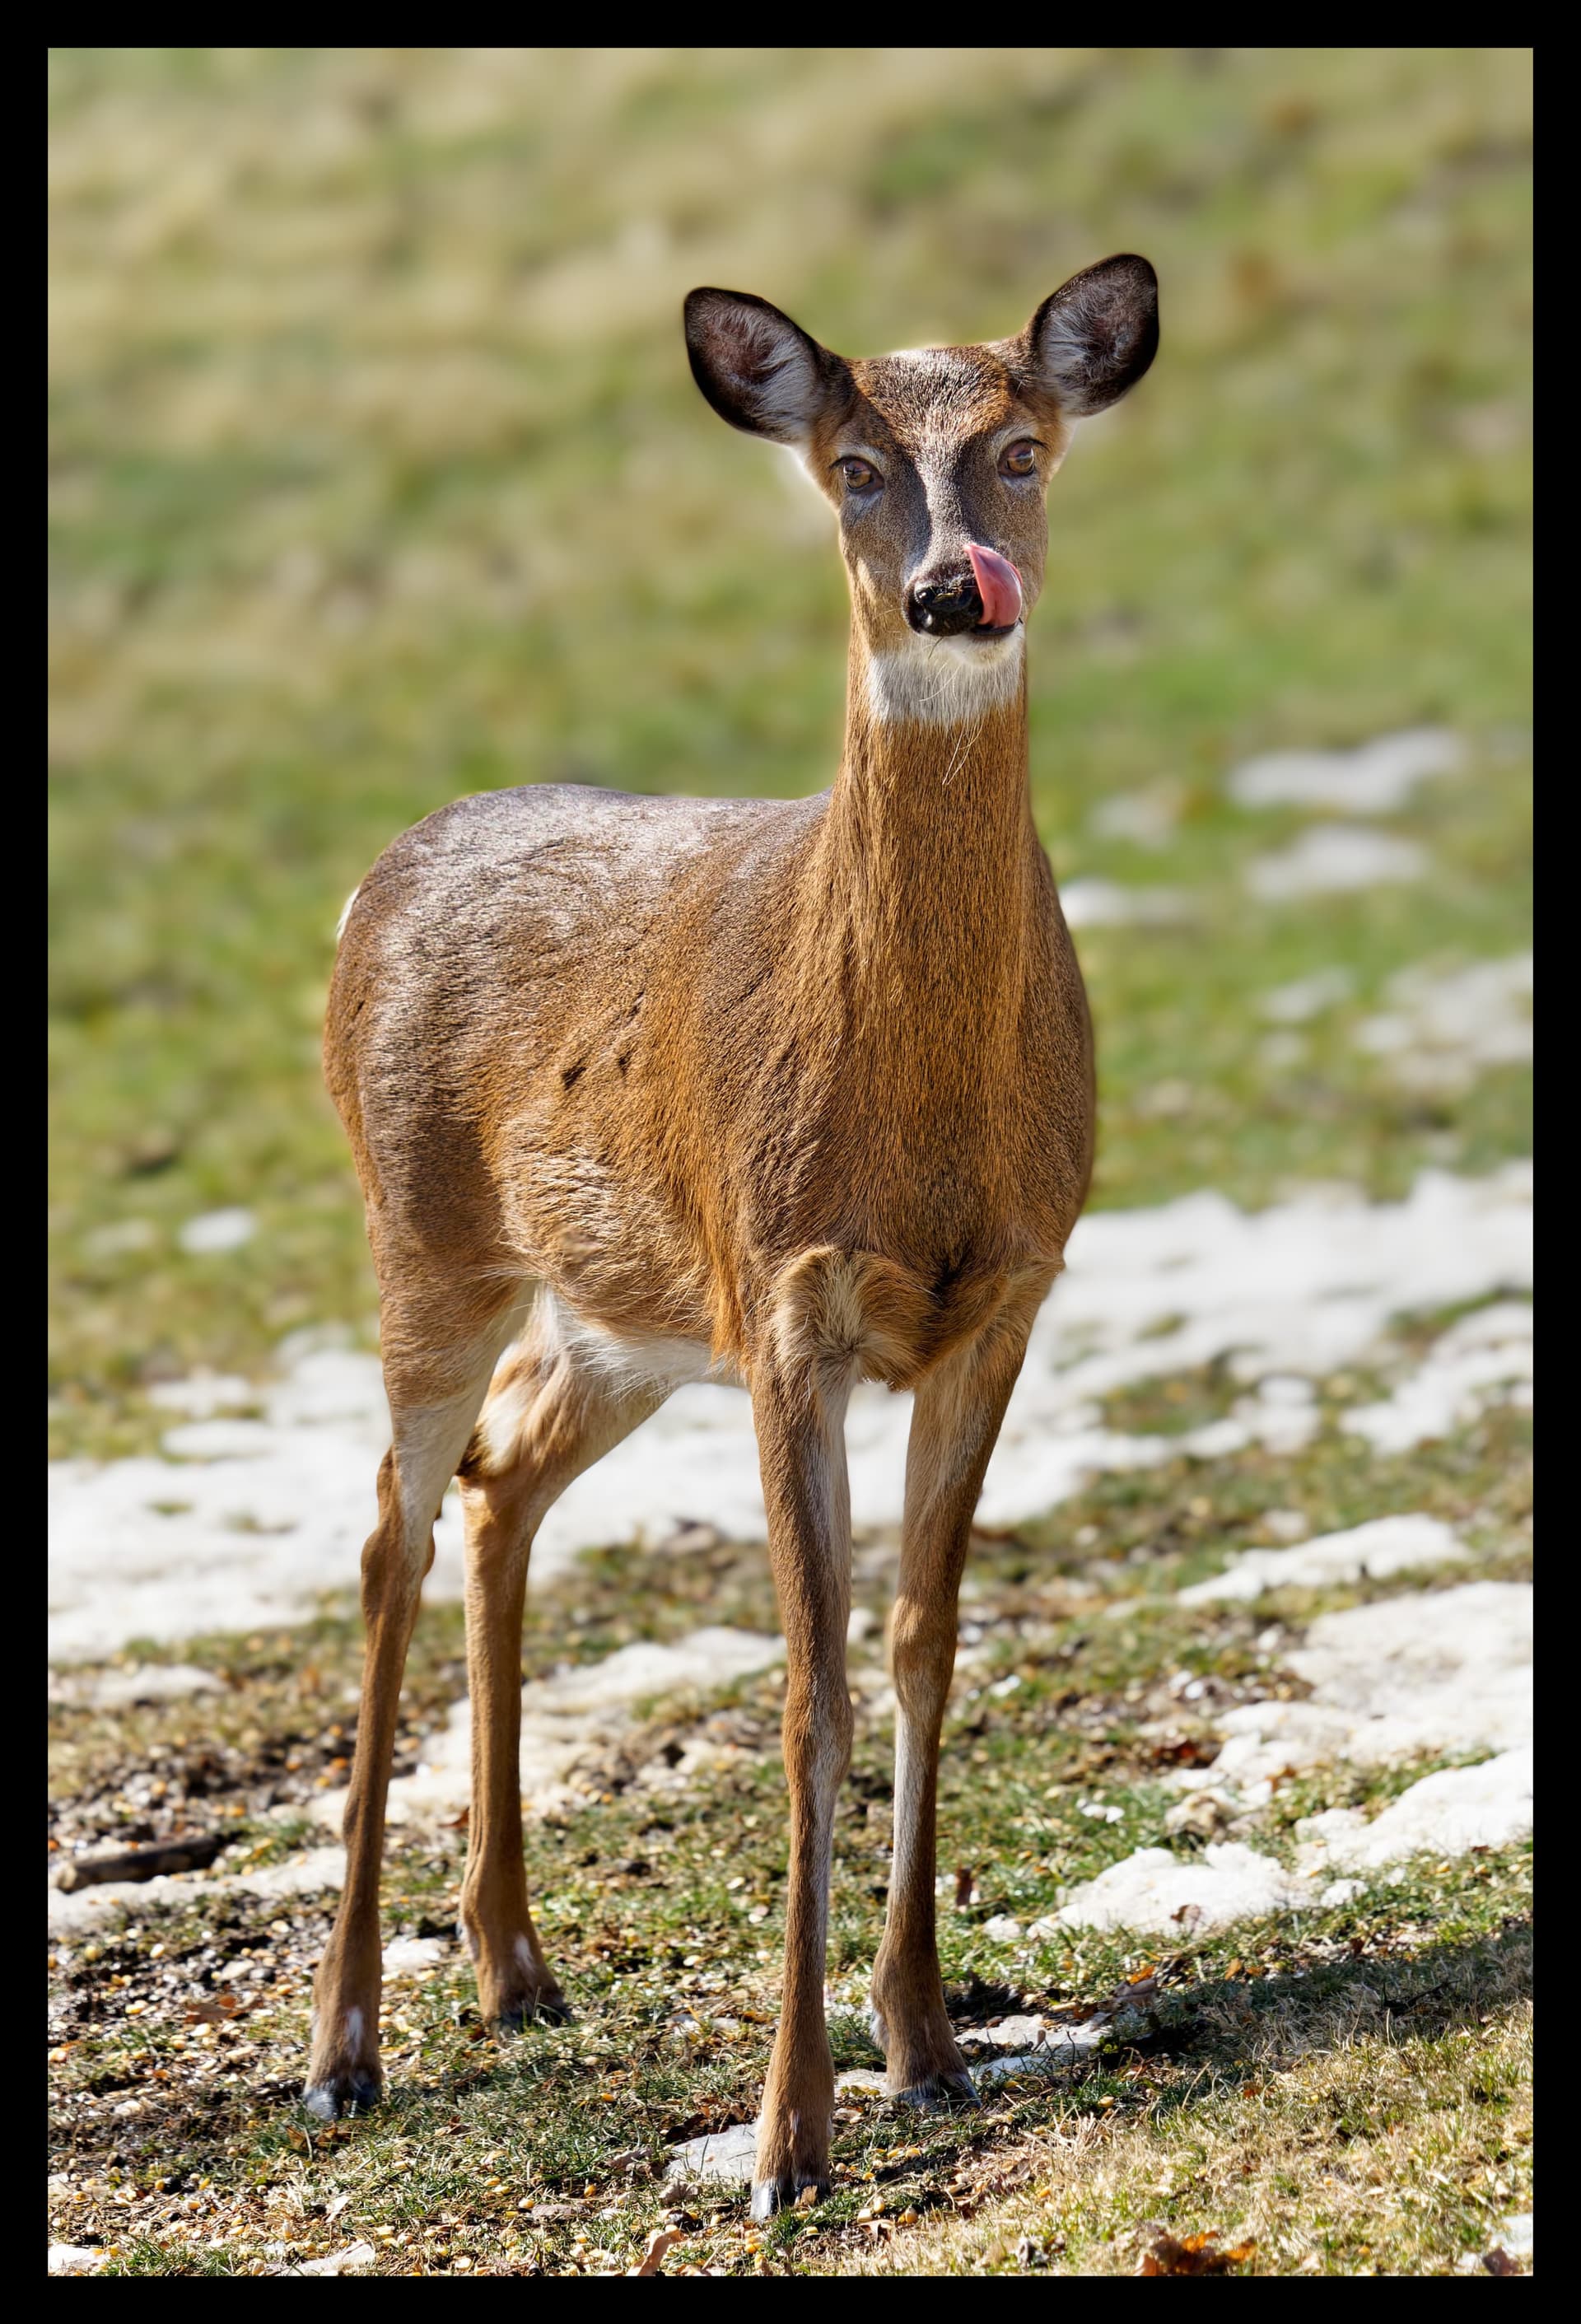
It is about simulating less dof and tone down a little the background. It’s just working on background.
here is what I could get :
Not perfect. As guenterm showed white fur is lost and blurred with white background :
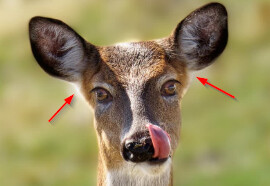
I could point other glitches too.
I’m sure you can improve on it. The only thing I did was setting three different CP in background and played with Chroma and Luma selectivity, each lower contrast, blur etc.
You can move the CPs, add more or take them away or change settings.I hope this si the right .dop file…
DSC00485_DxO4_1.jpg.dop (10.8 . KB)