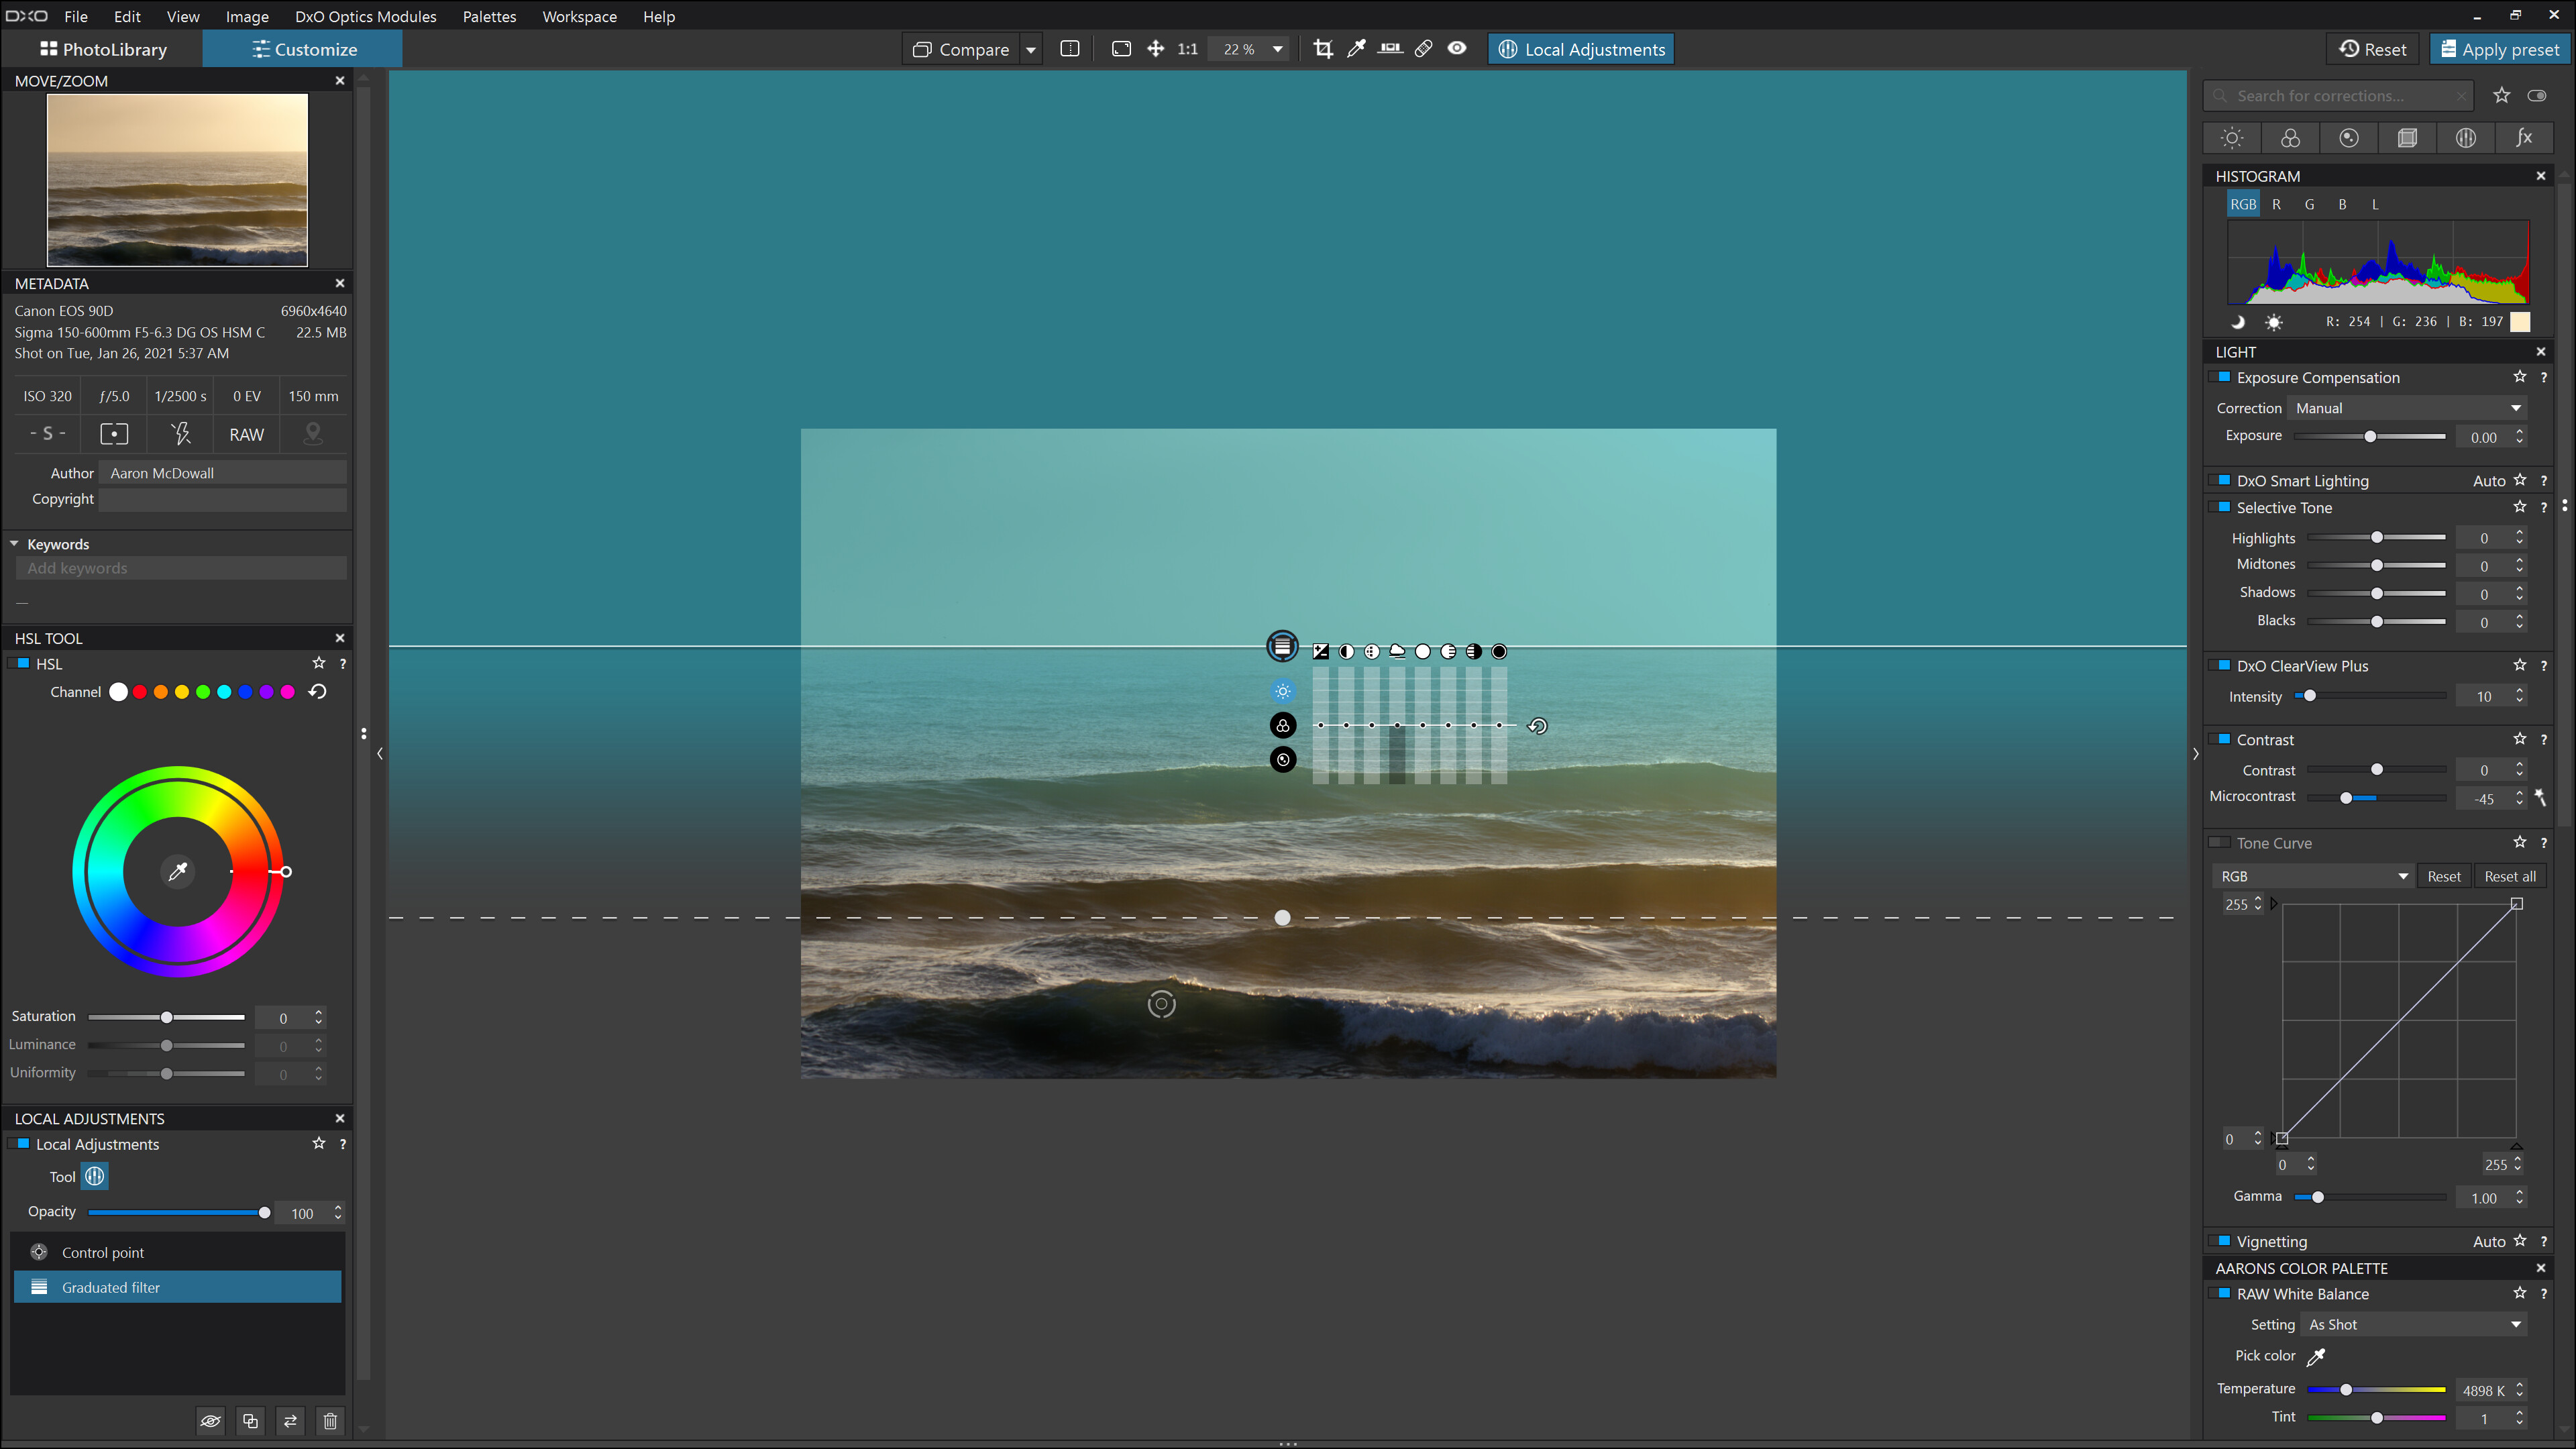
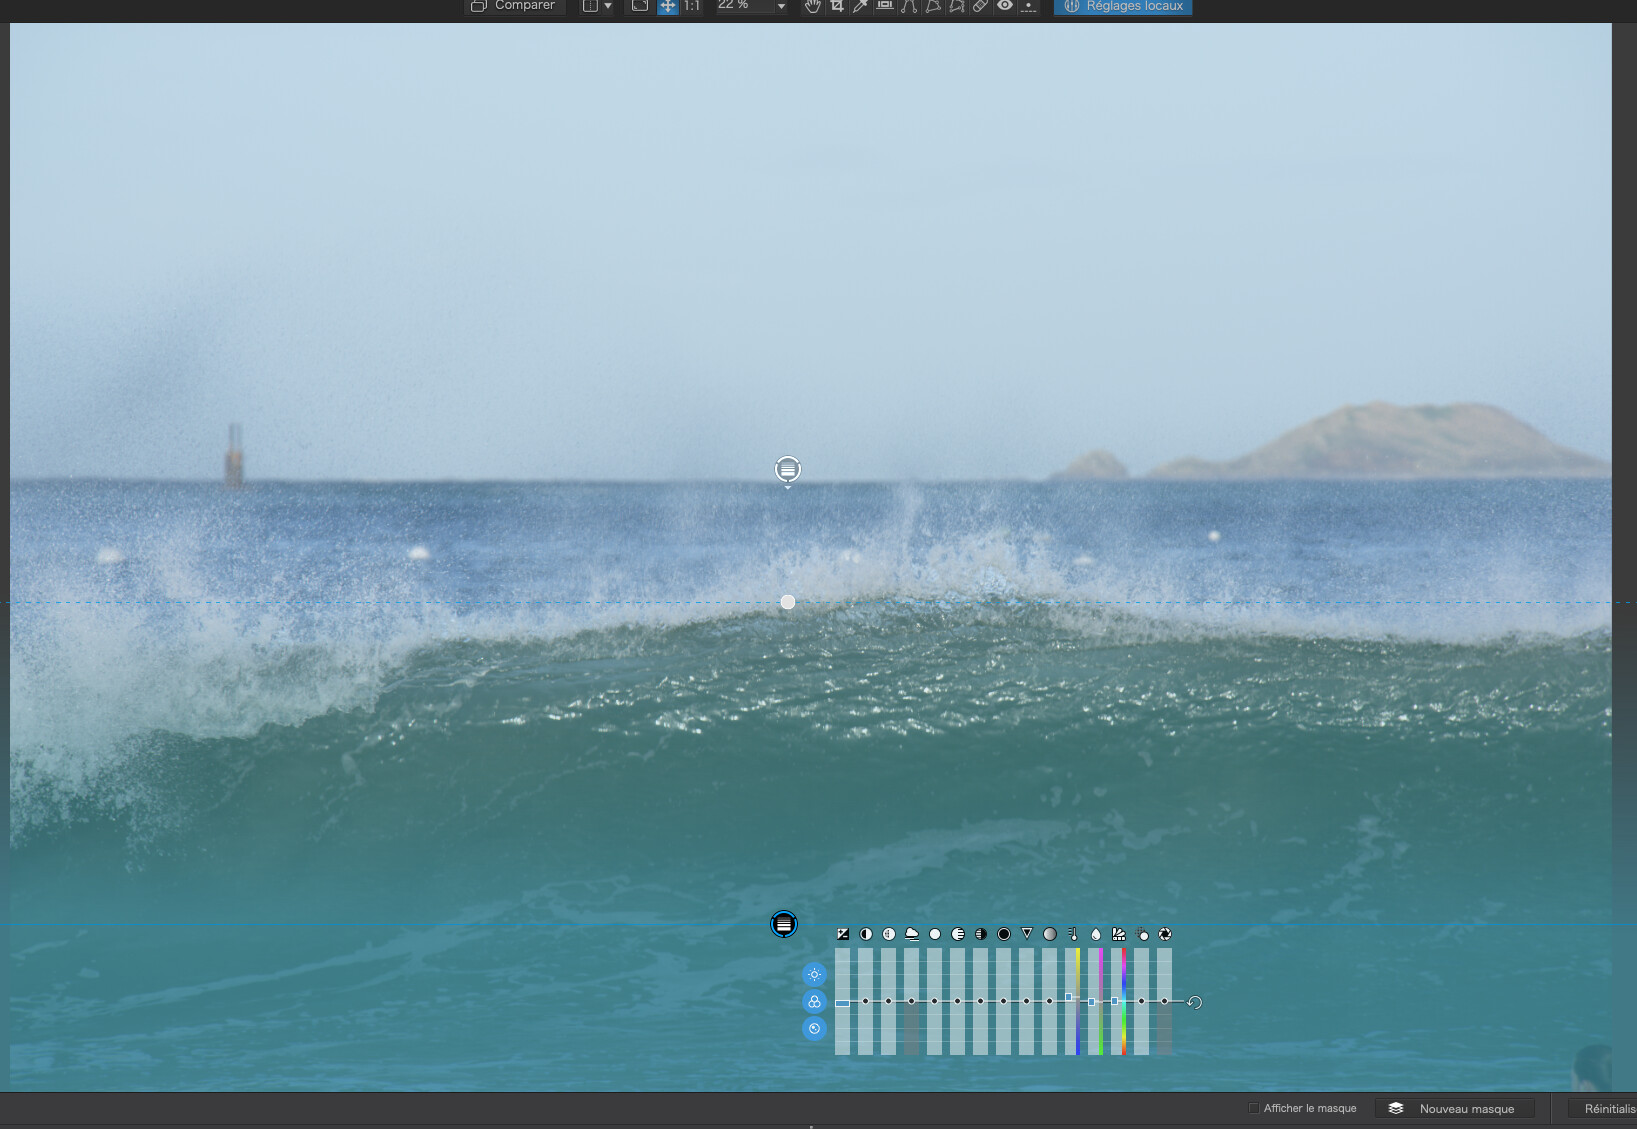
Hi there, I am wondering how to use the graduated filter in the attached photo.
The middle of the graduated filter where the solid line is the horizon point. The sky meets the water at this point. The problem is I don’t want any effect to take place on the sky. I want to increase the exposure from the horizon point to the foreground with it being brighter on the horizon and darker in the foreground.
The only way I can see to remove the sky from being affected is to manually erase the blue mask above the horizon. This is very difficult to do neatly as even small uneven erasing along the horizon creates noticeable dark or light sections.
Thanks in advance for your suggestions.
Regards
Aaron
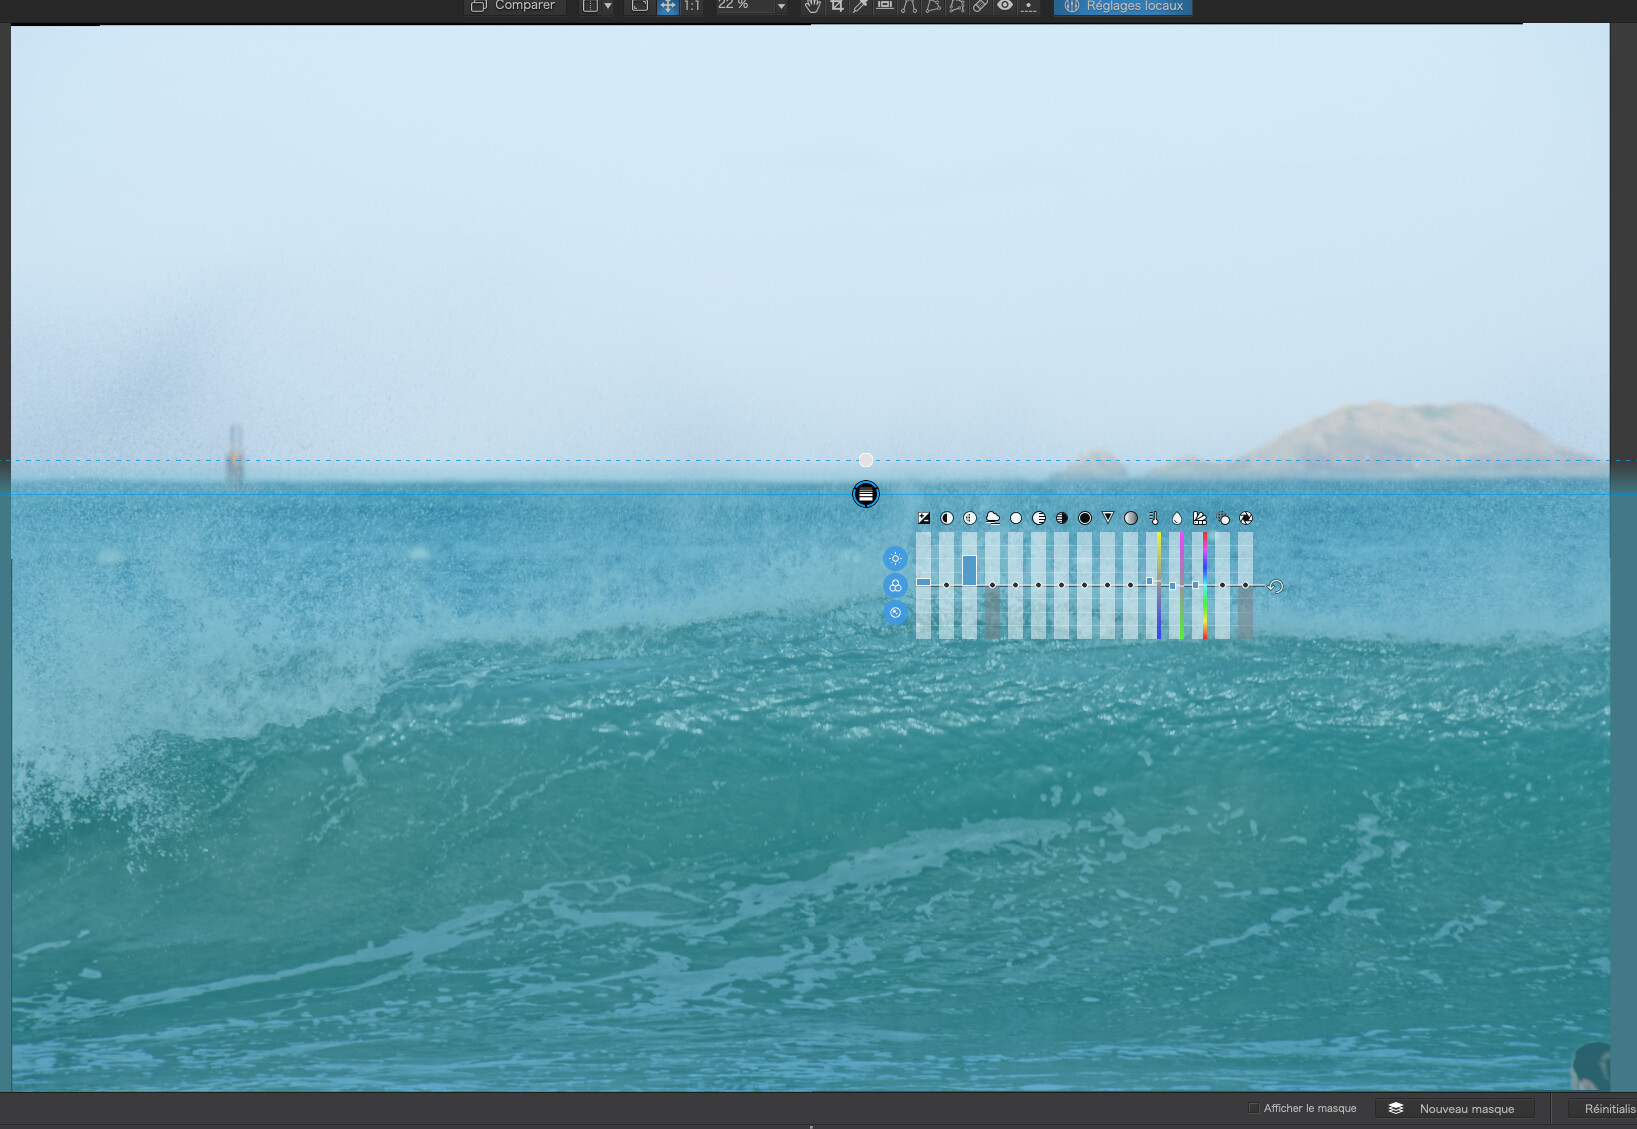
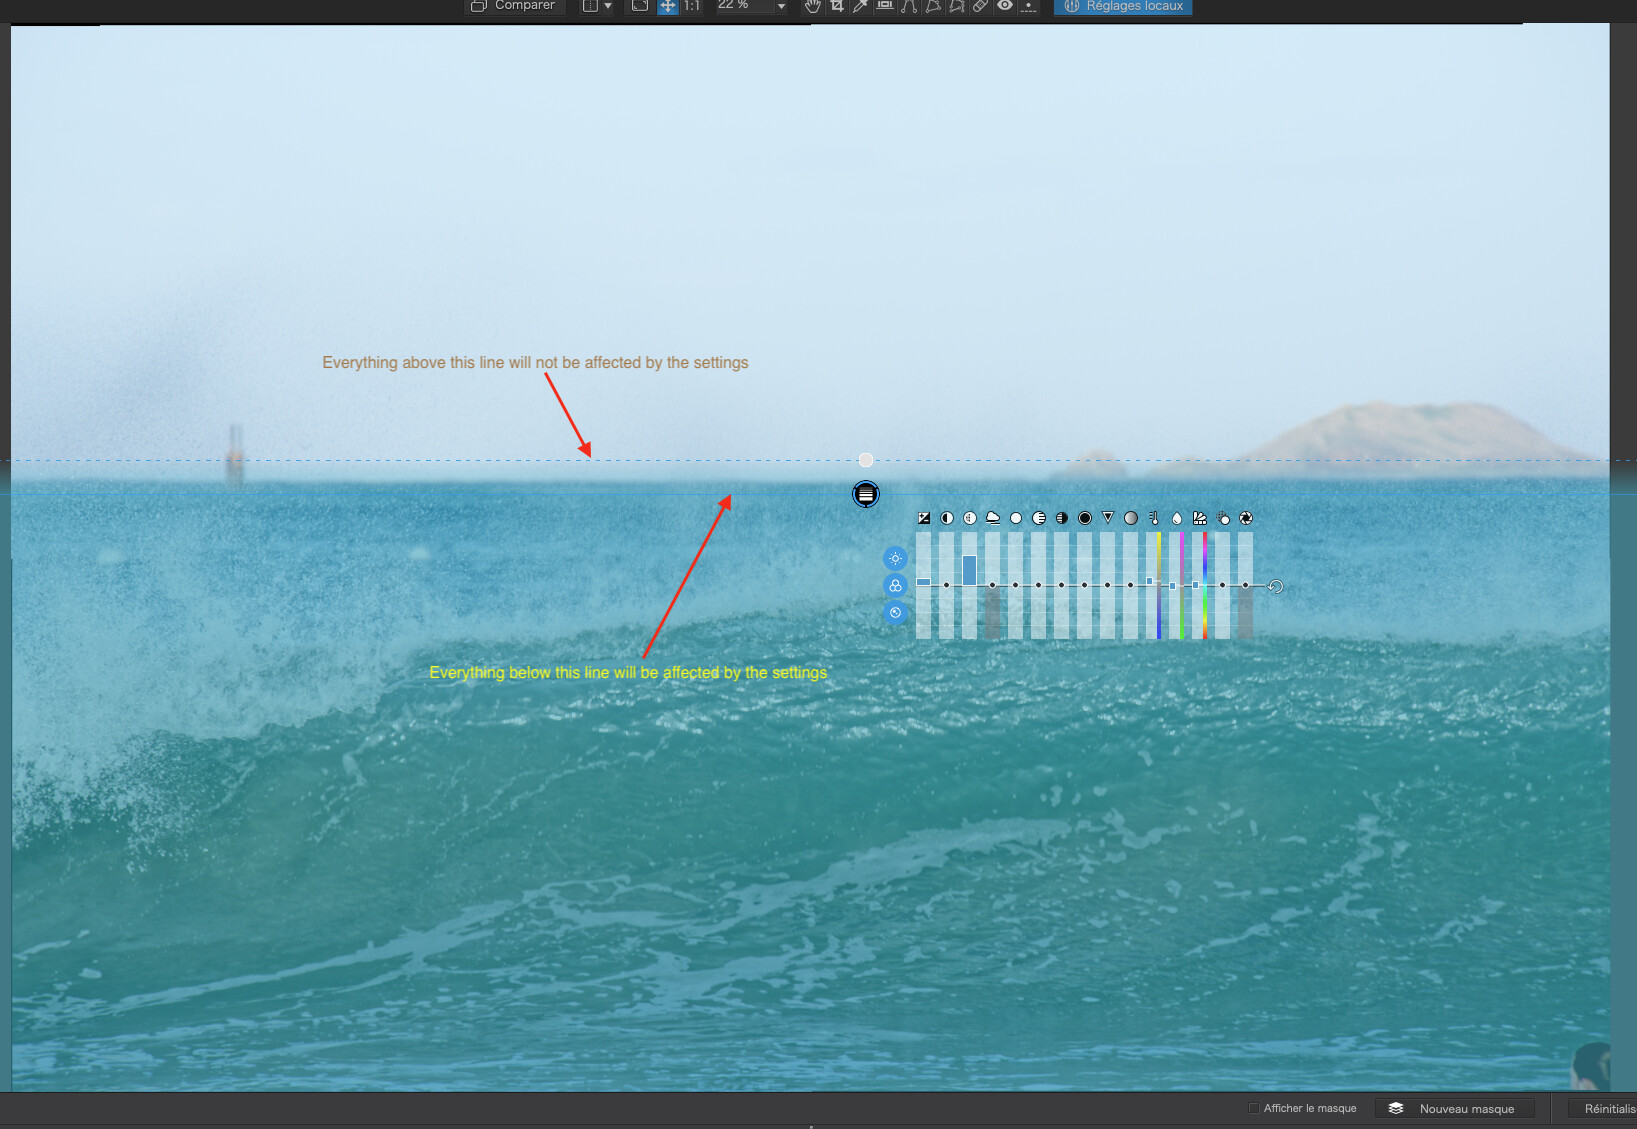
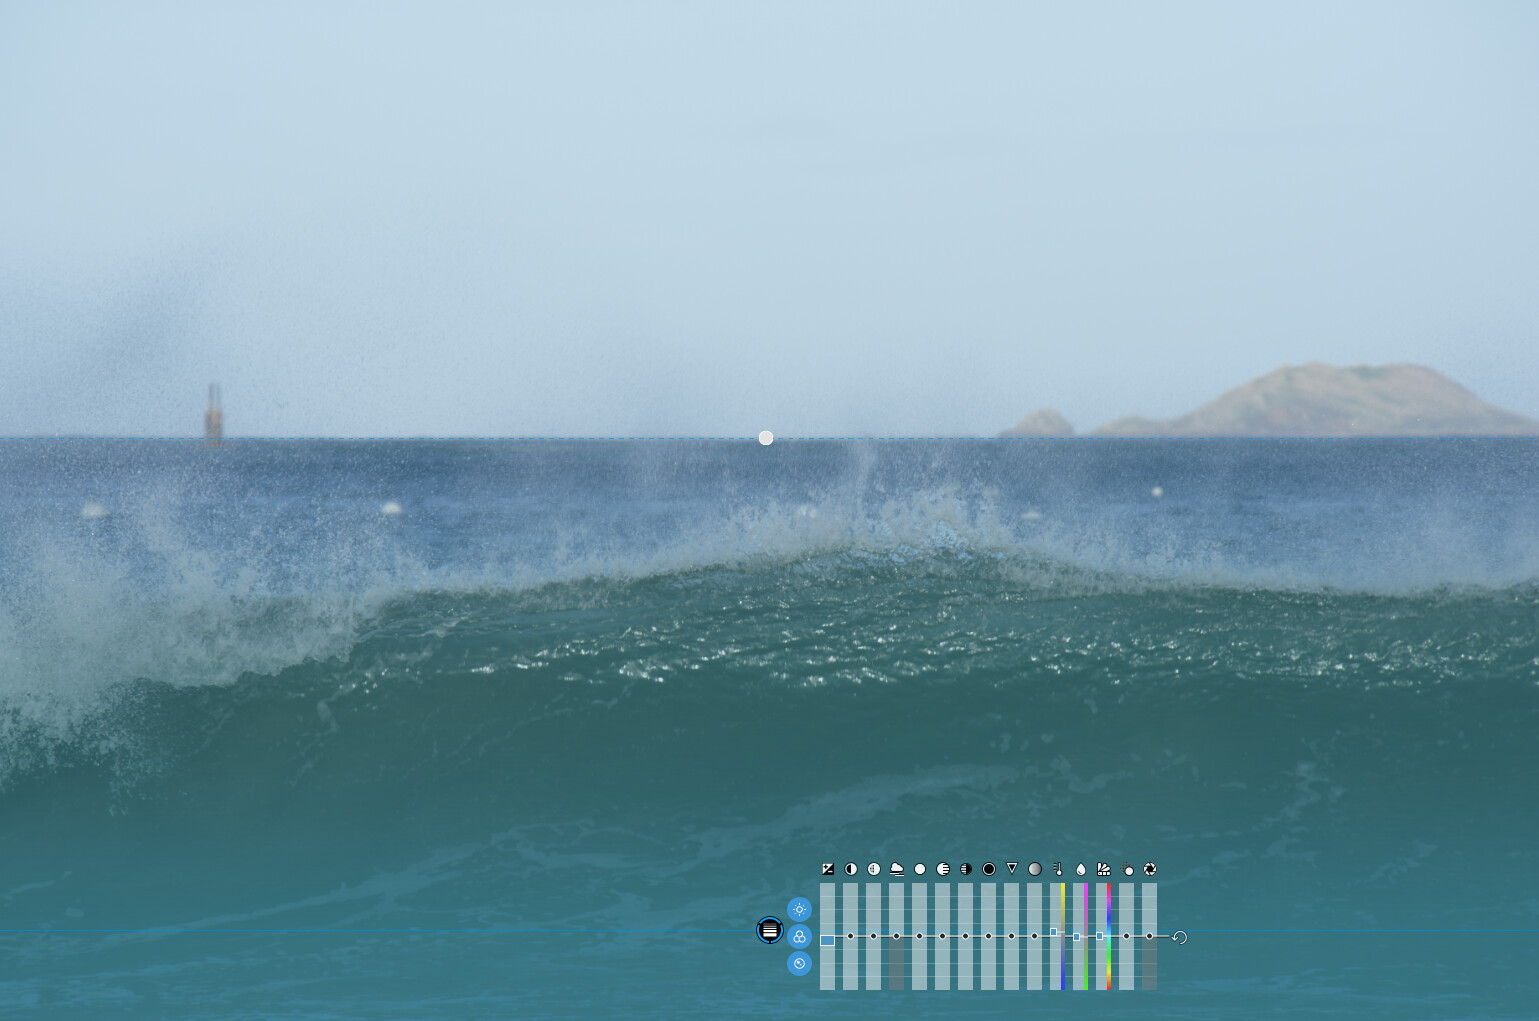
If you only want to affect the sea, you need to draw the gradient from the sea to the sky, not as you have done, from the sky to the sea. The blue mask is where the effect will work at 100%
Also, the gradient (the part between the two lines) needs to be on the horizon and quite short, only long enough to ensure it doesn’t show the transition as a hard line…
Hi Joanna, thanks for your reply. The problem with drawing it from the sea to the sky is that the gradient is reversed to what I want. If I increased the exposure it would be brighter in the foreground and darker at the horizon. How would I be able to obtain that effect?
You want the sea to be lighter than the sky?
Then the idea is to have 100% effect on the sea and none on the sky with a short gradient between.
I don’t want the sea to be brighter then the sky, I want the see at the horizon to be brighter than the sea in the foreground and I want a gradual falloff in brightness from the horizon right down to the bottom of the photo., not just a small section on the horizon. It just just may not be doable with the gradient filter in the way I desire.
In that case, you are going to have to be a bit crafty.
- raise the overall exposure so that the sea below the horizon as roughly where you want it to be
- apply a grad filter to cover the sky with as shorter a transition as you dare and reduce the exposure on this to get it back to where you want the sky to be…
- apply a second long grad to the sea from near the bottom to part way up and reduce the exposure on that like you did on the one for the sky…
1 Like
Crafty indeed! That would be a good solution! Thanks Joanna. I might contact the devs requesting the option to remove the solid section or reverse the gradient direction.
Thanks again.
Aaron
Without the solid section there would be no mask to apply settings to.
As you saw, you do that by simply drawing it in the opposite direction.
If I were using physical filters, I would have to do what I showed in my last post.
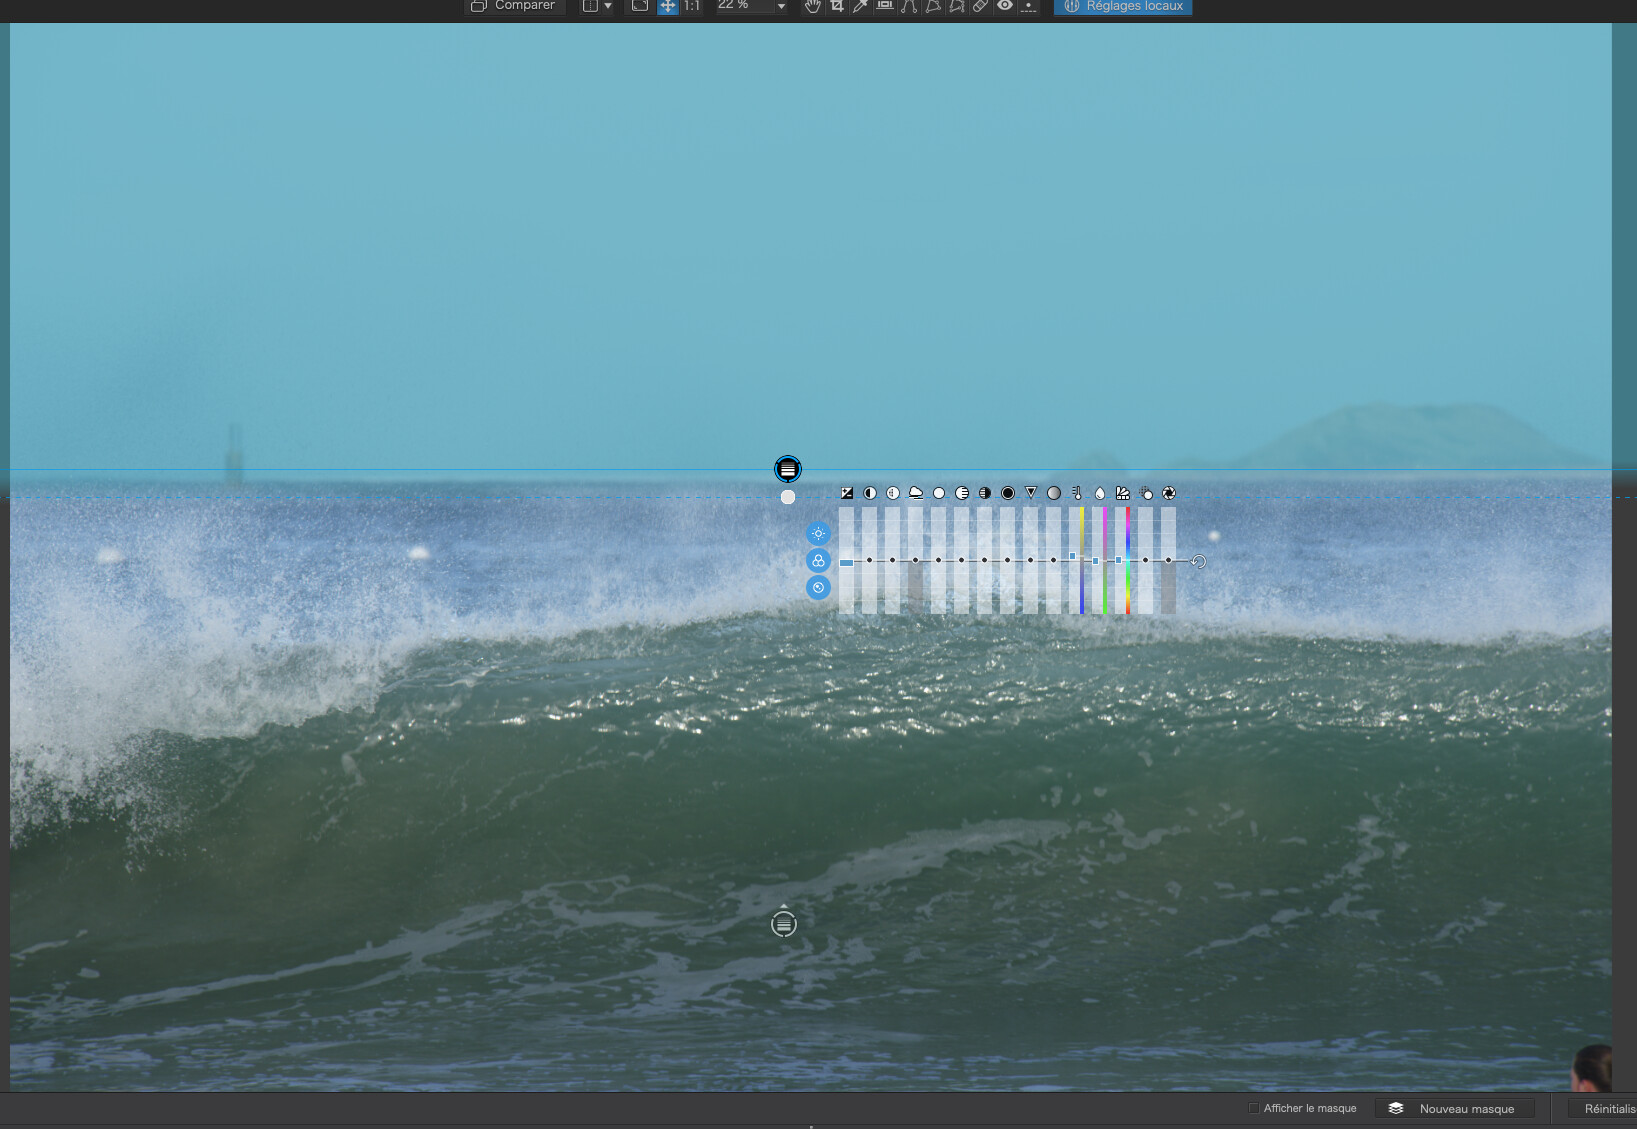
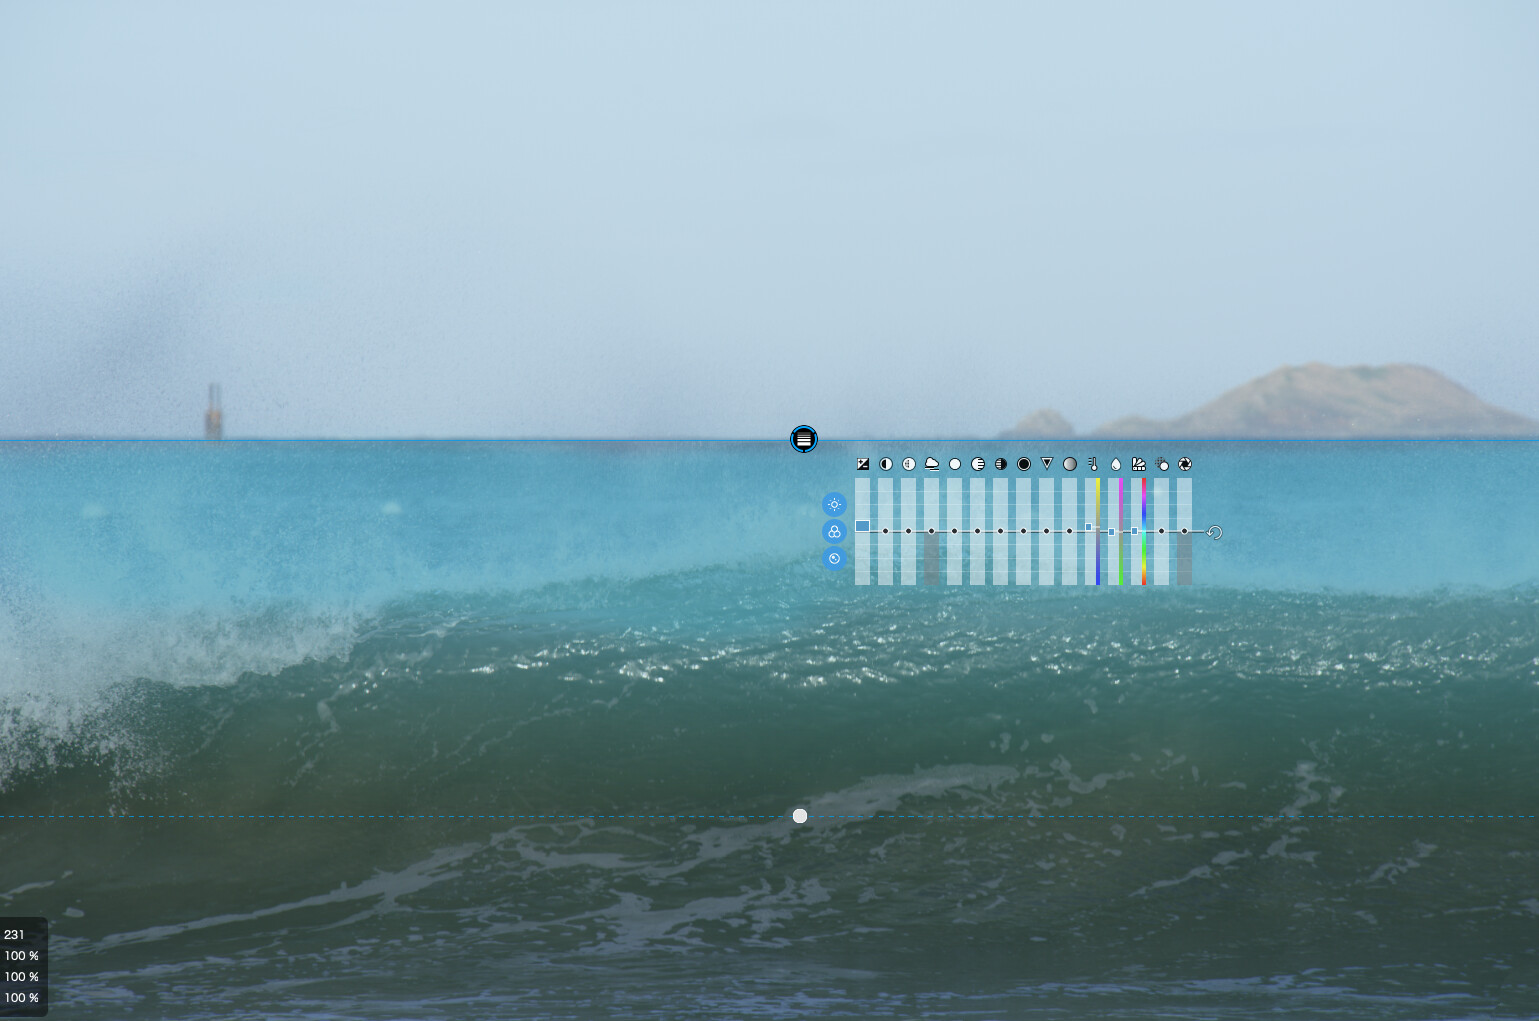
If you want to darken the sea as it comes towards you, without affecting the sky, then all you have to do is this…
I just tried it and it is possible to do what you want with one mask but you need to learn how to use the eraser with a large enough value for the feathering to avoid a hard line on the horizon. If you erase too much then just switch to the brush tool, whilst still in the gradient mask and paint, with a high feathering value, the bits that you erased too far. It just takes practice 
Here’s the mask, partly erased…
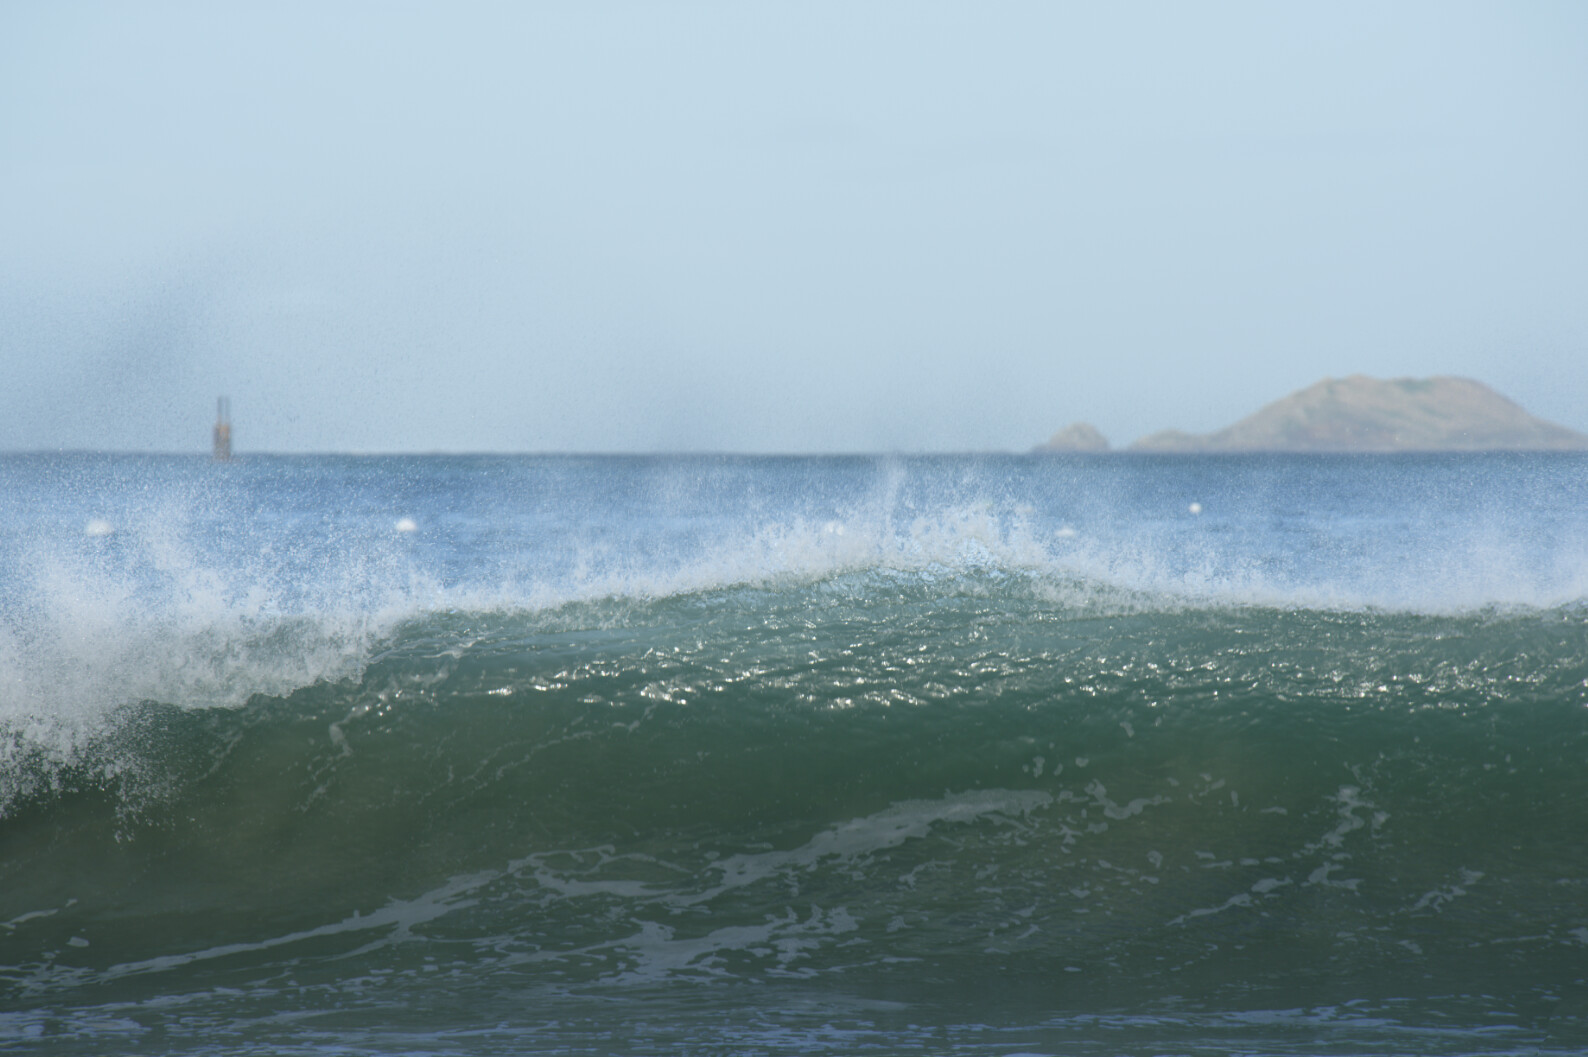
… and here’s the result…
2 Likes