Hi folks, spent some time tinkering with settings and wanted to know what setting(s) go into a .preset file, how the sliders map into these files and relate to .dop entries (not yet checked).
I did it for pure interest and you’re entitled to think of it whatever you think of it.
Apart from “normal” entries, there are a few things that feel strange or off (because i’ve not gotten into it more seriously) the raw comparison is attached as file hereto WhatsInAdopFile.ods.zip (77.8 KB)
A few hints on how to understand/read the table:
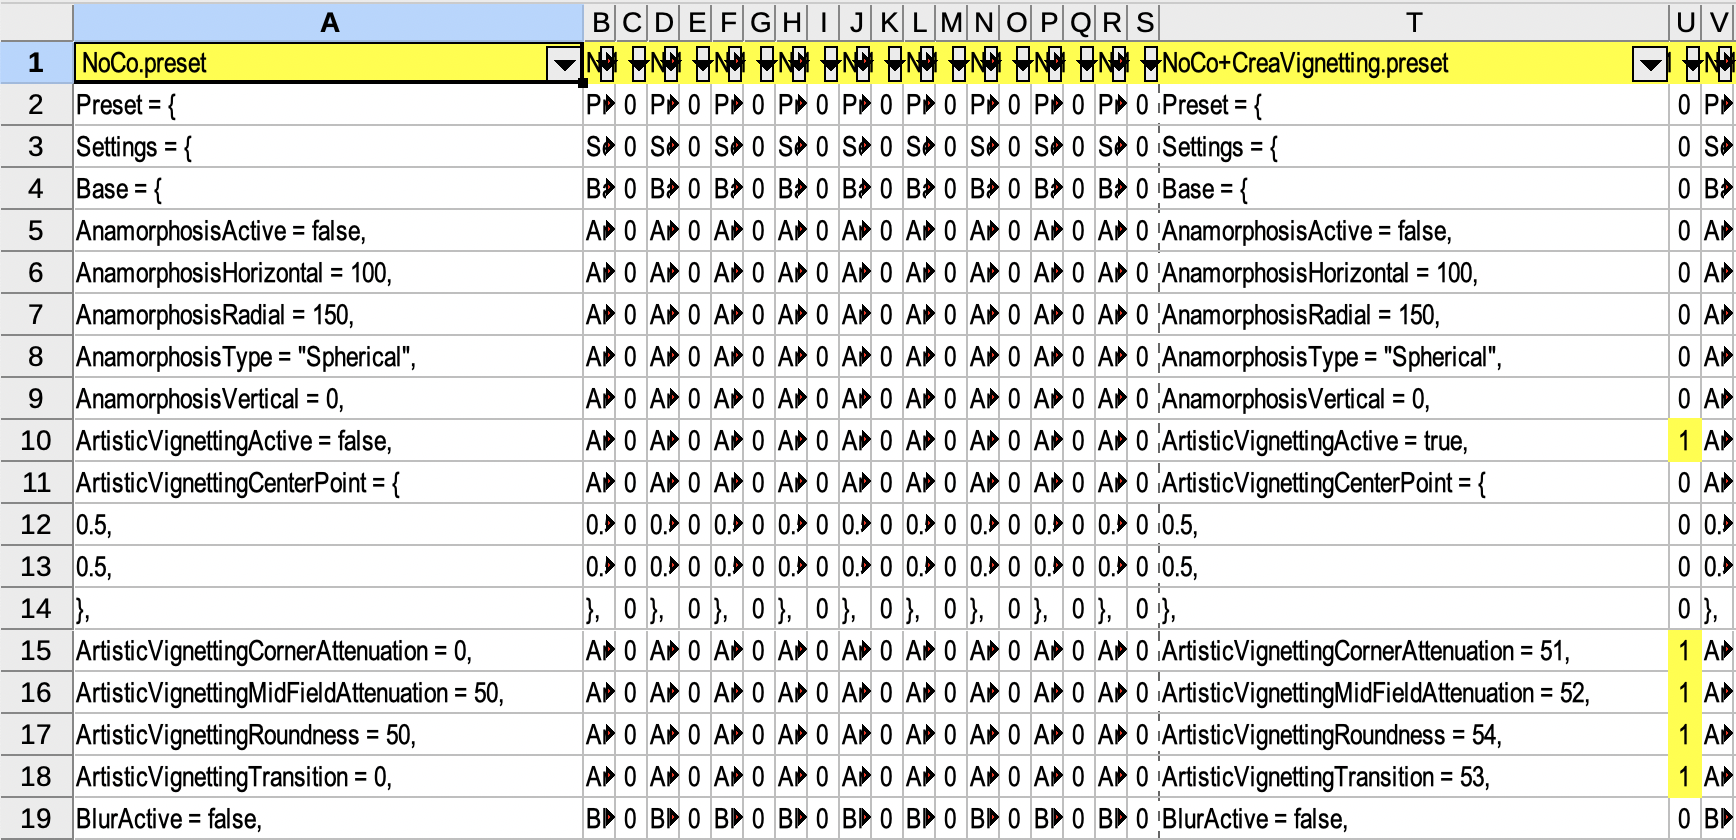
The first line hints at the settings that were changed, basis was the No Correction preset.
For every change, I created a new preset and copied its content into the column(s) of the table.
Entries that differ from what is in No Correction are marked (to the right) in yellow or orange.
In order to see what is in the preset file, you have to widen the respective columns. Every second column is contains a marker that indicates a difference compared to No Correction.
Expanded: No Correction and Creative Vignetting (with unchanged centre-point and changed values)
Sidenote: Creative Vignetting is called Artistic Vignetting inside of the file(s)…
@StevenL, maybe the file can help you to revisit the preset writing process, a few presets show entries that find no sibling in the No Correction file. This might be helpful in view of one of the comments stating that default presets must be absolute (non-partial). In at least one case, “0” is used vs true/false.
I’ve also looked into the presets that come as parts of the app. They have some orthographic differences too, but the seem to not hurt afaics.
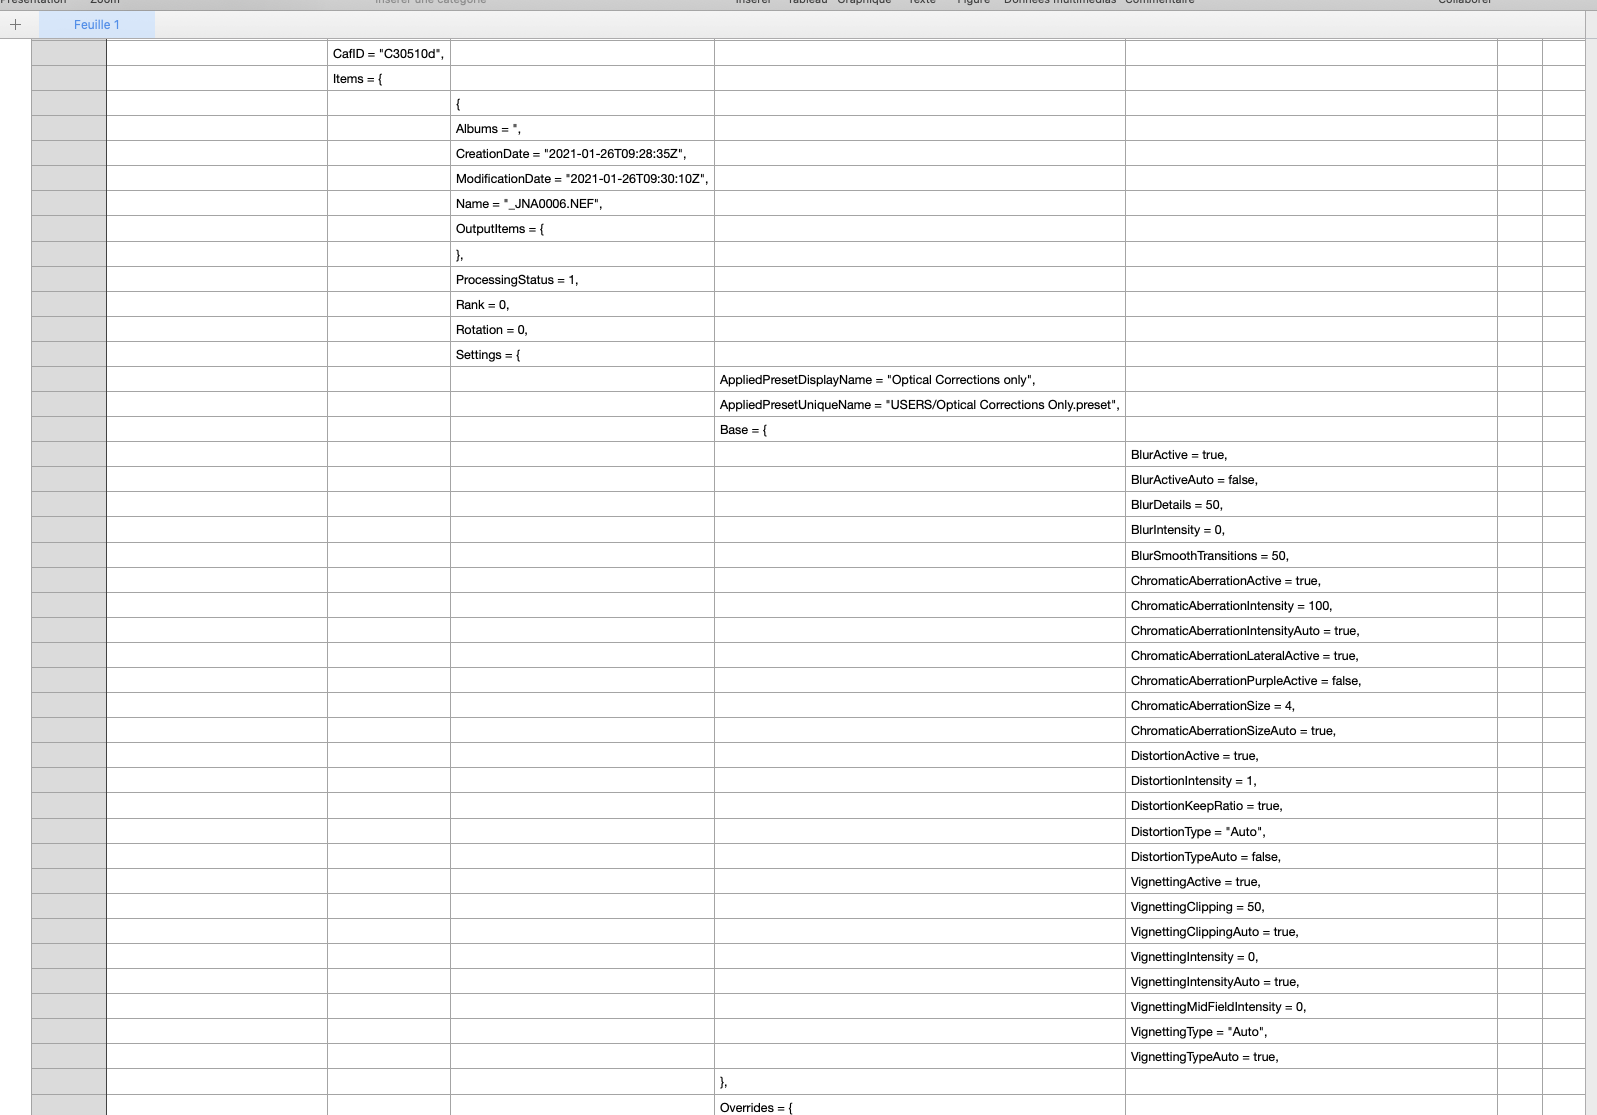
Just for fun, and seeing @platypus screenshot, I copied a .dop file and renamed it to .txt. Then I was able to open it in Numbers (substitute spreadsheet app of choice). If you are analysing .dop contents, to my mind, it makes it even clearer than opening it in a straightforward text editor because it separates the sections into columns according to their level.
Yes, levels can be separated like this. Isolating tools is a different story though. Some of the tools’ settings are spread over several non-contiguous lines… Moreover, the flat view helps to find differences easier without programming…
You’re welcome. Please also look into the general presets that come with the app. Some of them contain semicolons instead of commas and such. It does not seem to matter though, I’ve played around with these files too and the syntax requirements seem to be fairly relaxed
Let me answer for Steven: It feels good, because it 1) improves the quality of the product and 2) it creates some work for the staff, they’d be bored otherwise
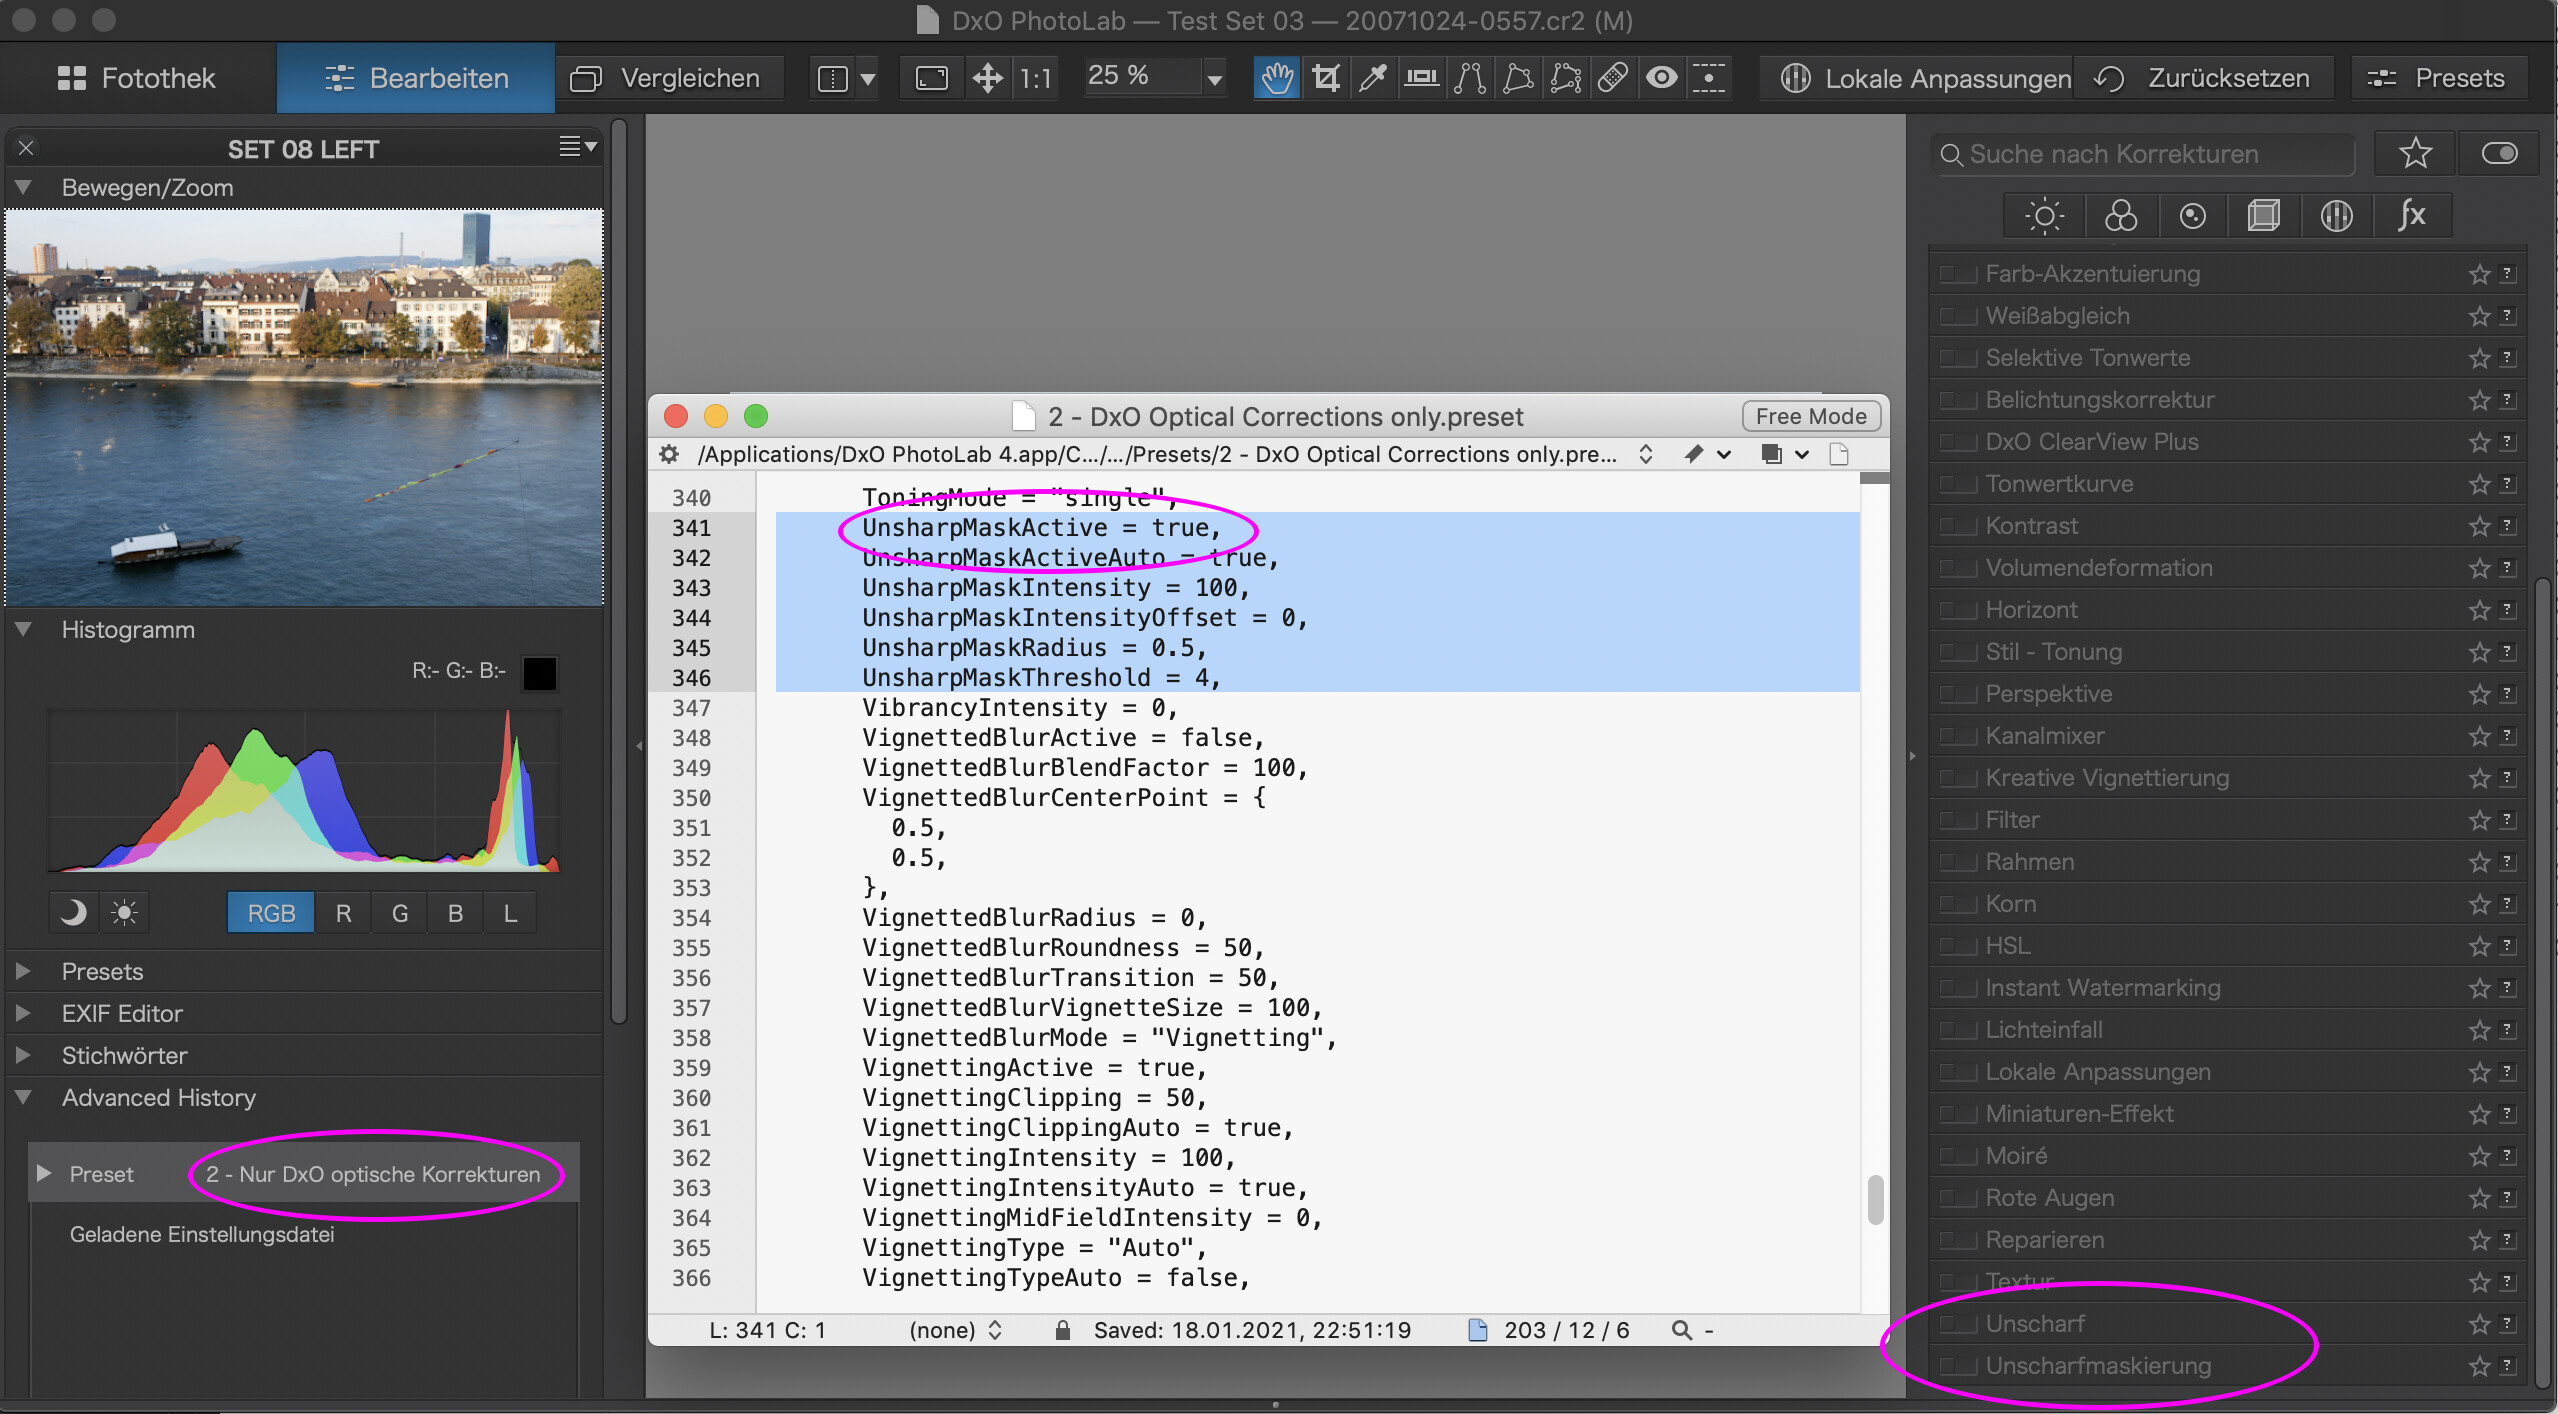
I found one strange thing in one of the presets: The DxO optical corrections only preset lists “unsharp mask” as active, it does not display it in the GUI though.
As we can see (left bubble), the DxO optical corrections only preset was applied.
This preset (re)sets all tools to whatever values and whether they should be active or not.
Looking into the preset that is in the app (middle bubble), I see “UnsharpMaskActive = true”, which imo means that the tool should be acting on the image, which it doesn’t. I can switch USM on and off and see a sharper image when USM is on. So, while the preset says true, the tool is off (right bubble).
Talking about orthographic inconsistencies, it would be nice if DXO worked towards a visual orthography standard. When I tried out the Nik Collection I was thrown and frustrated by inconsistencies - struggling to work out what some nomenclature meant, sliders and masks working in different ways, and frustrated by having stuff in different places to what my muscle memory had it it from PhotoLab. Maybe an orthographic chief is needed.
Thanks this is a lot of work and I for one appreciate it. I’m not quite sure what I am looking at in your .ods file but following along your narrative I may be able to catch up.
I’ve been curious about DxO presets for a couple of reasons – especially, for example, how are some of the desired elements of the Elite Pack monochrome presets achieved? I would like to apply those changes without using the entire preset, which may change something else. I thought all of the monochrome presets used a saturation level of zero but that doesn’t seem to be the case.
I’ve also created some single-function presets that do only one thing - Prime Noise reduction, for example, or warm filter (=50), or 16x9 crop. These presets are then mapped to a specific function key combo, so that I can go “Cmd-Option-W” to get a warm filter effect, or “Cmd-Option-N” for Noise filter. It’s not possible to do without deep analysis of the presets, but it has made my workflow (and stress on my hands) much easier.
The .ods file is an open document spreadsheet file that contains the settings of most of the tools changed one by one, one in each column in the form of presets. NoCo corresponds to No Correction and you might be able to figure it all out based on the title line and the settings in the lines below that.
Presets contained within DPL, personal presets as documented in the file and .dop sidecar files are built from the same ingredients and wrapped differently. Some items are easy to understand e.g. something like ModuleActive = true, others are not. Some of DPL’s magic is not just a bunch of parameters though, film emulations probably use LUTs too.
do we need to know these details? Certainly not for day-to-day use, but a glimpse behind the curtain can provide new insight…
…which means that, in order to get a true “No Correction” result, we need to activate the USM tool and set sharpening to zero… Odd, but good to know. Thank you.
One more question: What is DNG in this context? RAW or NOT raw?
Actually, the DNG format is just a container. So inside it, there can be either RGB image data or RAW image data. Typically, some bodies use a DNG container for their RAW images, so it really depends on your DNG images.
I understand this. Still, the differentiation between raw and rgb is unclear because both methods present data about r, g and b light gathered. It would probably be better to talk about mosaiced / demosaiced content.
I understand that a few tools (like DeepPrime) depend on the demosaicing step, nevertheless, all other tools could be used on demosaiced image data too if it were decided so.