I use ClearView Plus quite a lot but I find that the default setting (Intensity 50) is too strong. So most times I use it, I have to manually change the setting. Is there a way of changing the default to, say, Intensity 20, so that when I want to use it it’s already about the intensity I’m looking for?
Seriously - don’t use ClearView Plus unless you absolutely have to. There are far more refined tools with far more control, especially the additional fine contrast tools test come when you use FilmPack from within PhotoLab
Create a preset that includes a reduced strength ClearView Plus.
Check the user guide for how to create a preset.
2 Likes
Thanks for your suggestion, @platypus. As I understand it, a preset can be one or a whole series of adjustments you apply automatically on import or photo by photo via the Preset Editor panel. But applying the preset basically overwrites previous modifications. I would like to be able to apply ClearView Plus AFTER various other modifications such as Smart Lighting. So unfortunately as far as I can make out the preset route won’t work for me.
It feels as if setting the default intensity for ClearView Plus should be straightforward but I’m really struggling here.
You are referring to full presets. They overide everything. However you can also create partial presets that only contain one or more specific.settings of your choice and do not overide anything else. They can be applied after other adjustments.have been made.
Mark
Thank you, @mwsilvers. I guess I’m being really thick but I’ve looked at the manual and I still can’t work out how to achieve what I want. Could you (or someone else), give me a step-by-step guide or point me to instructions that do that?
I can, but I’m actually away from home right now and won’t be available to give you the specifics on creating a partial preset for at least several more hours. In the meantime perhaps someone else will show you how to do it.
Mark
A preset is useful if you want to have an adjustment turned on by default and set to a particular value. It can be used any time you first open a RAW file, JPEG, or TIFF (as specified in the Settings menu). However, it sounds like you want to change the behavior of the ClearView Plus slider such that it is OFF by default but also is set to around 20 when you turn it on. I’ve never tried creating a preset with a slider adjusted to a non-default value and then turned back off. You can try this easily yourself. If it doesn’t work, I suggest that you simply change how you enable the ClearView Plus slider: click on a spot toward the left end of the slider instead of clicking the on/off toggle switch. It’s the same number of clicks and produces the result you want, more or less. This is how I prefer to apply ClearView Plus to my images.
I agree that 50 is way too strong to be practical for a default value. However, it can be useful as a starting point if you like to first see a dramatic effect and then reduce it to taste. I do use it that way once in a while.
To further answer your question: It isn’t possible to change the default value a slider is set to when you double-click on it.
Thanks, @mwsilvers, that’s very kind of you. Time is not of the essence. In the meanwhile, another forum member has taken the time to let me know that it’s not going to be possible to achieve what I was hoping.
Thank you, @Egregius, for taking the time to understand and replay what I was hoping to achieve. Your description is spot on. It’s a shame it looks not to be possible to do what I was hoping.
How I created a partial preset (example) with the Preset Editor Tool
- duplicated the “No Correction” preset and gave it a name e.g. “0 - CVP-20”
(the “0” is for sorting purposes, you could also call it “P - CVP-20” to signal a partial preset - clicked to edit the preset - something like this (rotated to use less vertical space) showed:
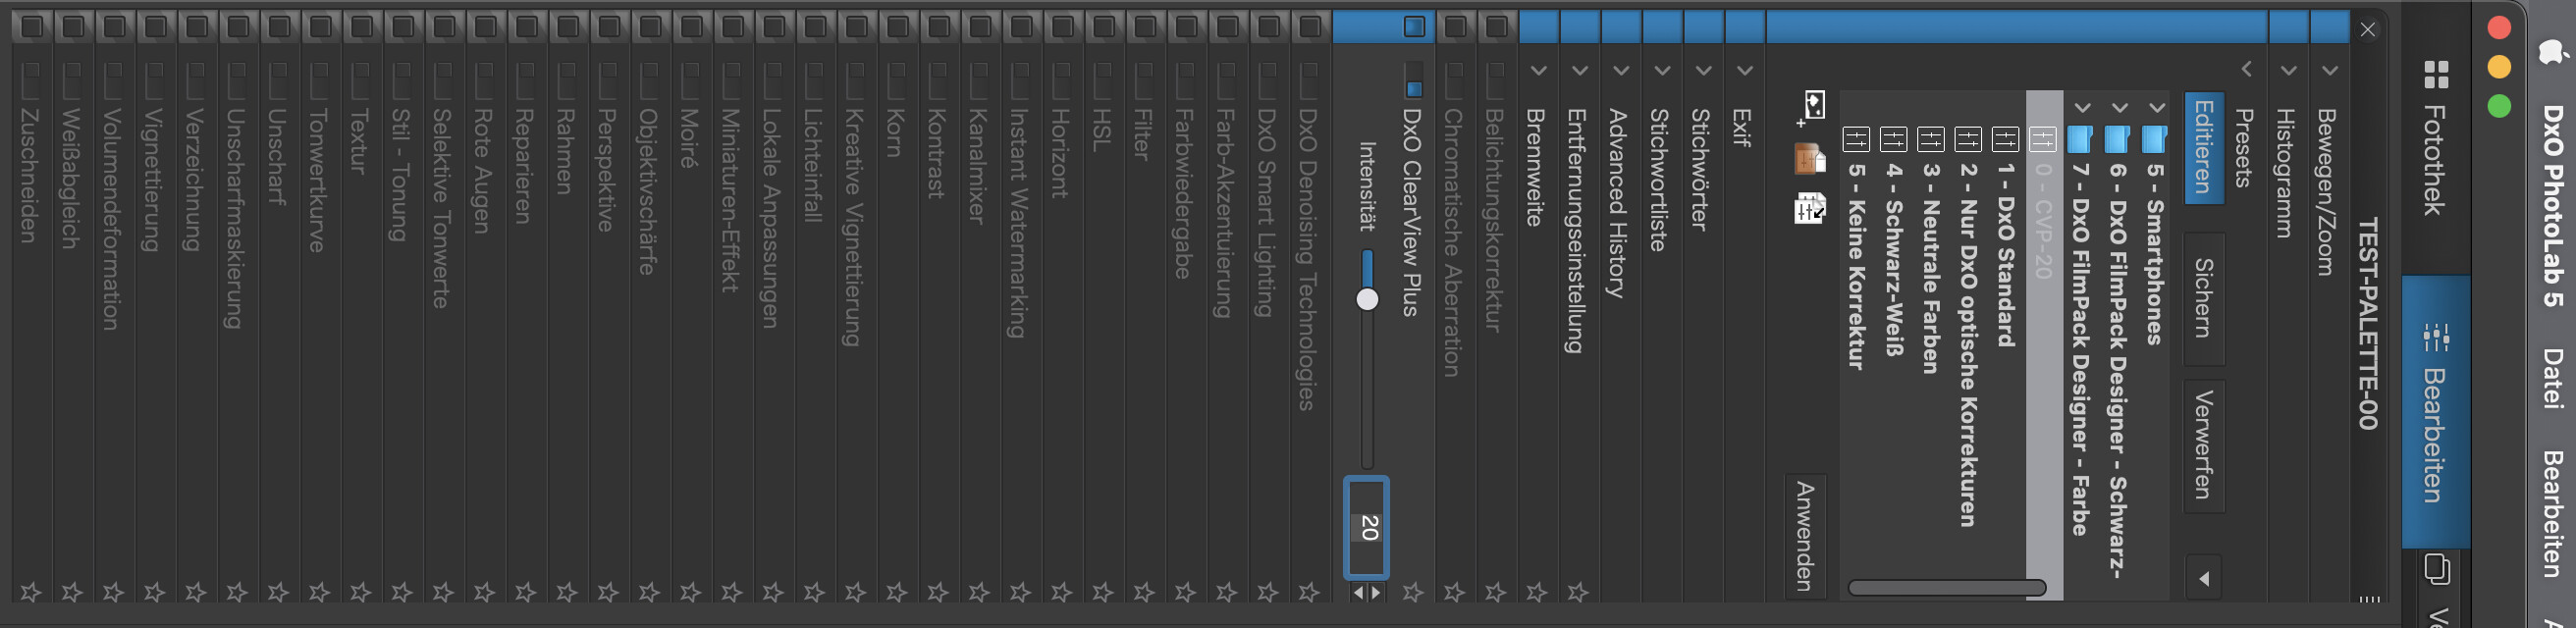
Note: Tools are usually grouped in several palettes, this one is showing one of my custom palettes - deselected all unwanted tools and set the wanted tool’s values to where I wanted them
- clicked “apply” - this then asked if the preset should be saved, answered accordingly
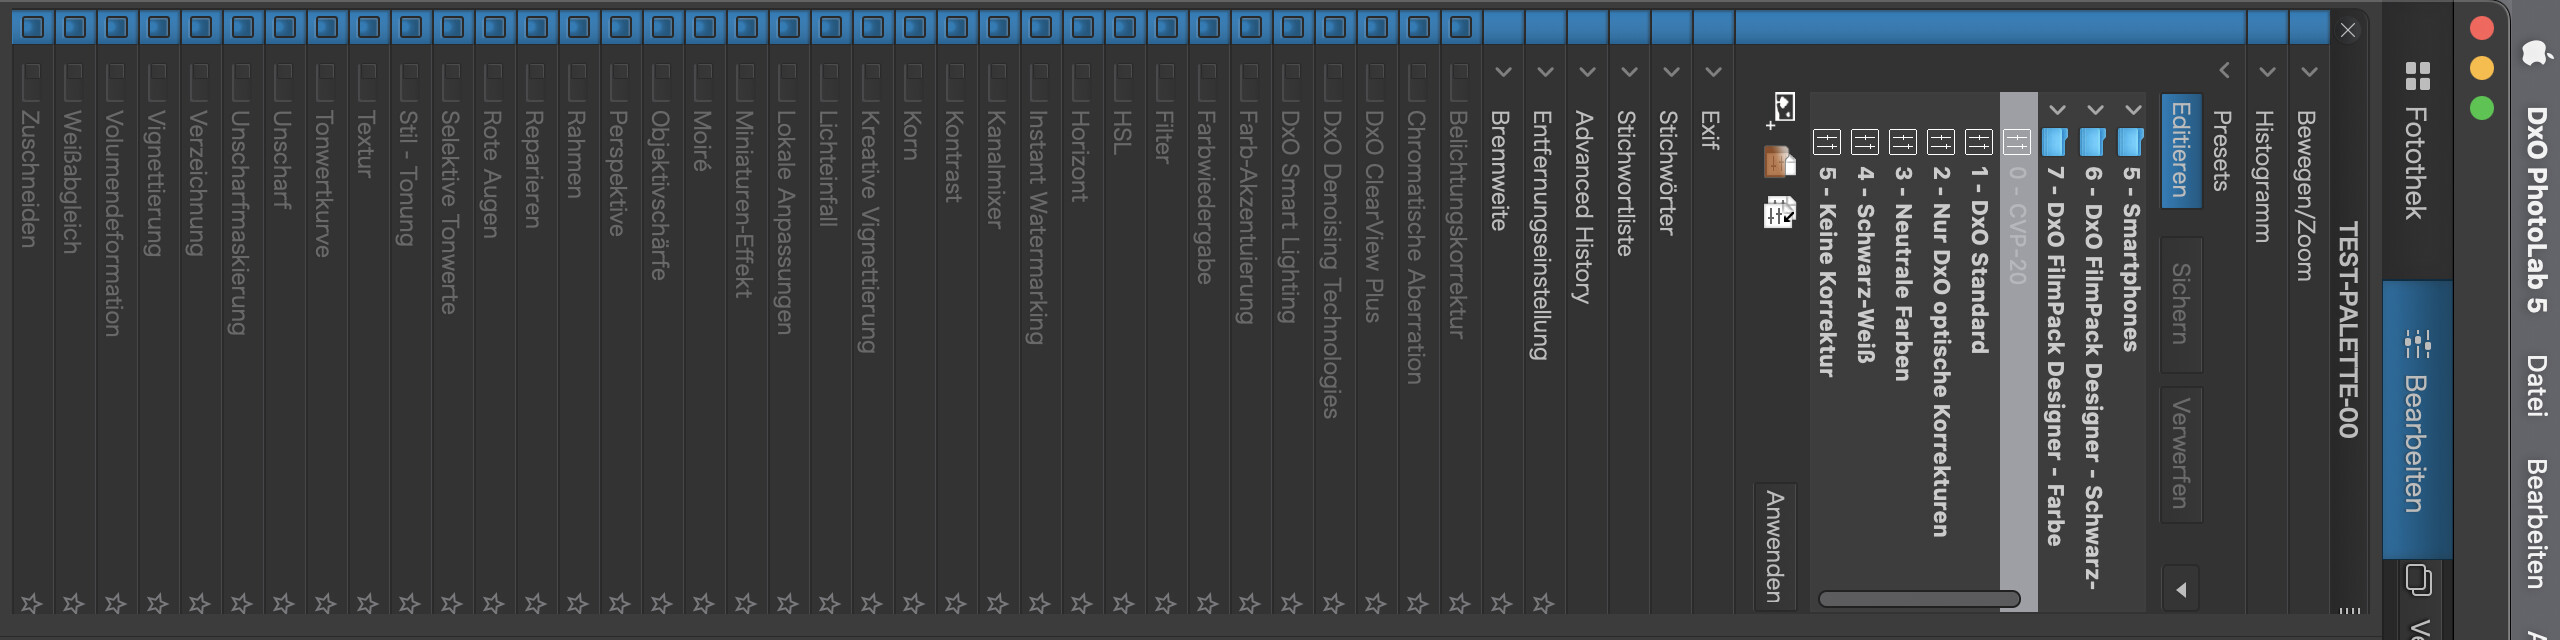
From then on, the new preset can be used whenever you like.
0 - CVP-20.preset.zip (693 Bytes)
Caveat
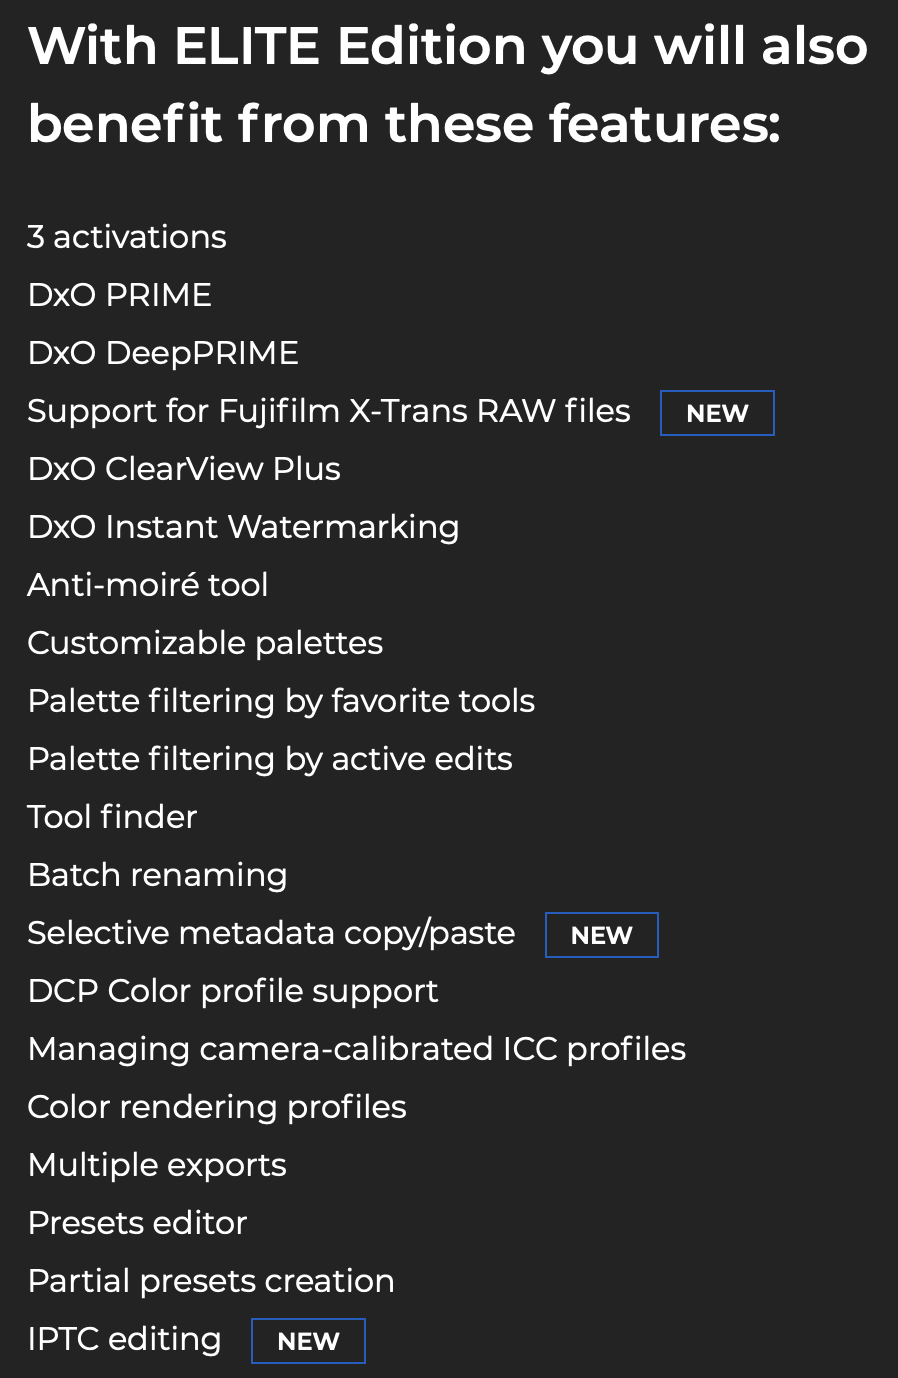
- You need the PL Elite edition to edit presets.
Thank you, @platypus. I’ve followed your instructions (fortunately I have PhotoLab Elite) and they work. Really appreciate your help here. Hope I can reciprocate one day but I suspect you’re much more knowledgeable than I am! Thanks again.
I hope that you found, with @platypus’s help, that it is possible to achieve what you wanted. Using partial presets give you a significant amount of flexibility. Depending on how much you use Clearview, another option to consider is to update your startup raw preset to select Clearview with a setting of 20. If you do that, every new image you edit will open with Clearview set to 20. If you don’t want Clearview for a specific image you just need to deselect it.
Mark
1 Like
I feel like this needs a new post (and thread) for you to address this statement more fully. I use ClearView often, in small amounts, and I’m intrigued why you dislike it and how you achieve the same results.
Most of the time I use it in cases where there is haze in the air, and often via Local Adjustments to reduce the effect of it on distant landscape without “popping” the foreground.
1 Like
How about you start a new thread “ClearView Plus - good or bad” (or something like that) and post an image that you would usually process with ClearView Plus and I then treat it as I would?
Q: Does it matter if someone likes and uses CVP or not?
A: Not really
Use the available tools to get the results you like. If there were one “correct” way to customise images, PhotoLab could be an app with one button…
3 Likes
Now there’s an interesting idea 
1 Like
In regard of Mike Meyer’s epic “How to create photos like “the masters”, and is PhotoLab a useful tool?” and the bandwidth of troubles you already shot for him, I find it rather ridiculous to start a new thread with just the same topic.
I also do think a sentence like:
is a bit bold without knowing why one uses CVP. It’s not only very useful for all kinds of moist, fog or dizzy air, it’s also helpful to clear up reflecting water surfaces.
Basically I don’t need a new default setting. Wether I switch it on or just move the slider to 10-25 is nearly the same movement.
2 Likes
Even better, if you’d prefer a different ClearView setting automatically applied to ALL your images, update the preset applied to all new images “discovered” by PhotoLab … like this;
-
Open any image that has not been previously encountered by PhotoLab.
-
Change the Clear View setting to whatever you’d like it to be.
-
(and also change any other settings that you’d like to be your standard default)
-
Use this menu option
 to save your new settings - and assign it an appropriate name … such as “My Standard Preset”
 -
Direct PhotoLab to use “My Standard Preset” (or whatever you named it) instead of the “DxO Standard” … via menu option Edit / Preferences
eg. Mine looks like this; 
John M
The tonal contrast sliders need to be part of Photolab. New users and reviewers don’t have these tools which I certainly rely on, and I think many on these forums do, as they make a significant difference to successful editing.
Competitors like ON1 develop plugins like NoNoise and then integrate them for free in their main product.
1 Like