Well, at first I thought ‘what a silly idea to mimic the rendition of a good portrait lens’. But then I watched the LR video and read the whole thread, which somehow slipped off my radar.
Experimenting with your idea was interesting and I noticed, that the blur tool enhances highlights, which is quite different to reducing texture (microcontrast) or sharpness – I’ll remember that.
Hi Tony,
as Automask generates a quite sharp ‘edge’ instead of a smooth transition, I don’t think it’s the ideal tool. And different to duplicated control points you can’t change it’s size to further manipulate with new settings.
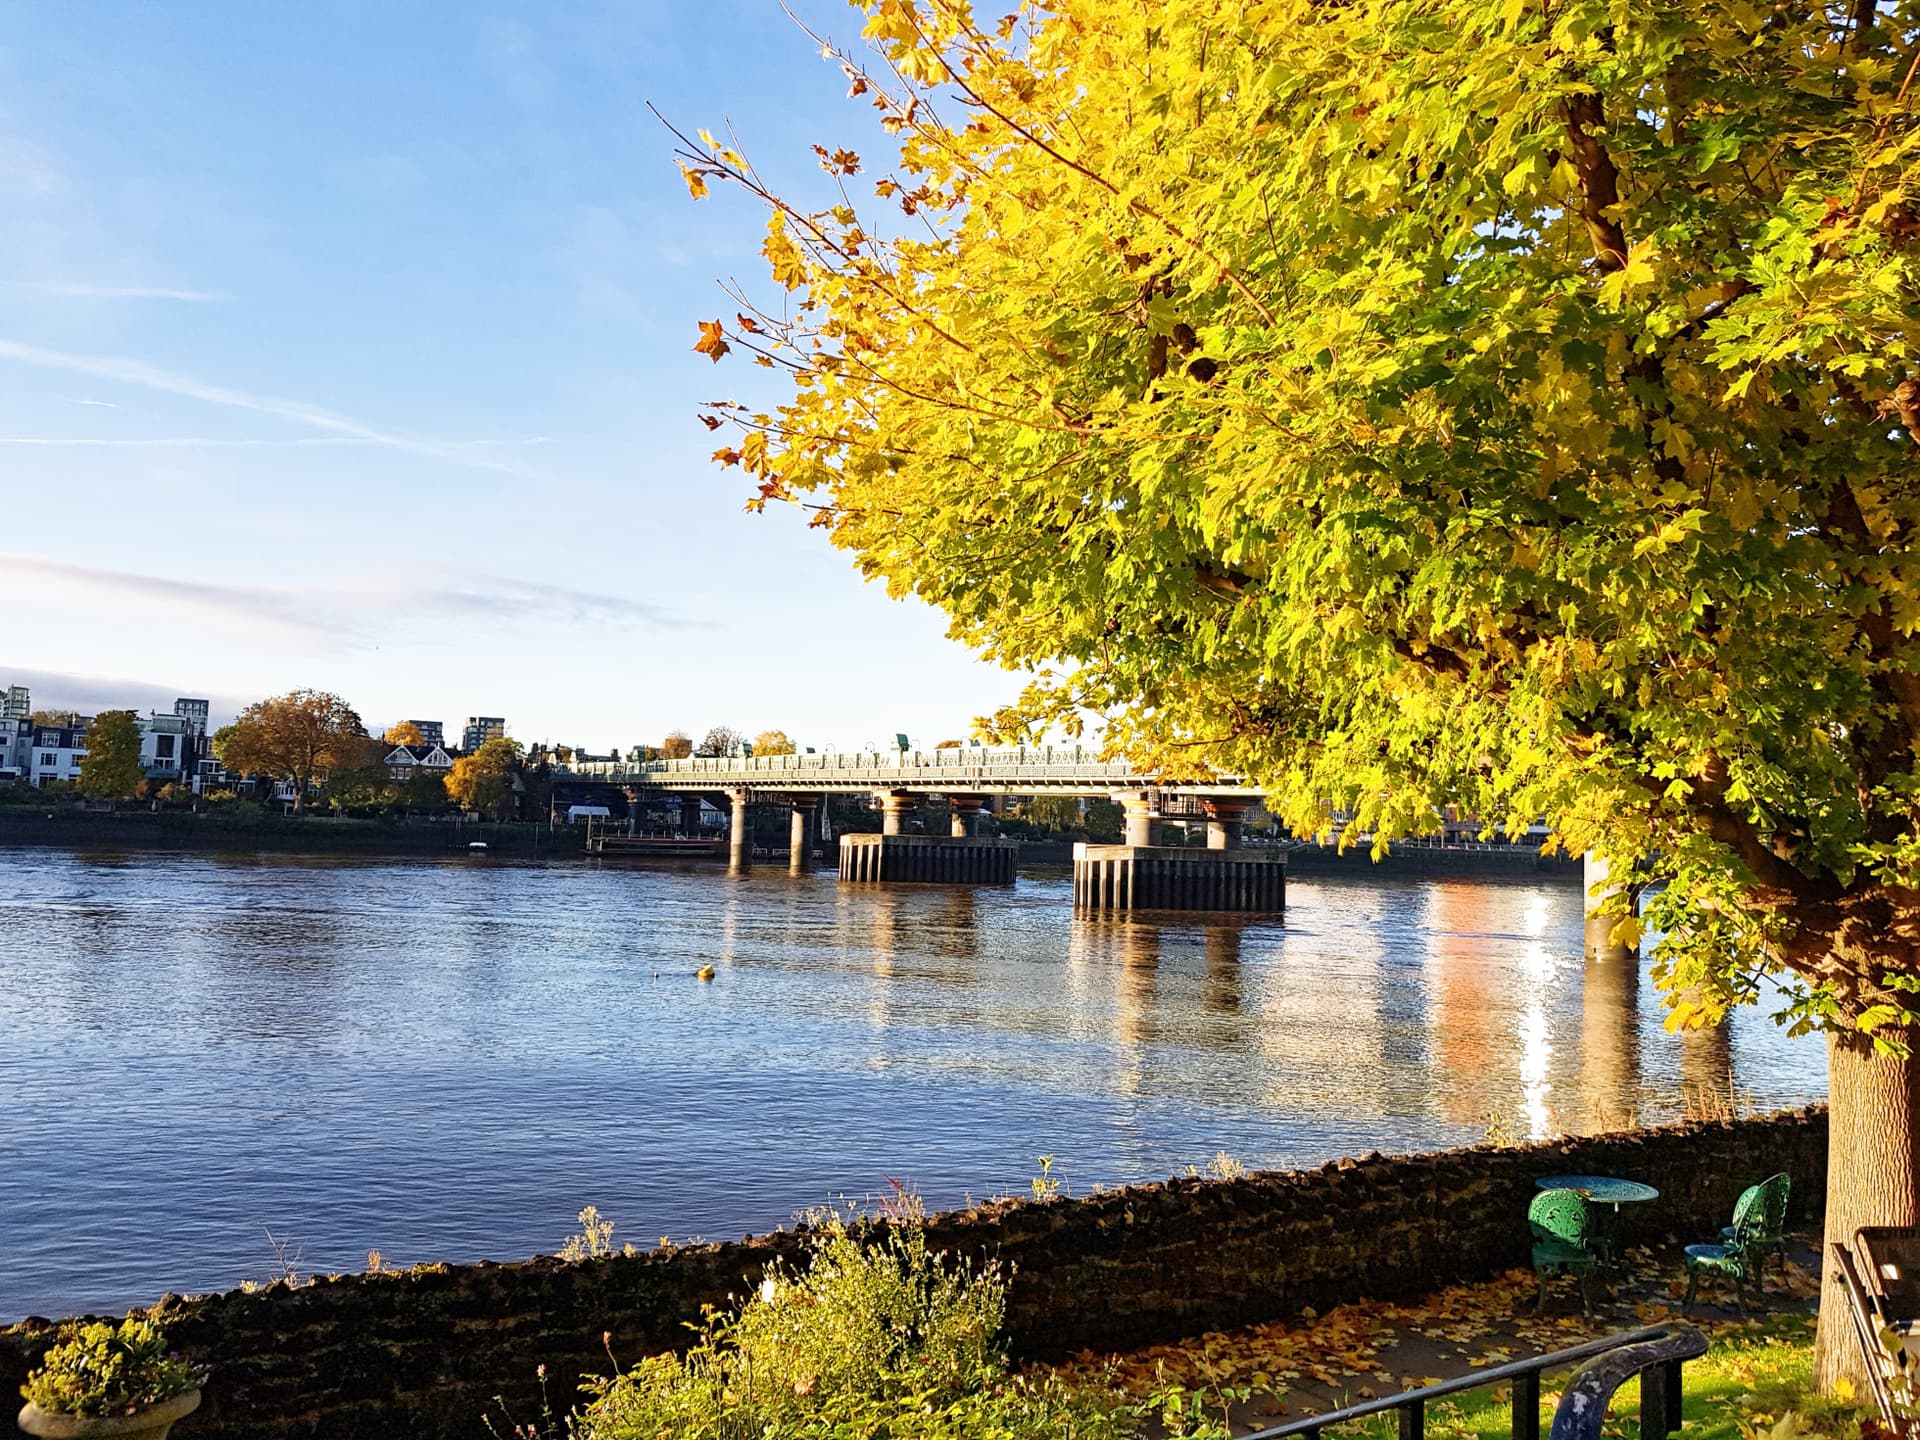
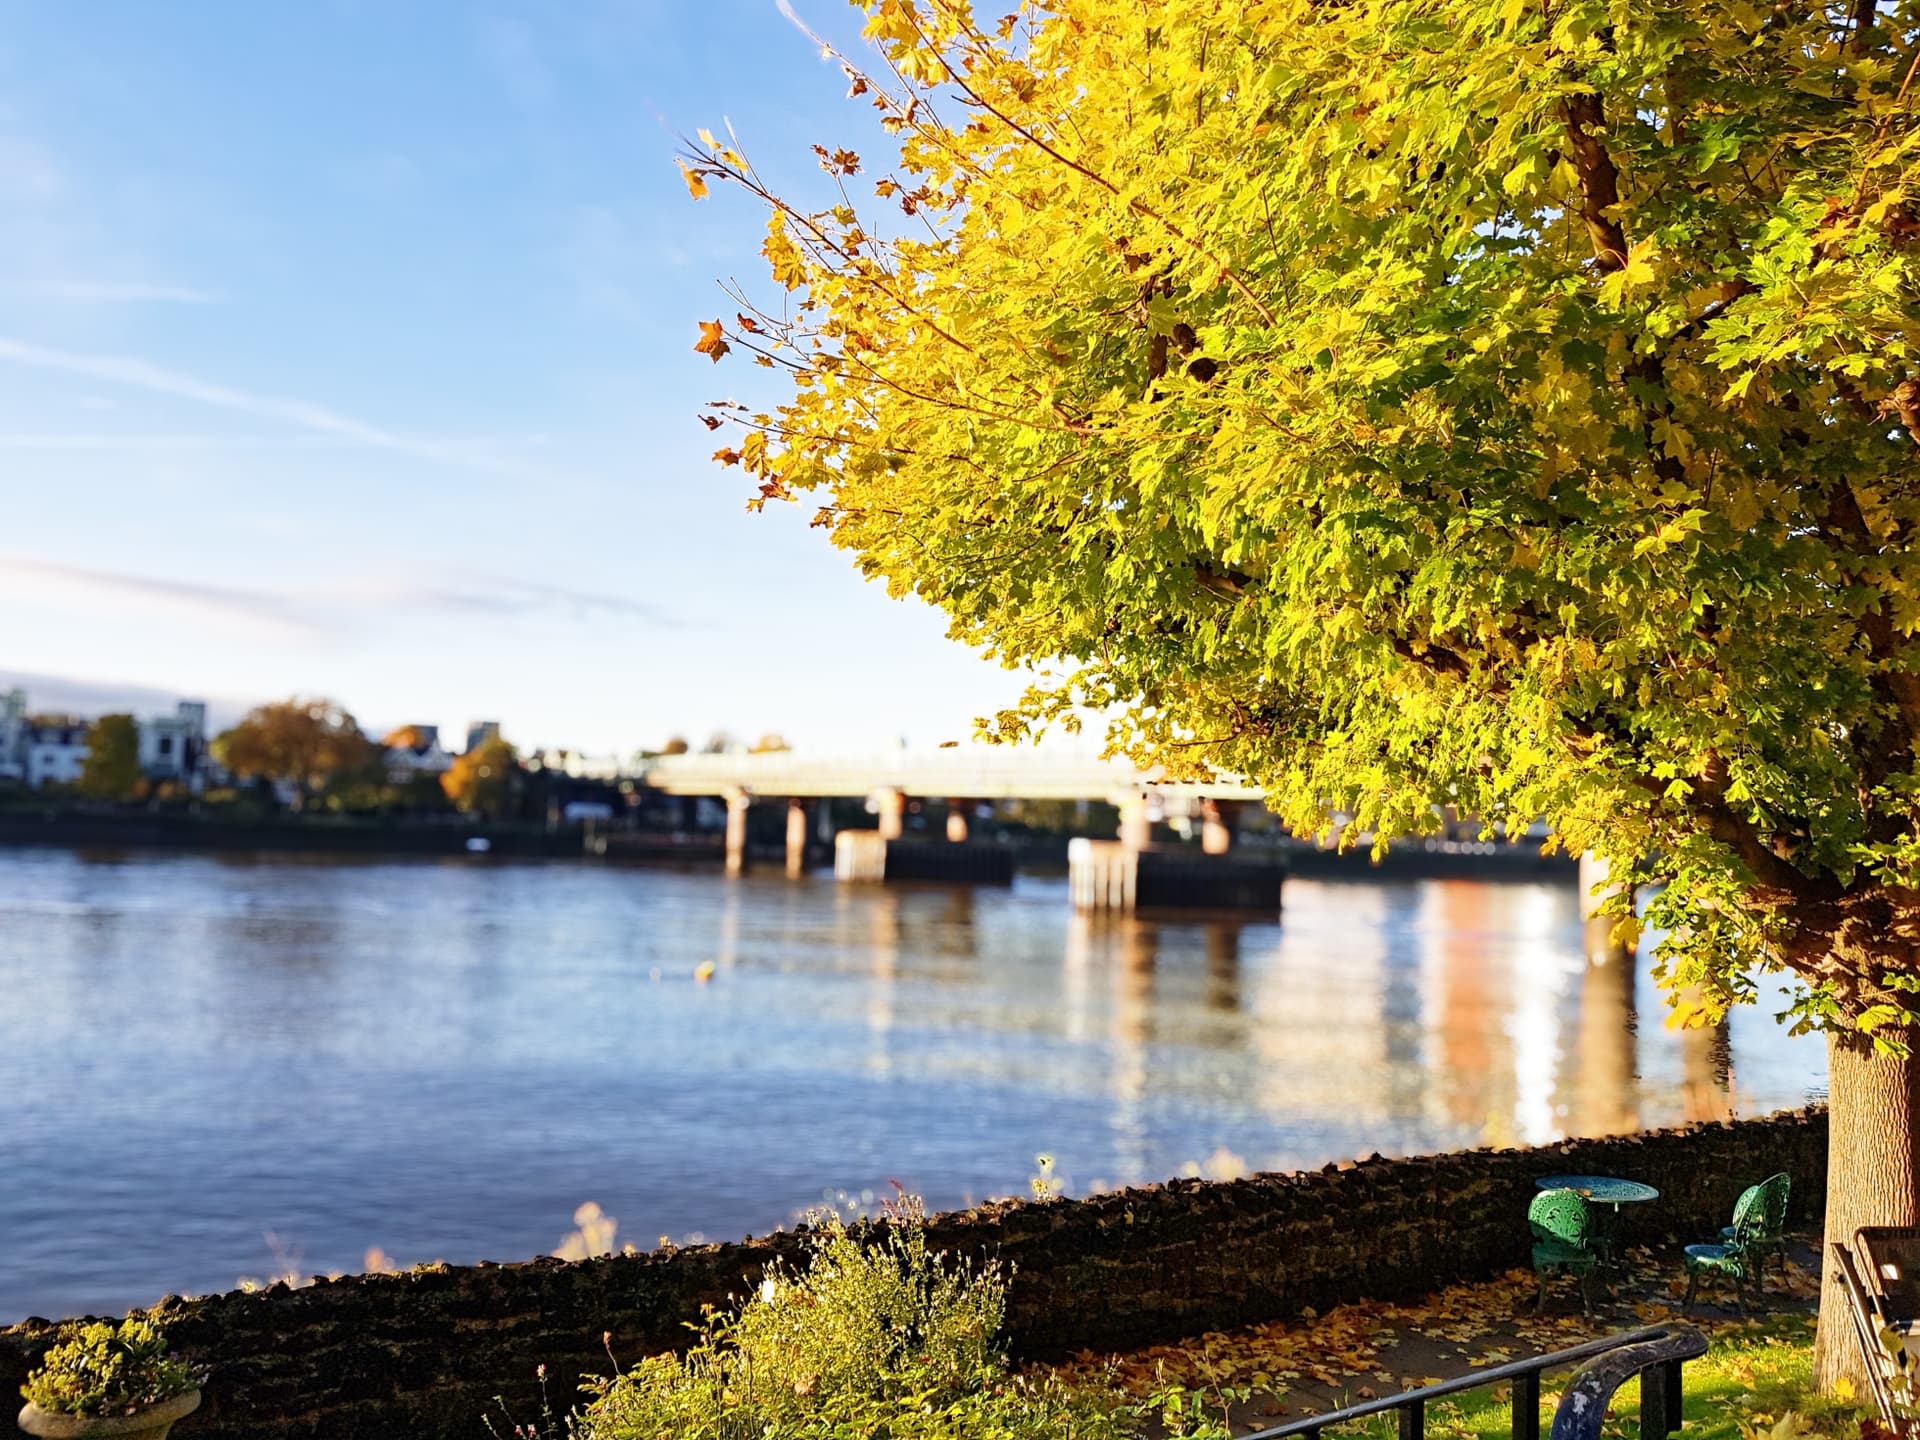
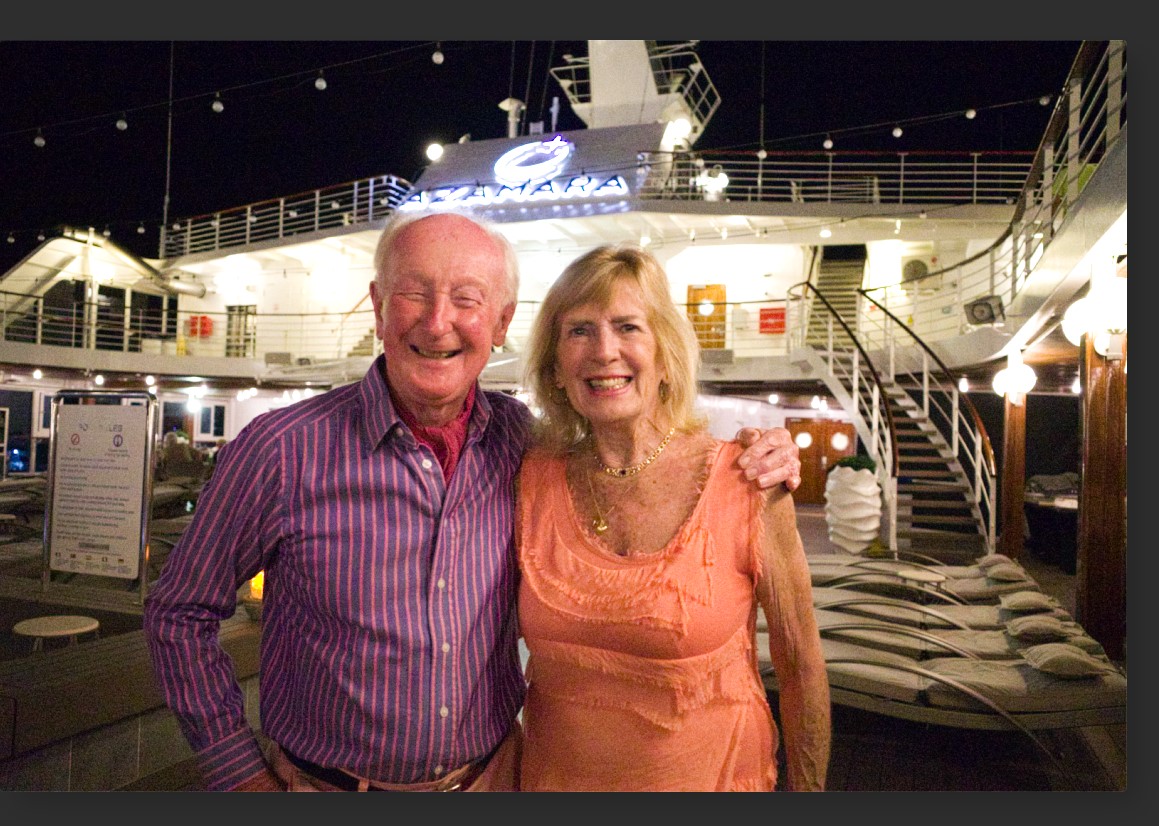
The 1st example doesn’t look convincing to me. The bridge and the reflection in the water are much brighter now and as such distracting. Suppose you can lower the highlights.
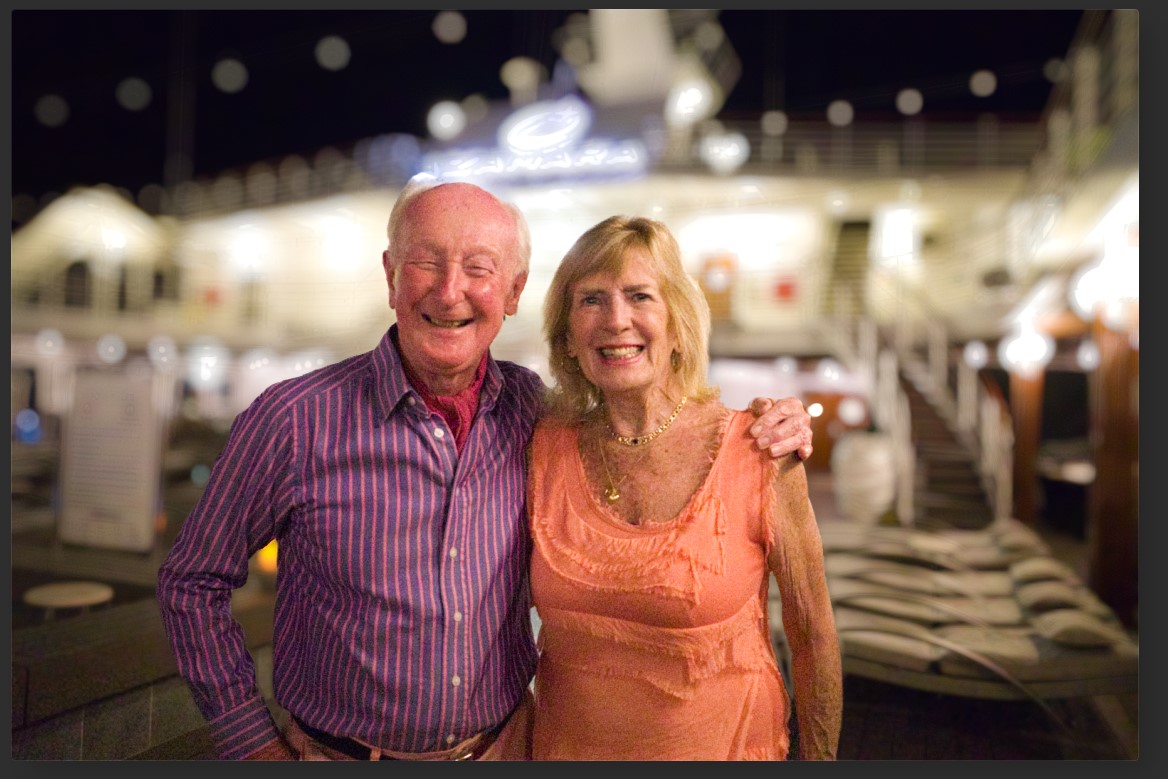
But what I don’t like at all is the sharp wall against the bright and completely unsharp plants at the riverbank. Apart from the illumination, there is no sharpness fall-off.
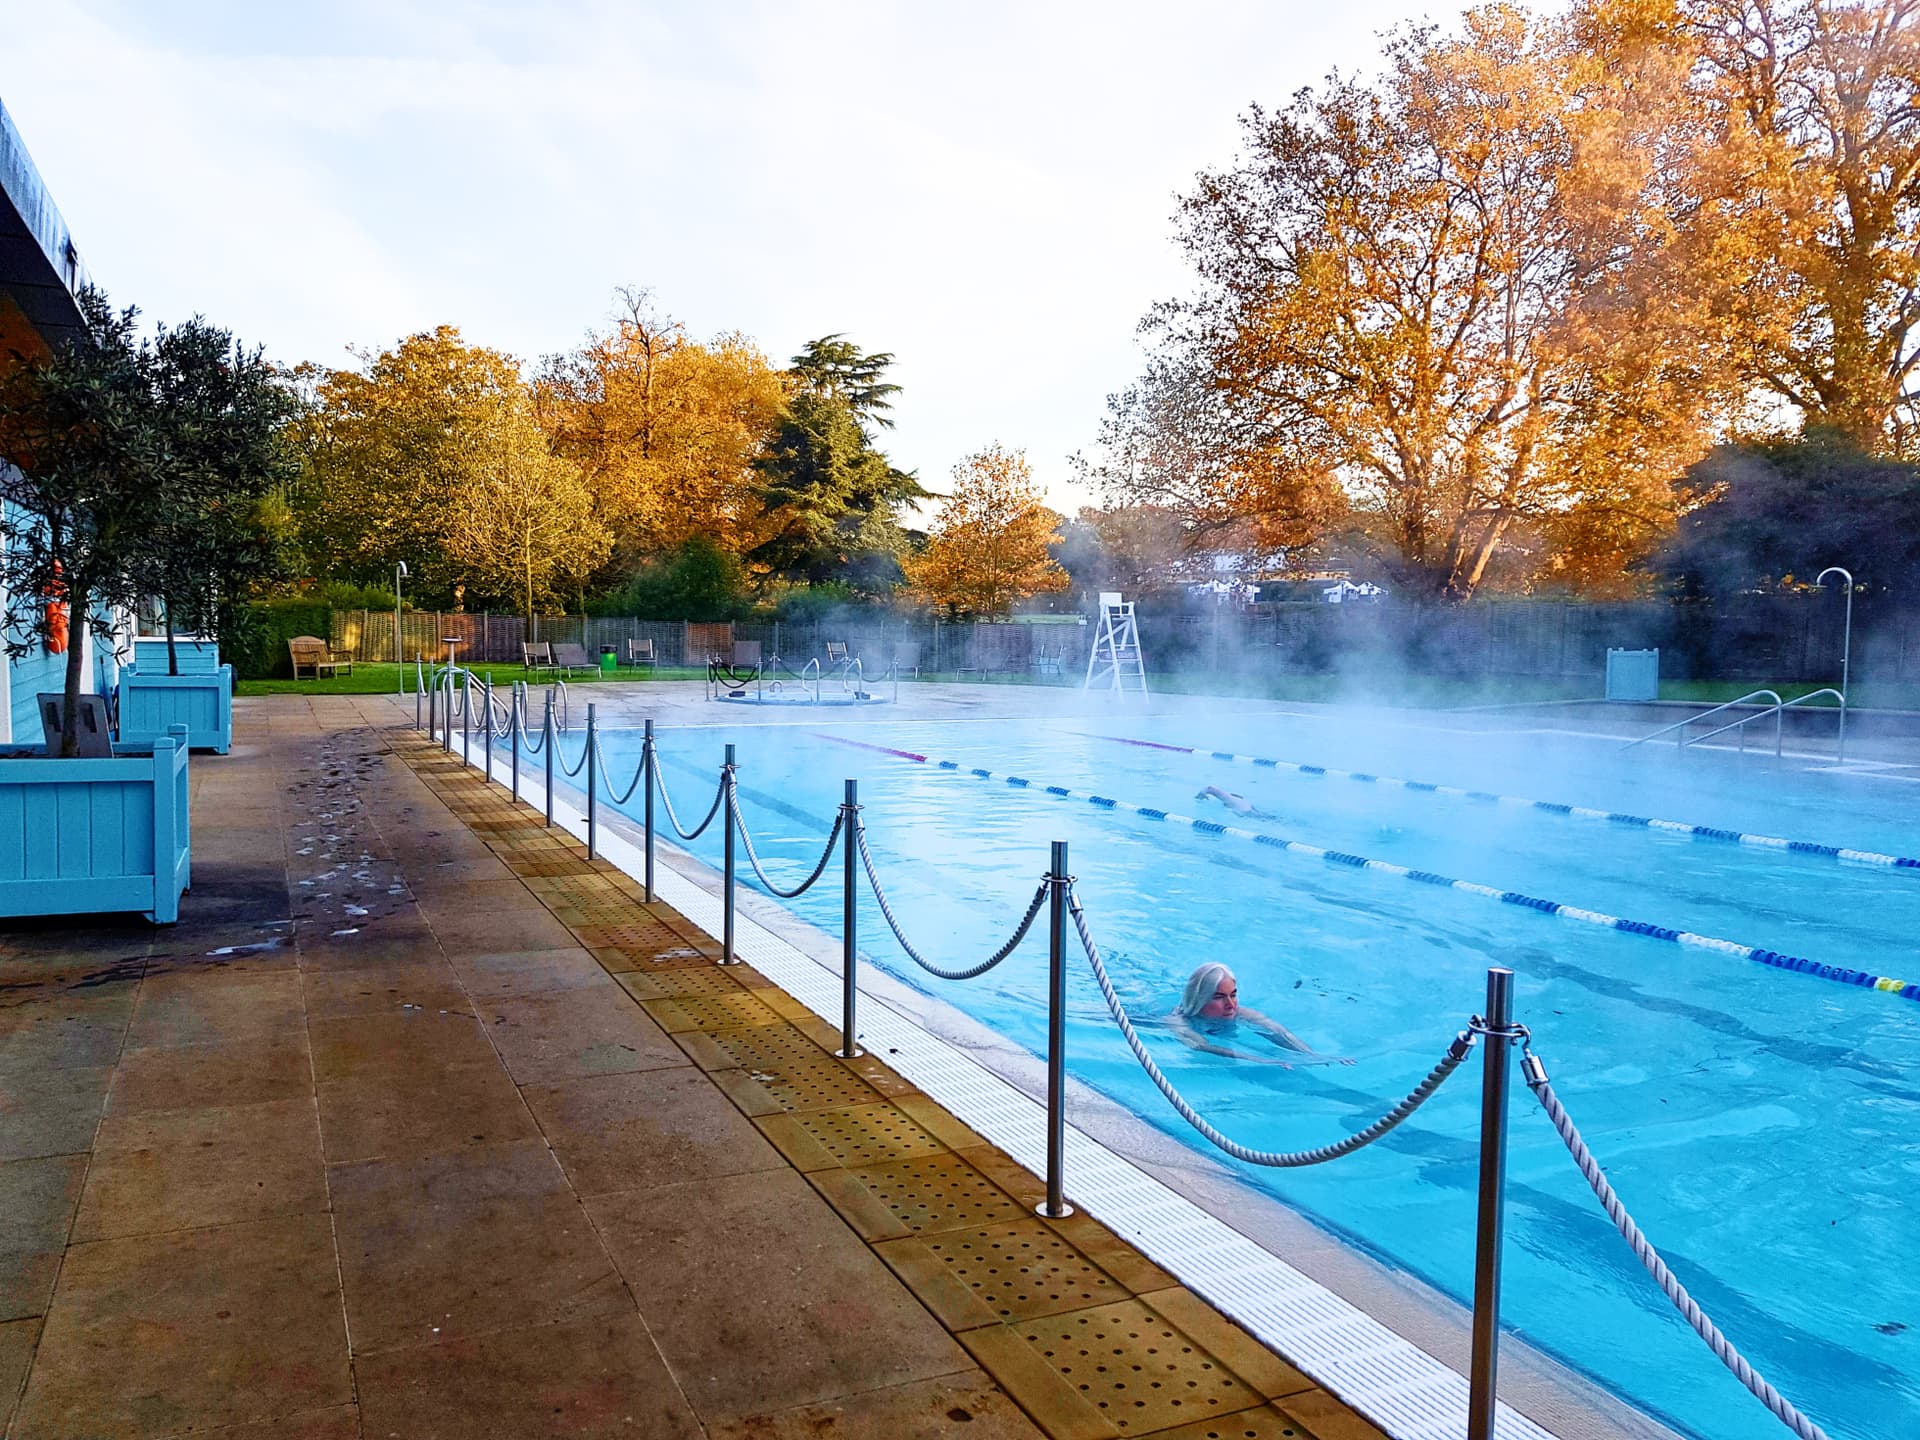
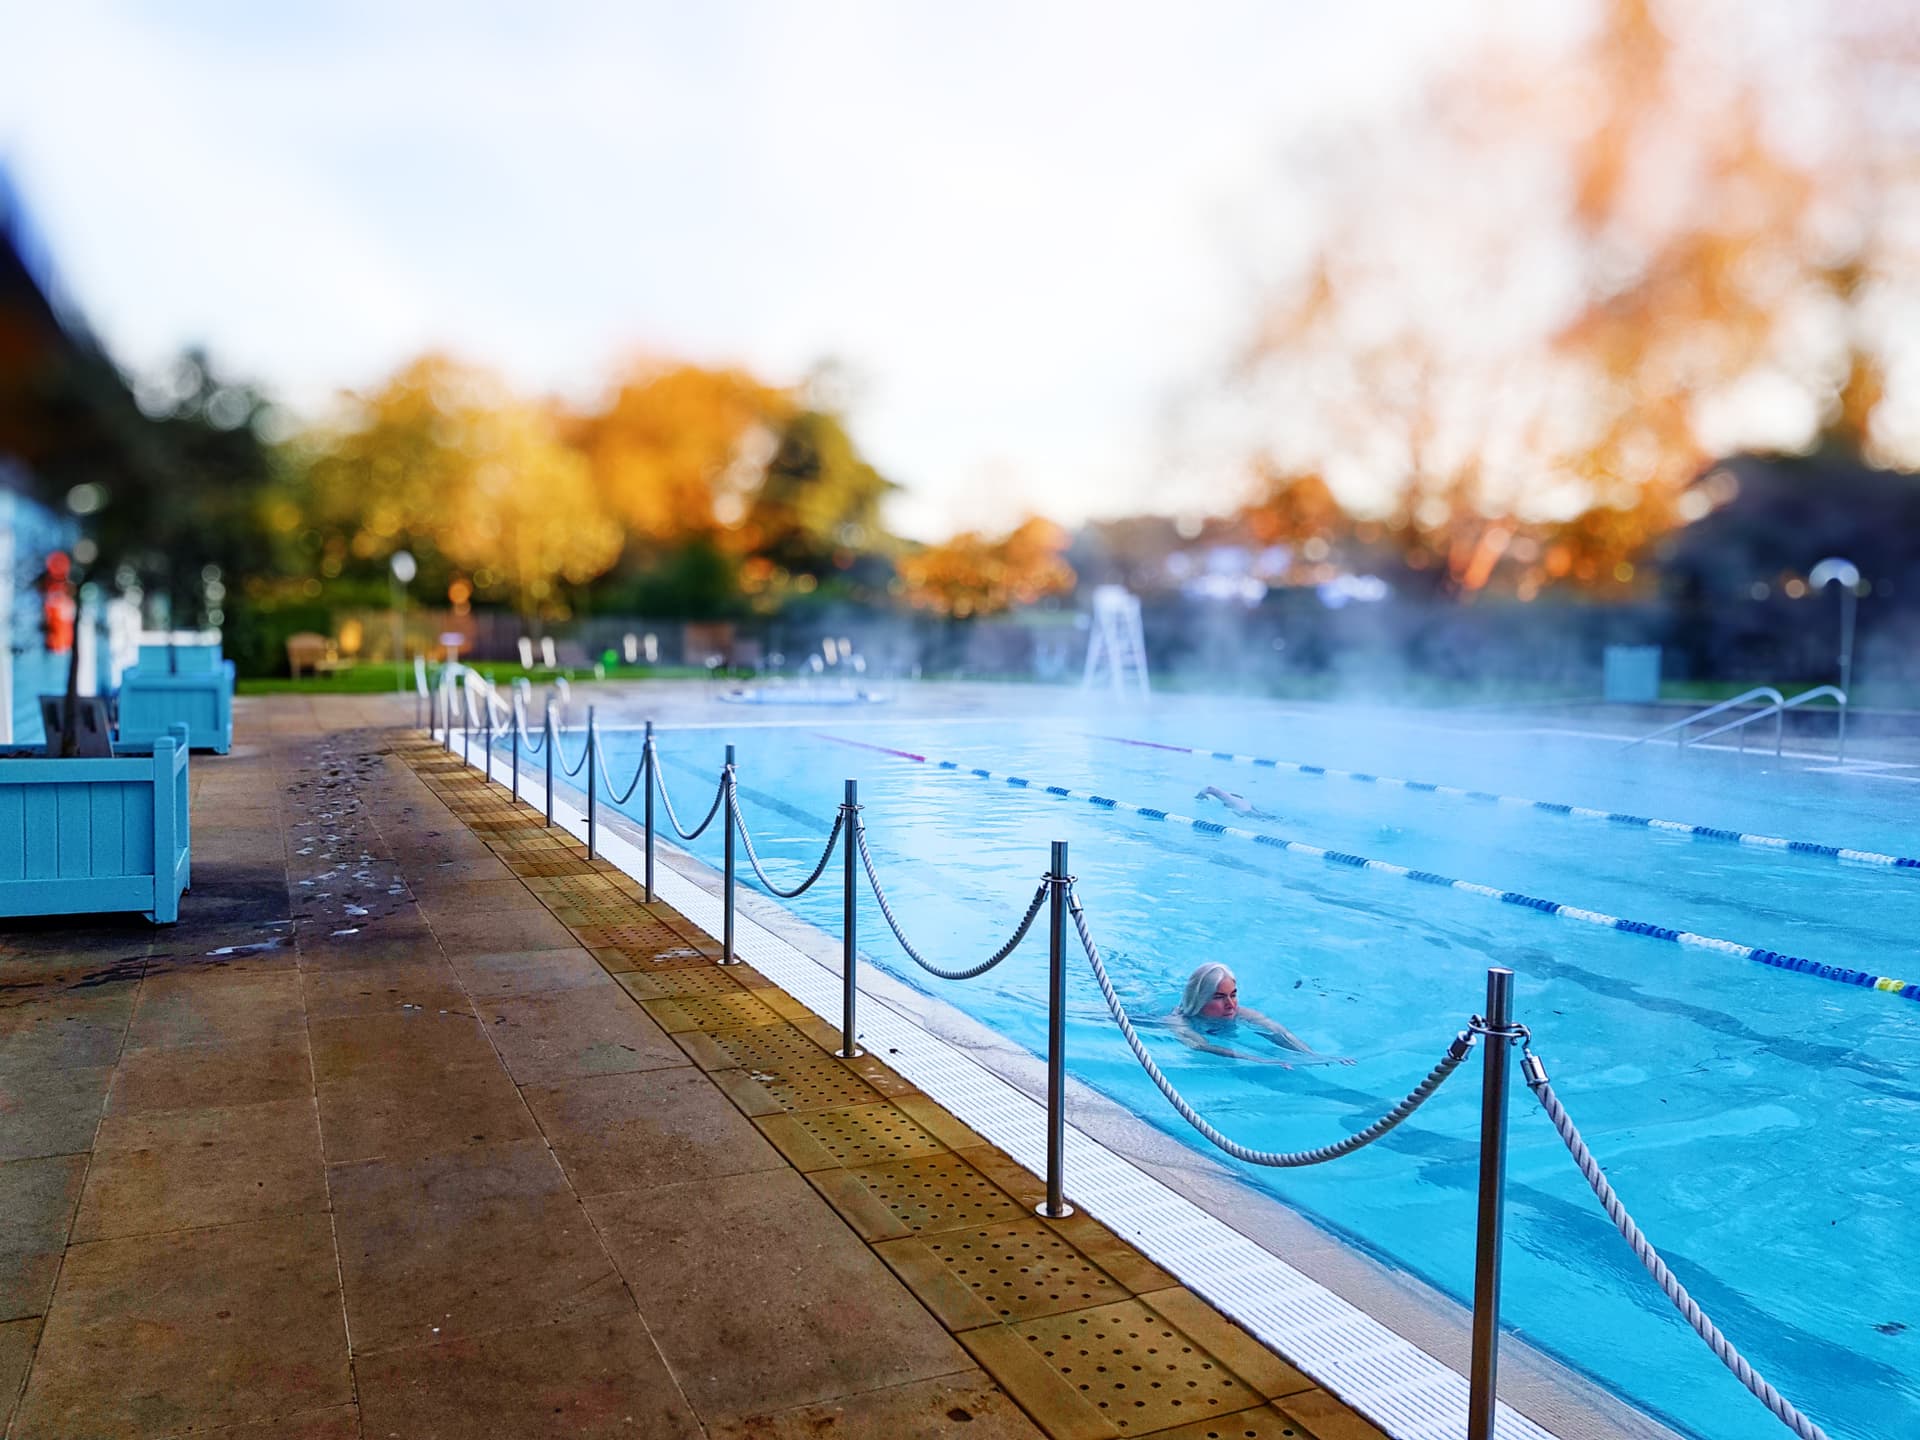
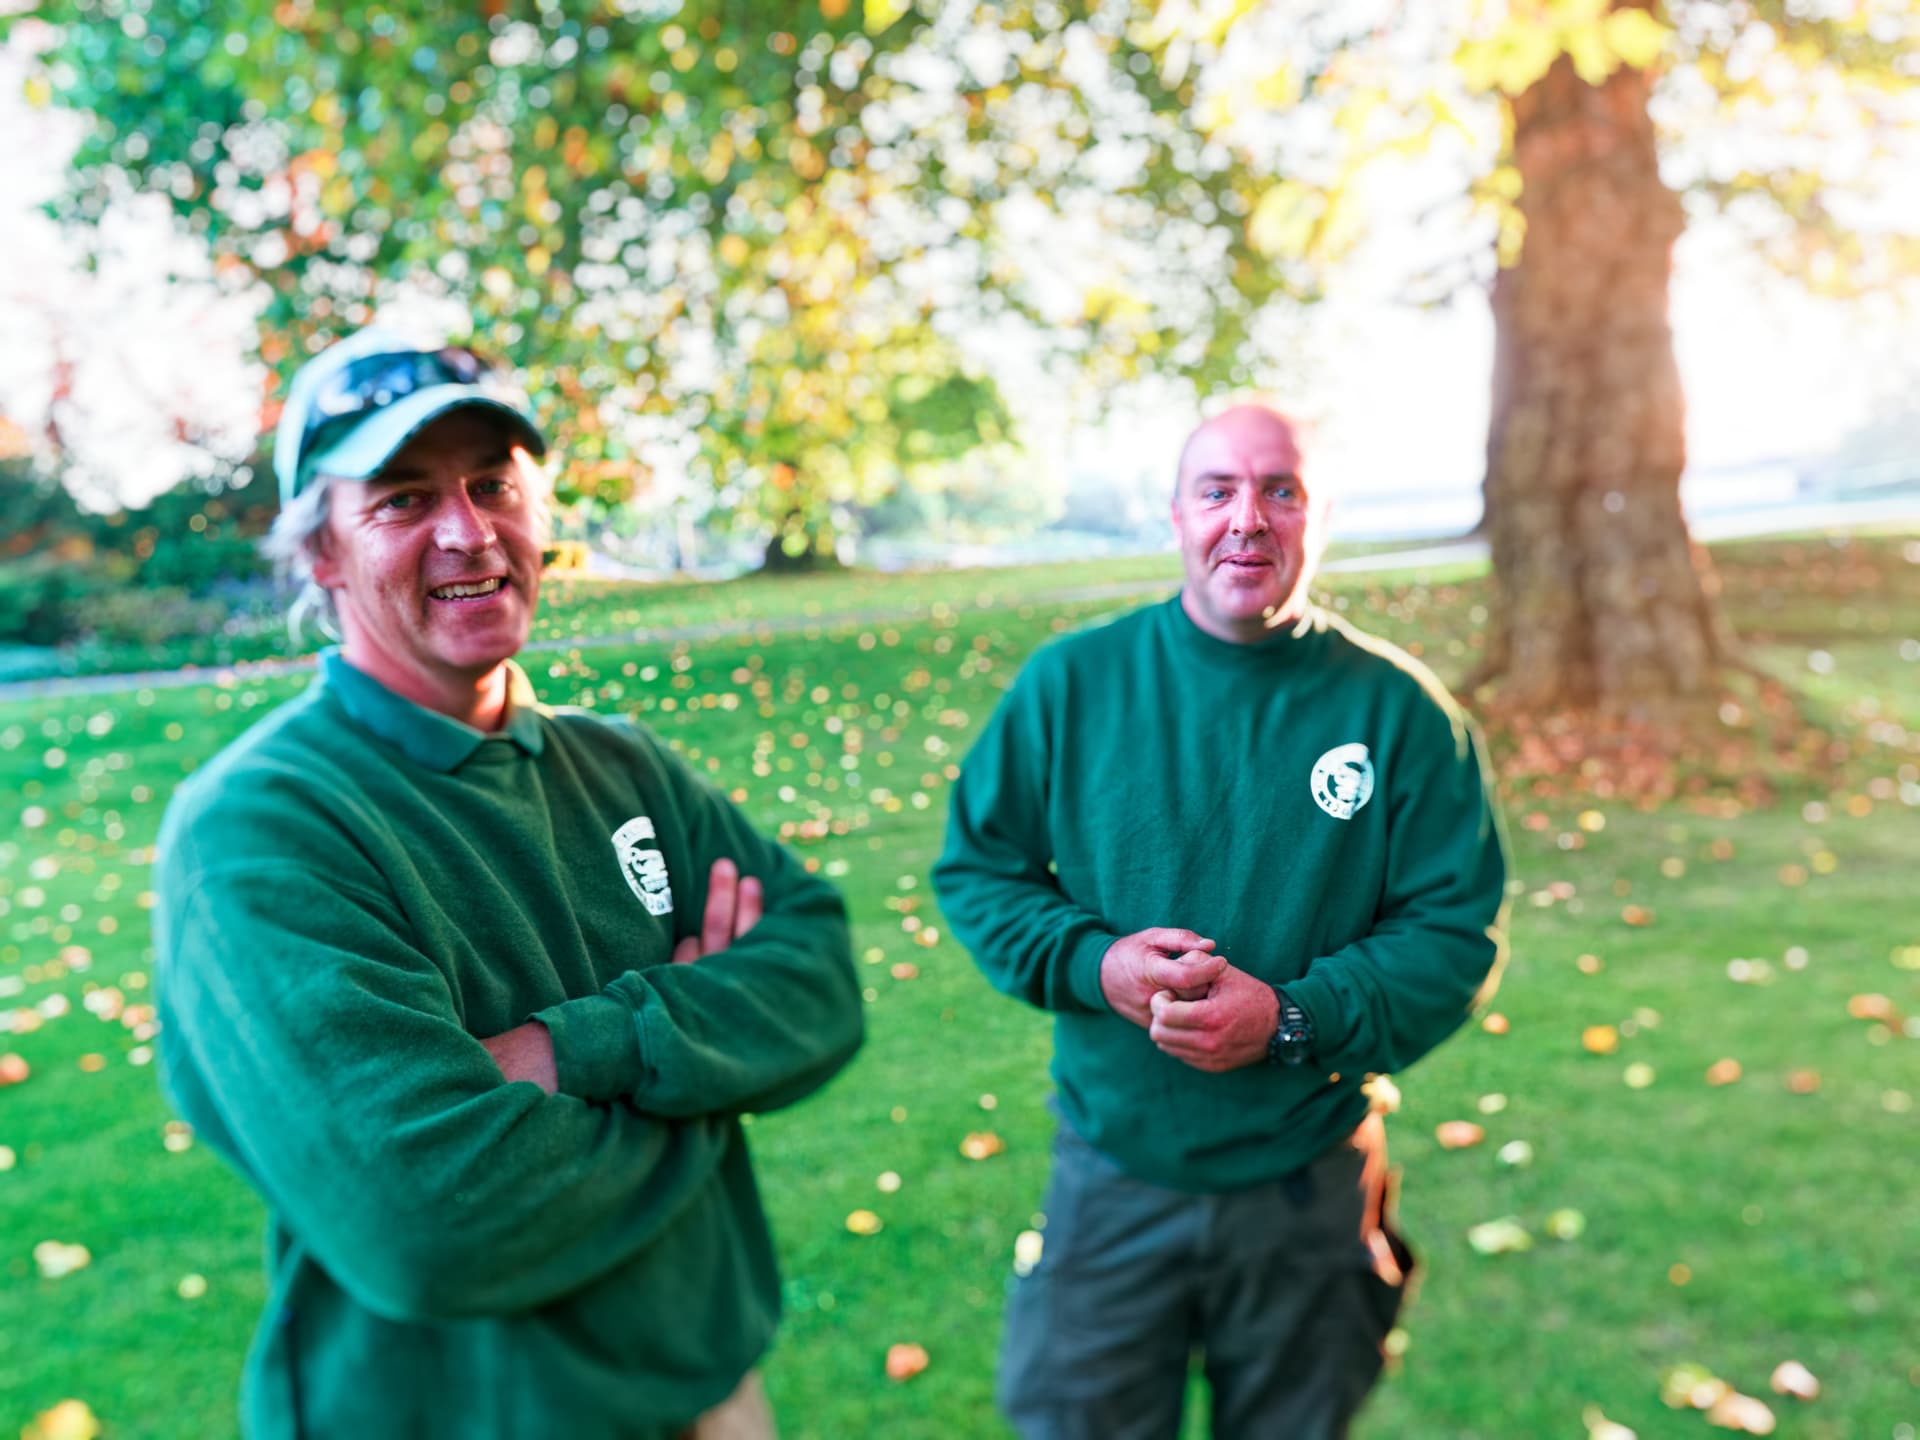
The 2nd example looks better, as you could make use of the original’s bokeh. Again, try another version and carefully reduce the background highlights.
Your attempt with the Graduated Filter looks like an (overdone) demonstration, far from reality.
Just an idea, if you have access to FilmPack try the Miniature Effect with low settings (or from the Nik Collection → Analog Effects’ Bokeh).
Anyway, thank you for sharing your attempts. We all profit from examples.
Wolfgang
I’ll have another go with Control Points but my first tries found them blurring the bit I wanted to keep sharp. Maybe the feather was too strong.
Your points are interesting and valid. I did not expect approval on the third set. The second has already got a start to work on. The first I can revisit and darken the water. Yes the plants are lost in the mask and I could try to remove it with the Eraser.
But I will look at Control Points again of course.
Try with less blurring + reduce the background highlights or maybe better reduce the background highlights before trying to blur (blur just a little to stay believeable).
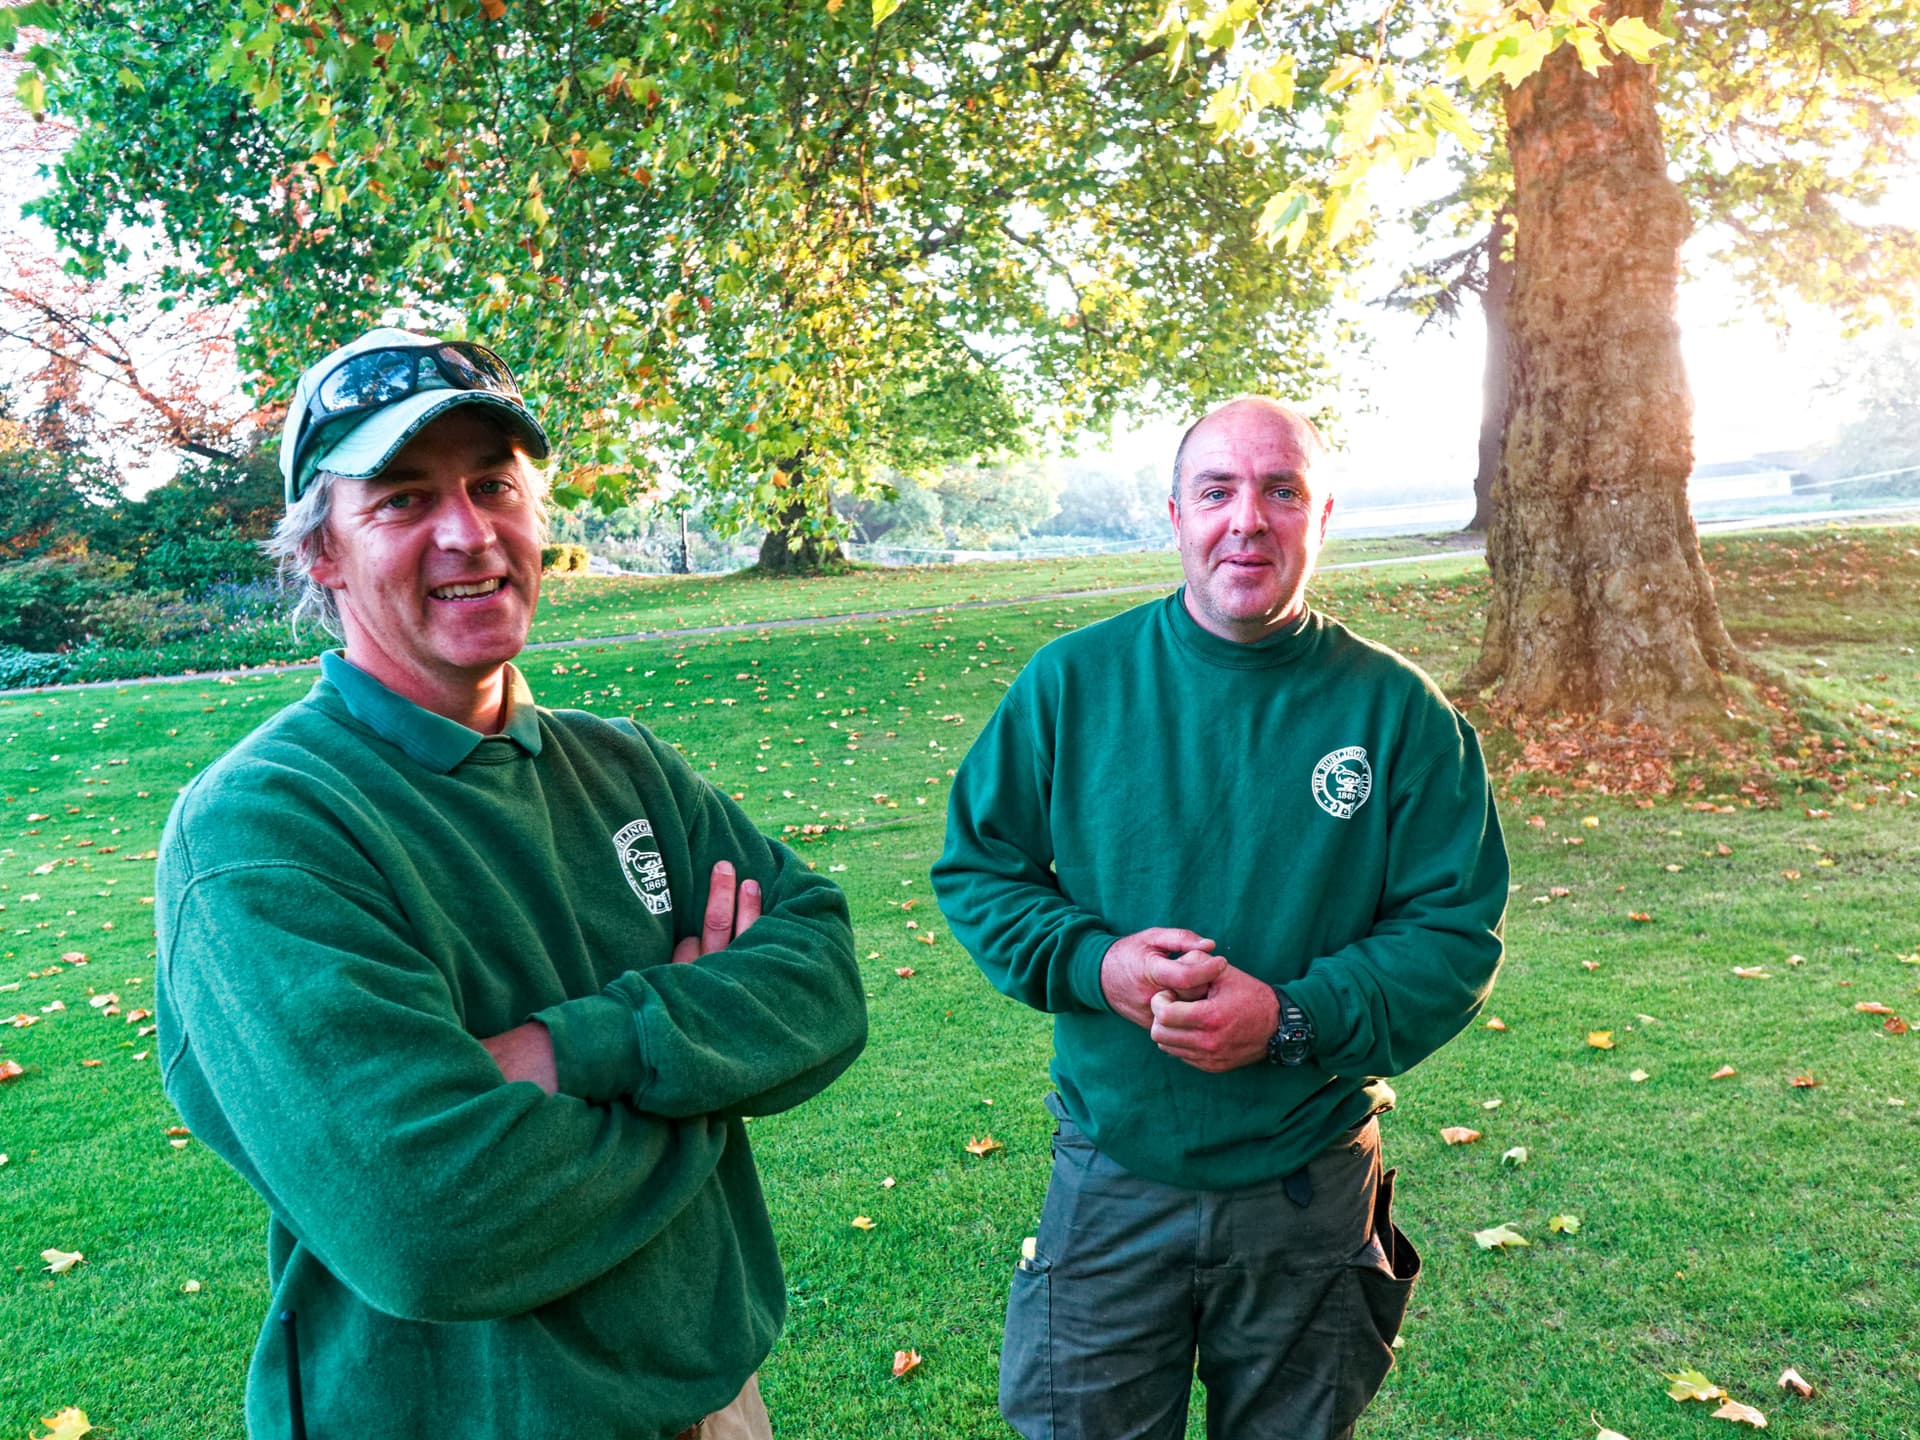
Can you upload a raw-file (or pm)? For this pic I would try with a graduated filter to mimic 3D and manually exclude the guys from the mask. That could work as they are the pic’s subject and both close to the cam.
I have been working with some indifferent files. Too lazy to dig out some older ones.
My work is photojournalism and I can see how the folk who use my shots gravitate to the ones with better bokeh. I use m43. I am too old to cart around FF kit.
I’ll dig out some better RAWs and send something to you so you can see what you can do with them.
A bit busy over the weekend - so as soon as possible.
An idea would be to be able to create a mask based on sharpness (this exists on other software - maybe this is a bit more complicated than only sharpness).
This would be great to increase DOF (can looks like at least 1 more stop without looking wrong).
There is a vast pool of folk who have moved from FF to m43 and who regret the ability to separate their subject from the background when on FF the background would be softer.
I’d pay megabucks for this. Far far more than DxO are wanting me to pay for FilmPack!!
An algorithm that created a mask based on detail would work automatically on every frame selected - leaving only the fine tuning of how much softening it needs to be done by hand.
Everyone who reads this thread please add your vote. I cannot believe there are (currently) only eight folk using DxO who would not use it!
Tony
Photo-DKO
(Dirk Offringa, Windows 10, RX570, PL6E-VP3-FP6, Fujifilm shooter)
39
I’m one of many who aren’t interested at all in such image manipulation features. If I needed those, I’d get more special-fx oriented software to complement my raw processing chain, like Luminar Neo