in order to optimize the workflow to create a series of presets, I’ve come up with a procedure that helps progress easily and transparently. Initial effort is a bit higher but factoring new (similar) presets is very much streamlined. Here’s how everything works:
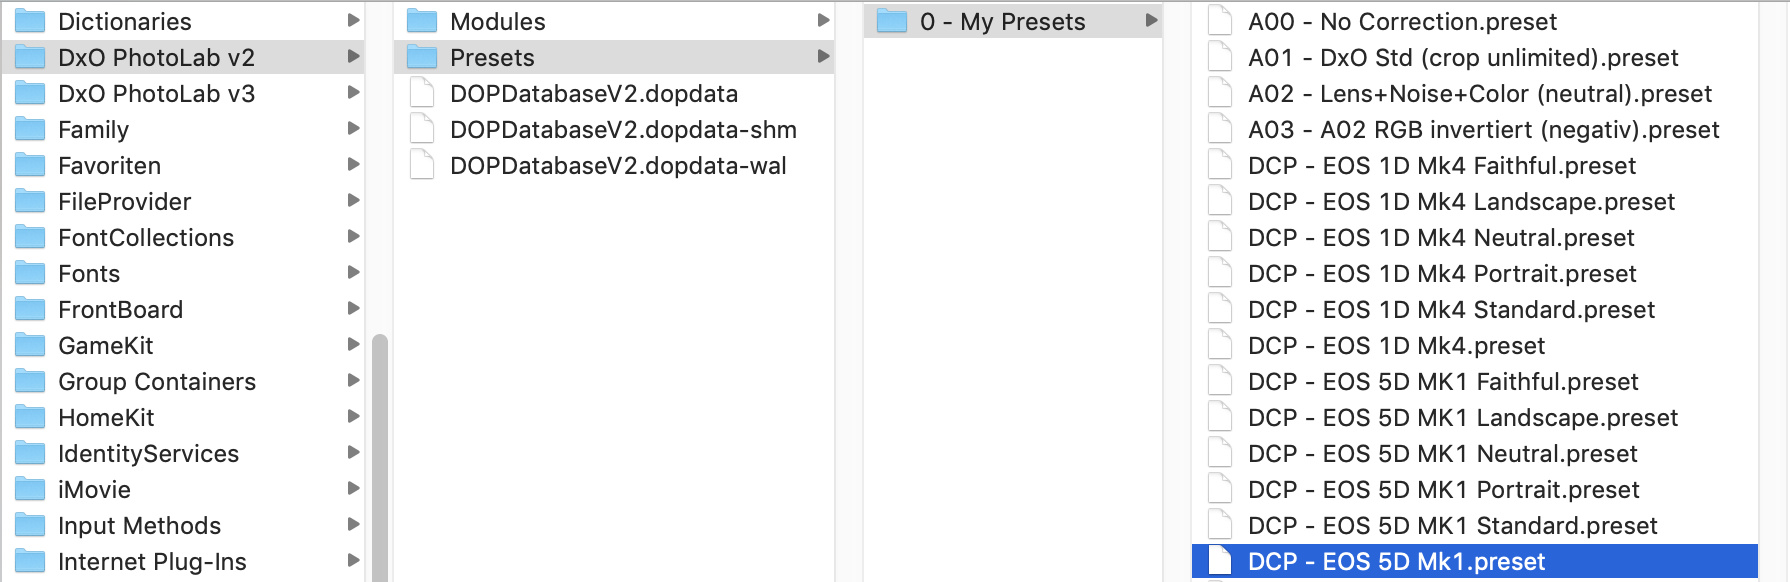
Create a new partial preset that defines exactly the thing that you’ll need in variants DCP - EOS 5D Mk1.preset.zip (511 Bytes)
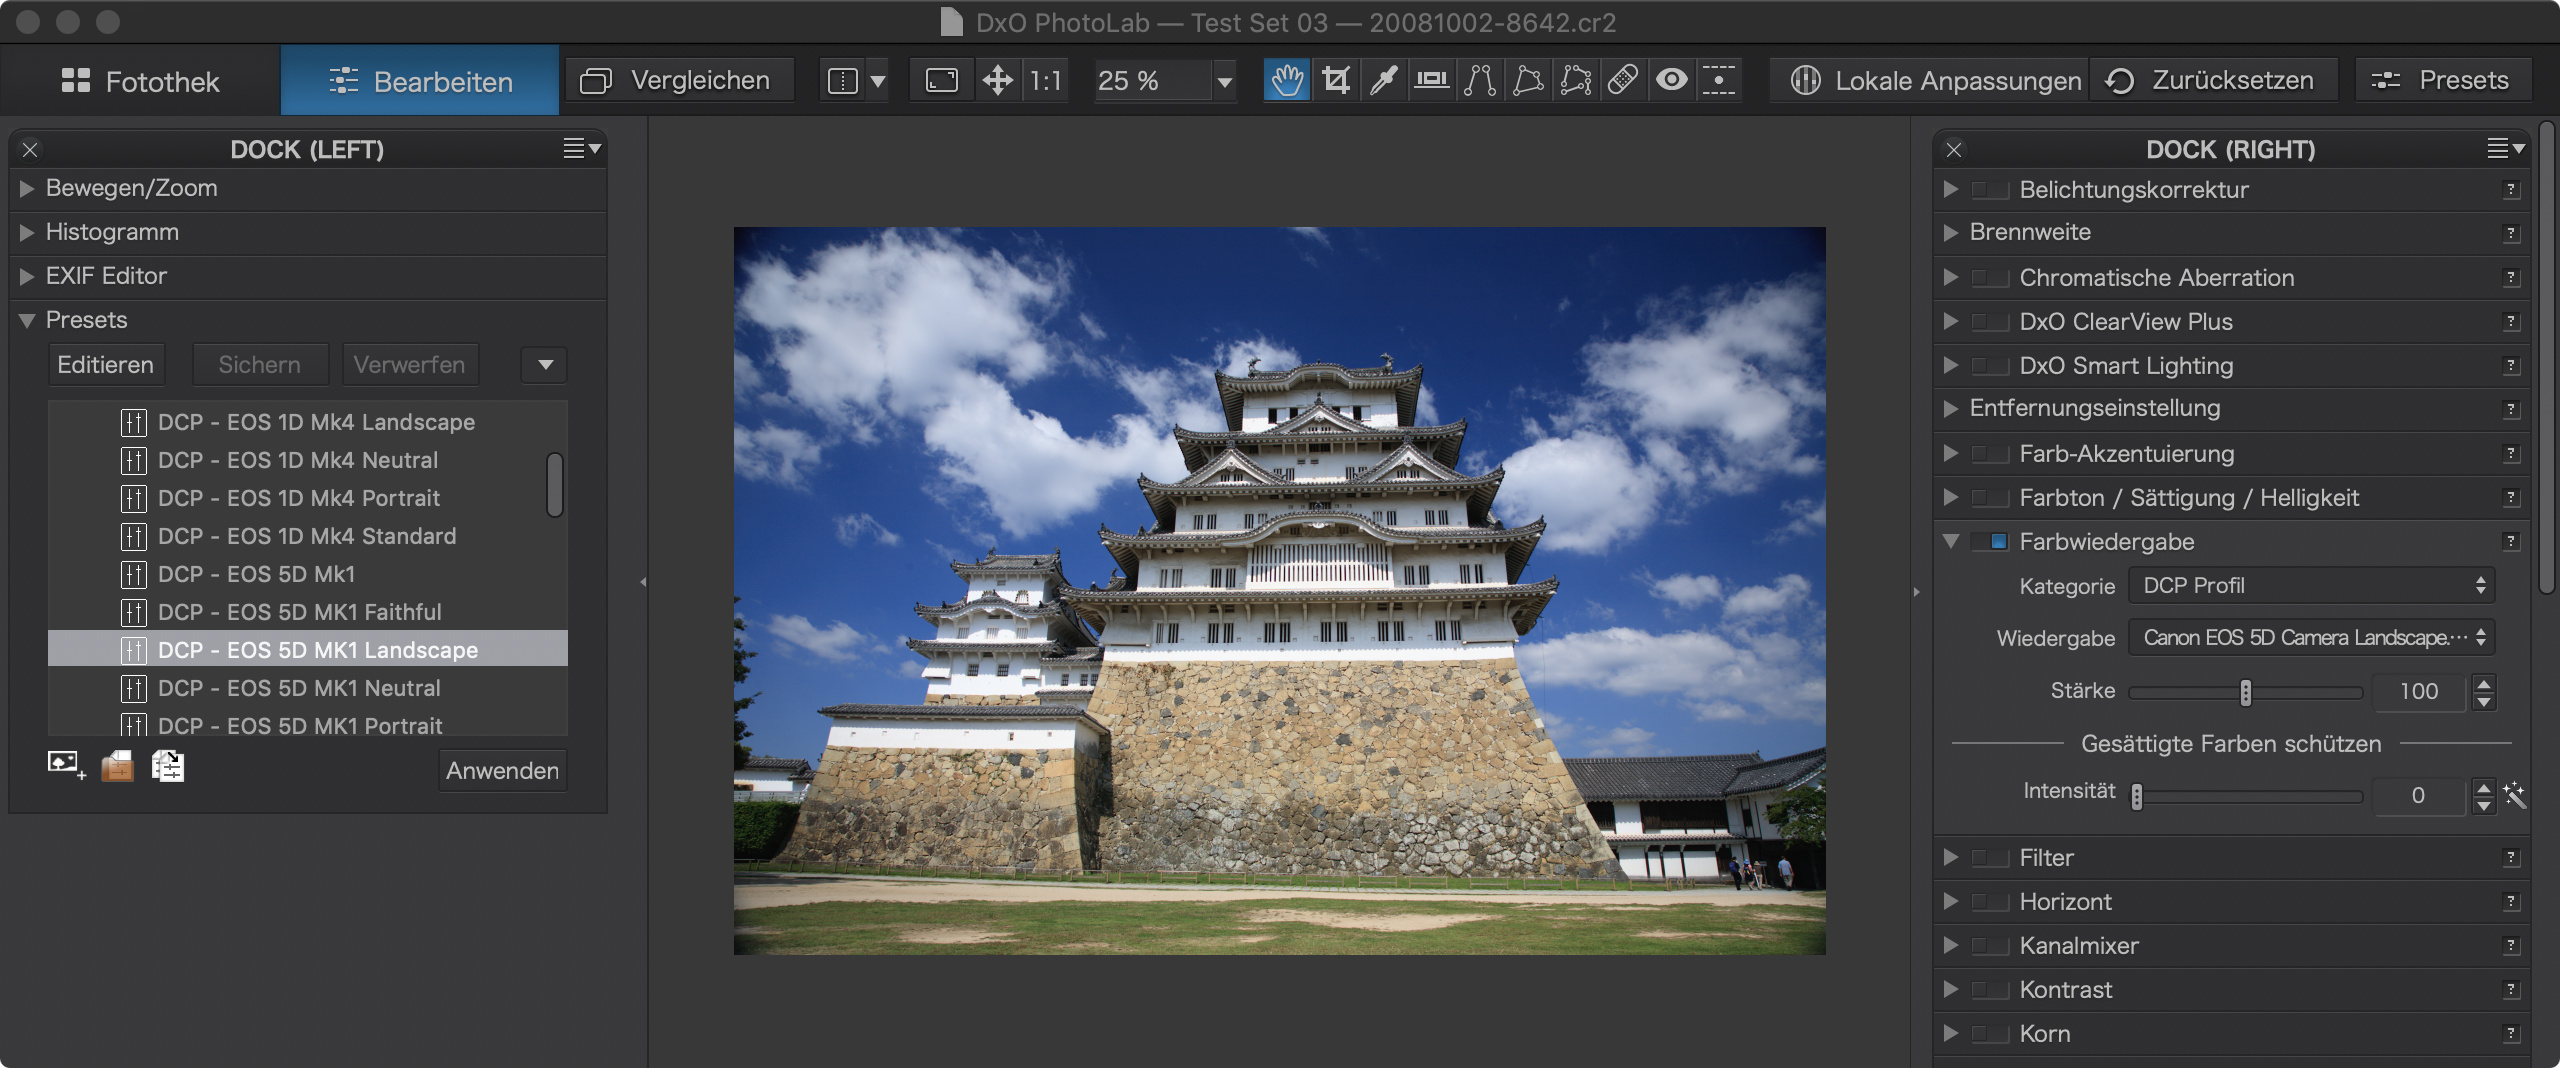
Factory
Duplicate the preset
Change the preset as needed
Apply the preset - DPL will then ask to save the preset
Save the preset
Notes
The attached preset is not the one applied in the screenshot
Factoring presets as described above saves you a few clicks, specially when you don’t change the image between each round. Using the abovementioned steps, I made a bunch of presets that use DCP profiles created by myself as well as profiles I found in other photo software.
Feel free to use and modify my workspace and preset at your own discretion.
One last word: The presets palette should be modified to be variable in hight so that it can display more presets - requests asking for this have been around for a while. Creating subfolders can help work around the issue until DxO solves it for good.
I downloaded Partial portret preset to AppData/local/Dxo/Dxo Photolab 2/Presets but it is not indicated in Photolab Preseteditor, even Import does not work. What’s wrong? And yes, Access rights are checked and Folder is set to “Show all…” And yes, Photolab Shows presets in this Folder, I know because I deleted one preset succesfully.
Thats very nice, thank you Peter. I played around a bit (am on Windows7), copy/pasted another preset in Windows Explorer which I created myself in PL2 and this was then indicated in Preseteditor. So strange.
Ok, the hicup was my fault.
(i created it in my test environment, not back wards compatible im afraid.)
So two new one’s. i created it by using the DxO portrait standard preset and cut out all not specific skin settings in edit mode so it doesn’t effect earlier corrections in those tools, let “red eye” active i case you don’t have this default active.
i have made a Partial Portret skin preset v1.2.preset (2,1 KB)
and a Partial portrait skin preset generic v2.preset (881 Bytes)
Did a thorough check and i made one with dcp profile portrait (camera specific) huelight v172 as wel (not uploaded btw)
(this one is portrait color profile made by Huelight so you need to have this DCP profile to use it.)
i use the suite elite version so including VP and FP. i think it will be fine if you don’t have the advanced contrast sliders as Fine contrast. (in negative mode you can smoothing the skin even further with this slider.)
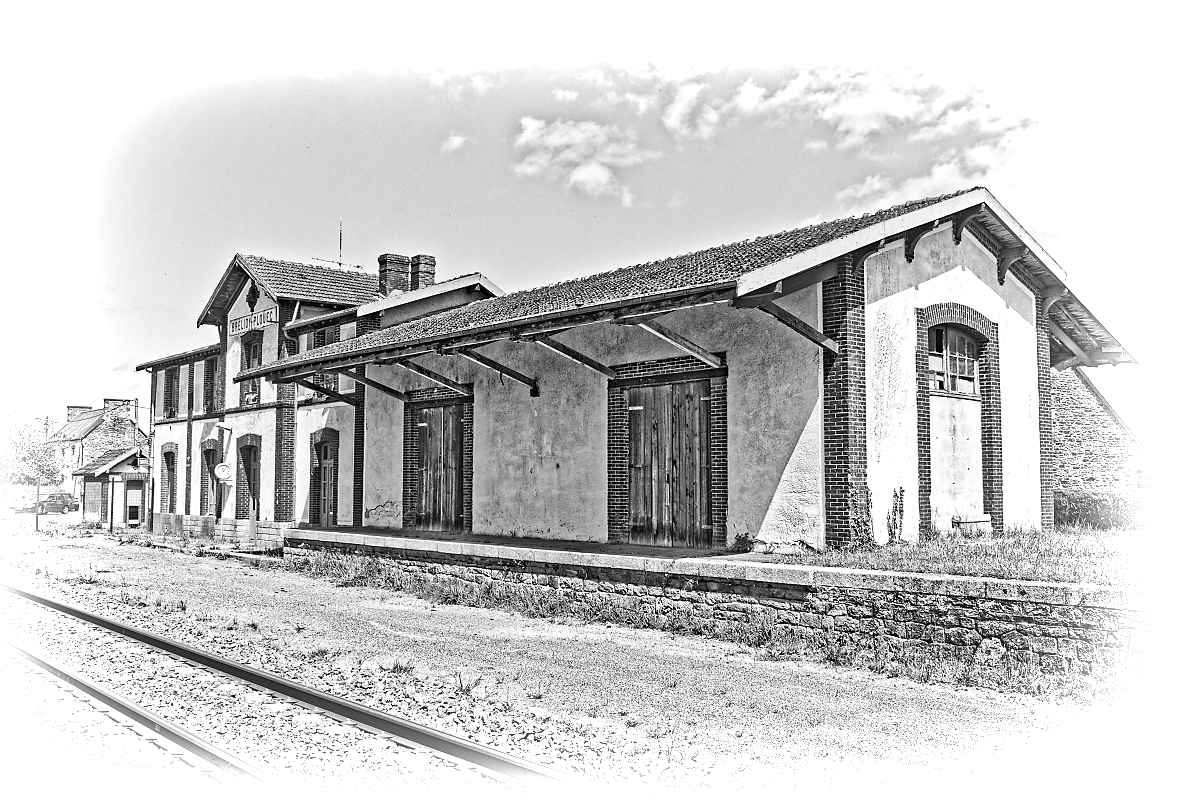
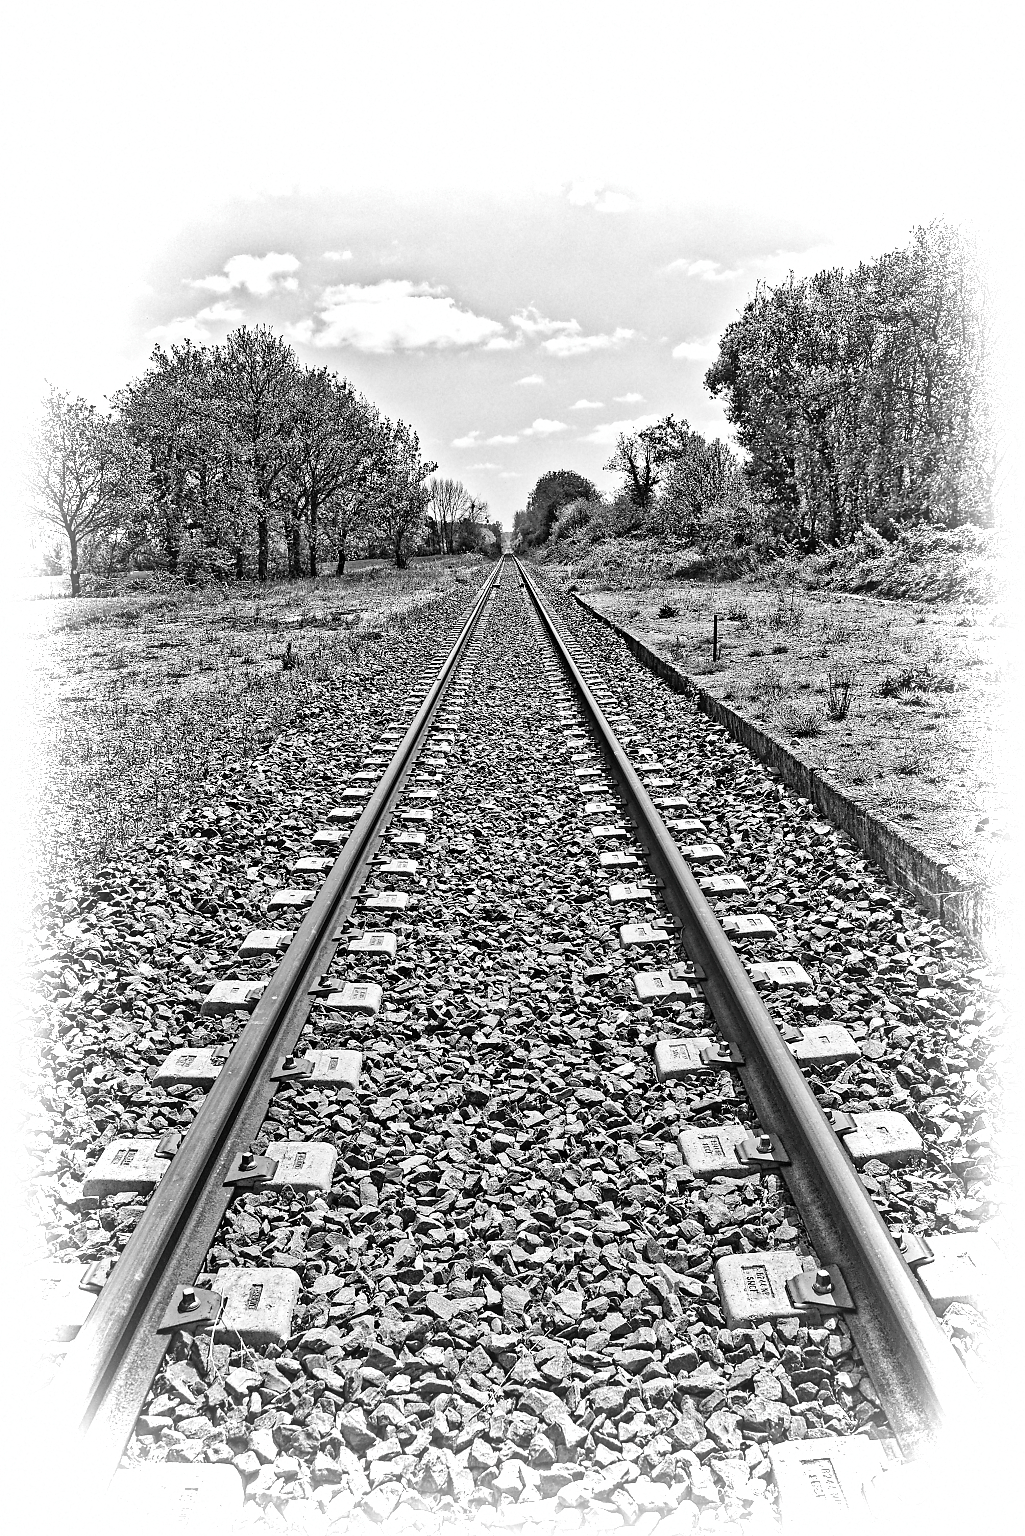
Joanna and Willy, those are wonderful! That is precisely the application I had in mind when I started tweaking those preset settings. The lines and the fading edges are exactly what I I am looking for with this effect.
Thank you for posting!
Now that know more about preset editing, I managed to eliminate some of the unwanted side effects that were present in the earlier versions; namely, messing with horizon when it did not need to, and maybe one or two more other things.
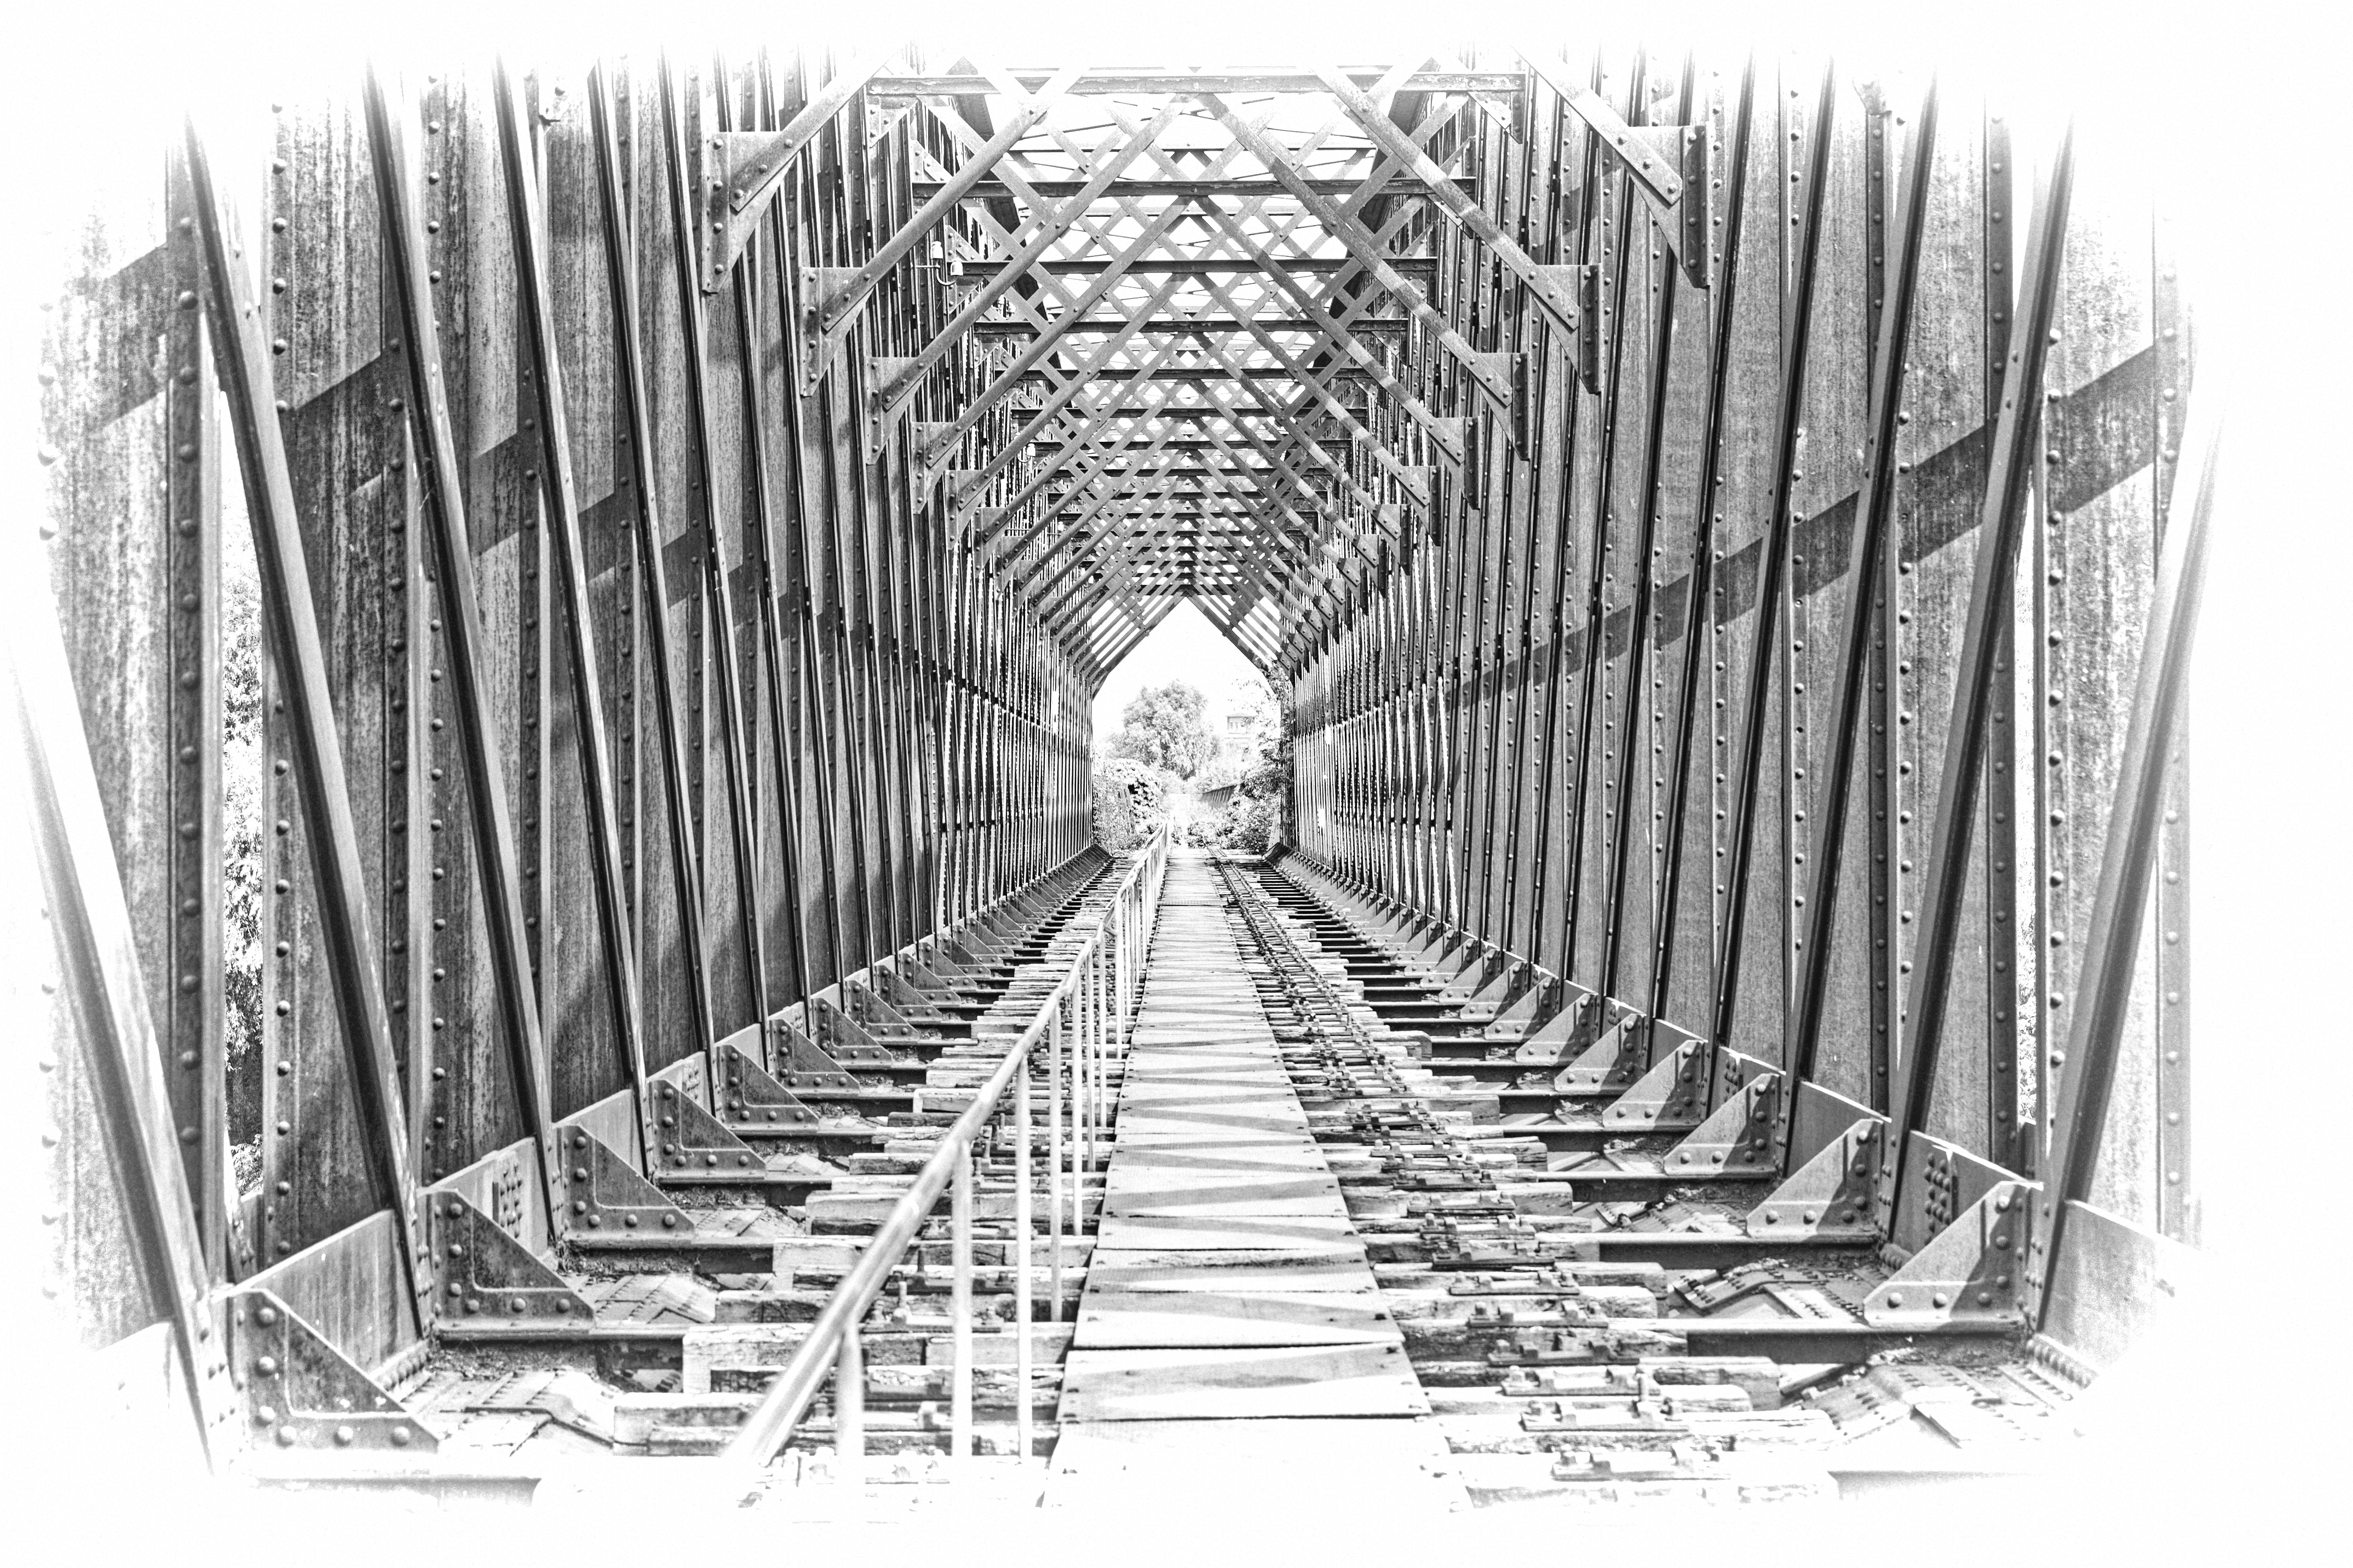
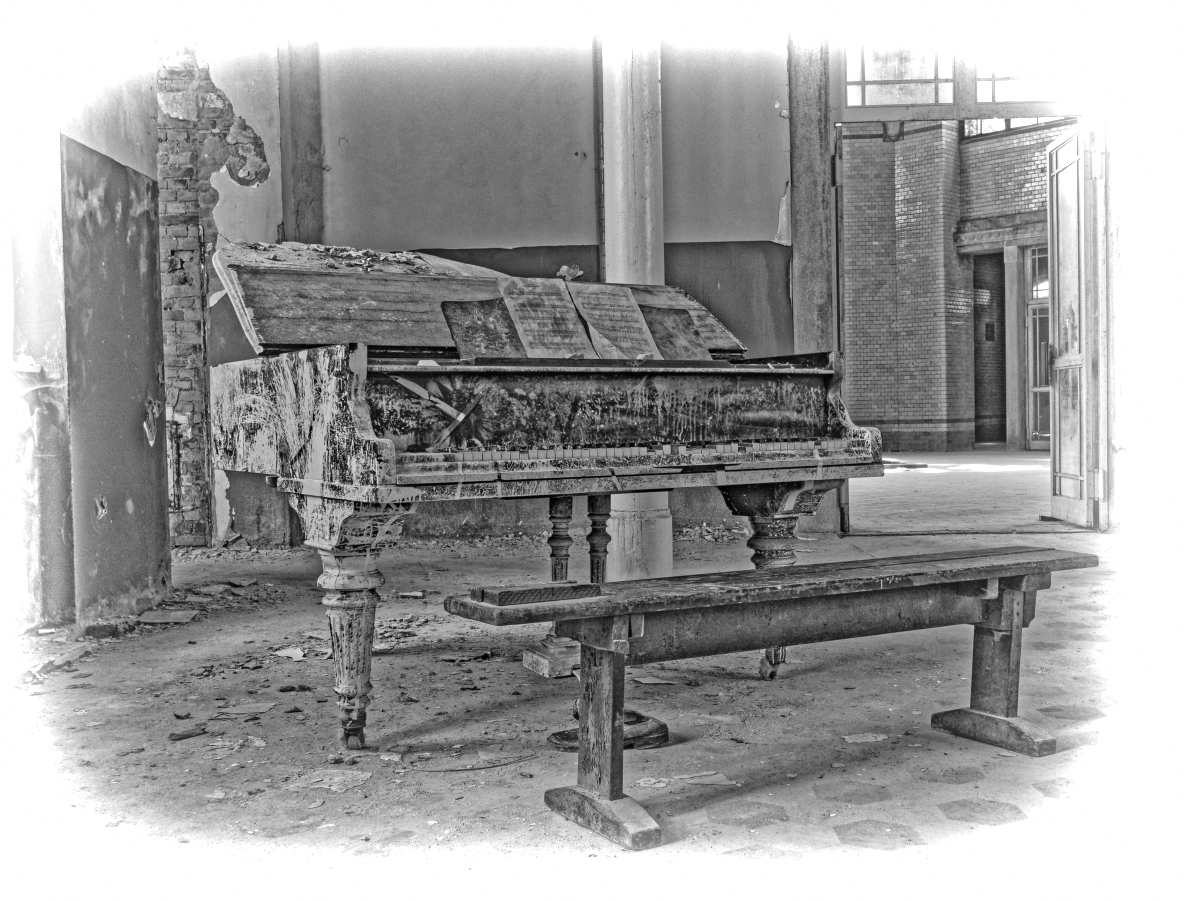
I agree. Here is an image with a face and hands showing. Its does not work well with skin. I find that using this preset on images with animals in general tends not to work well, although there are exceptions .
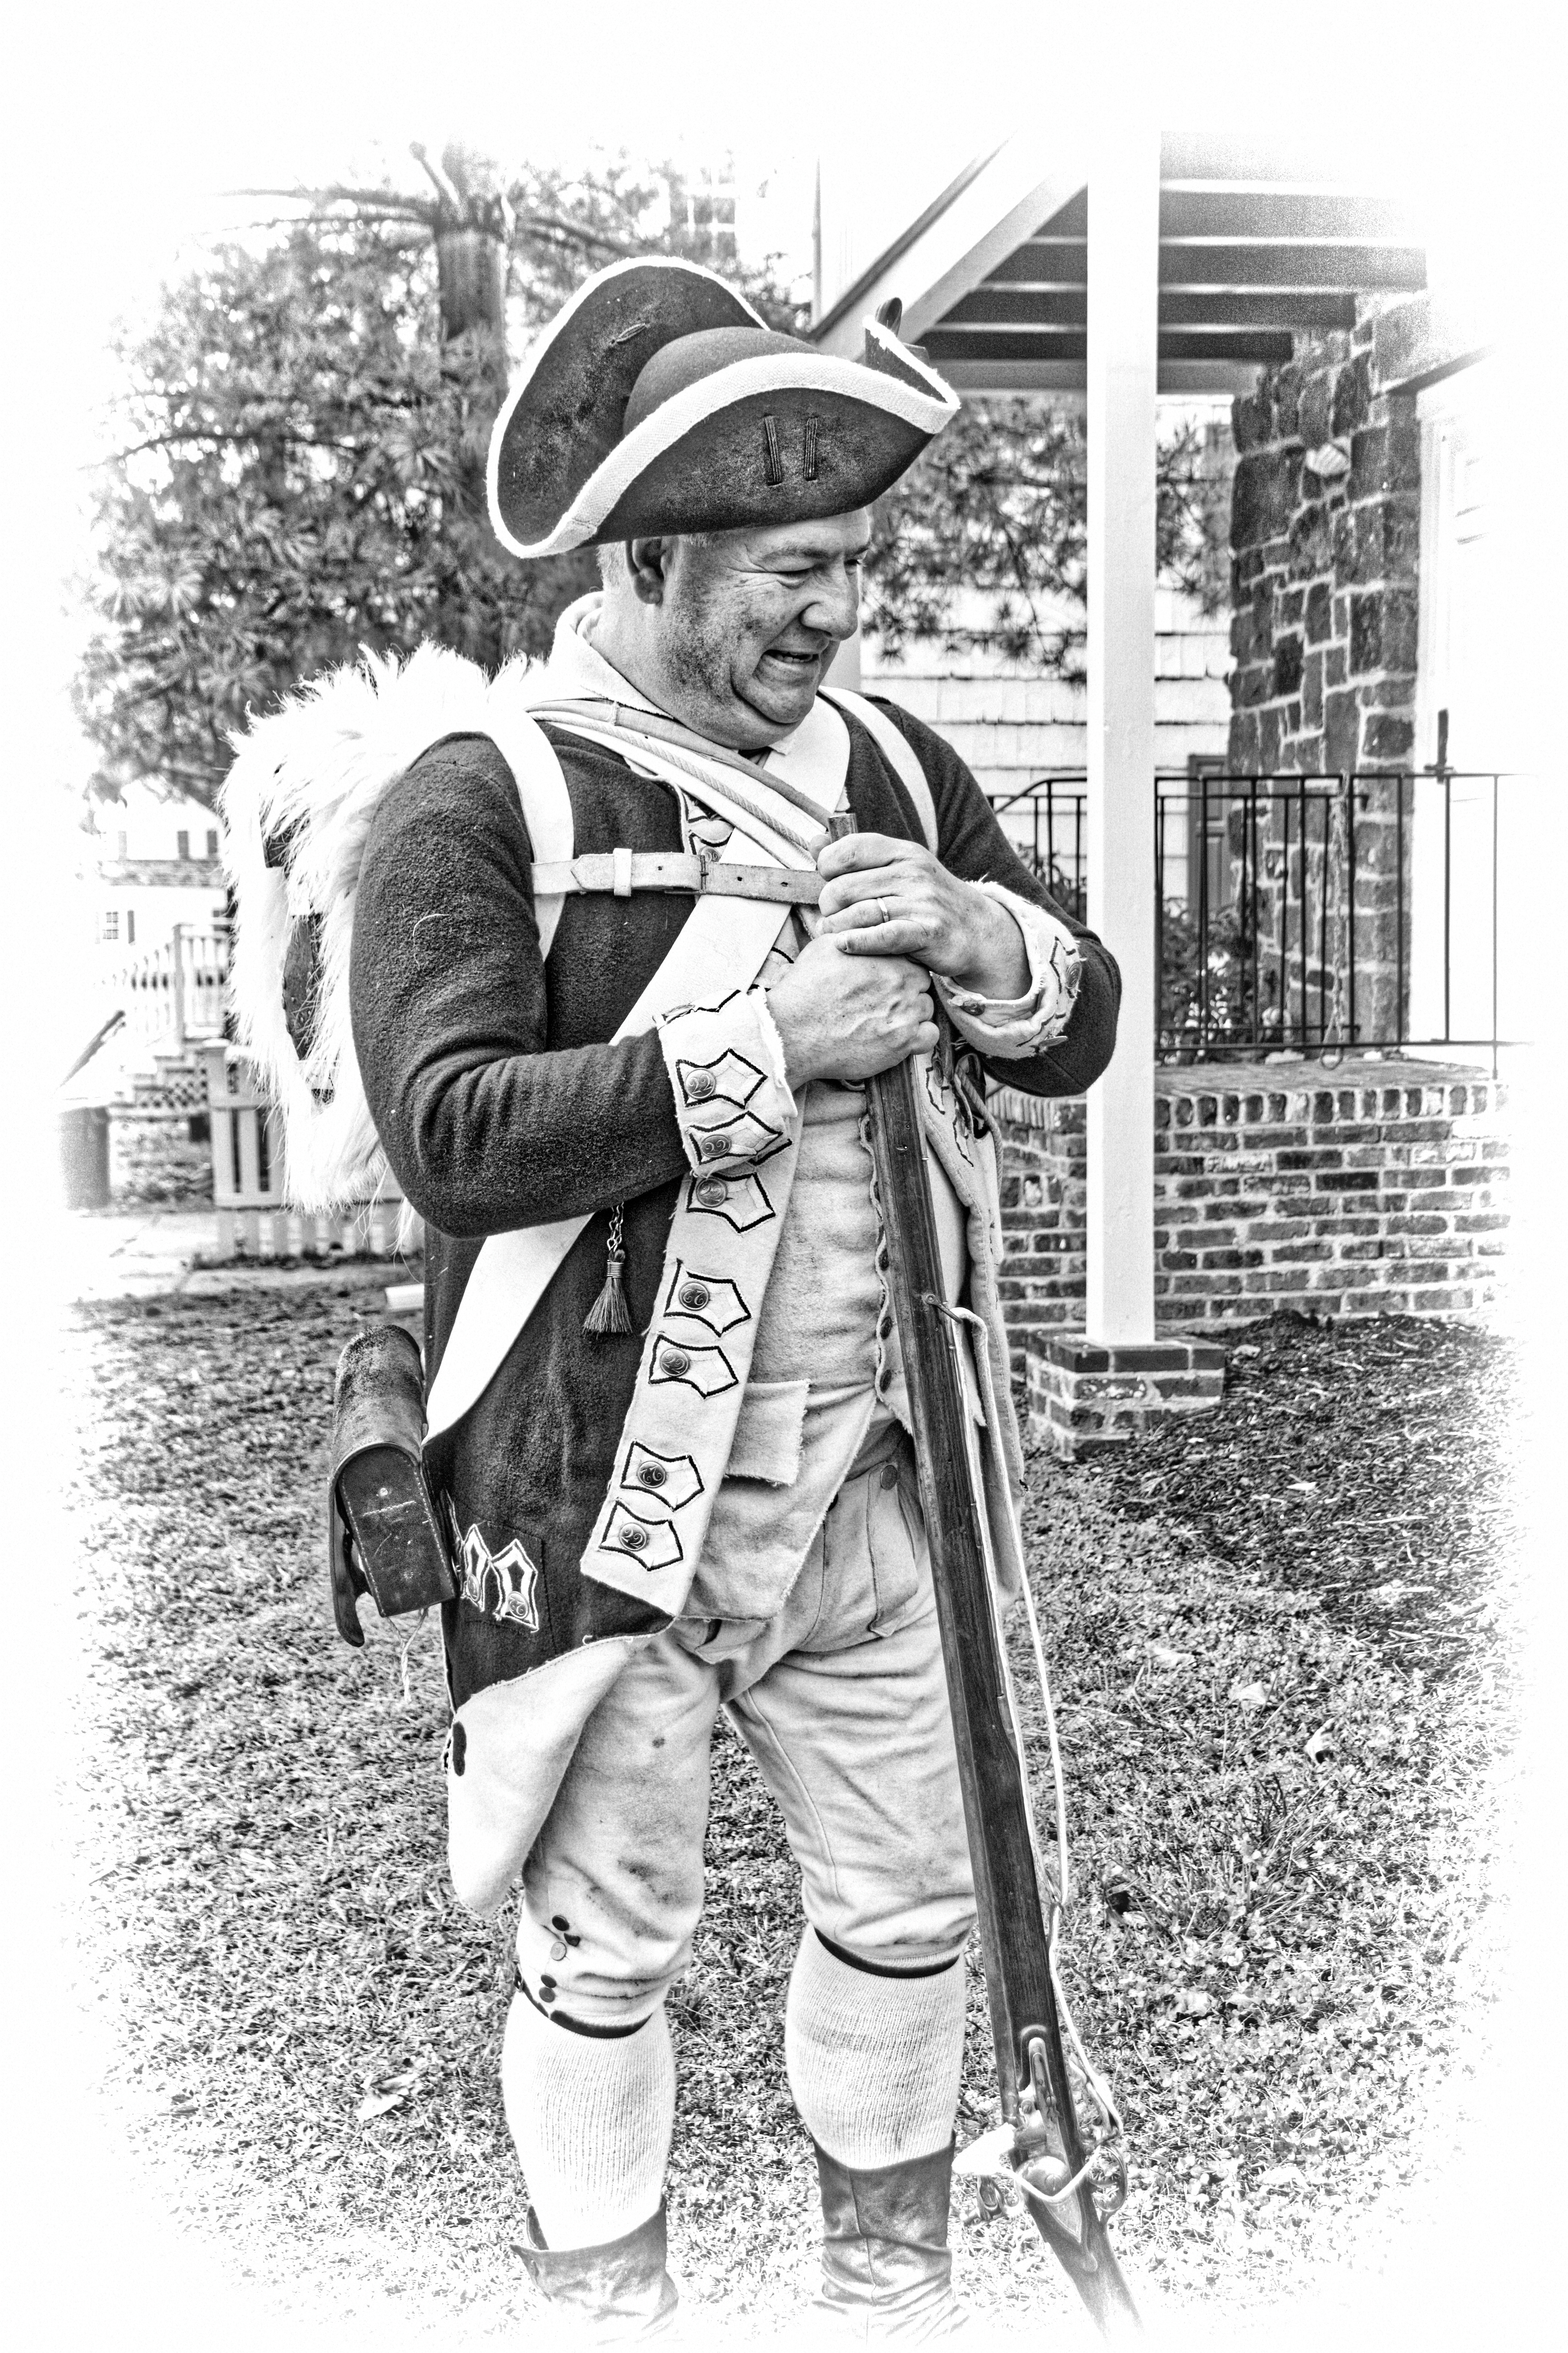
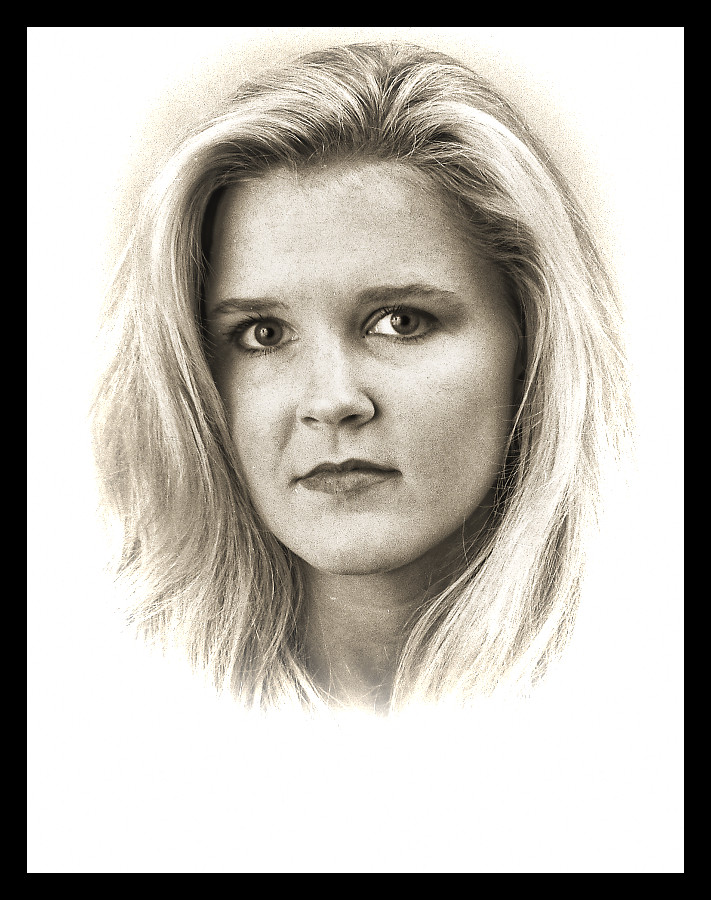
Okay you guys have already noticed that the preset doesn’t work for portraits. Here is a shot that I used a variation of the preset(not much wood-carving left after I got through with it) that I feel works for an high-key portrait.
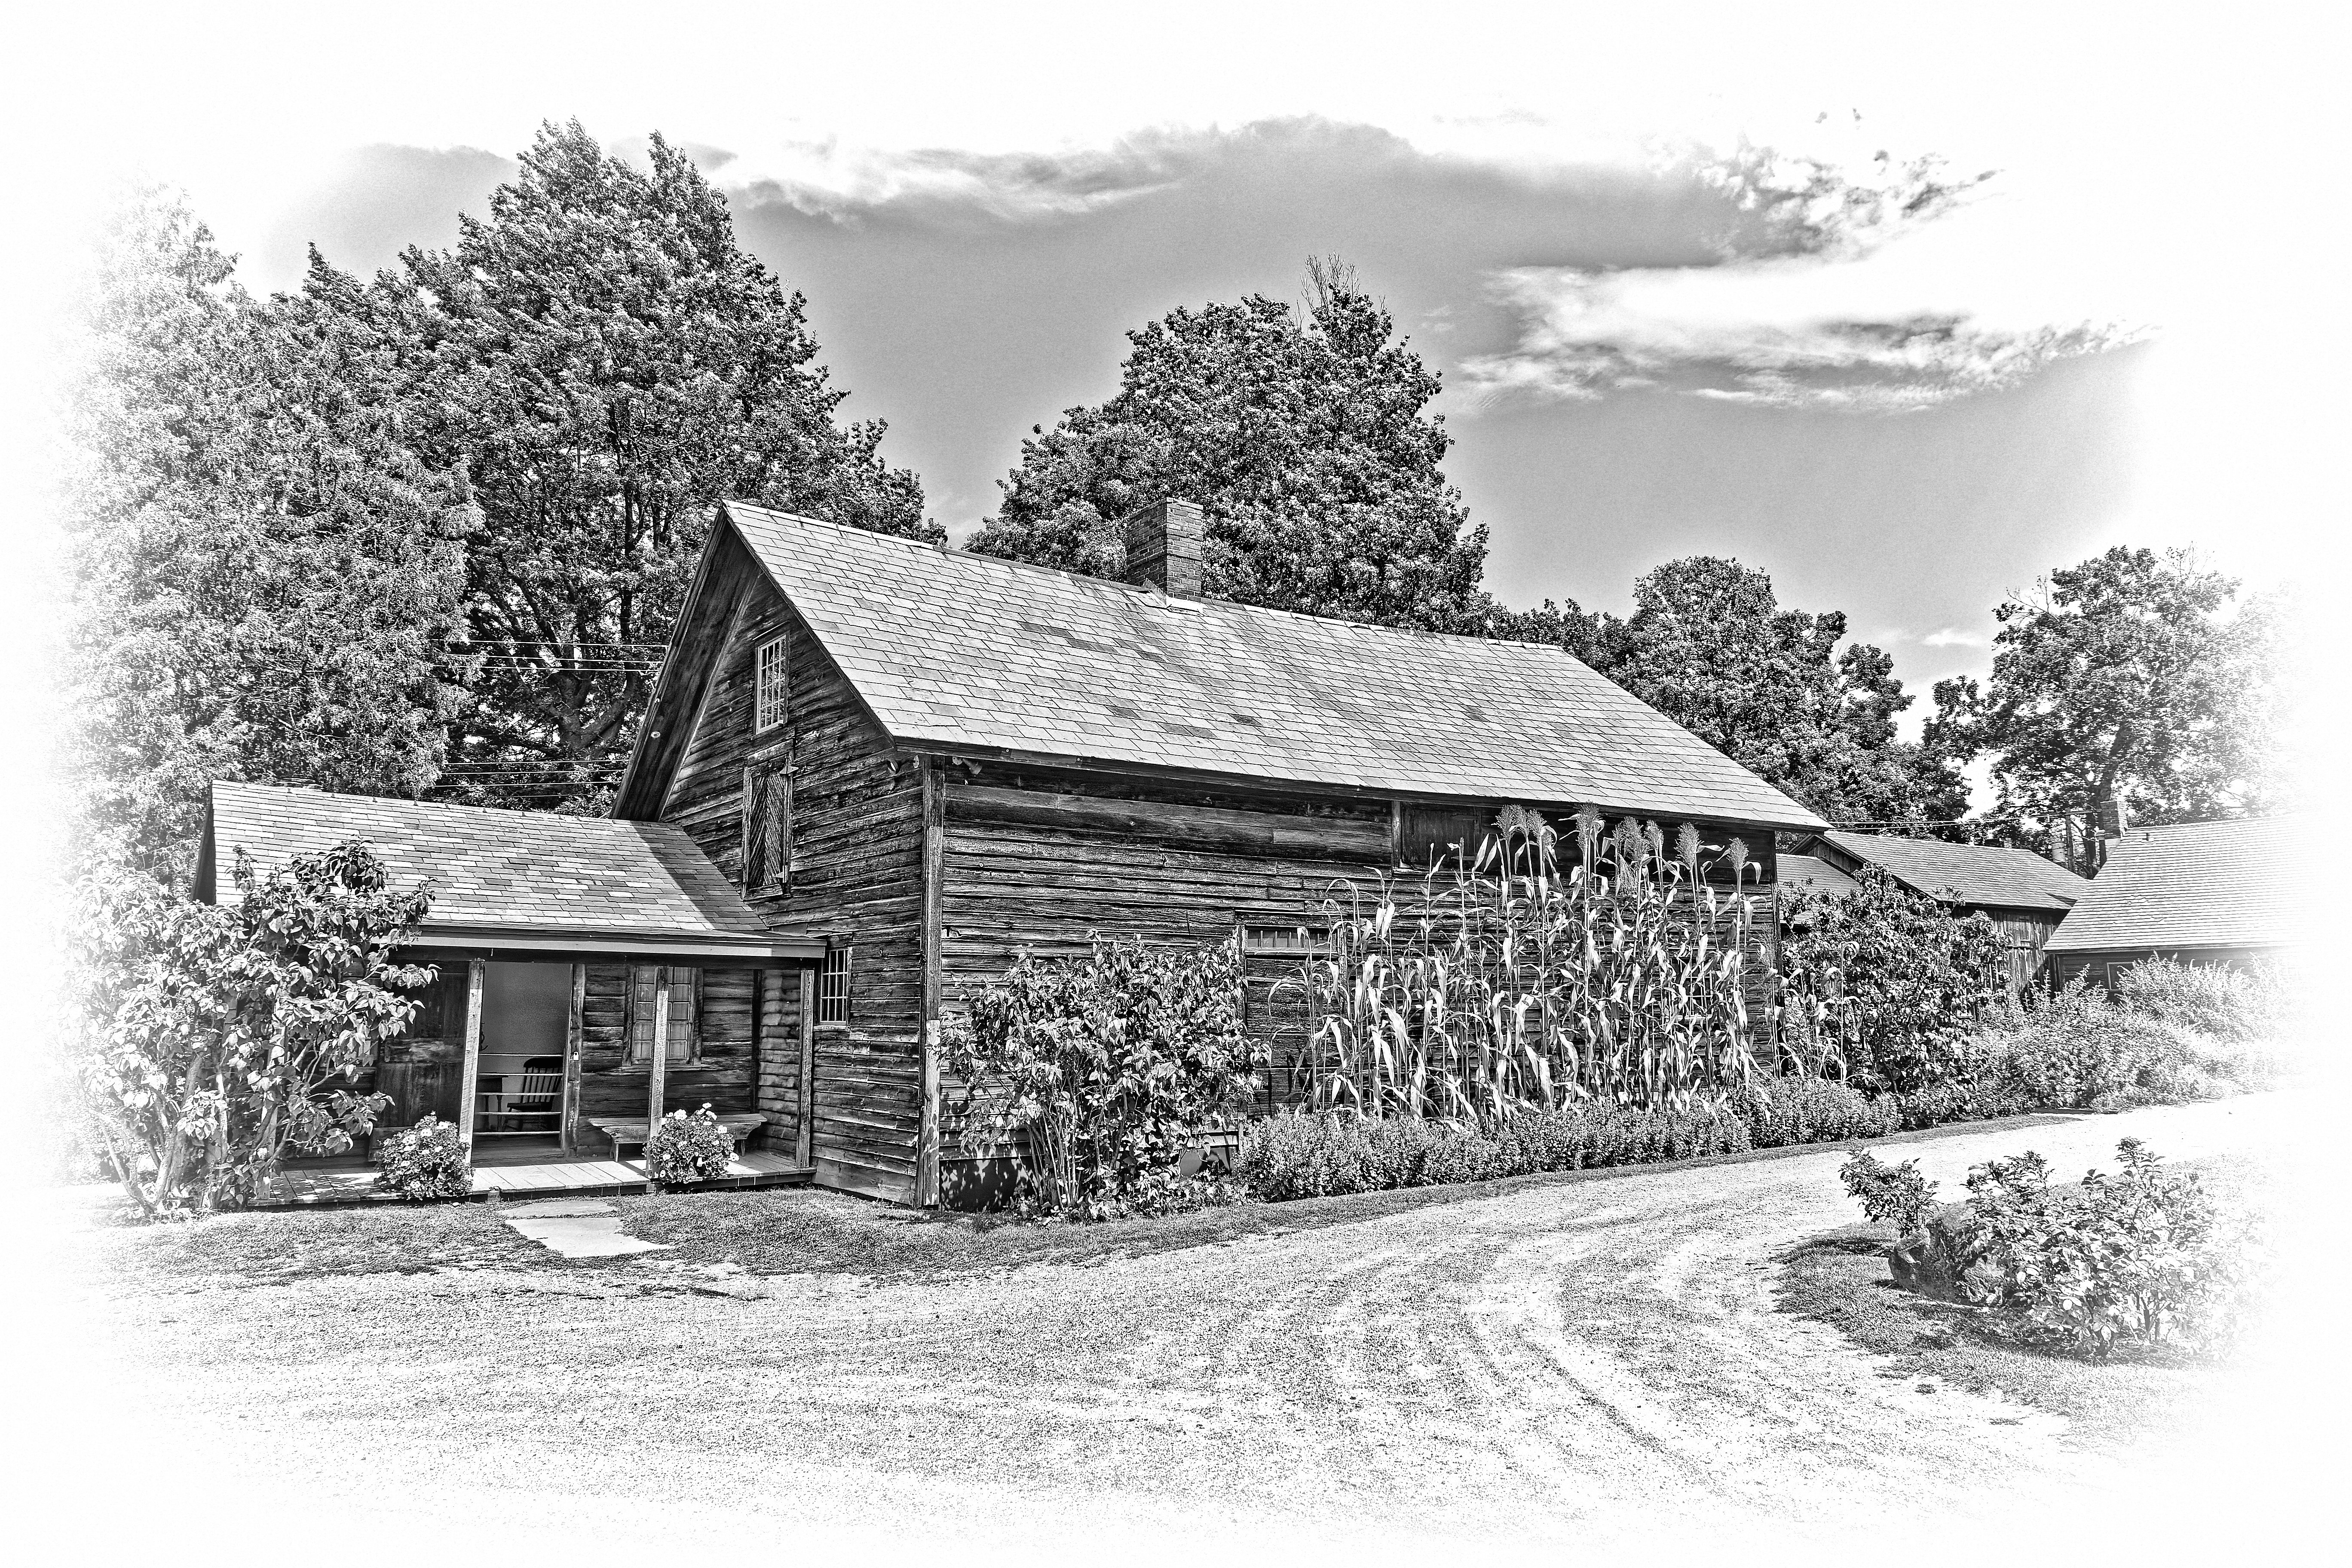
This was originally shot on film about 1996 and scanned to JPEG a couple of years ago. I used the Topaz JPEG to RAW program to get a better file to work with then used PL3 and the wood-carving preset and played with it til I liked it to get the previous image. Here is my preset if anyone would like to play with it. High Key Portrait.preset (7.8 KB)
Note that some of the settings that I used were specific to my image so you may have to shut some adjusts off and you may have to move the center of the vignette around to fit with your image.