Wolfgang, thank-you again for your interesting comments. Two additional points.
First, I frequently use Epson Print Layout (latest version 1.5.5) for my routine printing. EPL features an “automatic” soft proof feature, very easily demonstrated by scrolling through the various paper profiles and watching the resulting changes on the display. Ditto in ABW mode. The downside is that there is no way to make any corrections within EPL, so you are forced to go back to DxO PL and start over. Not convenient to say the least.
Second, regarding DXO PL6E soft proofing. This what I see. I begin by opening a wide gamut test image with an embedded ProPhoto RGB profile, click on Soft Proofing, then toggle on the destination gamut warning. Then I select various Epson and Red River printer / paper profiles that are on my computer. The image will light up with the red warning overlay which changes with the various profiles selected. My modest inkjet printer can print aRGB well and a bit beyond, and the red warnings seem appropriate to me. Is this not soft proofing? What more will be added by DxO? Seems to work now. But maybe I’m just confused (again).
Well yes it does, but not showing the papers’ individual whitepoints. The paperwhite is the same,
if choosing a paper with a lot of optical brightners, that when you compare it next to others usually looks very bright and with light colours printed on it on the cool / blueish side,
or a natural / warmtone paper, in reality looking much warmer and in comparison somewhat dull
(the eye usually orientates itself at the brightest, whitest point).
While you can see contrast and saturation differencies between glossy and matt papers …, to compare the paper profil with the (screen’s) original rendition you have to choose explicitely AdobeRGB / ProPhotoRGB / Rec 2020 … instead of a simple button press. And as you noted, one cannot edit but ‘only’ gets a preview of the expected output (print).
Second, regarding DXO PL6E soft proofing. …
Without functioning “Paper + ink simulation” it’s not so much better than EPL. – Yes, you have the Destination gamut warning, but one should not be attempted to change saturation and what not to make the red overlay completely disappear. The overlay indicates the area with affected colours, but does not determine by how much you have to reduce saturation, provided the printer can deliver. Instead, it depends on how much texture you want to keep – and that you can see all this on screen with little to no guessing.
I think, that the issue with soft proofing in general is, that it’ s impossible to see how far certain colours are out of gamut. For end results (like prints), I think it matters wether a colour is right on the edge of being out of gamut, or very far out.
That “Coming Soon” message you’ re referring to, explains why sometimes DXO Wide Gamut works with files and sometimes it doesn’t (no RGB images yet, but raw files yes). I didn’t t know that.
Thank you!
I remember a personal message from Andrew Wilford (QimageOne developer), who said that it’ s not a good idea to desperately force every colour in gamut, based on soft proofing; he states that more often than not, images get worse. So, there seems some leeway and maybe even guesswork and possibly foremost experience (and no exact measuring).
Wolfgang – thank-you for that very thoughtful response to my questions. I had labored under the impression that the printer / ink / paper profiles took all of these factors into account but see now what you are saying. I print on a modest, mainly dye-based printer, so my paper selections are usually in a rather narrow glossy to luster range. So maybe I just haven’t experienced some of the more extreme OB and texture effects.
Exactly how DxO will improve this situation is a puzzle to me. Do they mean to provide new advanced profiles for every printer / ink /paper combination? Wait and see, I guess.
Finally, I do take your point about refraining from making heavy out-of-gamut corrections and do try to be light-handed in that regard.
[quote=“eriepa, post:27, topic:30749, full:true”]
Wolfgang – thank-you for that very thoughtful response to my questions. I had labored under the impression that the printer / ink / paper profiles took all of these factors into account but see now what you are saying. I print on a modest, mainly dye-based printer, so my paper selections are usually in a rather narrow glossy to luster range. So maybe I just haven’t experienced some of the more extreme OB and texture effects.
Exactly how DxO will improve this situation is a puzzle to me. Do they mean to provide new advanced profiles for every printer / ink /paper combination? Wait and see, I guess.
Yes, I suppose we’ll just have to wait. But, as mentioned in another thread, I cannot imagine DXO to provide us with all new profiles. The better paper manufacturers have profiles for each of their papers. Cannot see any reason for not using these.
Agree, mujabad, that DxO will not be doing that – the existing profiles should contain all the information needed. After all, these same profiles do enable full soft proofing in other applications. Implementation will be key. Like Lightroom or something more creative? And will a complete do-over of the tired print module follow?
You are correct, Attaboy, the “Wide Gamut” display setting in PL is not the same as the official “wide Gamut” icc profile. Within PL, “wide gamut” should actually be called “wider gamut” if you were being picky.
The Wide Gamut color space is way bigger than Adobe RGB but slightly smaller than ProPhoto. What you are getting in PL is a color space that’s bigger than AdobeRGB, but not an official “WideGamut rgb” color space. DxO’s vernacular is causing a lot of confusion.
Soft proofing uses the icc profiles you get either from the paper manufacturer or those you make yourself if you have the equipment. Some paper suppliers provide free icc profile services where you send them a test print and they measure and provide the relevant icc profile for that paper/ink.
Agree IanS. That’ s why I don’t think DXO will make their own paper / printer profiles. They could just use manufacturers’ profiles. Existing profiles. Looks easy enough (but maybe it’ s more complicated than that; don’ t know); we’ ll just have to wait and see.
To be completely fair, PL does not actually claim to be using the “Wide Gamut” color space - - It makes it abundantly clear that it’s using DxO’s proprietary version of Wide Gamut.
John M
1 Like
Stenis
(Sten-Åke Sändh (Sony, Win 11, PL 6, CO 16, PM Plus 6, XnView))
34
Is ColorcSync in Mac doing what ICM is doing in Windows?
If you use ICM when printing in Windows it means that for example Photolab have handed over the printing control to Windows via the printerdriver and by selecting “Managed by Printer” instead of “Managed by DXO Photolab” in Photolab’s Print-module.
According to my experience Photolab will use the current “System ICM-profile” or the active hardware calibration of the monitor when sending the imagedata to the printer when Photolab “rules”. That means that if the monitor is set to Display P3 it will print P3 regardless if there is ProPhoto in the files or sRGB for that matter and since there are no way for me to calibrate in ProPhoto the only way to print ProPhoto is via ICM in the driver because only then the system automatically will use the ICC in the files.
I tested that yesterday with my monitor in P3. I printed ARGB, P3, ProPhoto and sRGB and all of them came out as P3-prints when Photolab Print was set to Color Profiles “Handled by DXO Photolab”. I had to switch the momitor to sRGB to get Photolab to print the sRGB-file in sRGB and not P3.
I don’t know if Windows- and Mac-versions differ in this respect but that might be good to test too.
That said I just don’t understand why anyone that want to have sync between monitor and print would print in ProPhoto.
Printing through ICM seems to be the only way today in Windows to make the system consequently and automatically use the embedded ICC-references in the files when managing the gamut in the prints.
Since the last version of Windows I used was XP, I really haven’t a clue what ICM does.
As @Wolfgang says, this is totally wrong. Monitor profiles are for monitors and printer profiles are for printers.
Well, this is very weird. How do you know it “came out as” one profile or another?
Have you created an ICC profile for your printer/paper/ink combination? If not, there is no way you are going to get anything like an accurate representation of what you see on paper.
And if you haven’t profiled your screen, then there is no way to guarantee that what you are seeing is anything like the true colours of the image. Certainly using P3 or sRGB as a screen profile isn’t going to give you true colours.
I use the Calibrite DisplayPlus device and software to profile the screen and ensure that my screen brightness is fixed at 80 cd/m² to match the transmission of the screen to the reflectivity of paper.
Then I use a DataColor device and software to print and calibrate on each paper I want to use.
Only then can you be sure of accurate colour matching.
As for me. I use a colormonkey to calibrate my Eizo 2740 to AdobeRGB and also the colormonkey to calibrate my printer for each paper I use. This produces a colour swatch to be scanned with the colormonkey which then produces another colour swatch, which again needs to be scanned and that gives me the necessary files for my printer. The printed results very closely match the screen of which the red and green can be slightly darker. I suspect the printer can print slightly better then AdobeRGB.
Whoops! I forgot the bit about whether the printer or DxO controls the output. In my case the printer controls the output using the necessary ICM file. When I try to use DxO to control the printer. The colours do not turn out right, using the necessary ICM file.
I have just been through a few weeks of printing and soft proofing hell.
Since my mention of only using ColorSync Utility or Preview on a Mac, having a Canon Pro-1000 printer, I also started using Canon’s own Professional Print & Layout utility.
Then a couple of months ago, things started to go horribly wrong and, especially on images with OOG colours, prints made through the PPL app started to look weird. If I used a generic profile for my paper, colours came out pale but using the custom profile I had created, they started appearing too saturated, especially with OOG colours.
After wasting a not inconsiderable amount of paper and inks, I found that the PPL app was the cause, not interpreting profiles correctly.
So, just a heads up to any in the same situation - don’t use the Canon PPL app.
Now, a request. Does anyone know of a decent print layout app for Mac? I downloaded QImageOne and just cannot get on with it. Does anyone else know of another app that will work with my Canon printer?
@Joanna , I suppose that you have tried different rendering intents. When I used Canon’s non-pro print utility, the manual said to use absolute colorimetric (if I remember correctly) and this produced good results incl. the selected layout in a workflow with Canon DPP.
I know you use Nikon gear (and 4x5) and I wonder why you left the proven printing path with ColorSync.
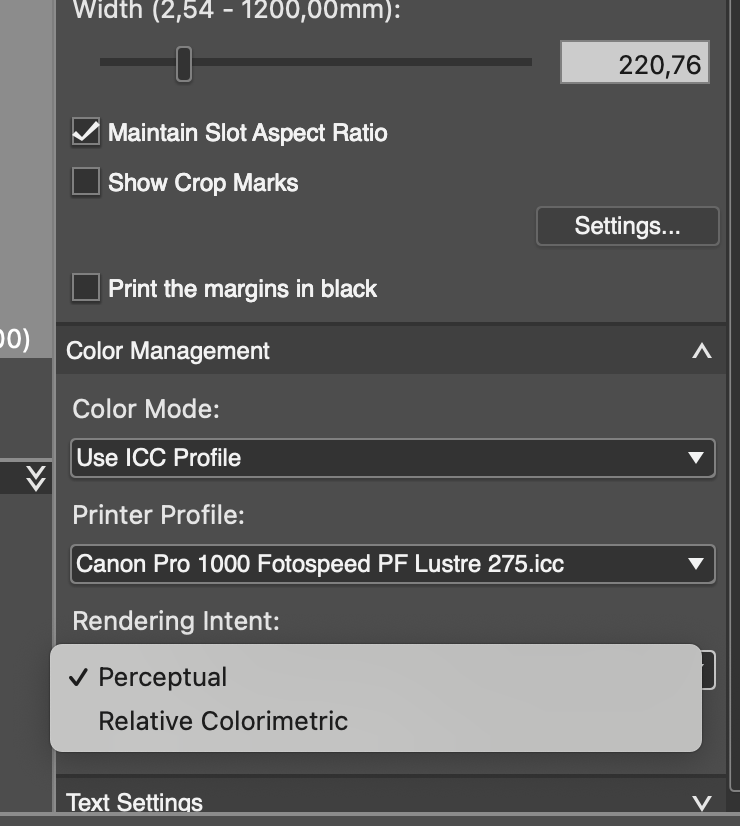
Also, PL only provides the same two options for rendering intent when soft proofing
Because we had a “presentation” project at our club and some wanted to place multiple images on a single sheet of A2. With the images submitted, I didn’t have any problems.
Then Bruno submitted the boat image for our exhibition and that is when the problem started.