Thank you all for your advice. It’s a bit difficult keeping up with the conversation from the Southern hemisphere, but the consensus about the ‘best thing’ in PL5 (at least among current users) seems pretty clear.
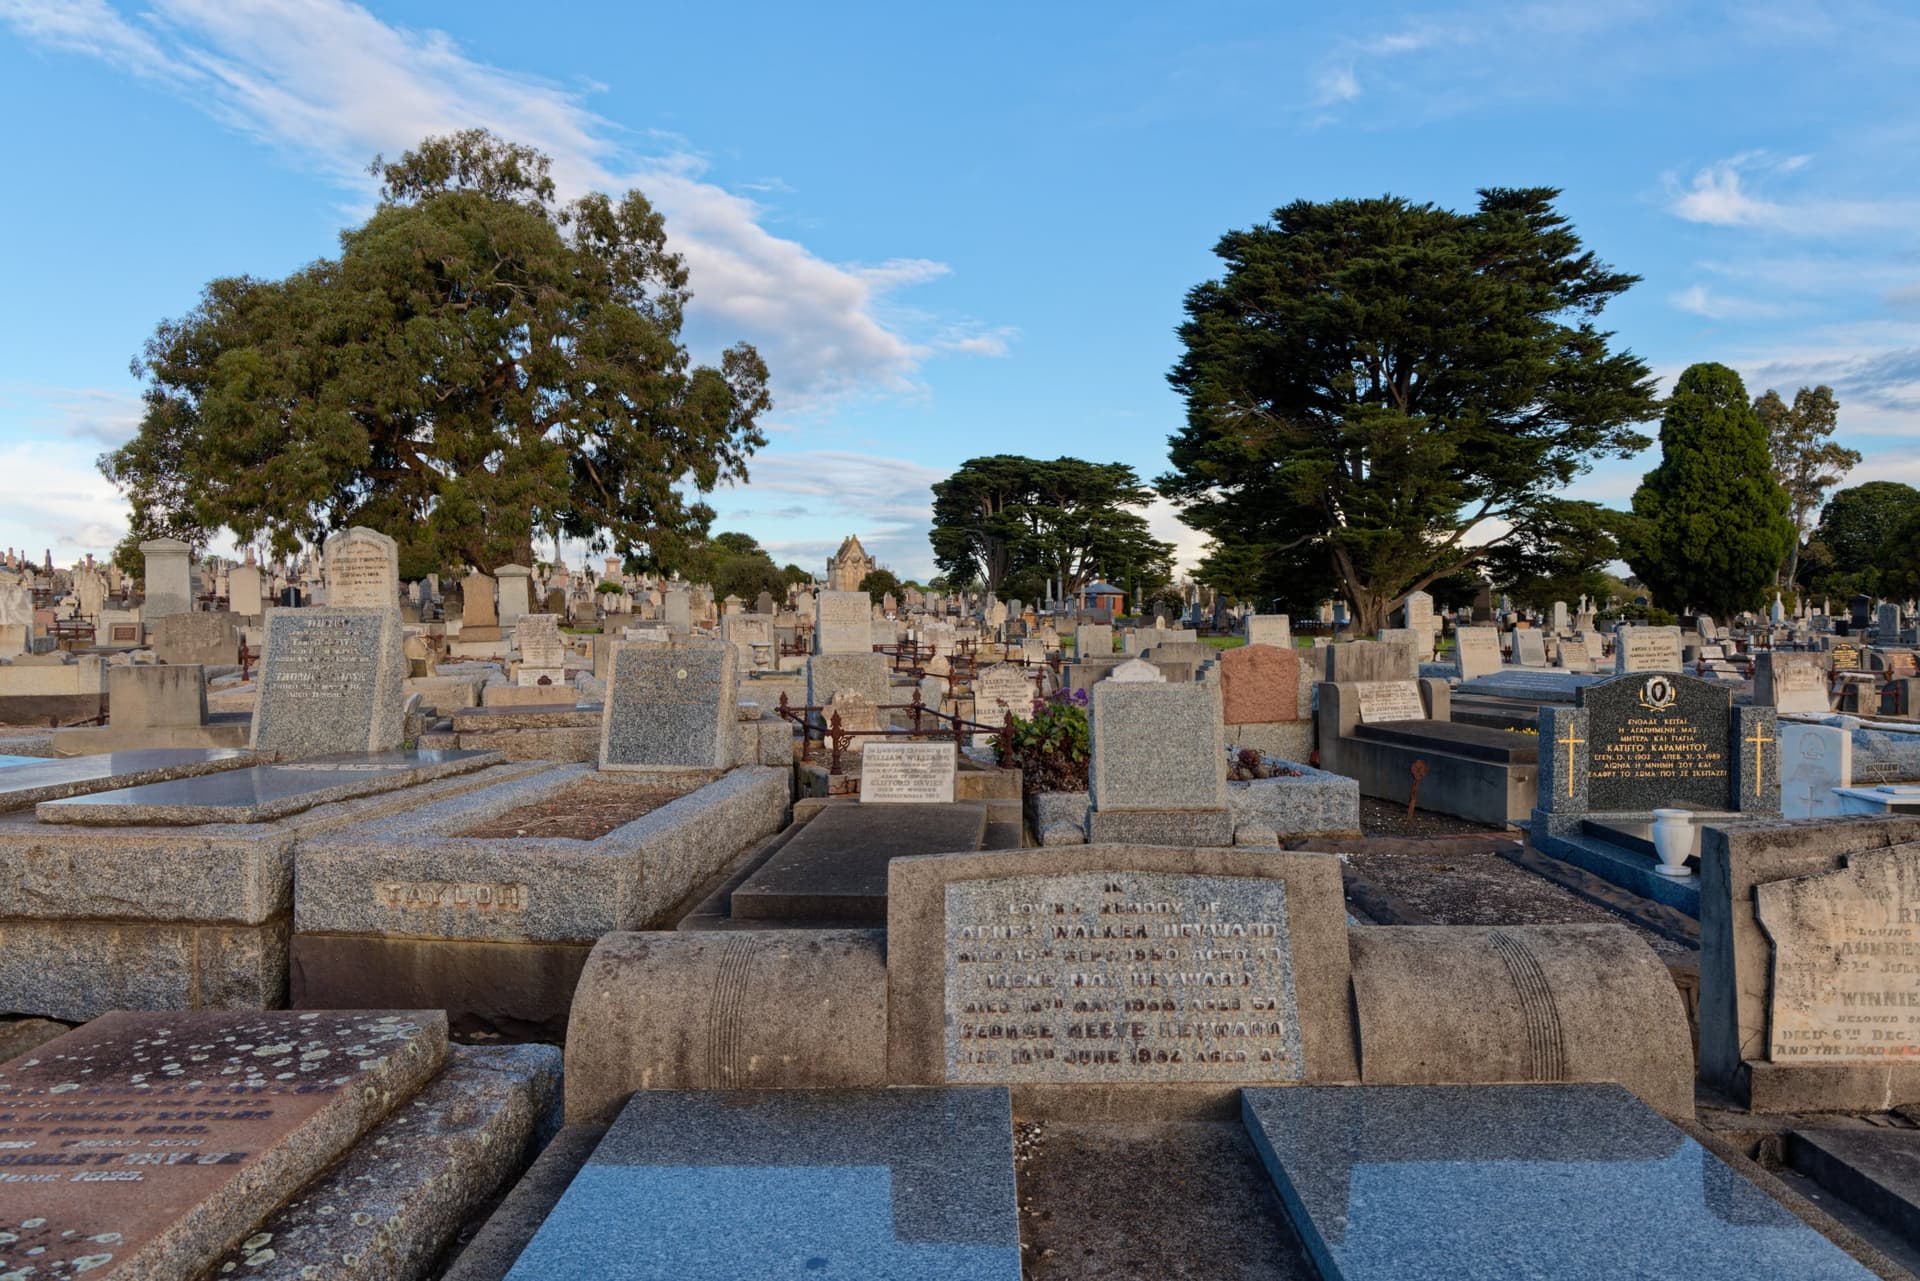
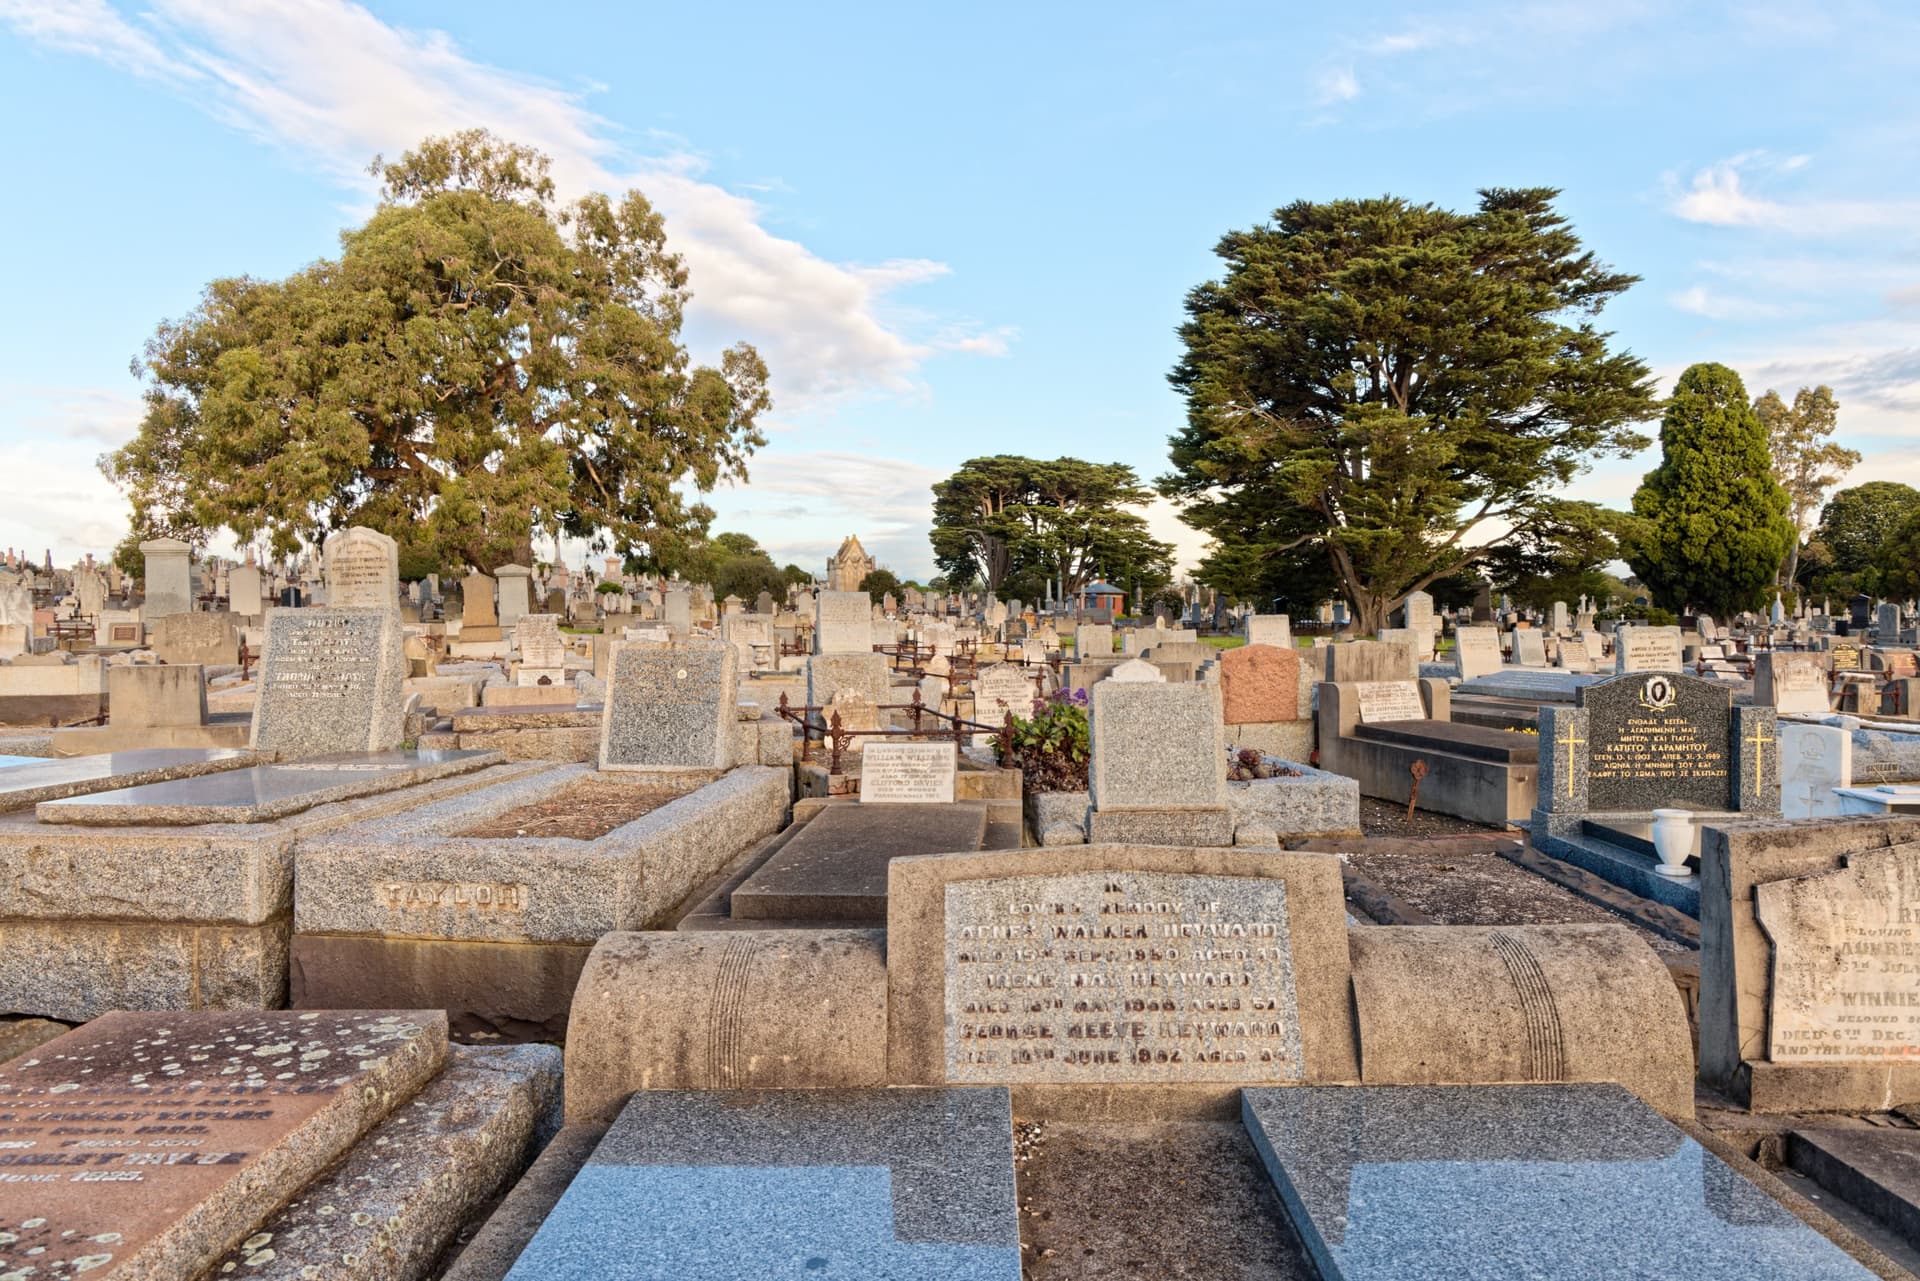
It’s evident that control-lines properly used are quite powerful. Here’s an otherwise uninteresting shot from a local cemetery (chosen because it fits one of the instances @StevenL cited) to which I’ve applied ‘Smart Lighting’ but no contrast controls. I’ve added three control lines with different luma+color settings to the second image to re-configure the lighting with very little masking effort.
If it were worth further processing, this would be a good basis for further work on contrast, sharpness, etc.
(I should add, however, that in this image at least, I found that almost the same re-lighting results can be obtained by judicious use of ‘Spot’ Smart Lighting and the Selective Tone controls. )
Best for me? Control Lines, particularly combined with Chroma/Luma adjustment. What was possible before is now much easier for many of my situations.
Best for people I try to convince to use PL? Fuji X-Trans support. Because it’s absence was an instant dealbreaker for people who use those cameras.
Now I would really, really like to see some doubling down on the niggles, and maybe a few smaller ‘feature’ updates like improved function in some of the tools (for me the horizon tool and the location of Local Adjustment sliders).
Peter. I may not personally like the adjustments you have made but it does show what can be achieved. Is there any chance you could post the original and DOP files, so we can see how you manipulated the Control Lines?
@StevenL Now THIS has me interested! I complained some time ago that the control points didn’t select nearly as well as they did in Capture NX2 and that I found myself reverting to Capture NX for a lot of edits. (This comment: Control Points - Change the shape of the circle as well as the size - #15 by Beachscriber) and it seems to me that this new feature might exceed my expectations for a solution to that problem.
One thing I still wonder about though is the frustration I have with the warmth and hue sliders (I’m still with v3) which are terribly frustrating to make subtle adjustments with. Have you made any improvements in that regard? If so, I’m sold.
Hi Andrew,
I’m happy to hear that those new improvements in local adjustments are exactly what you were waiting for…When you say “warmth & hue sliders”, are you referring to the equalizer?
If this is the case, the answer is no: we did not change their behavior in PL5.
Thanks for your quick reply, @StevenL ! Yes, the equalizer - Warmth, Hue and Tint. They are way too over-reactive. I work a lot on beaches and I need my warmth adjustments to be subtle. This is proving a serious frustration for me. Even if I put my mouse in sniper mode I find it impossible. The smallest increment I can make it jump in is about 175 K.
Even with that sideways drag it’s frustrating to make a subtle adjustment. By the time I’ve dragged across to get first gear, I’m out by a thousand kelvin and then it’s practically impossible to get it back to the range I was working in because now the increments are too small.
It’s implemented counter-intuitively. It should be that the initial drag of the mouse gives you small increments while a sideways drag can shift it up a gear. Who starts his car in top gear and then moves down to first?!
But this is me working in v3.3 and my comment from last year. Did you make any changes in v4?
Well, no change with the ‘equalizer’s’ behaviour – but, @StevenL what I don’t like at all, dragging the mouse pointer across I’m not able to keep the value I started with.
Instead I have to read the start value, drag across and then try to match it, before I can correct in smaller increments. That is really annoying (and could be solved with additional key).
For whats it worth I place the new Control Line first and second the fact that version 5 remembers which folders were open when it was last closed and reopens them on restart whereas version 4 just opened a long long list of folders.
I’m so relieved to find someone who sees the same problem! It’s like trying to start your car in 3rd gear.
They just need to swap it around so the drag starts in small increments and then accelerates to larger increments with the outward drag. How is that not common sense?
Excellent recommendation Joanna. PhotoJoseph explains and demonstrated U-points and the new Control Line technology perfectly.
Every PhotoLab user should watch the first half of that video.
It’s safe to ignore the second half about FilmPack. The demonstration is mediocre and meanders, not really covering any new ground for anyone familiar with FilmPack.
Easy - look in the book! (PL4 manual page 159
“Click on the scale, then move the mouse vertically. The value increases when you move it up and decreases when you move it
down. The settings level is indicated by a blue bar and a numerical value in a floating tile when you move the mouse.”
The farther away the mouspointer is the finer the adjustment
All across PhotoLab there should be a modifier key to make sliders lower sensitivity on sliders to one fifth or even one tenth of their normal sensitivity. I constantly have to type in values to achieve subtle changes.
well thats it actually, copy/paste mistake, sorry.
“To make even more precise adjustments (Windows version only), click on the scale, then move the mouse horizontally. This will
significantly slow down the application of the correction and its corresponding numerical display.”
 )
)