Using PhotoLab 4 to process sunset photos

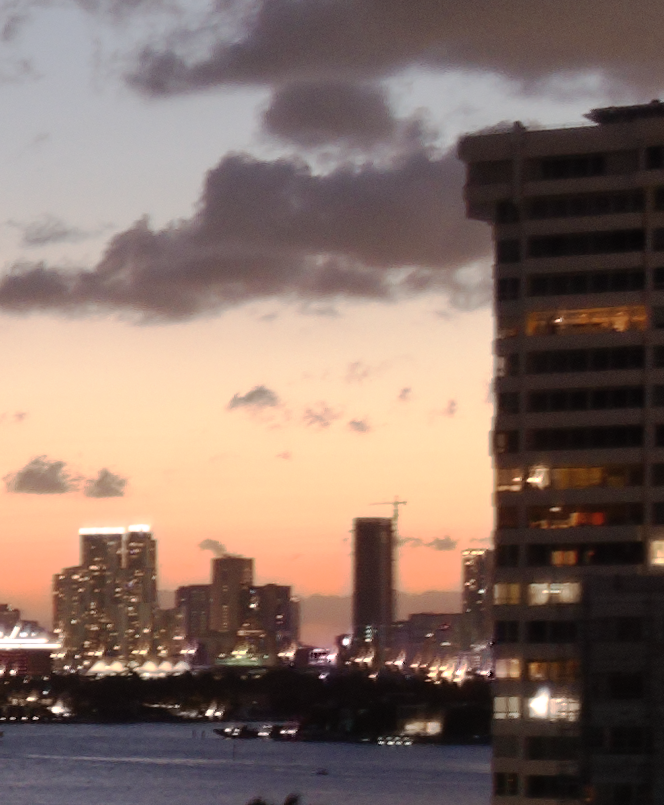
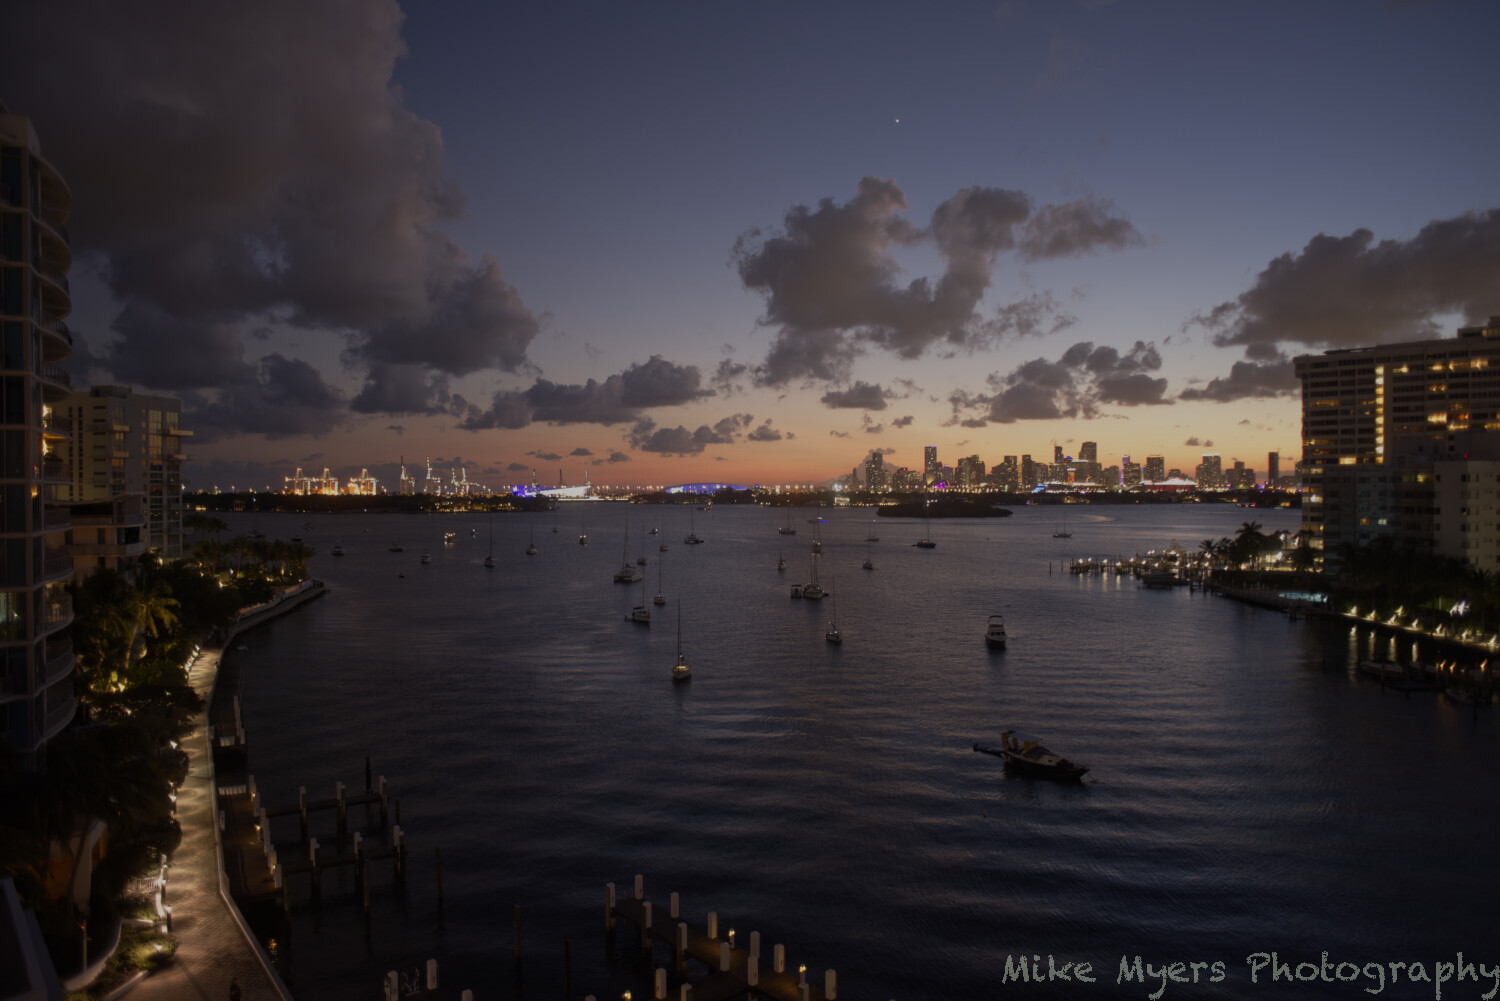
I took several bracketed photos of the city of Miami from my balcony, about ten minutes before the light vanished and what was left was a night photo.

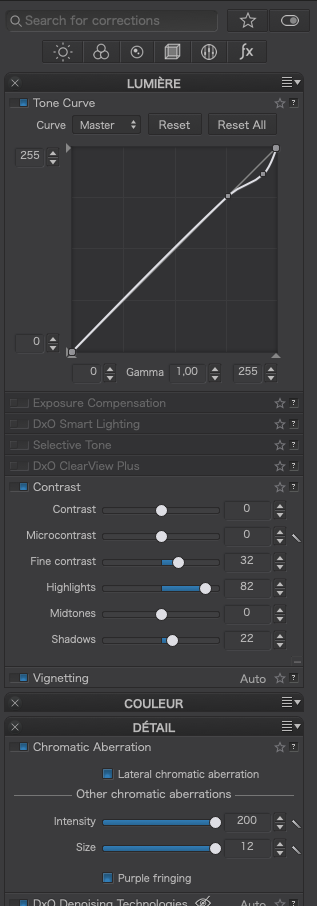
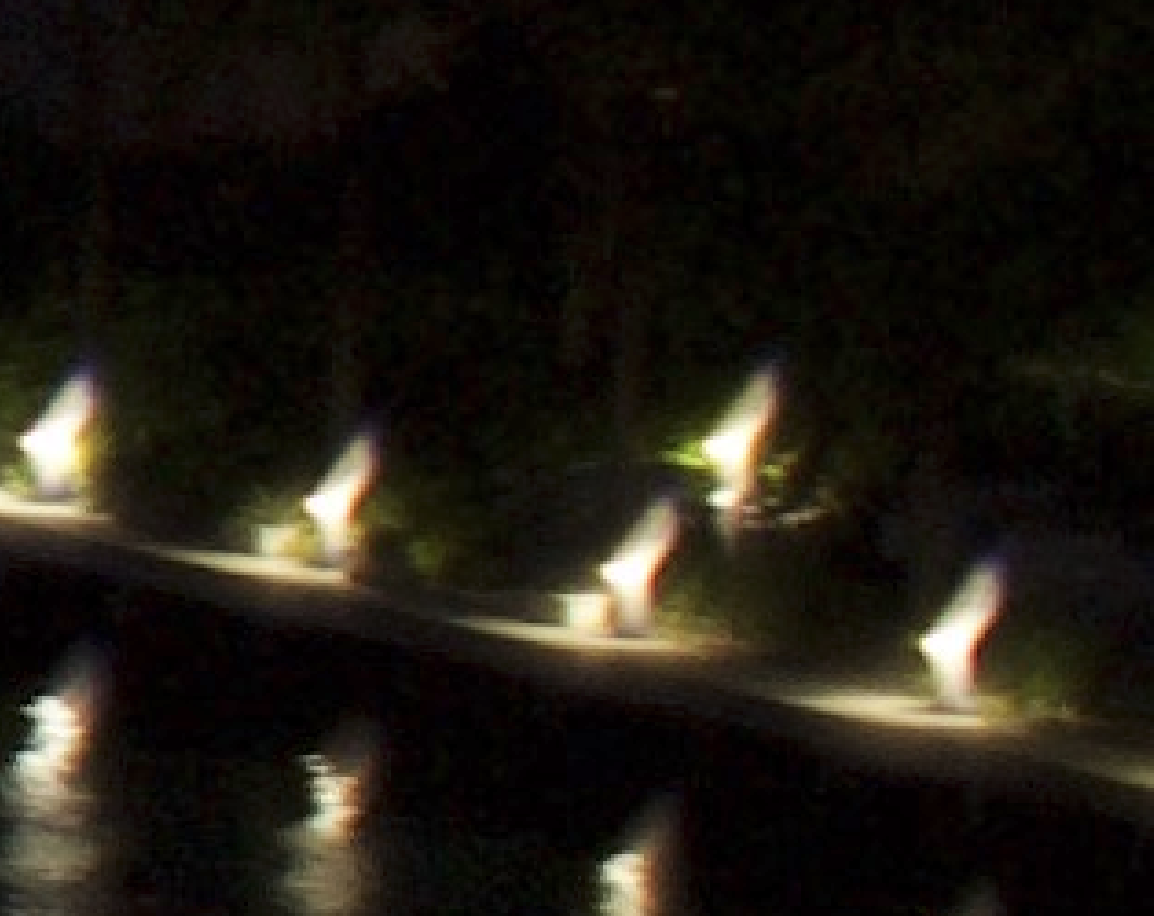
I picked the best image, and worked on it mostly as I did before, but there was one unique problem I’ve never had before - all the lights in the photo had a large “corona” around them, which looked ugly. When I was done, those “coronas” were under control, but the image lost a lot of “vibrance”.

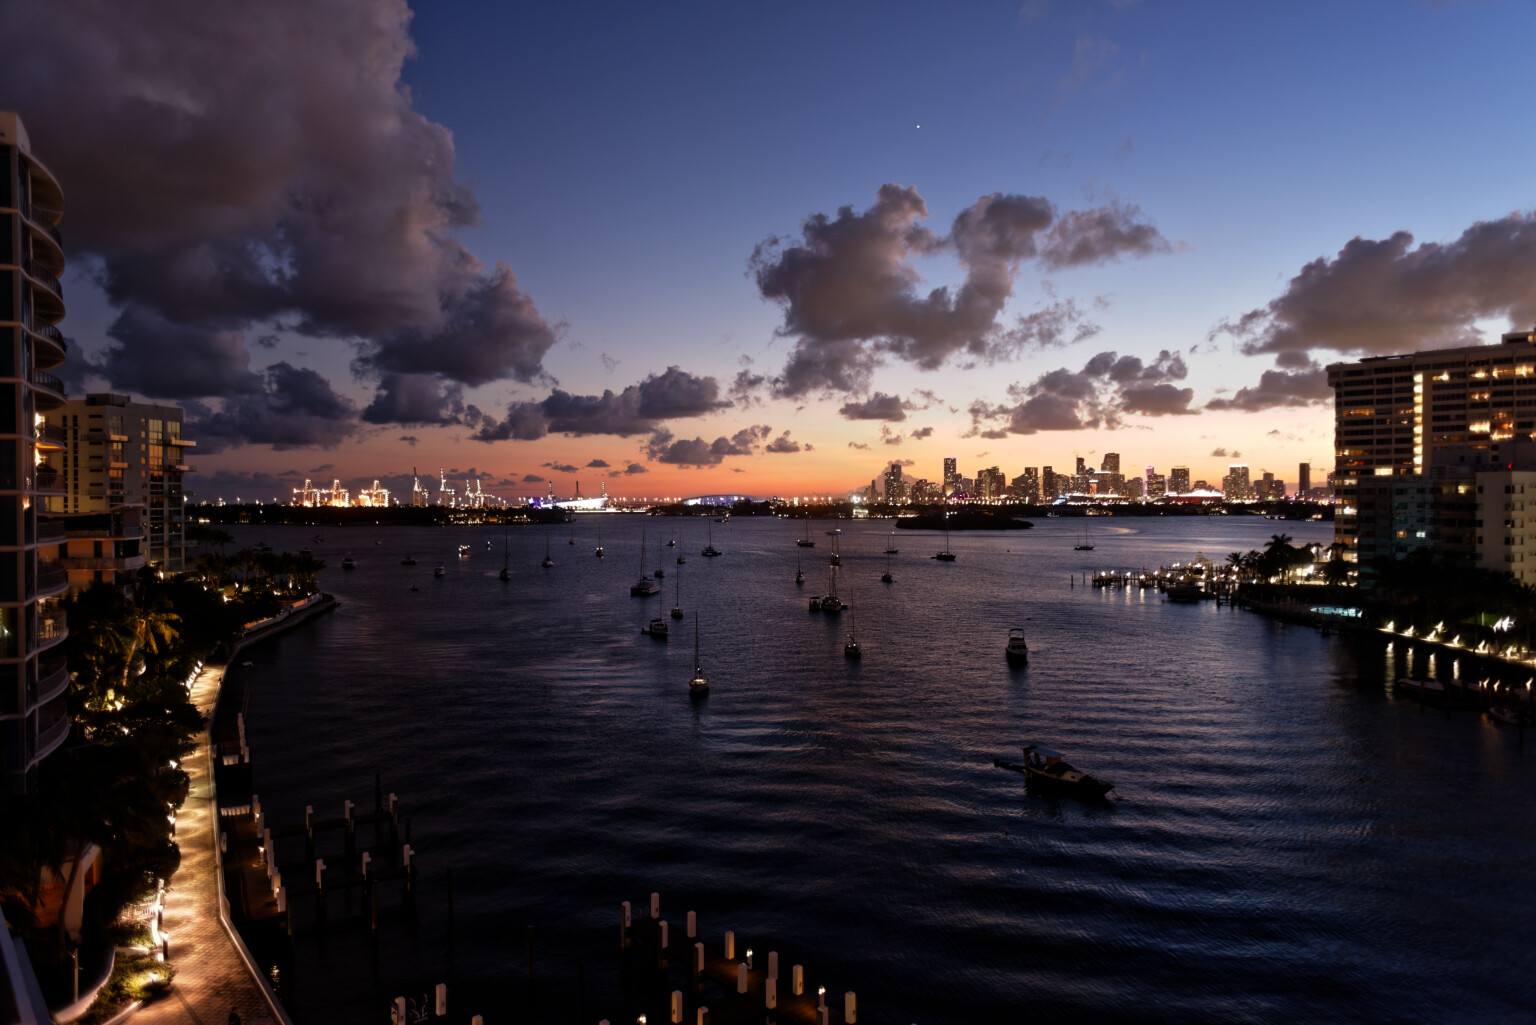
I bumped up the vibrance, and used the tone control to make the image “warmer”.

I’m stuck, as I don’t know how to improve the image - or maybe it’s already improved enough.

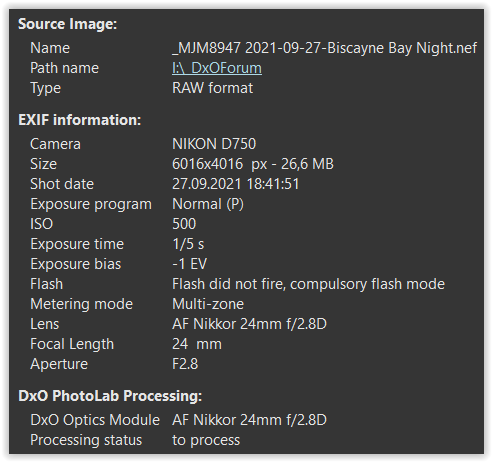
Camera was my Nikon D750, with an older 24mm Nikon lens. No tripod, but the camera was resting on my balcony railing.

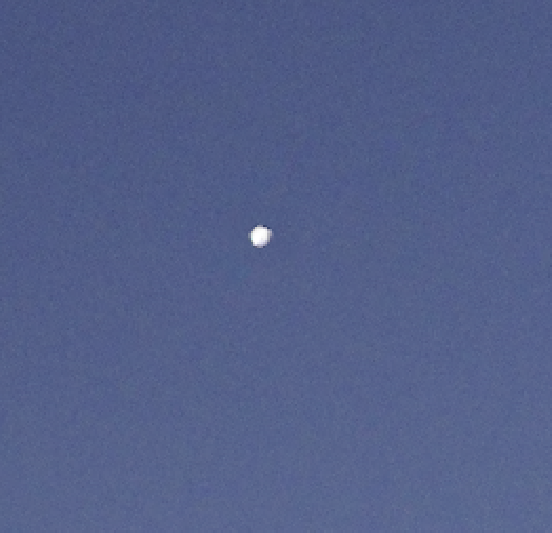
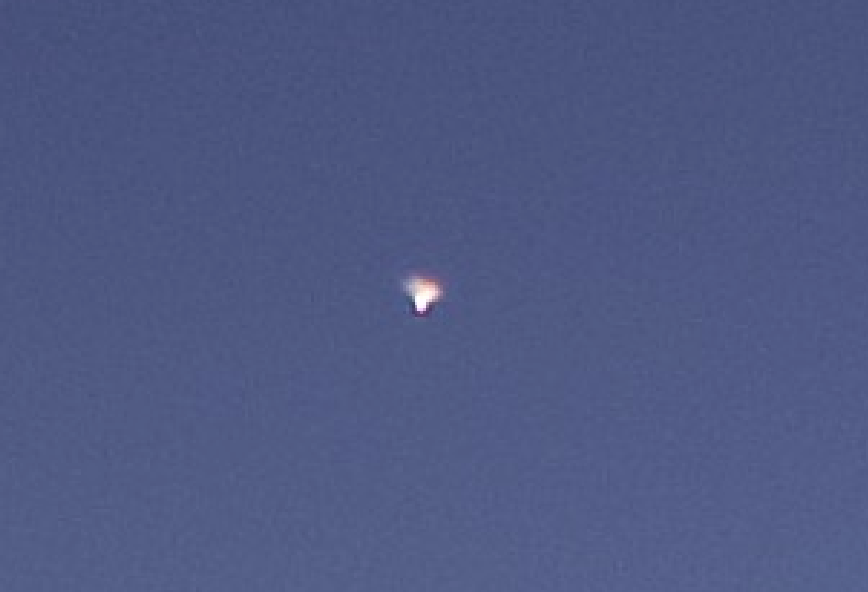
The dust speck on the sensor isn’t. It’s a very bright star.

So, my question I what I can still do to make the image even better. If I had taken it 10 or 15 minutes earlier, I had an equally, maybe more so, beautiful sky, but at the time I took this photo, this is pretty much what I could see with my eyes.

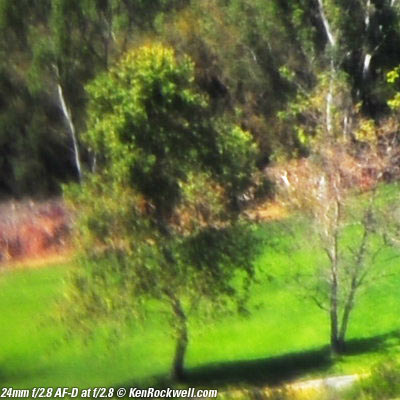
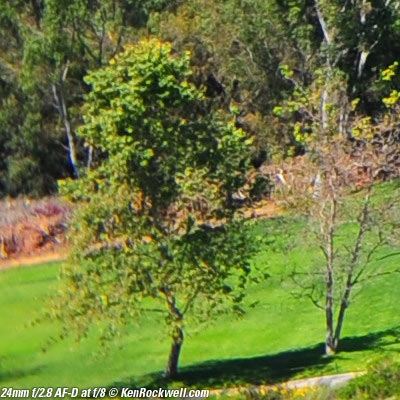
If I view it at 100%, I can see red fringes on some of the building outlines which gets worse on the right side of the image. This lens is from the 1980’s, so perhaps I’ve exceeded the limit of the lens. It was originally purchased for my Nikon F4 film camera. At 100% the left side of the photo is sharper than the right side. There weren’t any 24 megapixels back then. I’ve resisted buying new lenses, but maybe it’s time to do so. (…but I hardly ever end up making gigantic photos, only in India, where they ask to get it done.)

Something I think I will try, is export the image to “Topaz Sharpen AI”. I made a virtual copy to test this.
If that works, I’ll upload a new *.dop file. (Yes, motion blur made a BIG difference. If it ever finishes downloading, I will post that here too.

Files are in the next reply.

1 Like

I tried to upload the resulting TIF file, but got an error message from PL4:
“Sorry, that file is too big (maximum size is 50000kb). Why not upload your large file to a cloud sharing service, then paste the link?”

I will try to use the PL4 “export to disk” command to save it 1500 pixels wide…

This should be the TIF file, but it was exported as a ‘jpg’:

This should be the original .nef file:

And this should be the final .dop file, now that I am all done.
_MJM8947 | 2021-09-27-Biscayne Bay Night.nef.dop (24.5 KB)

Is there a reason you tried uploading the Tiff file instead of the NEF? Were you using control points or other local adjustments to fix the light issues or were you trying to fix the problem with global corrections only?

Mark

I like the .nef and would leave it mostly as is, except and maybe for a touch of more colour in the sky, For this, I’d try the HSL tool and maybe a gradient.

What did you do to control them?

In fact, if you zoom in to the bottom left, you get…

… and in the bottom righty you get…

… which would seem to be from the lens, as the red fringing is on the “outside” of any lights. It is more noticeable on the buildings on the right because of the greater intensity of the light. My guess is that this is flare because the lens doesn’t have the multi-coating that more modern lenses have.

If you look at Jupiter, you can see an aberration on the “outside”, which confirms my thought that this is poor quality lens by today’s standards. I had the same problem with a “cheap” 18-35mm Nikon W/A zoom.

I would ask why when PL has unsharp masking available?

As Mark says, why bot the original NEF file as this is what the DOP file was created from?

In fact, it is a full size jpeg.

This makes sense - this lens I have had since the 1980’s I think. Time for a newer version. My lens was made between 1986-1994 and was called the Nikon AF-NIKKOR 24mm f/2.8 - what did you get to replace it?

Jupiter - no wonder it is so bright. Lens - yeah, ancient.

I wasn’t aware of that - I’ll need to try it out. The Topaz software makes three different types of correction, and you select the one that is most effective for your purposes. Later today or tomorrow I’ll try out the version from DxO PL4.

Something went wrong, and I was too sleepy to track it down. I wanted to upload the original NEF file, but I don’t think that is what got uploaded. I will try again. I remember it did say “jpeg”, but that’s not what it should have uploaded.

I also remember that my histogram after I got rid of the light problem looked wrong, but the image on my screen no longer showed all the “flare” from every light source. That got overwhelmingly frustrating, and I was getting tired, so I thought I would try again.

Added later: Joanna, I recently bought this lens, much newer, and a great review from Ken Rockwell. I will re-take the photo this evening with this lens, and post it. Maybe it’s true, “you get what you pay for”.
https://www.kenrockwell.com/nikon/24-85mm-vr.htm

I liked it too, until I viewed it at 100% size. The right side got blurry, the red fringes showed up, and all the lights had an annoying “halo” around them. Back to regular size, I was pleased with it.

HSL and a gradient? I’ll try later today.

The reason for that is that when I exported the image to my “Topaz Sharpen AI” application, it returned as a Tiff file, so that’s what I uploaded. If as Joanna suggested, I can do the sharpening from within PL4, there may no longer be any need for the Topaz software, so I will be uploading only the Nef file and the .dop file.

(I’ve never tried this tool in PL4 yet, and the Topaz Sharpen sounded pretty good - me bad. I should have figured this out before I spent that additional $$. It seems to me that if I send an image to any application, even the Nik Collection tools, doesn’t it always come back as a Tiff?)

Great - so the .nef did get uploaded already. I have no idea how or why I uploaded a .jpg file, that wasn’t my intent. Too much going on at one time, and I was getting tired.

Hmm, the website is suggesting I make one long reply to all of you, rather than individual replies. I will do that from now on. Sorry.

Yes, once you have edited an image outside of PL, it has to be converted into a non-RAW file format.

I’ll take a look after lunch

@mikemyers – waiting for your nef-file :slight_smile:

Hope this works - no idea why it didn’t yesterday…

What am I doing wrong? I click on the .nef file, click upload, and as you can see here, it is uploading a jpg instead???

I selected the .nef file to upload. Three times now. But PL4 finds a non-existent jpg file that isn’t even in this folder. Gotta leave for a doctor’s appt. Will continue later this morning.

Something is broken - the file to the left of the .dop file is what I am clicking on. There is no .jpg in that folder… Maybe time to re-start PL4, and if that doesn’t work, re-start my computer.

You can just drag and drop it like I did with the attached NEF. Not sure what it hasto do with PL4. Can’t your drag and drop it from Finder?

500_0115.NEF (22.8 MB)

Mark

1 Like

I meant the one you labeled “NEF”… and I don’t really mind the spread highlights. They are due to a lens property. I’d not try to make them go away because the overall impression of the image is much more important imo.

Side-note: Movies often exhibit effects of lenses that are less than perfect. Does it matter? No, as long as the story is good and well told… Does it matter if the story was :nauseated_face:? No.

_MJM8947 | 2021-09-27-Biscayne Bay Night.nef (26.6 MB)

Thank you! No idea why my doing it through PL4 confused the software, but “drag and drop” was effortless.

I think from now on I’ll do it this way for uploading! Again, thanks!
I’m too confused even when things are mostly working - but I knew last night that something was broken when I saw “jpg” on the screen, and I don’t have an jpg images in this folder.

They do bother me, as they shouldn’t be there. If it’s a nice effect, I want to create it on purpose. I have my newest 24mm lens on the same camera - I’ll repeat this tonight or tomorrow.

So, I’m trying to remove what I see as a problem, but you’re suggesting it makes the photo better?

Now, what were you saying about red fringing?

All it took was to apply the four optical corrections for your lens module (you did download the module for your lens?) and up the Chromatic Aberration a bit more than the default. As for the flare on the white lights, that is partly due to what looks like uncorrectable grinding marks on the lens combined with over-exposure or too much dynamic range.

As for Jupiter, it’s amazing what a couple of touches with the repair tool can do…

Here’s a screenshot of the just the things I did differently (apart from adding in the lens corrections)…

Here is the DOP with my VC added…

_MJM8947 | 2021-09-27-Biscayne Bay Night.nef.dop (46,8 Ko)

And here is an export…

I did that a year or two ago - can I force PL4 to do it again, in case it is confused?

How can I check if PL4 thinks it is using them? How would I search for them in my PL4 window?

I love your improvement - maybe that old lens still has life left in it…

So if I look at your .dop file, I will see where you did it, and then need to figure out how to add it permanently for when ever I use this lens? I need to stop for lunch, and then figure out how to see what modules PL4 has downloaded…

@mikemyers,

thank you for sharing the *.nef file with us!

from the Metadata:

your exposure time was much too long for when scrutinizing sharpness

Screen Shot 09-28-21 at 06.36 PM

So I suggest, to repeat the photo with your D750 and AF Nikkor 24mm f/2.8D,
then change the lens to your recent zoom and take another photo … :slight_smile:

Yes, I remembered that the very same subject (and lens) had been discussed last year – and it all started with DxO PhotoLab 4 and Candid Photos - #180 by mikemyers
You took the former photo with a Nikon DF and I suppose the very same AF Nikkor 24mm f/2.8D.

Following the old thread further down to DxO PhotoLab 4 and Candid Photos - #215 by Wolfgang
you can see, that your lens is prone to some degree of Chromatic Aberation – as well the problem got solved.

As both combinations are supported by DxO, download the corresponding correction file to make use of, activate ‘Chromatic Aberations’ and play with the settings – see comment / screenshot from @Joanna (which saves me … :slight_smile: )

That old lens is far from dead, it just needs a little help :nerd_face:

Out of interest, I went on to Ken Rockwell’s review of it and found a sharpness comparison page.

Here’s the corner sharpness at f/2.8, which is what you used…

D3L_0966-z28

… and here it is at f/8…

D3L_0969-z8

Next time, up the ISO and stop down :kissing_heart:

1 Like

… and the same with the AF-S 24-85mm Zoom, which is better towards the long end.

[ I have a copy of that lens and for critical 24mm shots, I stop down to f8 ! ]

I saw the scene, grabbed the D750, removed the new lens and mounted the old 24, and rushed out to the dark balcony to take a photo, resting the camera on the balcony railing. I forgot how to set the ISO, as I have to do that from inside the menu system, so left things on auto and set the bracketing control to give me 5 choices. I did this twice

It wasn’t until this morning whe I figured out where the ISO control was, and yes, tonight I’ll bump it way up, 800 or 1600, and I’ll bracket again.

If the camera was stable, I wouldn’t have expected any issue with 1/5th of a second. I’ll see what I end up with tonight, as long as it isn’t cloudy.

This is confusing to me - so PL4 DID know the lens, as it’s listed in the DxO PhotoLab Processing. So to answer Joanna’s question, I have downloaded the modules - but maybe something got turned off in my settings unintentionally? I’ll go through the settings again. Maybe that is my fault?

That matches - so I need to check that they are turned “on”, and not “off”. I don’t recall ever turning them off, but this is a different Workspace, and maybe I just didn’t pay enough attention to what ALL the settings are.

I have always used this lens when I need more wide angle than a 35. I guess I don’t usually shoot with it wide open. If I would have been thinking about this, I’d have set it to f/5.6 (but tonight I’ll try f/8). The reason I like this lens is that it is small, and light, and easily fits in my pocket. The VR zoom is big, and heavy, but my thought was it might be better than walking around with multiple lenses.

Joanna - yep, I did read Ken Rockwell’s article, and enjoyed it, but I forgot about those details.

By the way, before I started trying to get rid of the halo’s, my histogram looked good to me. By the time I finished, the histogram was way off to the left. I thought the halo’s were ugly, but I suspect I was wrong. That was part of the picture, and that’s what I saw with my eyes. One more lesson learned.

Yes, I should have boosted the color a little, but had I taken the photo 15 minutes earlier, there was lots of color. By the time I took the photo the color was rapidly going away, as it got darker. I guess it took me way too long to get the camera ready.

(The D750 has 24 megapixels, and my Df has 16. I’m mostly using the Df, and when I pick up the D750 some controls are difficult for me to remember how to get to them. My favorite is the Df, but I figured I ought to use the one with more pixels. …just for the heck of it, I should try the same photo with my Leica and one of my wide angle Voigtlander lenses I bought for it. I’ve got an old Leica 35mm, but I like to see the shoreline on both sides of this image, and I need more than the 35 for that.)

I will also take a photo with this lens, and stop it down to f/8. I found a used one at KEH and the price was reasonable, and I wanted a single “walkabout” lens for my Df. After a lot of reading and arguing with myself, I bought it.

Yikes! You all must have taught me a LOT since February. For many, many reasons I like this newer photo more, much more. Same lens, correct.