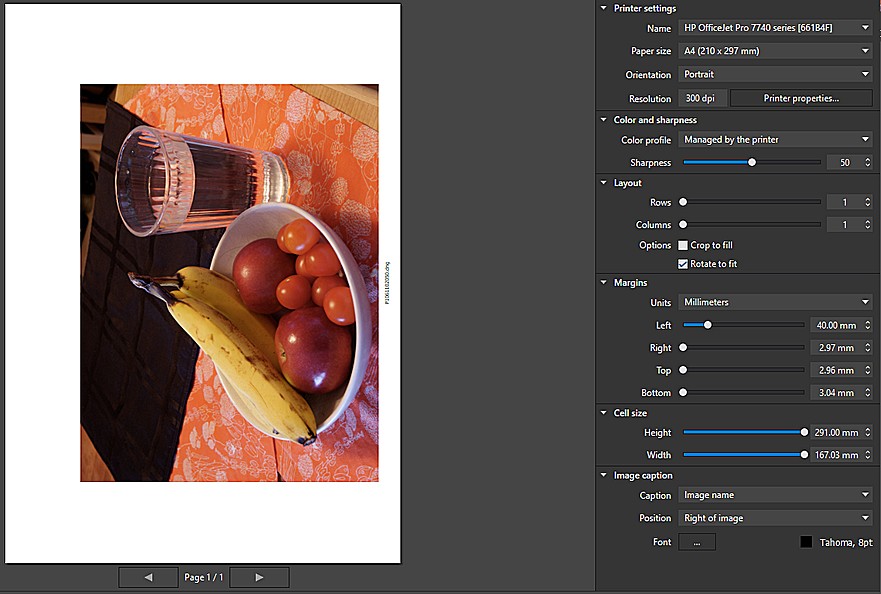
Moving one single margin, the leftmost (as seen, not relative to the photograph) affects the other margins. Again none of this is reflected in the dialogs.
No undo/redo, no reset…
I did not choose a printer so it so conflict with driver shouldn’t be a factor.
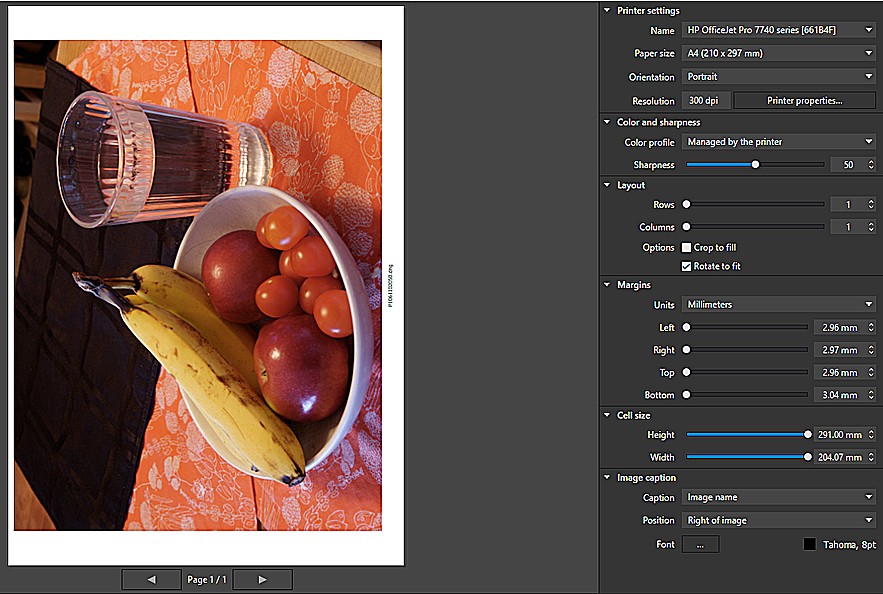
The A4 paper selected in the printer dialog has an aspect ratio of 210/297=0.707.
If your image is based on FF, it has an aspect ratio of 0.667, which is not equal to 0.707.
Increasing one margin at will while keeping the aspect ratio of the image intact will change the size of the image on the print as we can see. Other margin values don’t automatically change, which is pretty much the right thing to do if we think of these margins as being minimum values.
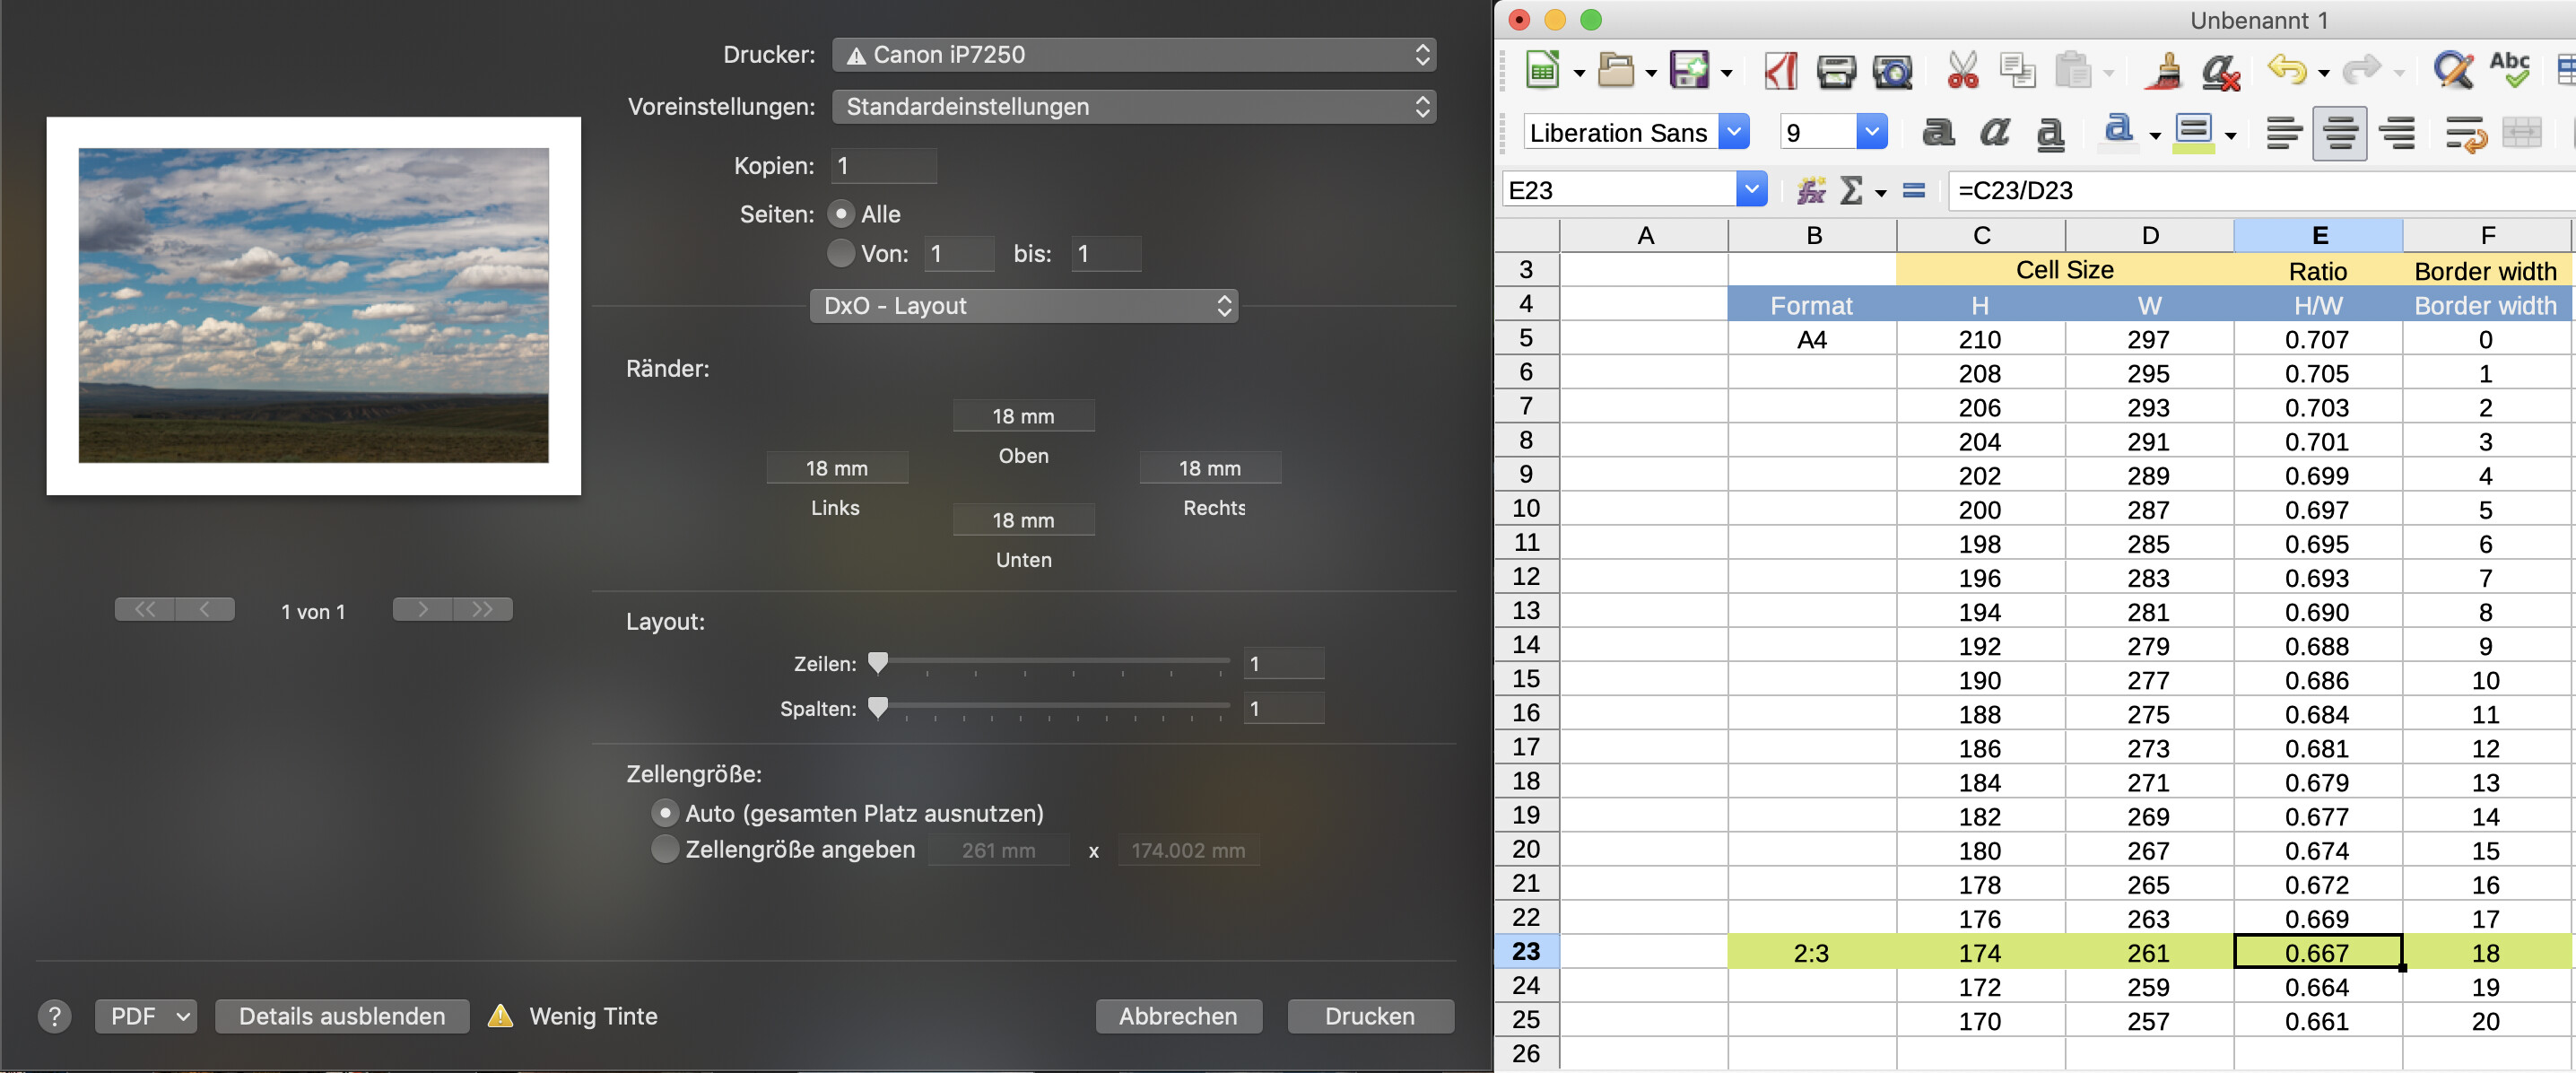
In order to solve the riddle, let’s make a little experiment: If you add equal margins on all sides step by step, you’ll come across a set of margins with a cell size aspect ratio of close to 0.667, your target value. See spreadsheet for illustration:
As we can see, the printer driver offers a cell size that is very close to the computed size - but only if I tell the driver to print borderless. If you now want to add some text below the image, reduce paper hight (spreadsheet line 5) accordingly.
Alternatively, you can set a cell size with an aspect ratio that corresponds to your image’s and see what you get. Note that there is ONE set of equal borders for each paper and image aspect ratio pair, if any (cannot print a square image on A4 with even margins)…
In the case of a 3:2 image printed on A4, the borders must be 18mm each.
…the left margin slider is set to 40mm and it looks like it. After all, 40mm is about one fifth of the width of an A4. All other margins represent the limits of what the printer can do. Moreover, the preview in the printer driver window is an approximation. Actual prints can look differently because of mechanical tolerances of the printer’s engine.
Try to set paper size to A4 (borderless) if possible. Margin values should then be easier to handle.
Tant que l’on a pas modifié les marges, celles qui s’affichent sont celles du driver de l’imprimante.
On peut imposer évidemment une marge différente, par exemple en entrant 40 mm à gauche. Ce qui entraîne un recalcul de la zone imprimée (hauteur x largeur) pour avoir 40 mm à gauche et la marge minimum à droite.
Les autres marges hautes et basses restent inchangées puisque la marge minimale est respectée, l’image étant centrée à défaut d’autre indication. Donc pour moi il n’y a aucun problème. Mais on peut également modifier la valeur de la marge haute par exemple pour décaler l’image vers le bas jusqu’à ce qu’elle touche la marge. Dans ce cas les valeurs modifiées seront indiquées.
As long as the margins have not been modified, those displayed are those of the printer driver.
You can obviously impose a different margin, for example by entering 40 mm to the left. This results in a recalculation of the printed area (height x width) to have 40 mm on the left and the minimum margin on the right.
The other top and bottom margins remain unchanged since the minimum margin is respected, the image being centered in the absence of other indication. So for me there is no problem. But you can also modify the value of the top margin, for example to shift the image down until it touches the margin. In this case the modified values will be indicated.
The margin depends on the technical characteristics of the printer. It may be 0mm or 3mm (for example) depending on what the printer can do and / or the driver settings.
When you print an image, its largest dimension fits on the corresponding margins. The margins of the smallest dimension are unchanged: the printing will not reach the margin, and will therefore leave a blank between the edge of the image and the “technical” margin.
If we modify a margin by increasing it, then it becomes a new margin whose displayed value replaces that of the original margin.
The margins are tied to the paper. They define a print area within which the image must fit.
Sorry, I’ve been out of touch for a couple of days. Let me experiment with all this but I already see much clarification. There’s one that I’ll bookmark.
See you all soon and thanks for the great help.
OK, I found time and will to go through this. Days past have been harrowing. Thank for your patience.
This is a nice explanation, Platypus. Thanks to you, I have a new appreciation of the mechanics underlying something as simple as positioning a photo on a printer page.
Thanks, George, for your participation.
You are right, I am used to printing using LrC which show the
minimum margins in the same manner. PL’s print module is actually a very much simplified version of LrC Print module. Hence my impression that it was in beta or something. DxO has made me to expect a much more original approach to any problem than this.
Surely starting with the cell size is the way to go… if one is satisfied with this awkward process. I rather bought Qimage Ultimate. Thanks to the beautiful capability that PL offers to export to any application, Qimage behaves exactly like a plugin. The functionalities of Qimage are well known, so I won’t wax poetic over them. Enough said that it alleviates my frustration with LrC and PL print modules.
Yup, it seems that we can’t have it all. As they say in French : “Même la plus belle fille au Monde ne peut donner que ce qu’elle a.”. The fact is that it is already penty to keep us busy.
@+
Jean
The problem I have always had with print is the margins not being the same when you print so the only way is trial and error when you set them up. There was said to be plans to redo the print modual at one time as it was an early one added to the program. No sign of that as yet, proper print previews would be useful as well as being able to get print margins set properly. We now export into Affinity which has a much better print.
Select to print borderless and the numbers in the margin fields will be quite close to what you’ll get. Nevertheless, some differences may persist because of mechanical tolerances of the printer. These differences can be eliminated by printing wider borders and cutting them off as needed.

 As they say in French : “Même la plus belle fille au Monde ne peut donner que ce qu’elle a.”. The fact is that it is already penty to keep us busy.
