You just check the soft proof box in the develop module and choose the profile you want…
I’m still on the very old LR 5.7, but the softproof ‘process’ should still work the very same.
– Maybe this gives you an idea → Add soft proofing to Photolab - #7 by Wolfgang
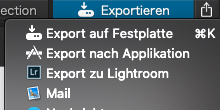
Thank you both for answering, but perhaps I have not expressed myself clearly enough. I just wanted to know which export function I should use in Photolab, to export to Lightroom.
- Export to file as DNG, or
- direct export to Lightroom?
P.S.
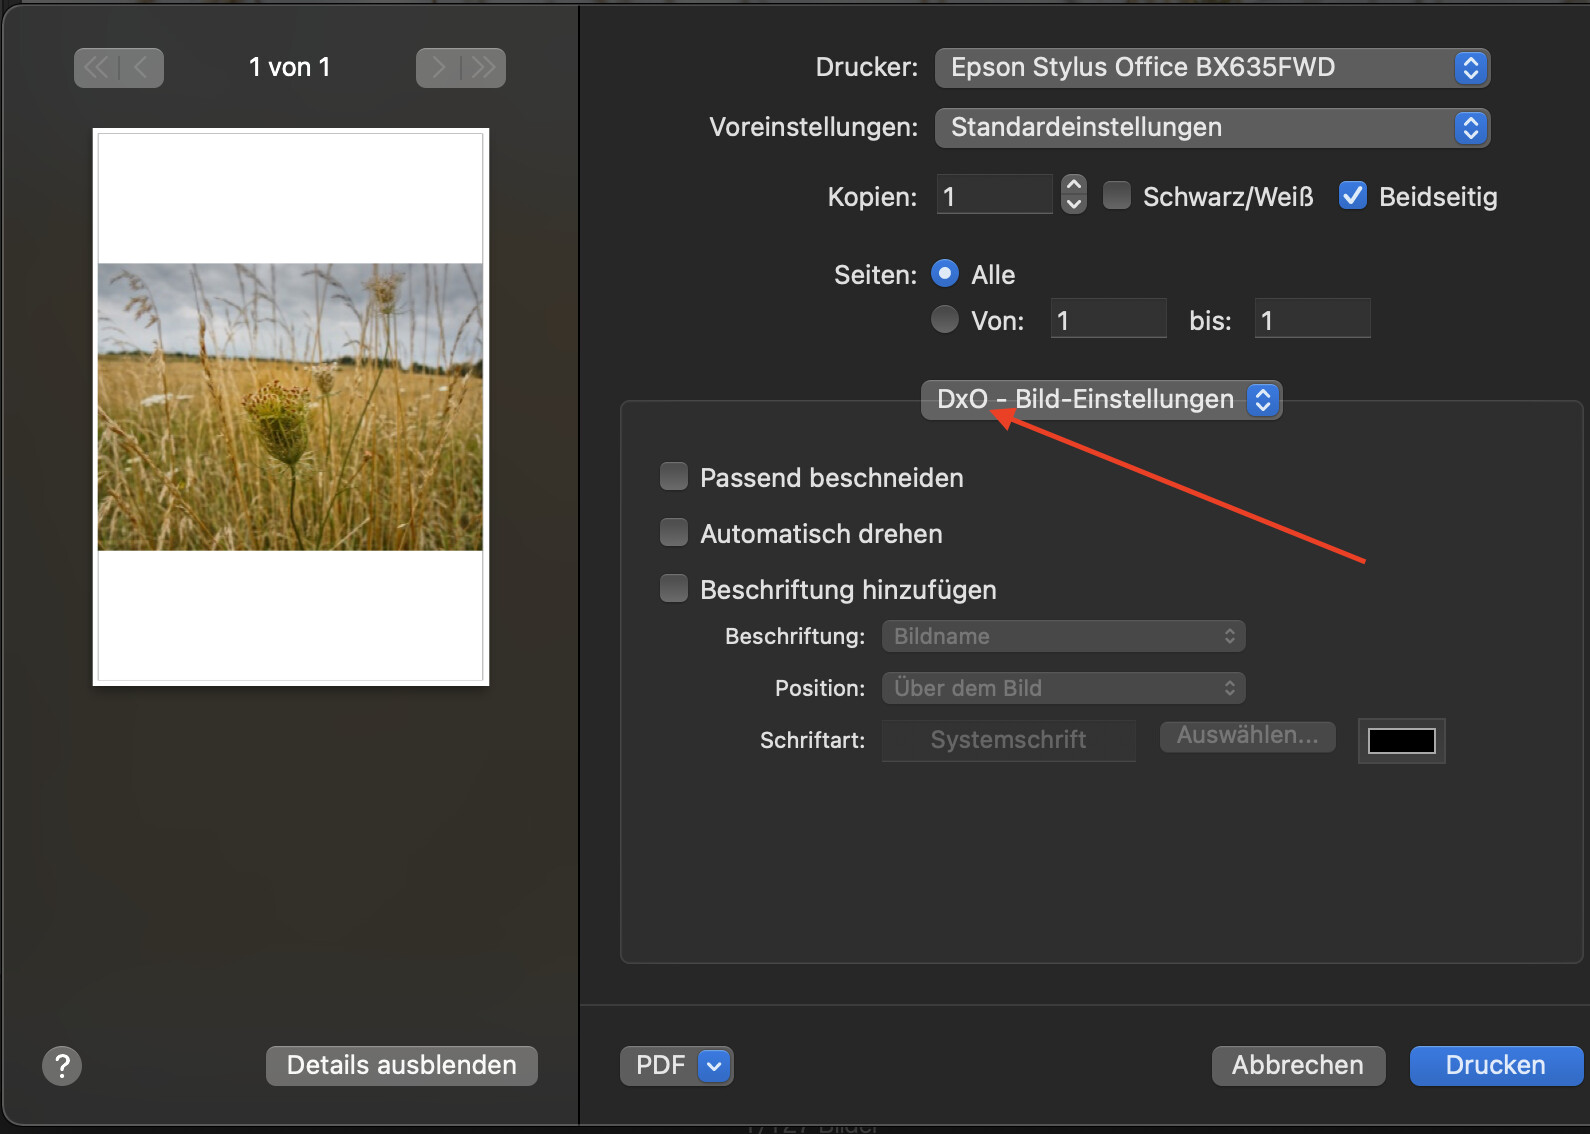
@Wolfgang I just looked at your link now. I did not add export to TIFF, because I did not expect this to be a choice. A question then would also be, which ICC profile to choose in the export options?
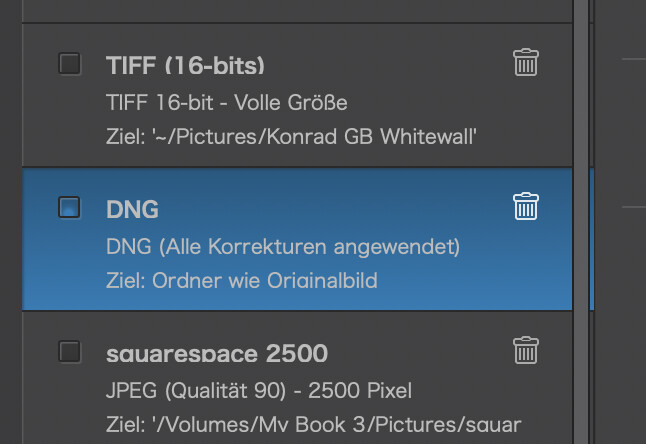
Ok, I only know (and described) with TIFF-file → mass correction for photobook.
That photobook project was from 2019, so I had to look it up.
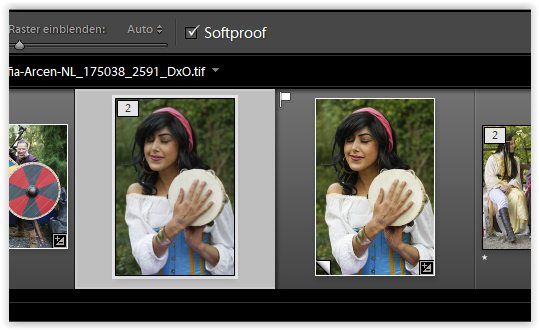
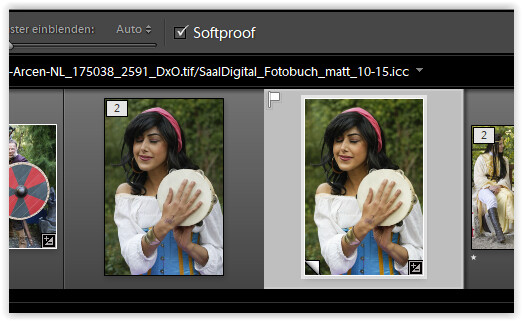
– Yes, the referred TIFF (the one on the left) is in AdobeRGB, the final version of all edits.
[ For these photobooks I have to send JPEGs in sRGB.
– As LR handles colour management correctly, usually I then set my monitor to sRGB and apply the printshop’s paper-profile to the virtual copy (the one on the right). I correct the virtual copy visually either to match the TIFF-file or to get pleasant colours … Having flagged all virtual copies it is then simple to mass correct (synchronize) and export the ‘adjusted’ versions as JPEG in sRGB.
– The whole process is not complicated, but a time consuming roundtrip. ]
1 Like
Hi Wolfgang,
I did of course a search in this forum before and also found this post, About color profiles and Lightroom integration.
Photo-DKO is mentioning DNG and export to LR as to be working fine. So I thought, best way also for me.
Besides this, but more another topic maybe, I would like to use sth else besides LR. But on my research I found mostly only LR and PS when talking about Softproof. Couldn’t find an alternative to it, which does the same job. And yeah, also voted for softproof in PL 
Ok, I followed the mentioned link – and yes, I remember reading this (read it again as well the embedded link to Wolf Hauser’s article).
And no, I don’t understand why the OP exported (still does ?) with PL’s rendering to LR, to then apply LR’s rendering (just) to find out, that he had to use LR’s softproof capability to get a satisfying onscreen presentation.
– I’m not going to point fingers, but I just don’t understand. Either one uses the main colour capabilities from PL and then there is no need to manipulate further OR one does the ‘restoration’ (as W.Hauser described it) in PL and leave the colour rendering to LR or whatever.
Applying it on ‘both’ sides leads to unpredictable results – the same when printing and having color management active in the processing software and the printer driver.
And no, I don’t have profounded experience with DNG export from PL resp. import into LR.
– Also, I wouldn’t like to control colour from my old LR 5.7 (used it mainly to develop my pics).
But what I think I’ll do,
- apply PL’s optical corrections
- control the lens profile’s settings for vignetting
- apply perspective corrections if necessary
- check for easy repairs
- apply DeepPrime
and finally export as DNG – to continue further editing in PL,
simply to save waiting time from constant recalculation.
Otherwise I use LR’s softproof for photo books
and print from old PS with softproof to really match the paper.
→ Printing workflow with soft-proofing - #12 by Wolfgang and further links
In fact, the more I deal with the topic, the more I come to the conclusion, if at all softproof, then with on-board resources, i.e. preview. I have now looked at some tutorials and found that post-processing in LR is more complex and you can do a lot wrong.
One reason why I work 99% with PL is the fact that I just don’t have much time to post-process my photos. I would have to get used to LR again and I prefer to use this time to get more familiar with PL. For me, this is far from the end of the flagpole.
Still, I’ve learned a lot and will definitely benefit from it the next time I print out a photo. The photo, which is now hanging on the wall in the living room and the actual trigger was because it was too dark, now corrected, but I still think it’s too dark, but my wife likes it better, because more mood, so everything is good
Hello,
and we would like to have soft-roof in DXO too
cheers
1 Like
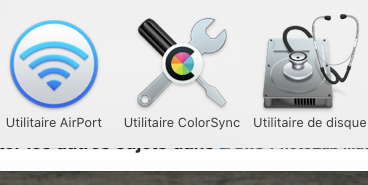
Did you know that, on a Mac, you can use the built-in ColorSync Utility to soft proof and print?
1 Like
No,
i’m still fighting the basics on my Mac 
ColorSync is in the Utilities folder under Applications…
Create your output file from PL5 and then got to Finder and Open with… ColorSync Utility…
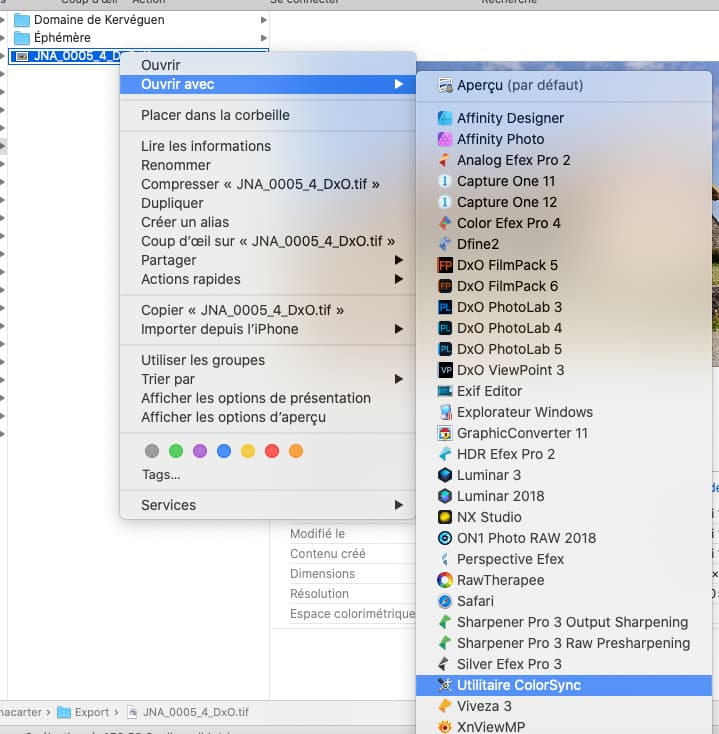
Then use the bottom left chooser to find your printer profile…

2 Likes
Many thanks for the short instruction, I will check it this weekend.
But that’s the point I don’t understand why DXO isn’t able to integrate soft proofing into PL.
So I have to develop in PL, check with Colorsync and maybe go back to PL if I’m not happy with the result.
And with windows I think it is more complex, so I use sometimes my old LR on Windows 
Question over question
1 Like
Thank you Joanna. I didn’t t know that. I’ m on Mac. I also agree with Guenterm; would be Wonderfull if all this could be done from within PL, instead of taking the longer route like you described.
1 Like
some general remarks
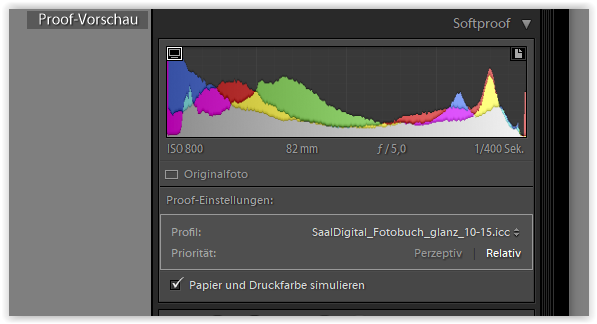
In softproof mode, one can simulate onscreen how a printed pic will look like
– without a test print, the so called (hard)proof.
While of course that doesn’t mirror the paper’s surface (plain flat or textured, reflecting or matte),
one gets a good idea of the rendition to be expected.
Now, to trim that rendition for a pleasing result one might have (read: has) to ‘correct’ the print version.
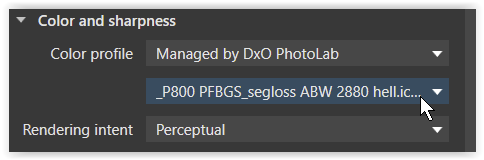
Since PL5, it is possible to apply different colour rendering options in the printing module
as well to apply a certain (paper)profile.
 *)
*)
*) shown with a very special B&W profile for a certain paper & printer combination
but there is NO option to toggle between the current onscreen presentation and the applied icc-profile – not to mention the need to ‘correct’ the print version.
[ To overcome, one might try to create a virtual copy in the develop module, apply the certain paper profile (rendering intent perceptive), render the result as TIFF in the appropriate size (including the right amount of print sharpening, e.g. with Nik output sharpener) and then go to print … to me, that’s very much a ‘blind flight’ instead of a well controlled workflow with FineArt printing. ]
Exporting TIFF and DNG from PhotoLab and looking at the results in Lightroom, I found that TIFFs always look pretty much the same as in PhotoLab. With DNG files, I occasionally got shifts in saturated colours.
1 Like
There was a promise many years ago that the print part of PL was going to be replaced as there are lots of problems with it but nothing had ever happened.
1 Like
Then the experiences are apparently very different as far as the export format is concerned. Good that I have buried my ambitions regarding Lightroom
Photoshop has long been a standard for printing images and Lightroom has inherited some capabilities. PhotoLab on the other side, has not a very refined printing feature set, which makes printing through Lightroom (or color sync) a fairly natural choice.
In order to prevent the necessity to readjust colours in Lr, I use TIFF as a transfer format for printing, instead of DNGs and their potential for colour shifts that occur mostly in red/orange hues.
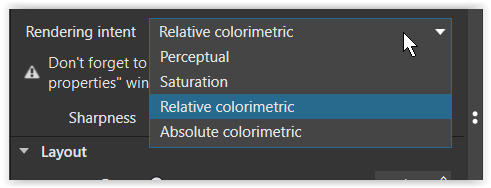
Rendering intent settings are absent in DPL on Mac - unless I missed something, in which case I’d be happy to learn where rendering intent can be set. Can’t find it in the user guide either…