I’m using PhotoLab 6 and have been experimenting with the soft proofing tool in an attempt to produce some good looking monochrome prints. The results are poor so I thought I would ask for some help.
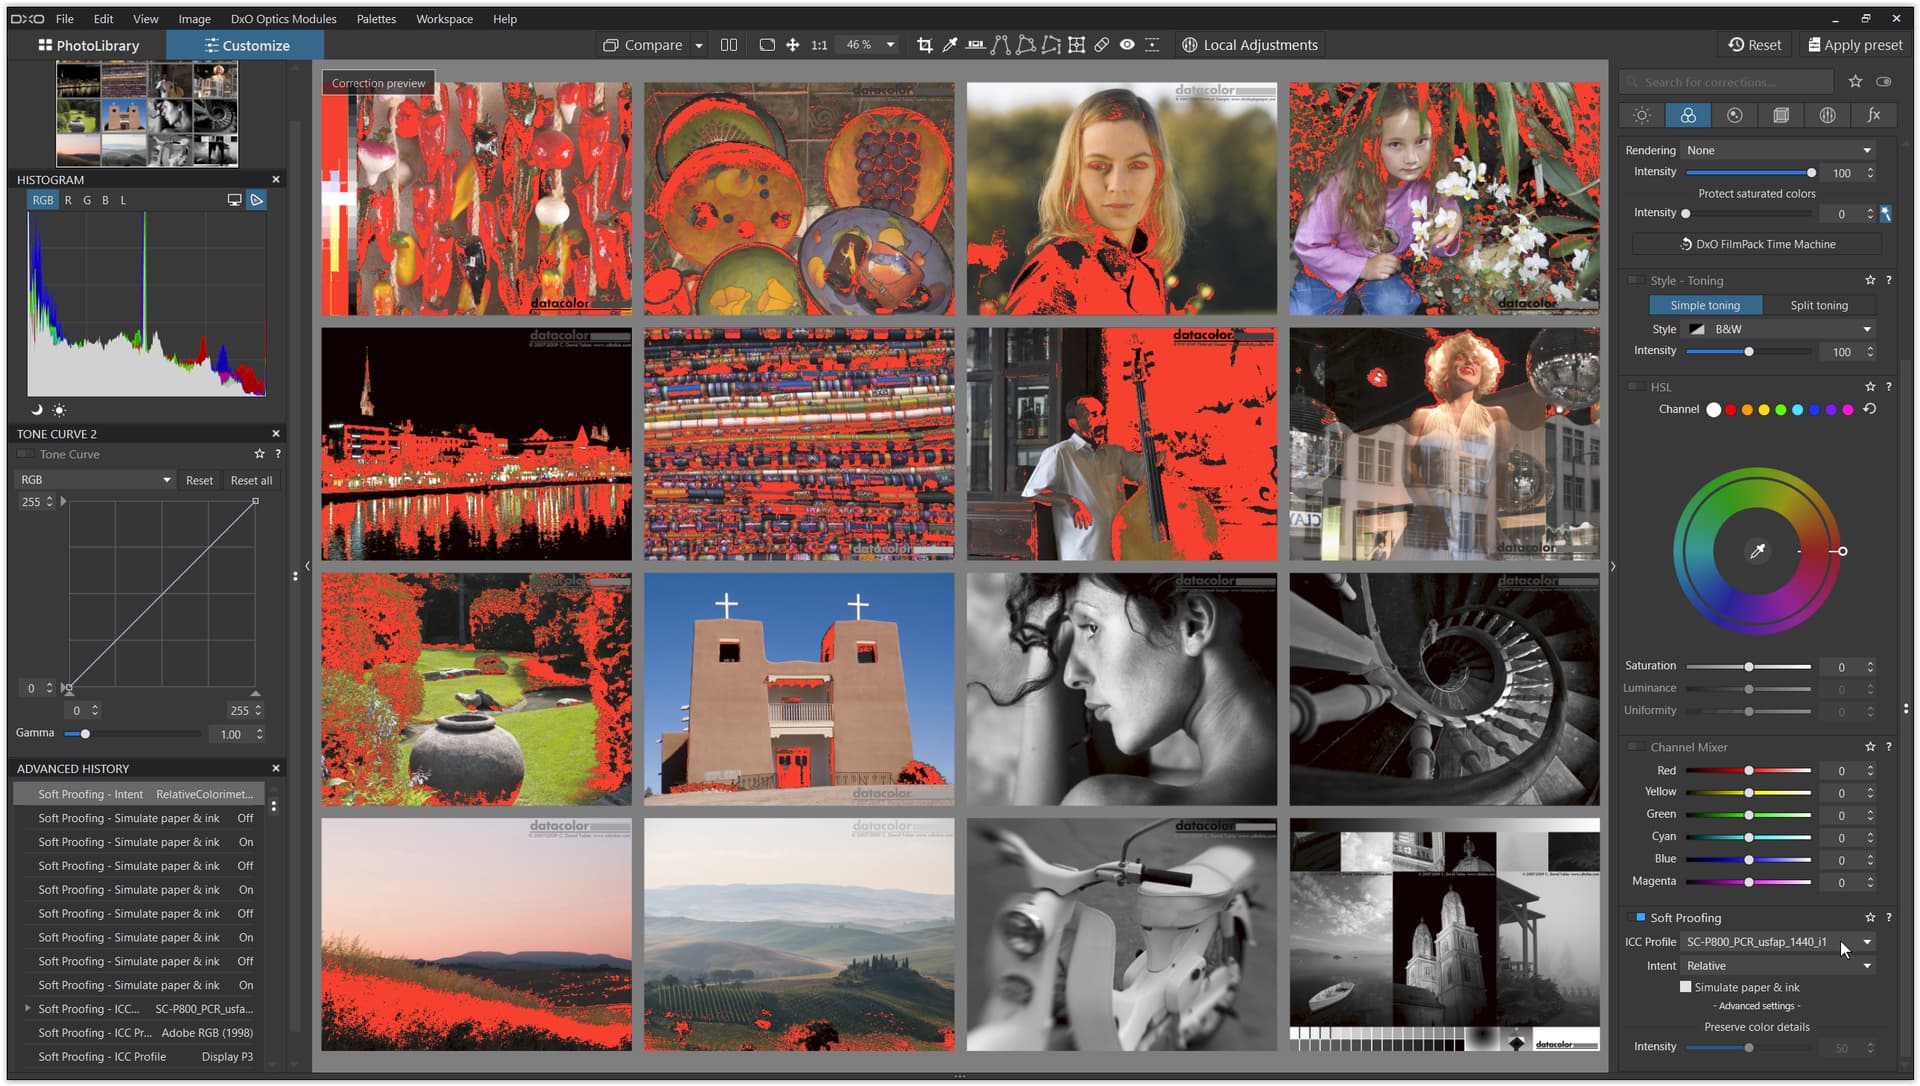
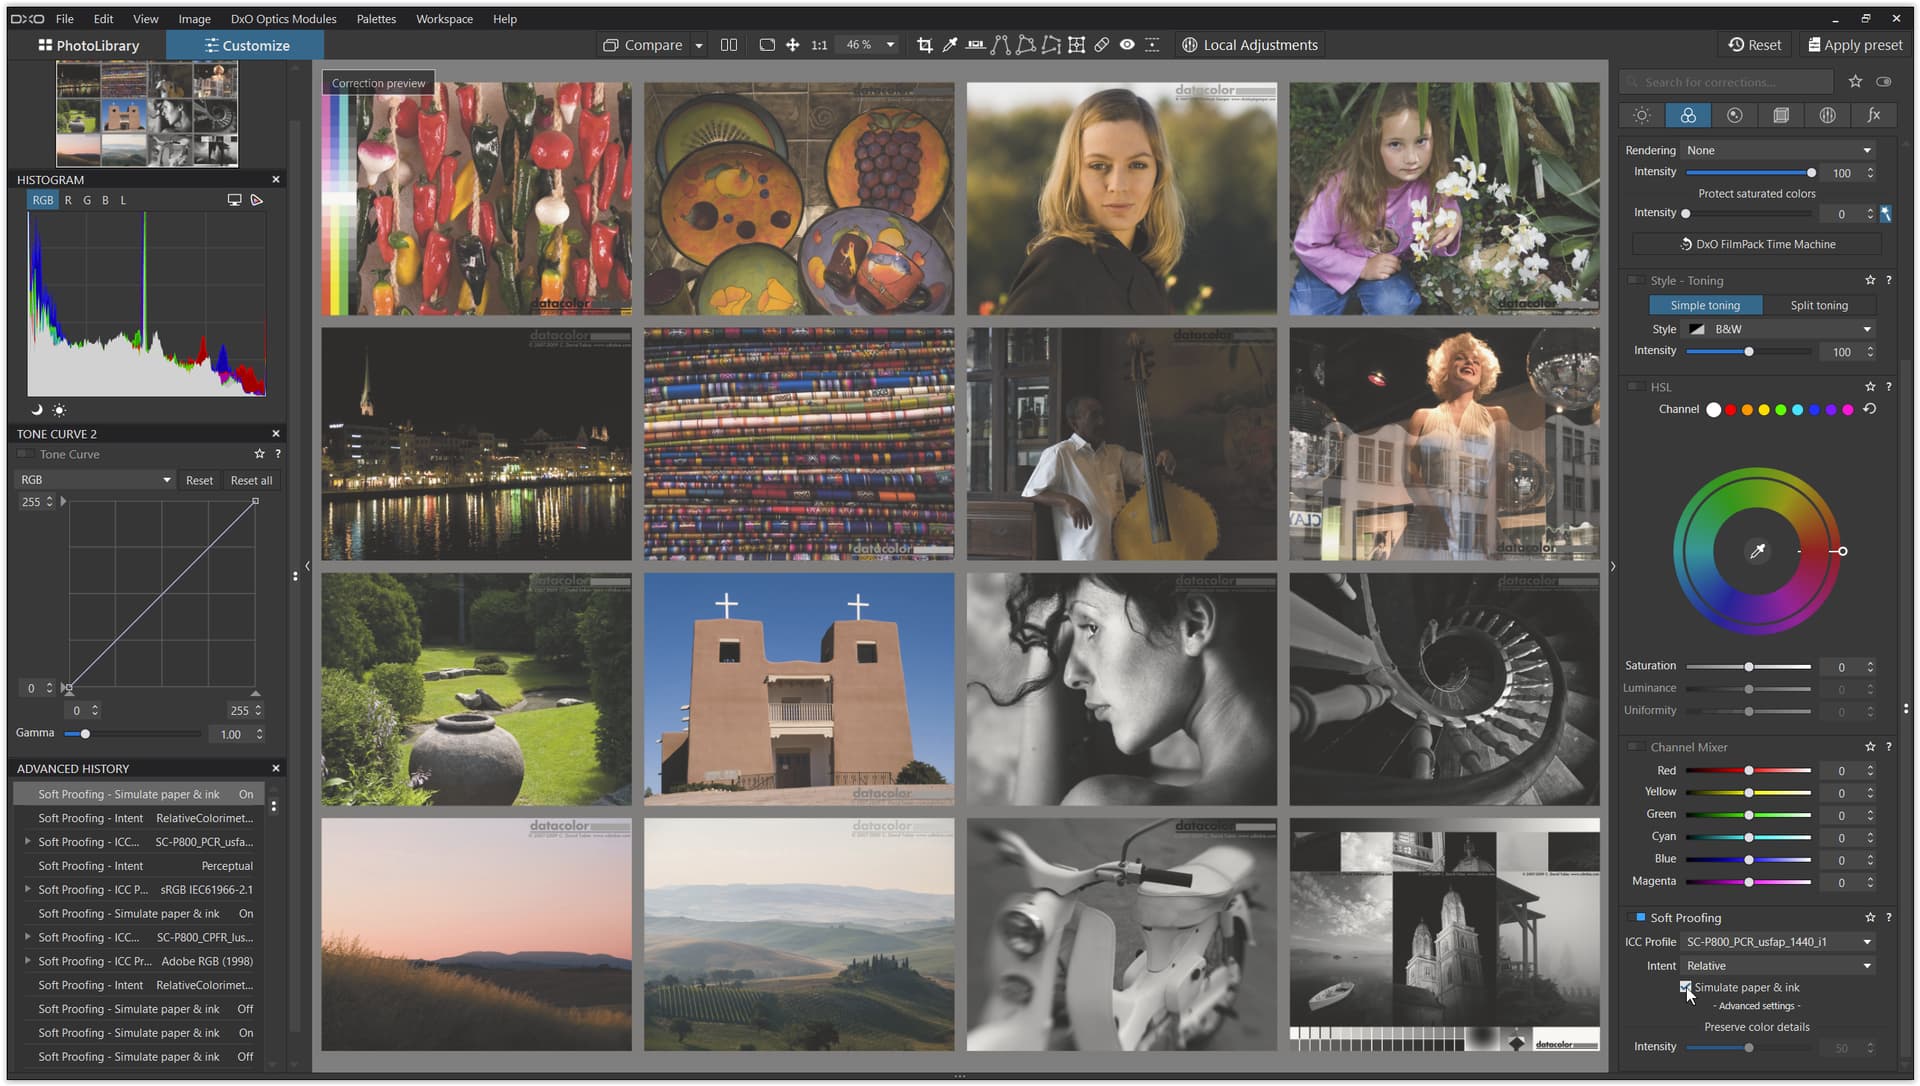
My first question is about the user interface. I have selected an ICC printer profile that I have created. If I select other profiles with the “Simulate paper & ink” option off the image is changed. With the correct profile selected the image is further changed when the “Simulate paper & ink” is selected. I find this second change confusing and wonder what is going on.
A Google search confirms the following
Soft proofing is “a method of simulating how an image will appear when transposed from one color space to another. It is commonly used to check how an image will look when printed on paper,…”
so why does Photolab provide two controls to switch soft proofing on and off?
From long experience, don’t bother with profiling for B&W printing. Both Epson and Canon provide a B&W printing mode. I have a Canon pro-1000 A2 printer and the results are simply mind blowing
Sorry but I’m not sure what you are suggesting in your comment, however my screen is calibrated and in my recent test the use of an ICC paper/ink/printer profile resulted in slightly better contrast when compared with Canon’s black and white setting in the printer driver. This is not surprising as I have 3rd party inks loaded at present.
[ with printing → mostly use Relative colorimetric ]
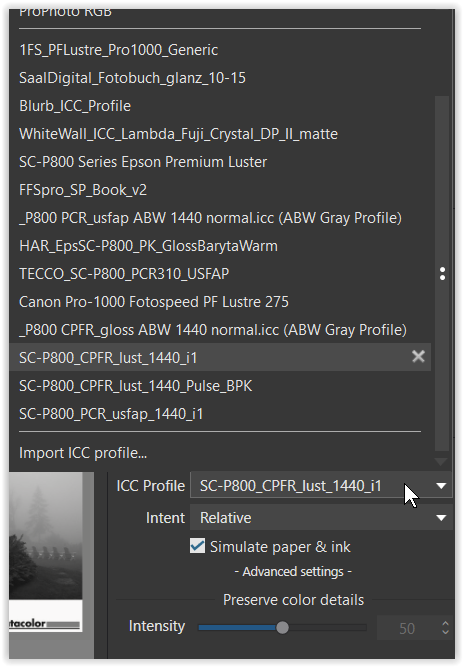
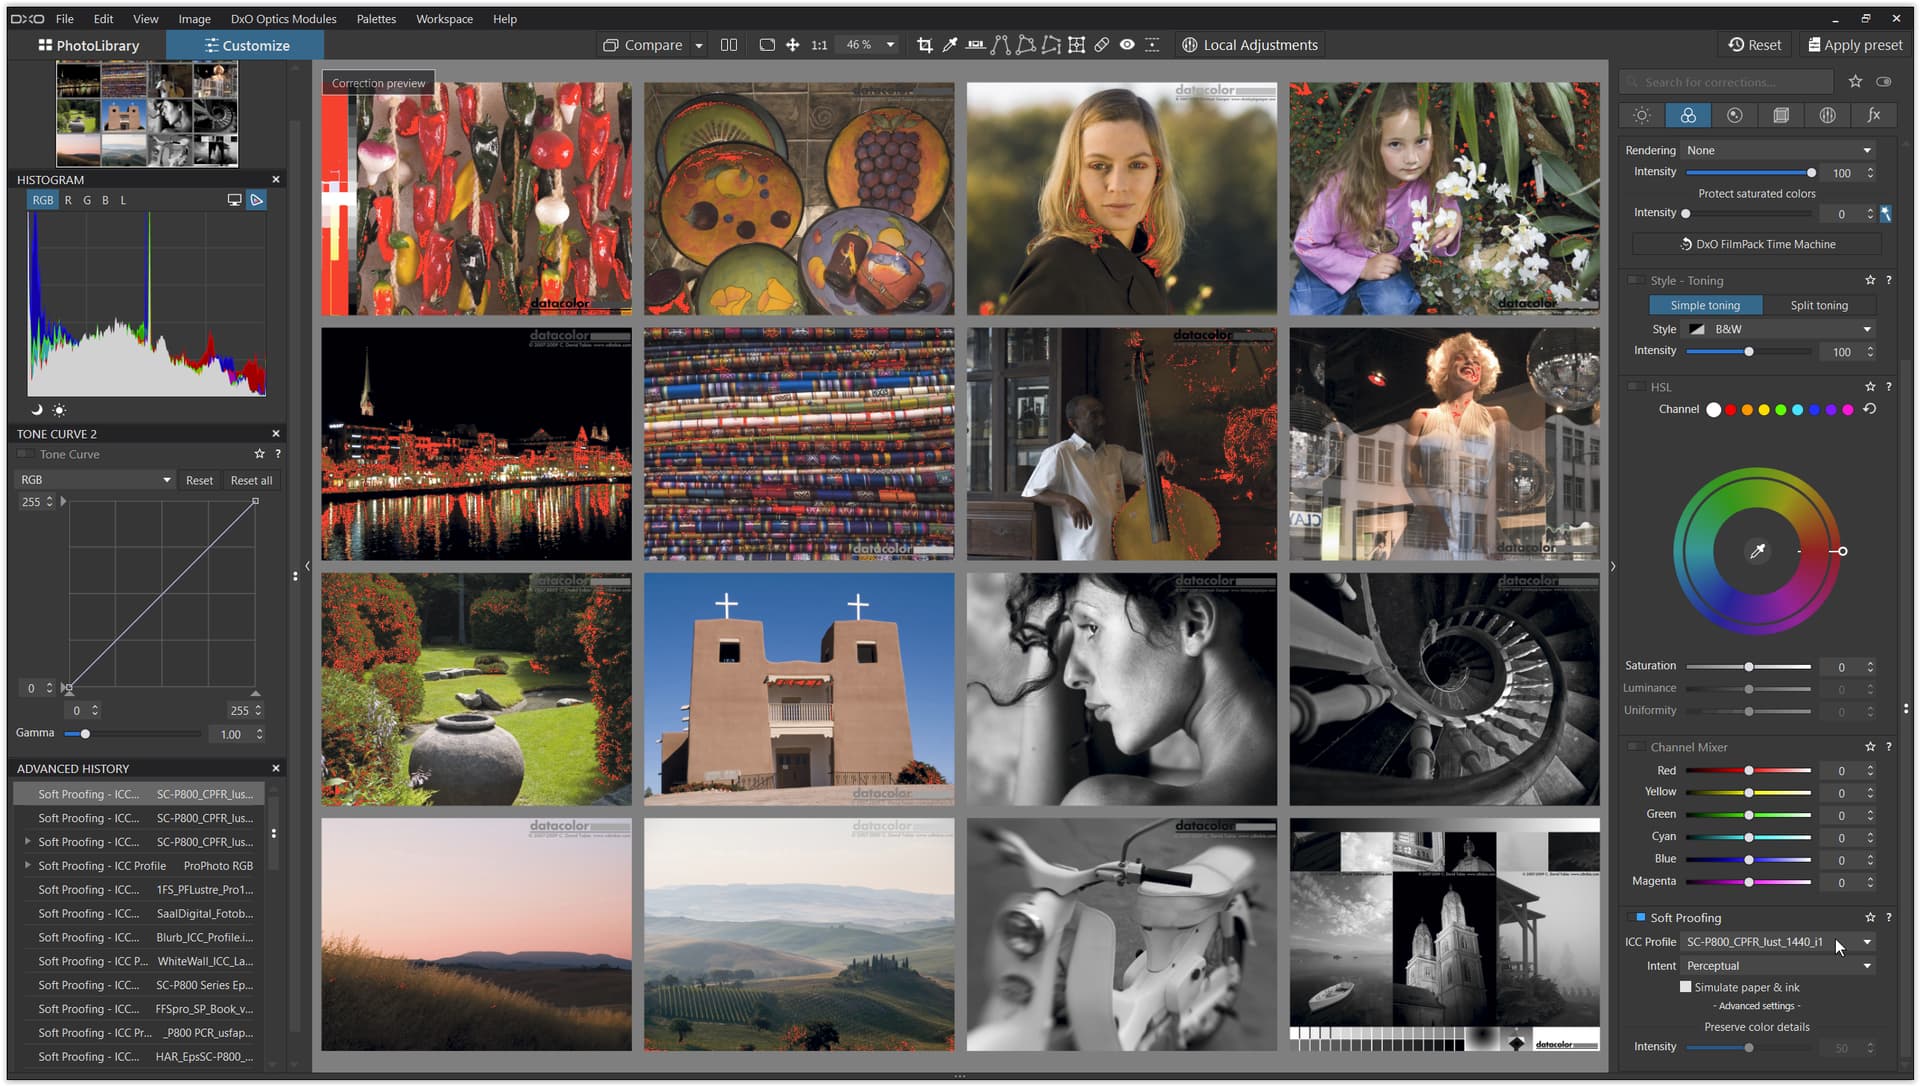
With Paper & ink simulation ON → depending on the paper you see a different simulation
(e.g. for a dull rendition, a different white point / yellowish or blueish)
The other thing to be aware of, Simon, is that there IS an ambiguity / fault in the user-interface;
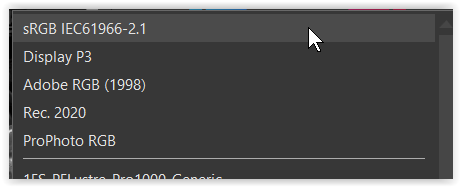
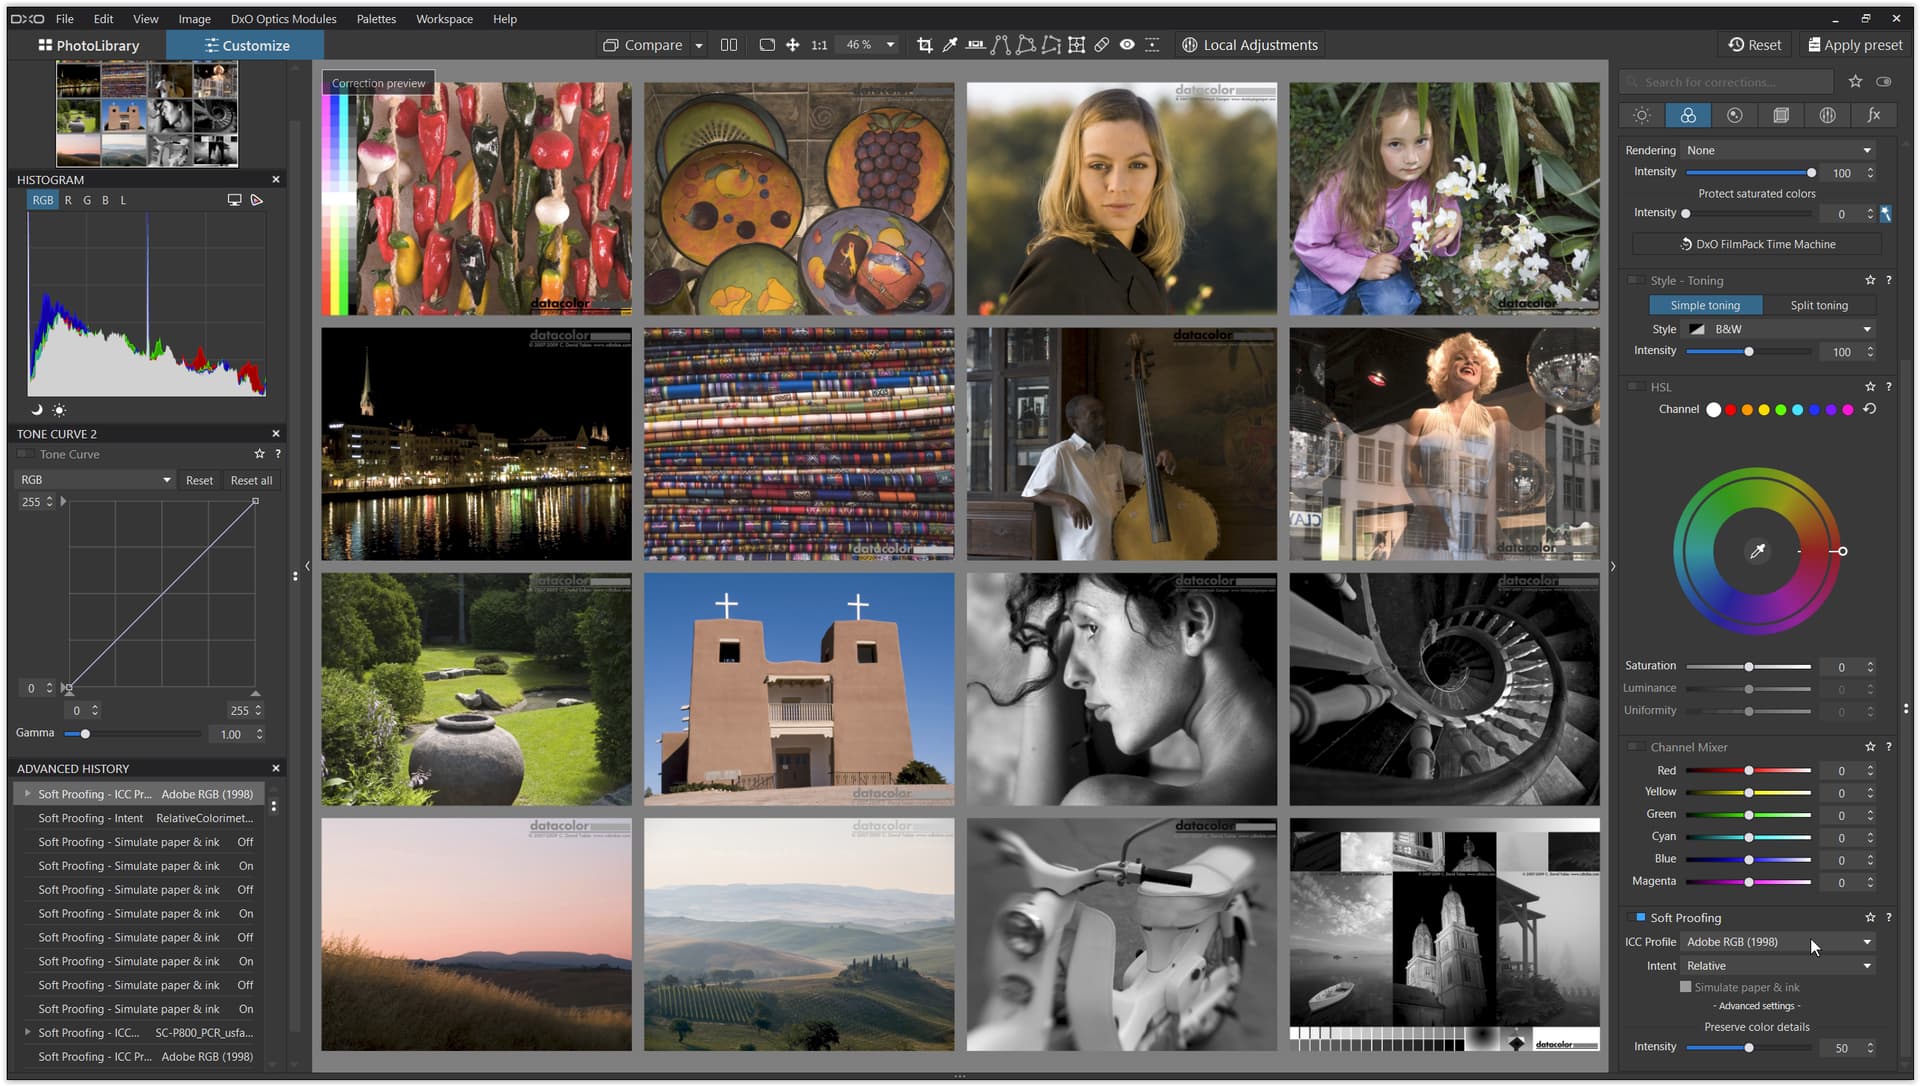
1) If a matrix-based / display profile is selected then the Simulate Paper & Ink option is correctly disabled … BUT, the Intent (Perceptual | Relative) option is not disabled/hidden - even tho Intent is NOT applicable in this case (it applies only for printer profiles).
This is particularly confusing for users coming to PL from “other tools” where Intent is the ONLY option
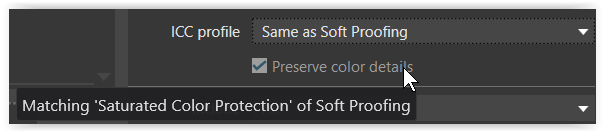
2) Whereas, the Preserve Color Details slider (which IS relevant in this case) is confusingly hidden beneath the - Advanced Settings - header … so that many users completely overlook its availability.