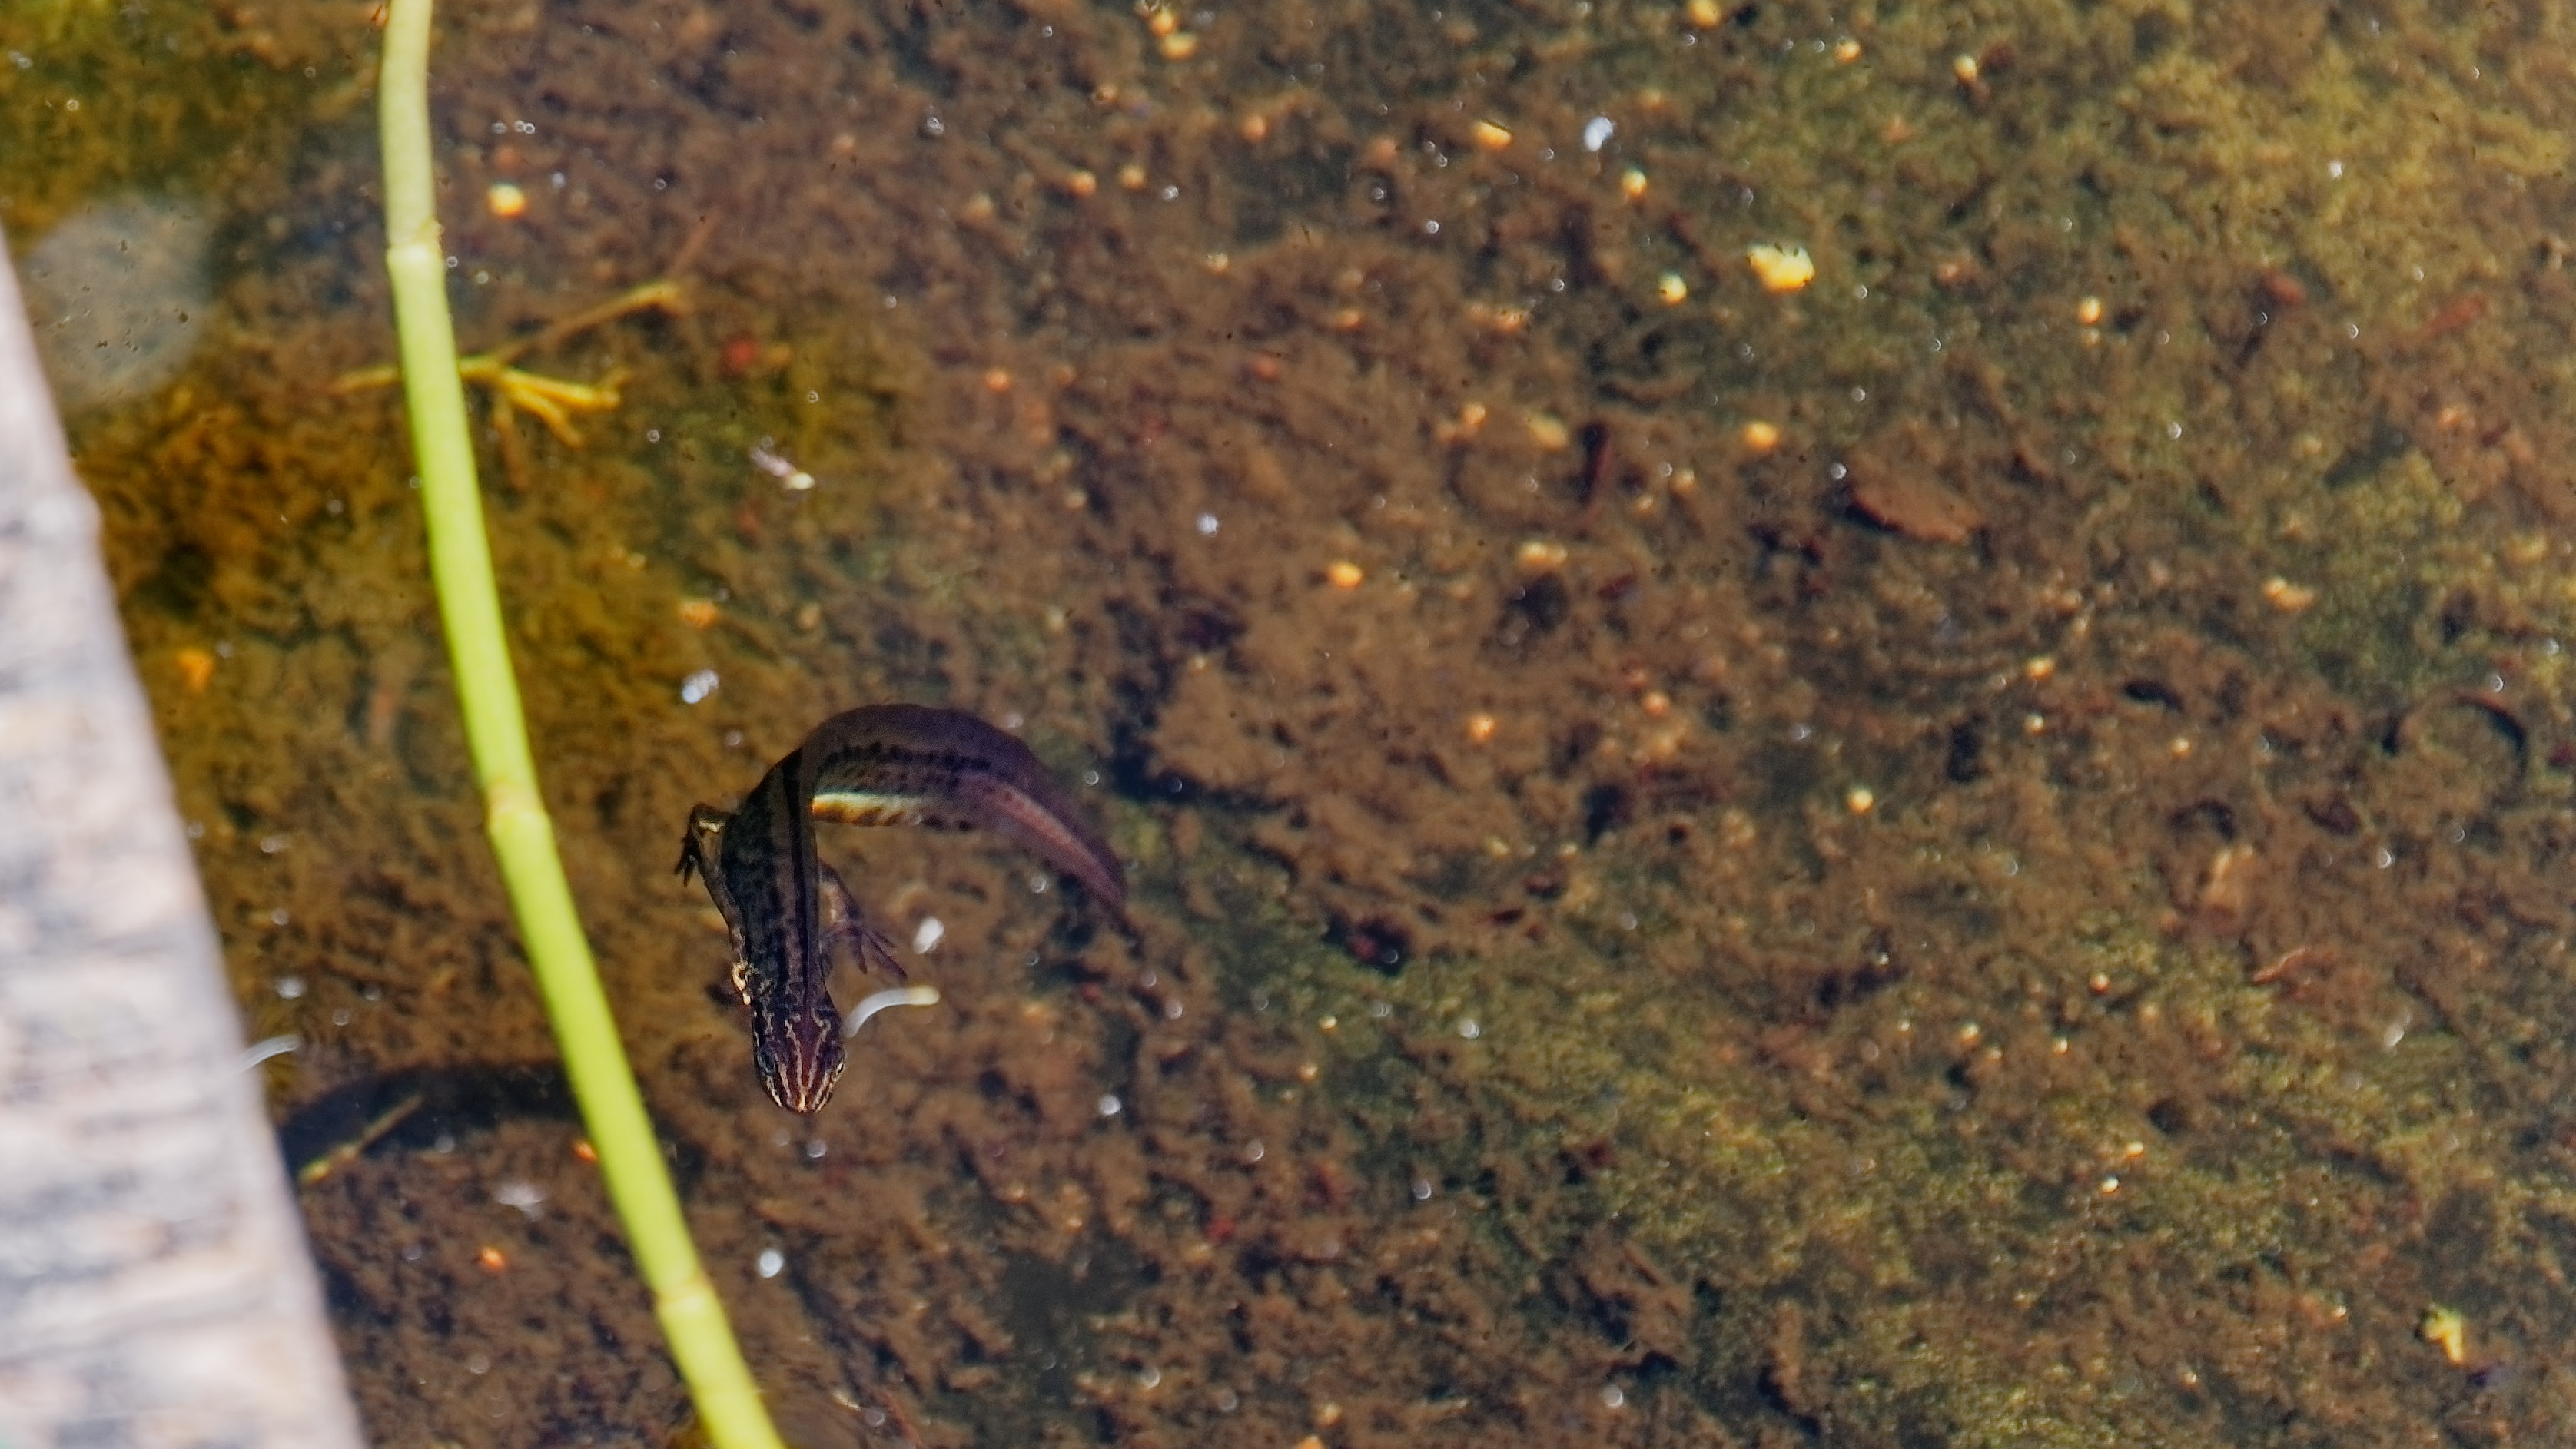
This photo required extensive use of the repair/clone tool and mostly I am very impressed and happy with the functionality of the tool. However the use of the tool near a point of intersection between a lighter tone and a darker tone sometimes leaves a smudge behind. In the picture the lady’s knee has a big spot on it. This spot is right at the intersection of her arm(light tone), her knee(middle tone), and the black couch(dark tone). I tried moving the source spot around to different locations and varying the feathering; I even tried moving the receiving spot slightly, both in clone and repair modes without success. The latter try worked best but it would miss the original spot if moved too far and still left the smudge if not moved far enough. Very finicky. I’m not sure that I would call this a bug in such a fantastic tool but it is certainly a frustration.
There is already a thread concerning the fact that the repair/clone tool also doesn’t work well near the edges of the frame, so I will only mention it in passing. I ran into this problem too and had to crop more of the photo than I wished to.
Has anyone found a suitable workaround to either/both of these problems?
Hi Mark. That was my first idea, but then I thought about the fact that it’s not my photo and the owner might not appreciate my posting it here, so I opted for the link instead. At least that way everyone can see what I’m talking about.
Hi, i can’t see the image wile i am not a member of the forum and only see a thumbnail.
I am not sure how far your experience goes.
But in general there is a visible difference in opacity and feathering between cloning en repair mode.
Repair mode uses around 75% new pixels to change the look on the spot (you always see a glanche of the old pixelgroup) and cloning is real replacement in full opacity and non feathering.
You can try zoom in far and knibble the edges with cloning before you use large parts.
Its possible use overlapping donorspots and replacement.
The edges of the image does have issues and is known by the developers so i think that would be sorted out in the future.
It’s evolved from v1.2 till now in big steps it’s nearly a pixel replacement tool as in photshops people mover. You can edit large lombs in one go.
(wisfull thinking):
Next step would be a possible donor out a second picture for repairing/cloning.
That would support stacking options also, my camera would be in EV-bracketing all the time then…
shadow and bloen higlight repair beond raw DR possibility’s.
walking people and other moving objects removed by cloning out other images.
Thanks Peter for the very useful information. Yes I agree that stacking capabilities, even full-fledged layering with other photos would be a great addition to Photolab. I tried using layer adjustments in Photoshop(CS2 is all I have) without any success. A really good layers implementation in PL would alleviate my need for Photoshop entirely as layering is my only use of PS these days. Thank you for reminding me about zooming far into the photo to make more accurate repair/clone adjustments. That was the only thing that I didn’t try. I tend to forget about the enormous zooming capabilities that PL3 has. I think that I will go back and try that right now!
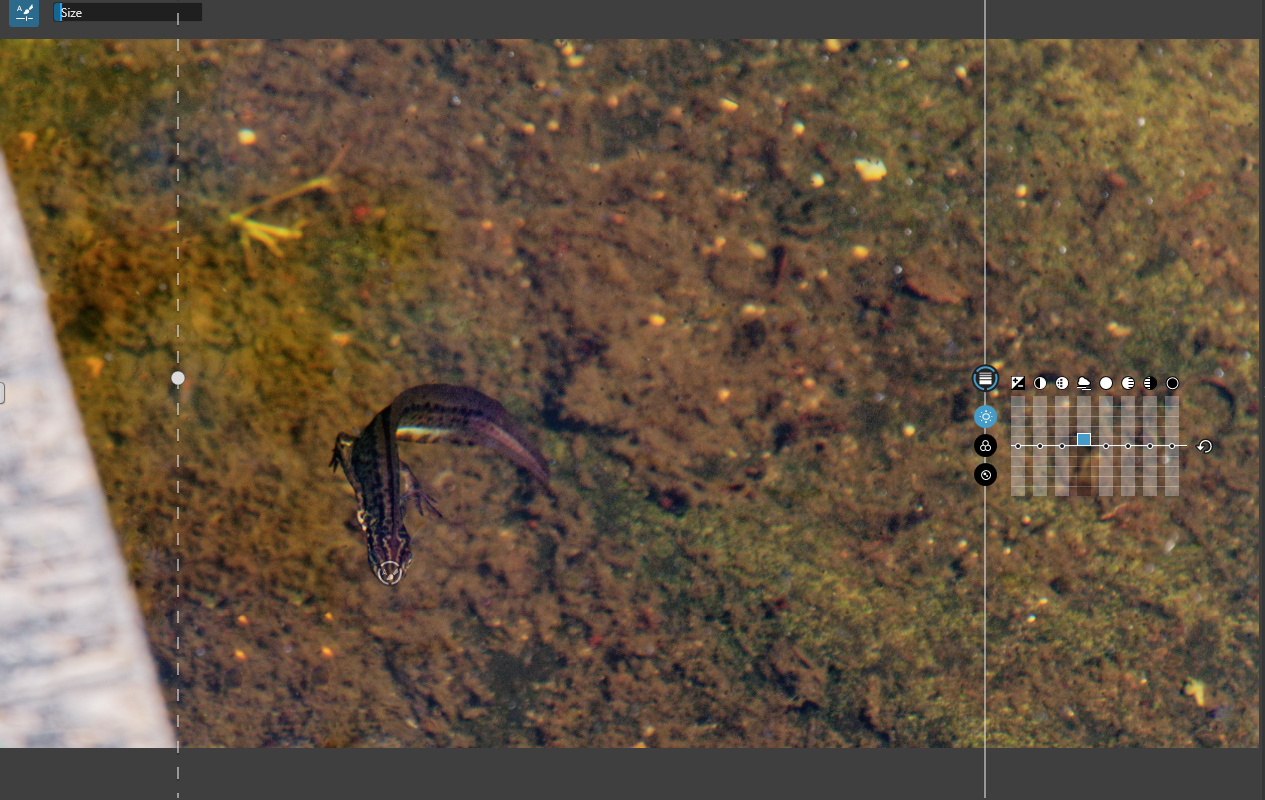
i am now behind my PL desktop and some extra info:
In this version above we didn’t had the circle which showes the “feathering” amount before the masking.And neither the outlining which is following the feathering changing after brushing. so it’s evolved to a better control.
The cleanup masking it time sensitive.
So first clean up the source area then the bigger part.
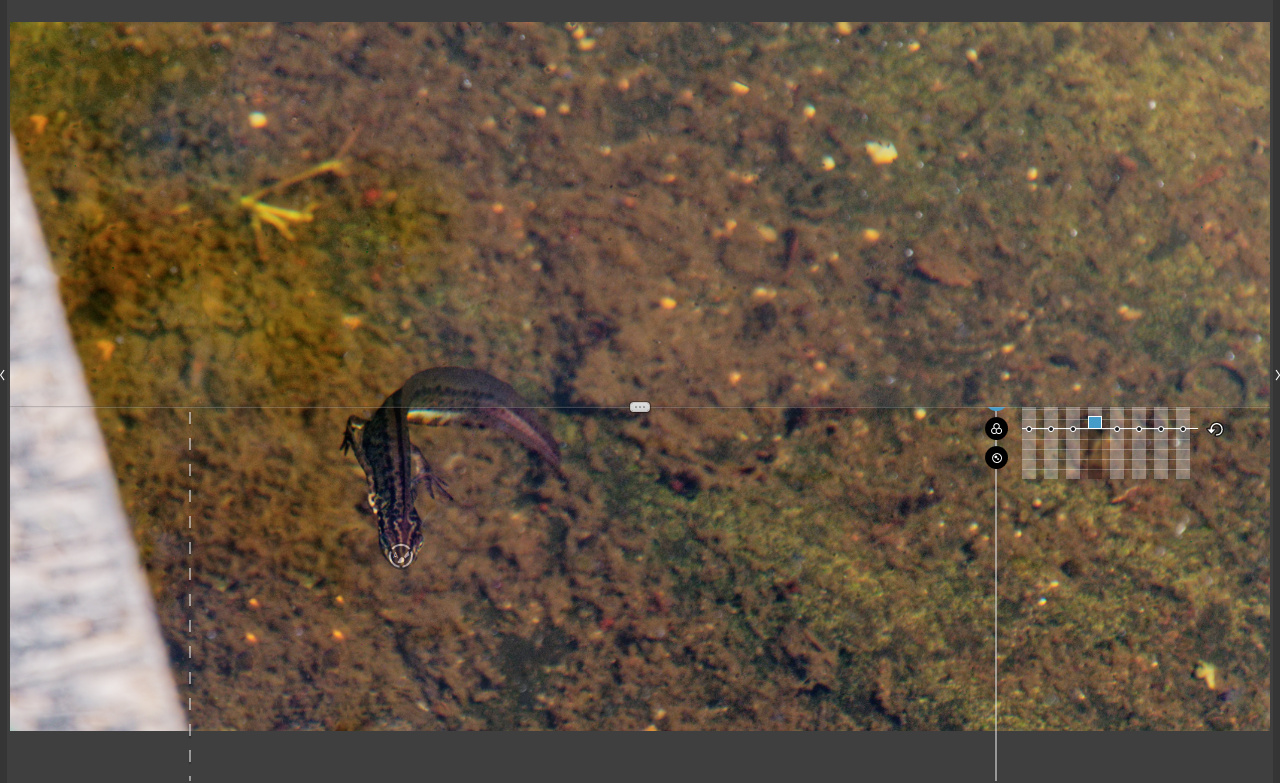
Repair is looking at the luminance and colorstructure and tries to blend in the donor patch.
Clone is more a 100% patch replacement.
by zooming in to the max and repair the edges first it easier to repair the surounding area’s. example video
And after larger pieces of cloning you can repair the “repeated marks” out by masking them after placement masking the cloning patch from its original structure.
one tip extra: if your cloning is needed but the luminance is off so you see the patching.
reminder: controlpoints are color driven so hit the lighter or darker patch with a control point and blend it in with exposure/contrast/color changes And you can always go back to the patch and readjust opacity and feathering or change to repair vs clone.
And if controlpoints doesnt cut it automask works fine:
To see which part is effected use exposure or saturation slider:
Saturation does keep details of the object visible: example video
Remember also clearview works with local adjustments filters
Hi Peter, thanks so much for taking the time to provide all this information. There are several things that mention here that I haven’t tried yet. I’ve been very busy today so haven’t had a chance yet to try extreme zooming yet. I’ll watch your videos and try these things very soon. I’ll let you know on this thread how it works out.
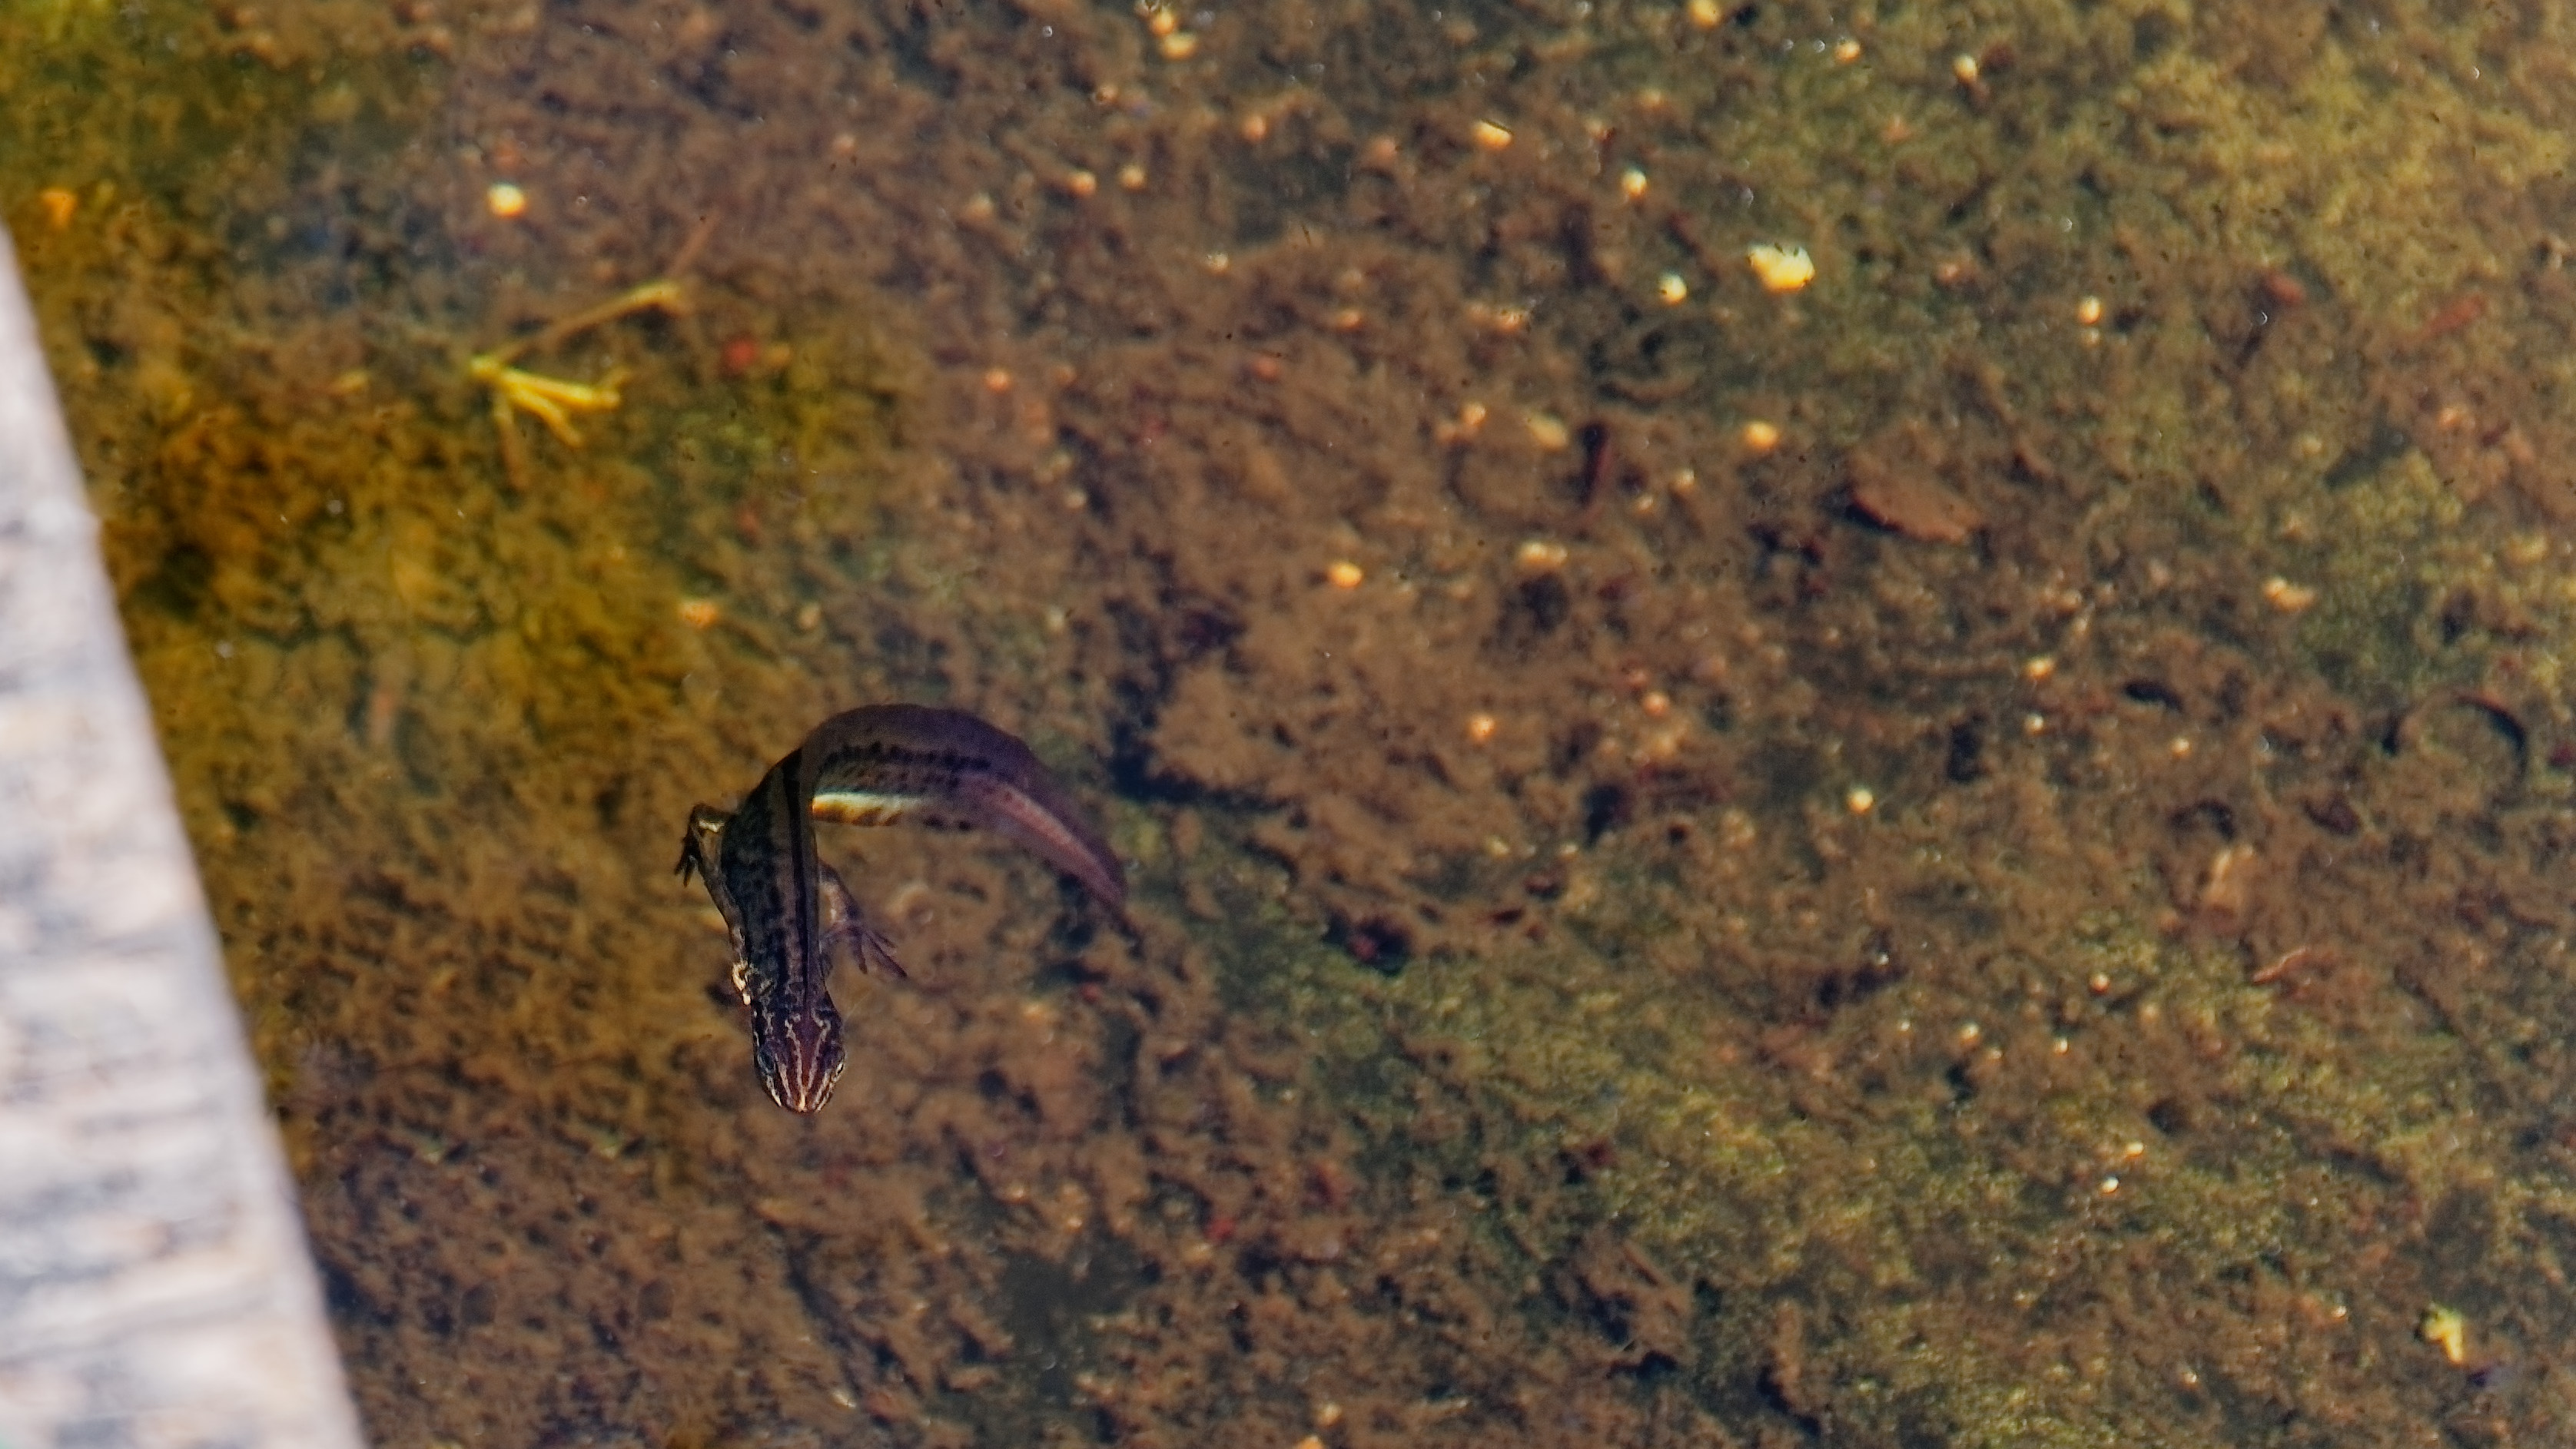
Thanks Peter for your excellent video demonstrations. They contain very useful techniques that will definitely help me in the future. It turned out that zooming into the full 400% helped me to make more precise adjustments that completely solved the problem. Thank you for your help!
Well “excellent”…. It’s a recording of my way of doing things showing which always is a bit chaotic.
No pre written storyboard just hé you could try this. With the thinking pauzes and instant changes of directions in it. Not youtube wordy so to speak…
Raw developers arn’t timeline depending but as clone and repair are “pixel-editing” and replacing that is. In fact it are copies of a area stored in a layer which you can control a bit. So just keep in mind that if you go use repair/clone extensively start with cleaning up the small details in the working area and have the tonality and other global adjustments allready done.
Makes the blending of the patches easier.
Use local adjustment after that to finalise the blending.
(probably earlier local adjusment area’s which are used as source patch can be changed again but i am not sure if the sourcepatch remain as it was or change with it.
I suspect remain as it was.)
Edit: Thinking of this, you can use a Local Adjustment to adjust a source place for blending, exposure, color, contrast. Then apply the clone or repair patch ánd then throw the LA , which you used to create the perfect patch ,away or readjust to your liking.
The local tool window can help you to see that. (control of activation/deactivation , opacity, renaming, new ,inverted, great function lots of fun.
I have some examples posted somewhere here about b&w and color objects or otherway around using mask invert and saturation slider.
Any time you have a question post it here or first search here to see if anyone else was looking for the same thing. https://forum.dxo.com/c/dxo-photolab/tutorials-tips-resources/
i use often a Virtual Copy to have some fun with the tools when a image suits the need.
just try every tool and combinations to the max of it’s adjustment posibility’s and see what it does. Totally screw up a image in all possible way’s and when done just use the usable outcome’s on the master and delete te VC.
You find new path’s and possibel solutions in that way which arn’t in tutorials or manuals.
The strength in PL’s masking tools lies in combining them working an area or global.