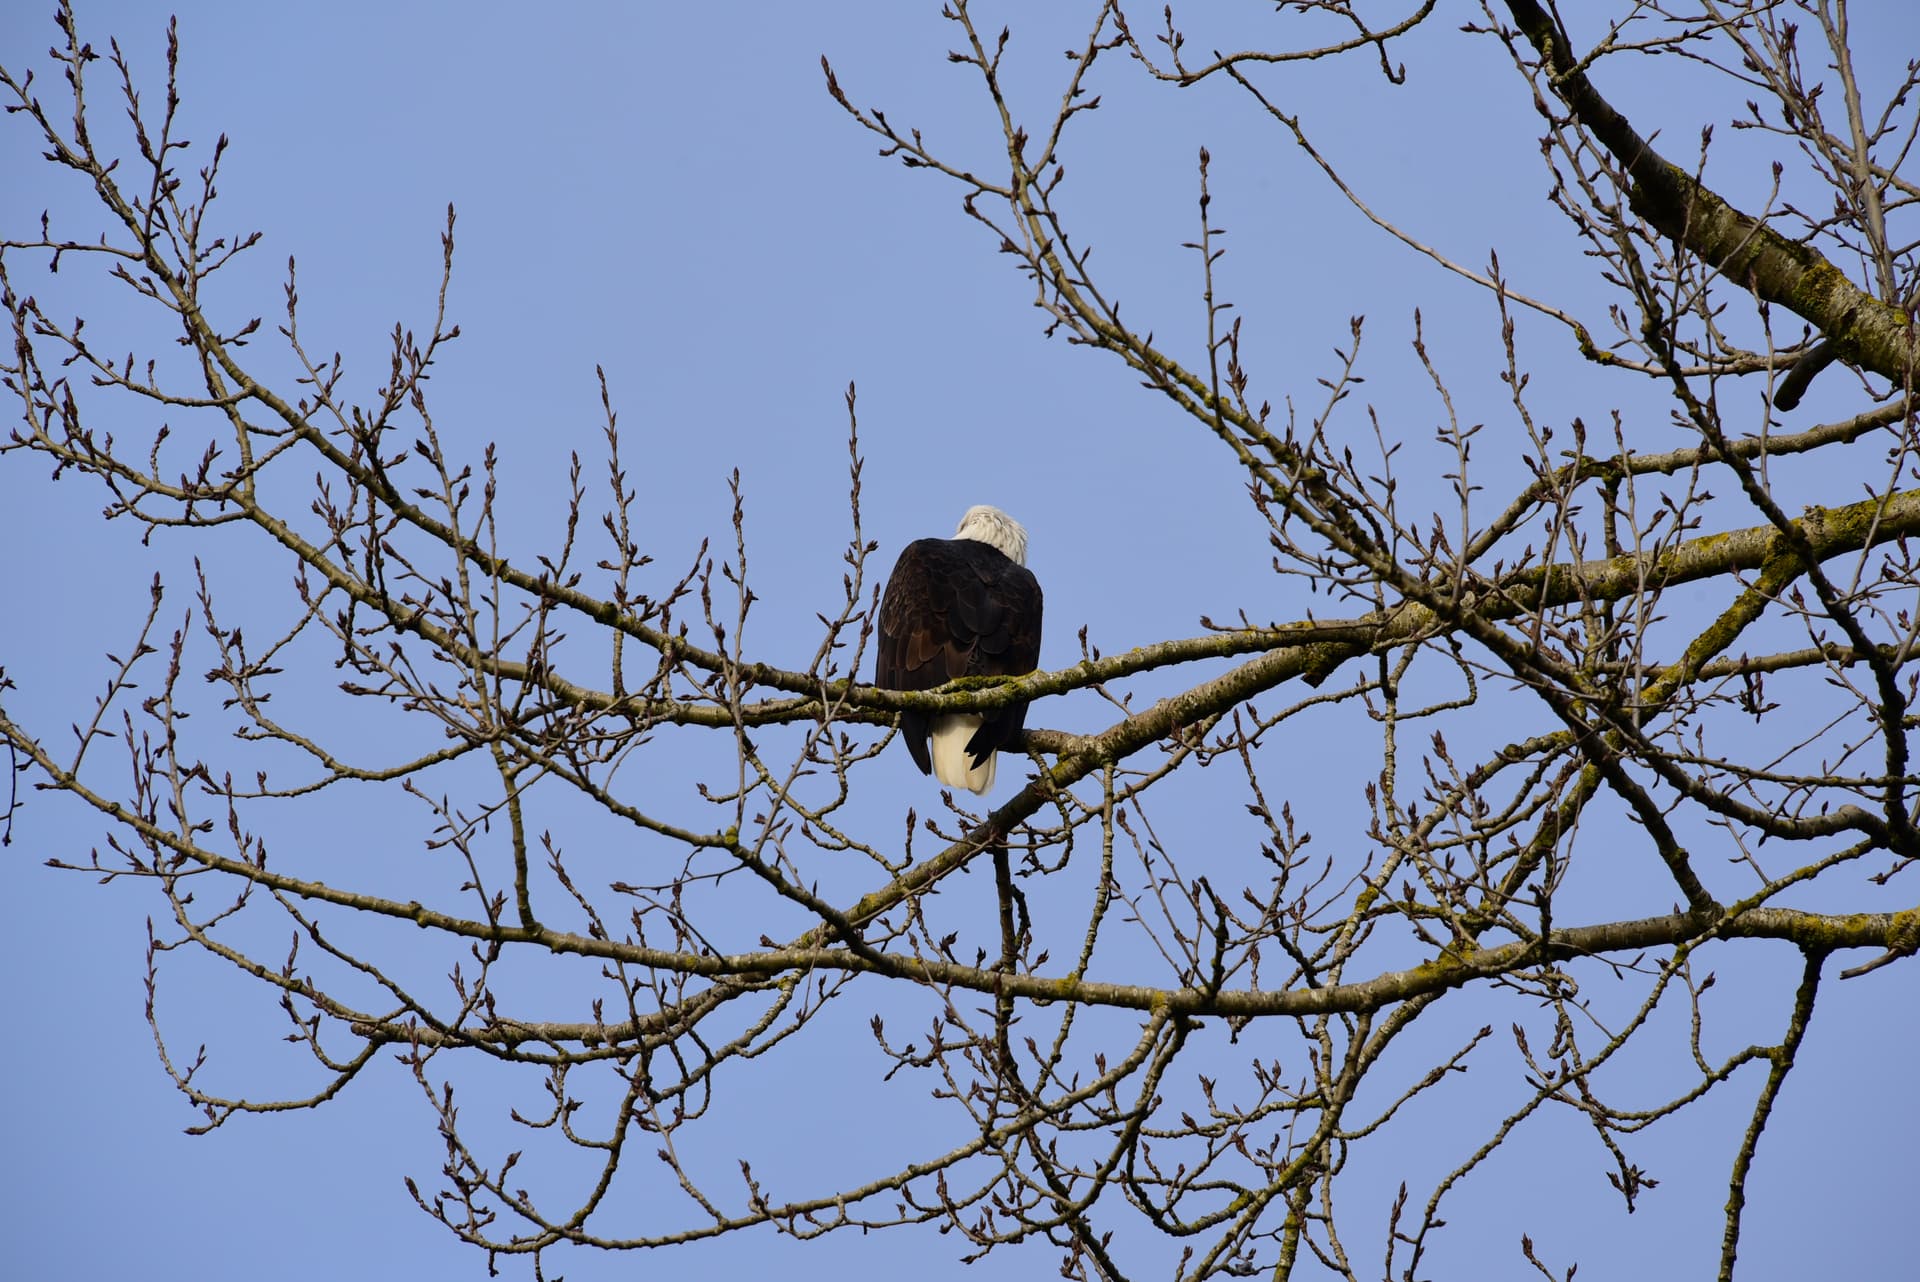
at least trying to!!! I have an image of an eagle in a tree with a whole bunch of extraneous tree branches that I want to remove.
I use the repair tool in local adjustments and when I move the cursor over a small portion, the branches disappear.
When I do more, other branches appear to the area I just brushed over and result is a total mess. At one point, branches far away from the eagle were brushed over and a part of the eagle appeared in their place.
It looks like the operation is picking up reference points from some where but I cannot see where. Tried to display the mask but not able to. On a mac there is a toolbar under the image with things like show mask in it, but that toolbar is not available on my PC, Can anyone tell me either what I am doing wrong and how to fix this, or is this a bug in the program?
I cannot imagine it is a bug that would have gone unnoticed or unaddressed for this long considering PL5 is now released.
You need to switch on the “show masks” checkbox and move the source for the area you have “erased”. PL4 makes educated guesses but doesn’t always get it right.
There is a button to show masks in the upper right hand corner of the preview screen when repair/clone is active. If you do not see this button or the other replair/clone sliders then it is likely that the option bar has been collapsed. You can use the icon on the upper left corner of the preview screen to expand it.
thanks for the response. Am now able to see the masks. from upper left corner of the image.
However, now that I can see them and the point of origin where I want the erasure to get its overlay? of the junk I want removed, it still doesn’t work as I expect as the point on the origin part of the arrow sometimes jumps to where it wants and puts a whole bunch of stuff still to be removed, where I want to clear stuff from in the first place. (gotta love the the word “stuff”).
also, when you make several changes, the mask outlines seem to overlap and after a few changes its really hard to know which is current especially when trying to find the origin point of the arr pointing at the mask. Is there someway to clear the mask after each change before doing the next piece?
I am new at this and trying to figure out how to remove unwanted object from an image.
I suspect doing something wrong but don’t know what.
Any advice?
thanks
Garry
If you click on a pin in a mask it becomes the active pin and you will see an arrow pointed at the area you want to replace. At the other end of the arrow is the area you will use as a replacement. .You can move the target areas or the replacement area by clicking on a mask pin with your left mouse button and dragging the mask.
You cannot change the size or shape of the mask. Often the tool automatically finds a good replacement area, but just as often it does not. If you are not happy with a mask you can delete it by selecting it and hitting the delete key or you can move the replacement mask to select a more appropriate replacement ares. .
Play with the repair feature and the clone feature to see the different effect each has. Also experiment with feathering to understand how that feature affects repairing and cloning.
When you have a jumble of corrections try zooming in to isolate them a bit. One of the nice changes in PL5 for windows is that the zoom % has been increased. In PL 4 you can only zoom to 400% but in PL5 you can zoom to 1600% which makes drawing and controlling masks a bit easier…
From what you are saying, once I paint over an area I want to “erase” I need to find a similar shaped area which would be what I want to replace it with I.e. a blank piece of the background? Can’t I just paint over the area and pic the color I want to use to replace in the whole area? i.e. pick a color (from the back ground) and fill in the painted area with that color? Seems like a reasonable thing to do especially in this case since the background is all sky, except for the tree branches I am try to remove.
I am just learning this tool and find it a bit challenging. I am trying to remove a bunch of tree branches other than the one an eagle is sitting on by using the repair tool.
The shape of both masks are identical. You can move the replacement area mask anywhere you want to use a more appropriate area. You can’t pick the replacement area first, if that is what you are asking.
not the answer I was hoping for. there is so much clutter with the tree branches that I cannot get a space large enough that would match the mask of what I paint over. Was hoping to just pick a color that I want to use to replace what I paint over then just erase the branches. Kinda disappointing.
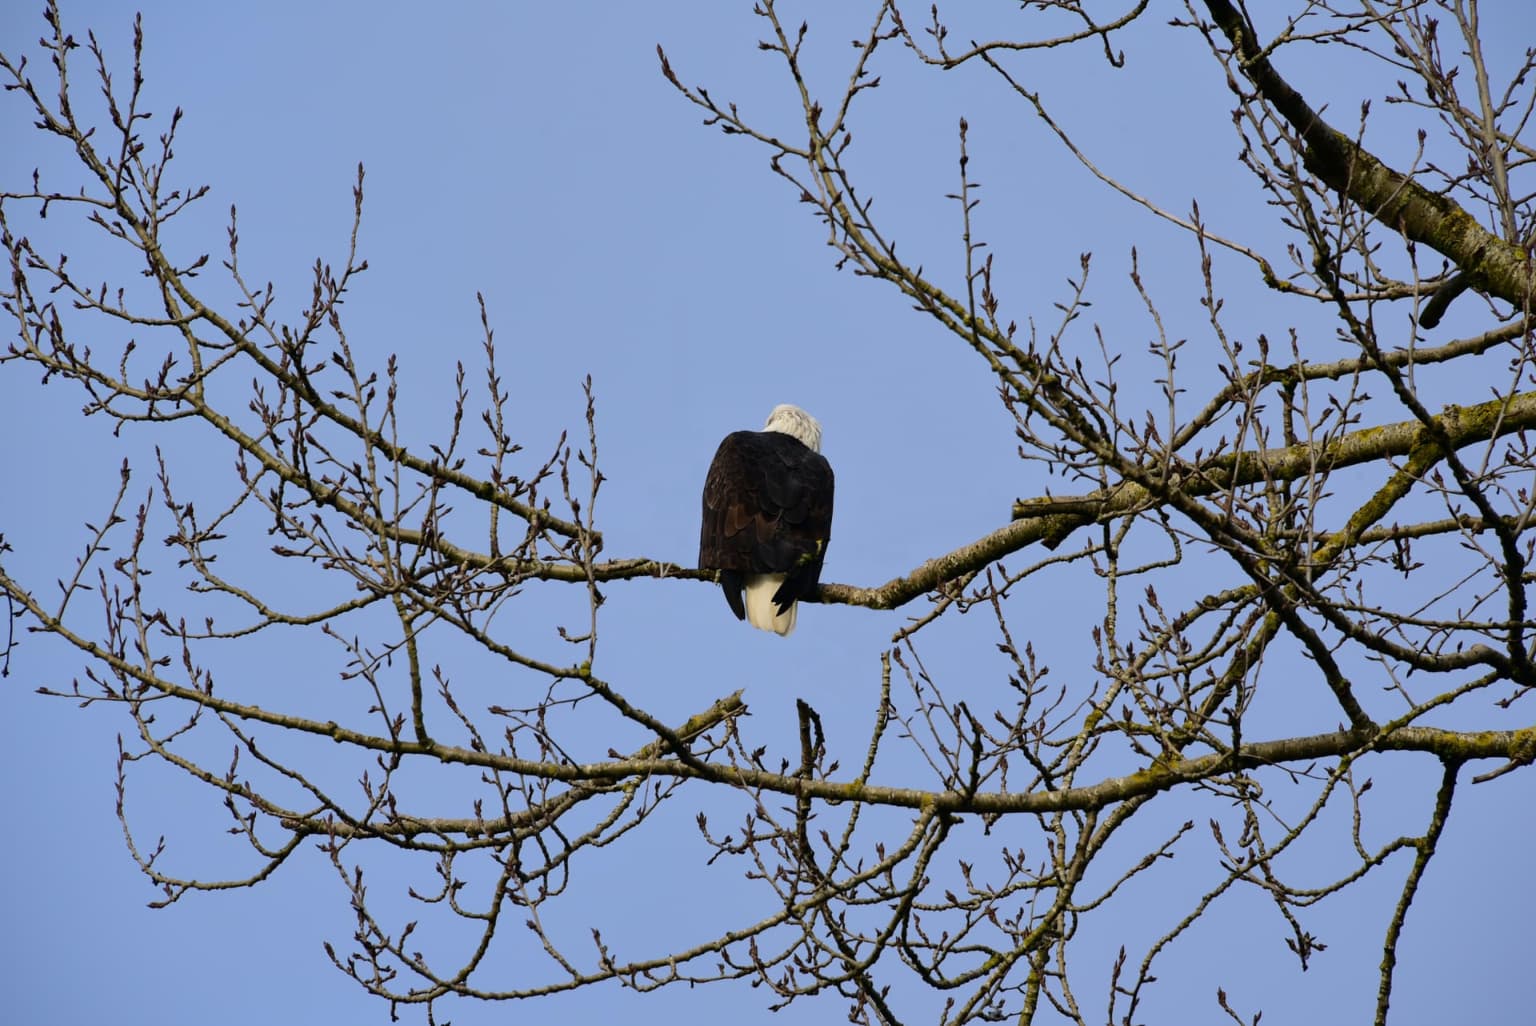
except on Eagle is sitting on. Especially for the eagle’s back where there is a branch that crosses it. Want to use this as learning exercise. If you want the raw file just let me know.
One of the problems you have with an image like this is that the texture of the Eagle is not available to cover up the branch that is crossing it. Also, if you start removing branches, you start to lose the context of the branch that the Eagle is sitting on, so you could end up with an Eagle floating in space.
Here is an attempt I have made using the image you have posted…
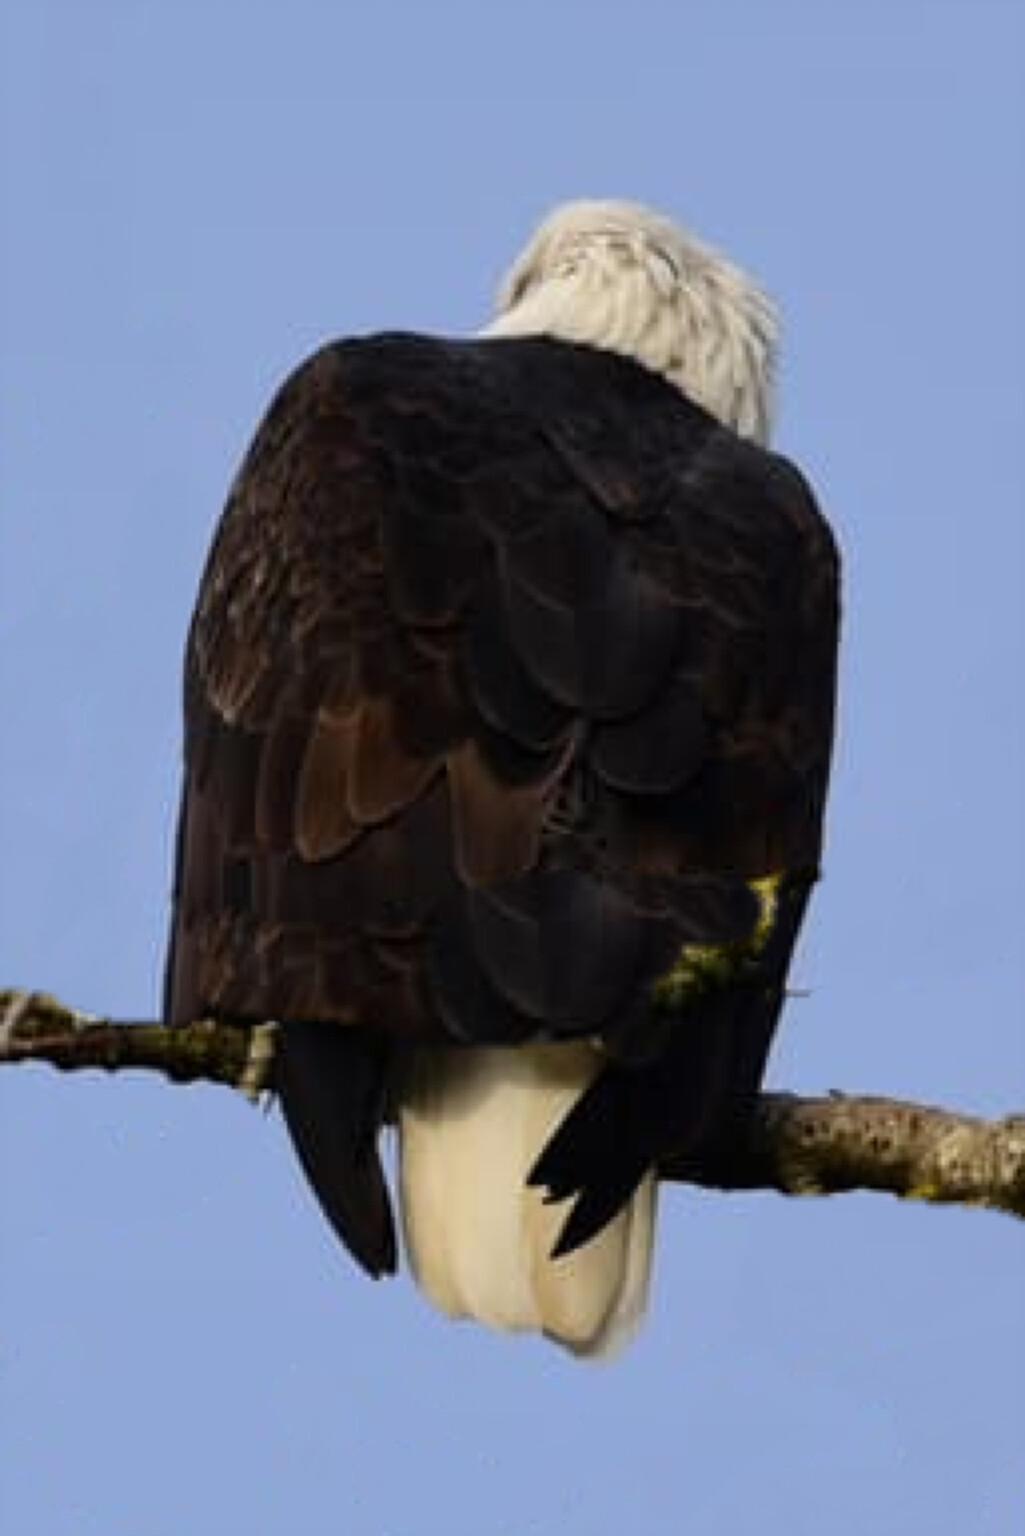
And here is the Eagle isolated, but you can see that the lower back is wrong due to there not being anything that has the same appearance to cover the branch that was crossing it.
“Challenges” – I wouldn’t want to work on such a complex pic and if I had to, try with a pixel editor. As the sky has a slight but visible gradient (making it look natural instead of an artificial one) you better pick up the colour from the adjacent background. PL’s repair tool works wonderful in that regard – the better, when the distracting part is (already) ‘isolated’, like sensor spots or birds. Otherwise you need the copy tool … @Joanna showed / explained what and how you can do.
At the end, your edit must be ‘invisible’ – and that can cause a lot of work.
Thanks for your input here. Much appreciated. As I mentioned, this is not an image I would necessarily want to keep but thought it would be a good learning opportunity.
the major problems other than context, are the gradient on the sky and the back of the birds feathers where the branch crossed it.
Joanna’s edit on the feathers is a good start, but the slight brown feathers above where the branch was removed.is what needs to carry on in the blank space created by the branch removal… It would probably require tackling that with another photo editor. The sky could be replaced with a gradient sky
based on the different blue colors, but as Wolfgang eluded to the whole project would be very labor intensive and time consuming.
My intension here was to learn how to successfully remove objects using DXO. PL4, and in that respect, I still have not succeeded in understanding just how to do it. But, I’ll keep trying.
And this is where PL5 ceases to be the right tool for the job. What you seem to be after is a photo “manipulator”. The eraser/clone tool in PL is really only meant to be there for corrections rather than changing things to that extent.