Hello. It often happens that when processing RAW, after cropping lights and shadows that go beyond the histogram, after converting to JPEG, you again have to trim the lights and shadows. Why is this happening?
How are you “cropping” the highlights and shadows?
I use Tone Curve. And sometimes pruning isn’t necessary and I don’t trim. But after converting to JPEG, there is a need for cropping.
And what are you doing? Which stepper controls are you touching? By how much and in which direction? A screenshot would be useful.
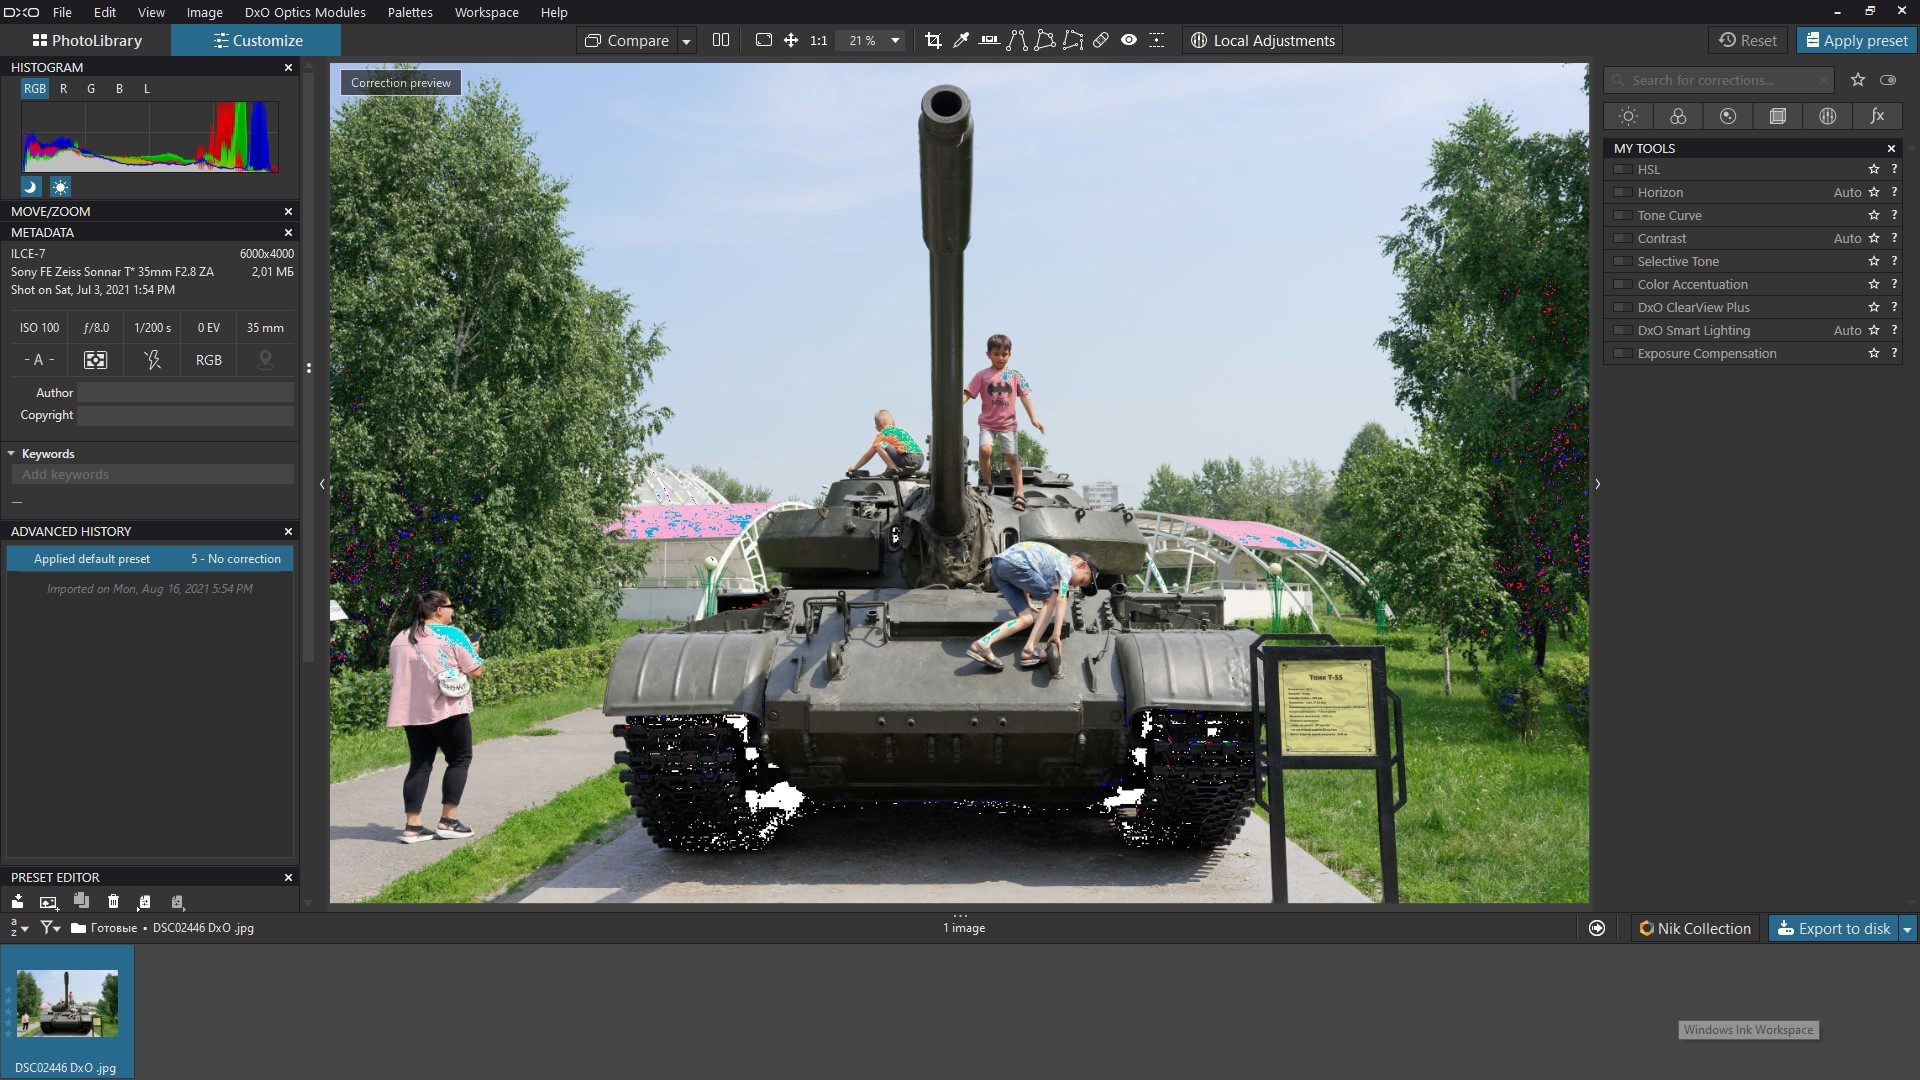
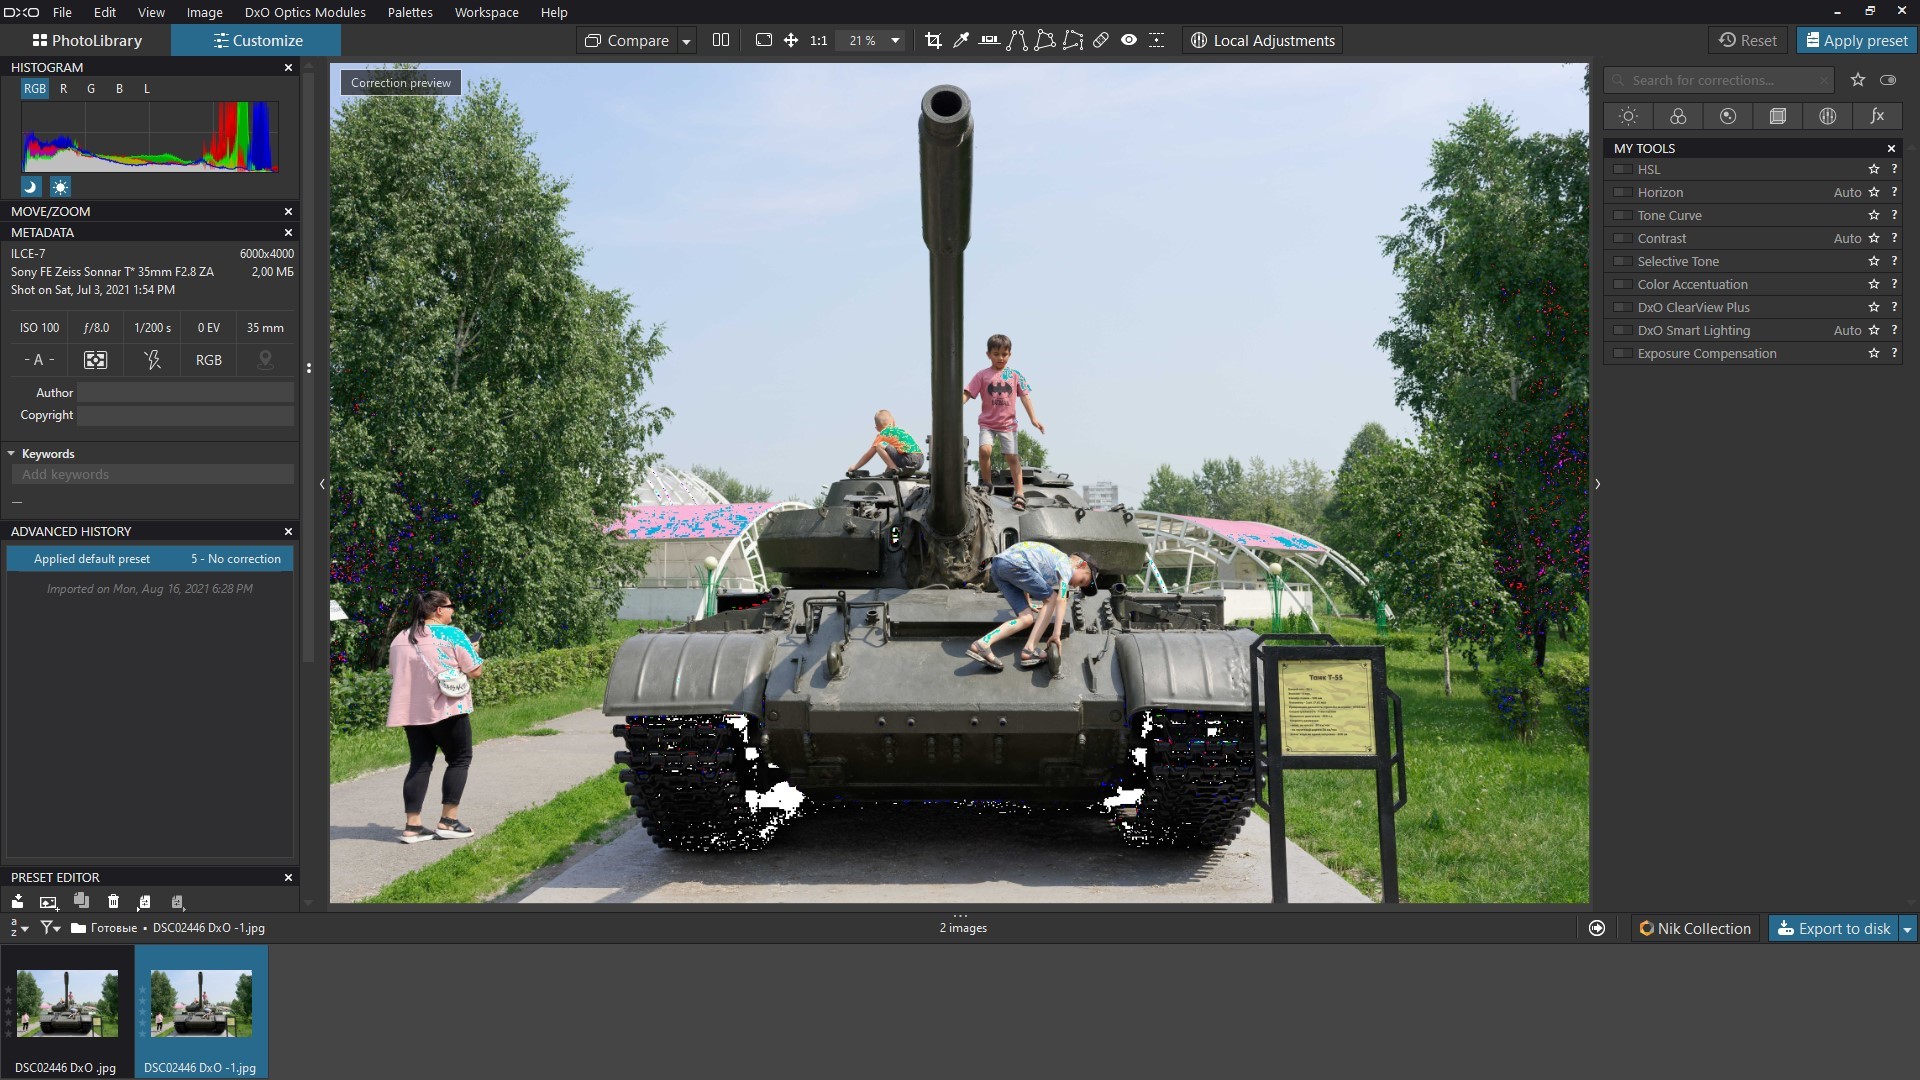
In screenshot #1, I applied the DxO preset (5 - landscape - standard). Lights and shadows are normal. And in screenshot #2 is what happened after converting to JPEG. Light and shadow required pruning.

But you are not showing the tool that you used to adjust the shadows and highlights, or what the settings were before and after.
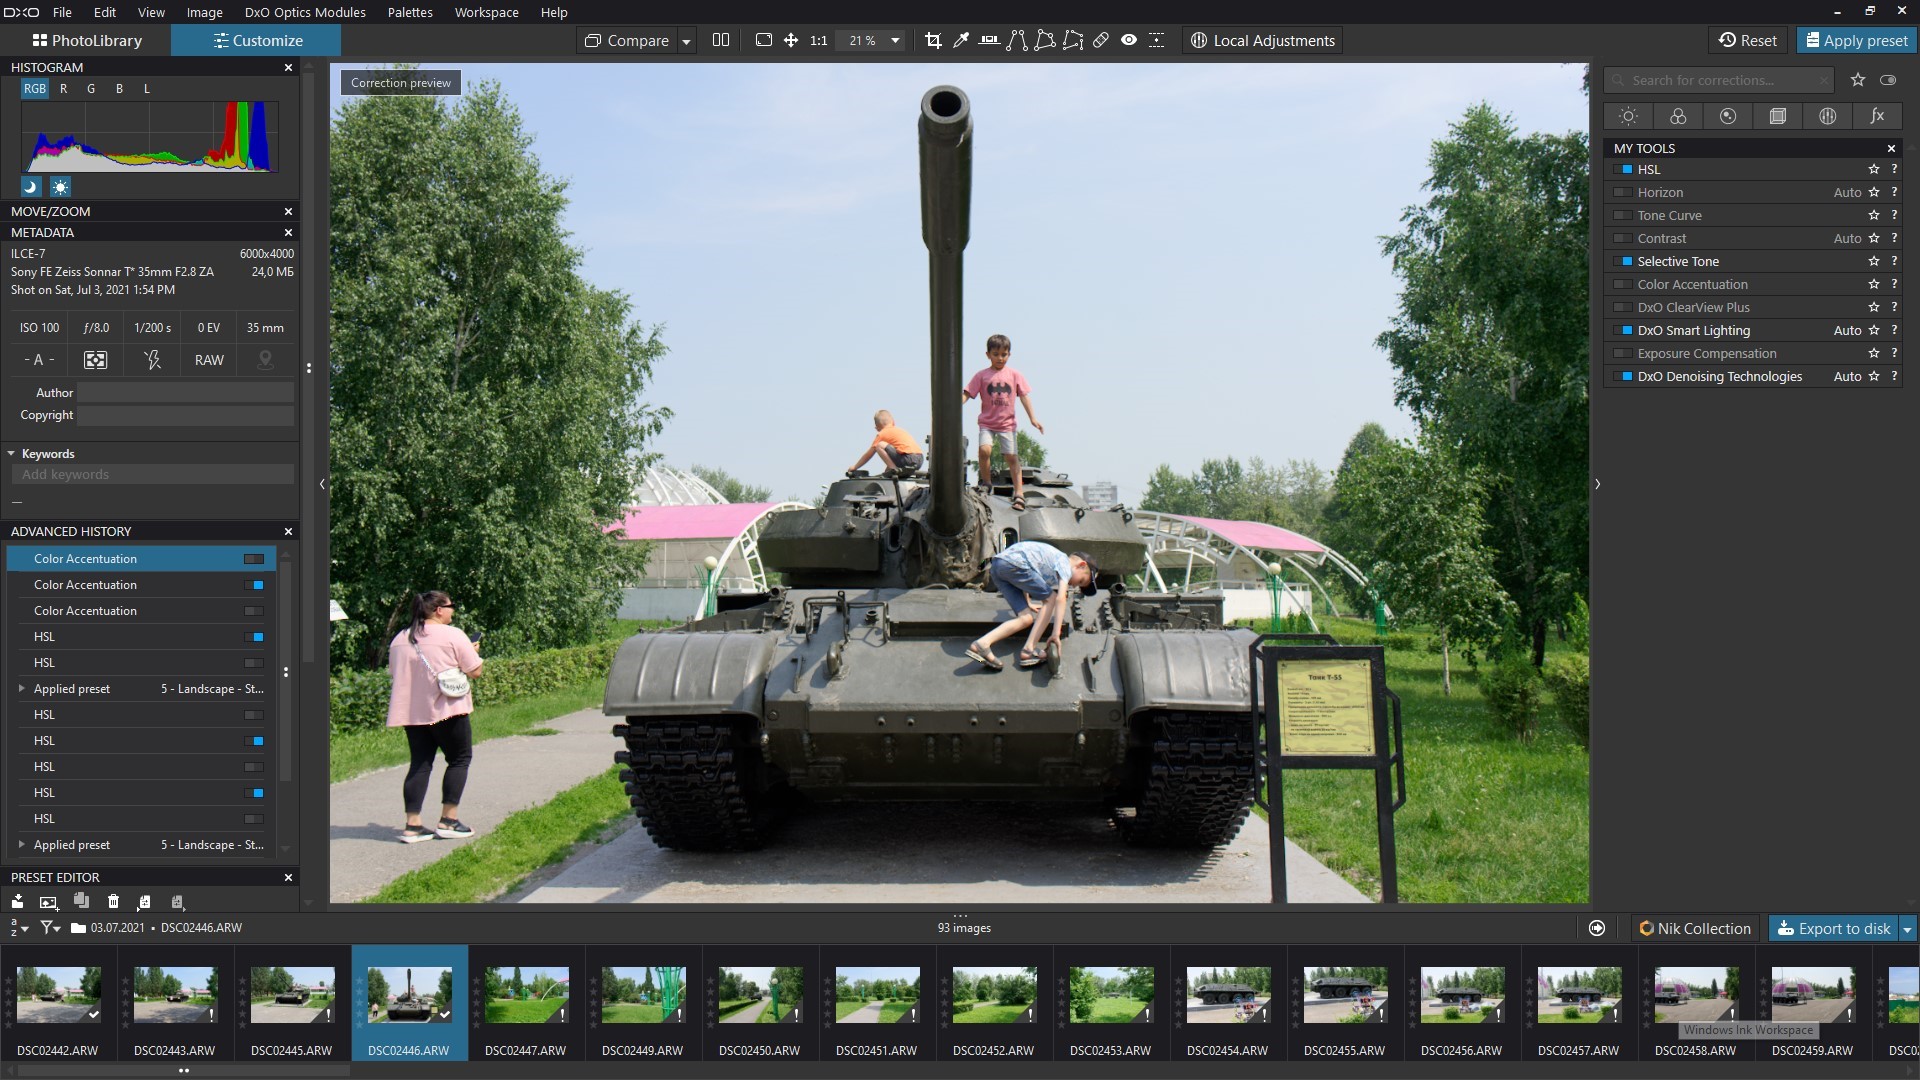
And from the screenshot, I can see that the tone curve is not active and that you have boosted the vibrancy, which alters the shadows and highlights and can cause the effect you are seeing.
The first screenshot shows that the light and shadow are within the histogram and you do not need to trim anything. And after conversion, light and shadow go beyond the boundaries of the histogram. I want to know why conversion affects light and shadow. It shouldn’t be. Screenshot #3 shows that I turned off the vibration, but screenshot #4 shows that it didn’t affect anything.
Please show us the adjustments you made to the first one to “crop” the highlights and shadows.
The thing is, I didn’t cut anything. It wasn’t necessary.
In that case, this is solely due to the fact that jpeg files are only 8-bit biles and, subsequently, they have less dynamic range, which cannot cope with levels close to the extremes. It is something that would be expected, whatever software you are using.
So it can’t be avoided?
Yes, but it means allowing for it when you are editing the RAW, but you could do that in a virtual copy, created just for that purpose.
Use the Curves tool and reduce the top to 252 and increase the bottom to 3.
1 Like
One of my test images exhibits a similar issue. Red tones tend to be marked as out-of-range and cause issues in exported files. Nevertheless, you might want to check what color profile is used for the export. Looking at critical areas at 100% can also change the over/underexposure marks.
2 Likes
Thank you. I usually reduce the top to 250 and the bottom to 5.
Looking at critical areas 100% is probably the right decision. Thank you.
I remembered → Bug: PhotoLab shows the clipping overlay RGB values instead of the ones from the image - #12 by sankos (also follow further down) – and did some experiments.
But as my screen is set to AdobeRGB, I didn’t expect to get any clipping with the export to JPEG-format. Then to my surprise, I got clipping when I chose sRGB colour space, while there was none with AdobeRGB. – To countercheck, I tried the same from within PS with same results.
And yes, it’s the red tones …
1 Like
That’s weird.
Probably a matter of colour management. Different ways of translating a wider gamut into a smaller gamut. A difference between perceptual, relative and absolute rendering.
George
2 Likes
George, you are right!
– Usually, I stay with AdobeRGB colour space and have set PS to rendering intent relative colorimetric, as I don’t like all colours being shifted to fit in. With printing, I almost always use softproof to correct black point and oversaturated colours if any, depending on the specific paper.
– The only time I convert to sRGB is for internet stuff, to exchange with people without wide gamut display and to send off pics, when ordering photobooks.
PL uses rendering intent perceptual for export → Add soft proofing to Photolab - #16 by sankos
(and further down). – So, it could have ‘solved’ this clipping. 
@Alexkon, thank you for your observation. Next time I’ll check for clipping, when I export to JPEG / sRGB.
1 Like