Recently I bought an EOS R6 camera, today I tried to process the raw image using PhotoLab 4, the DeepPrime denoising algorithm surprised me. I became a fan of PL immediately!
However, when I tried to reduce the highlights in an image, some parts of the photo became weird:
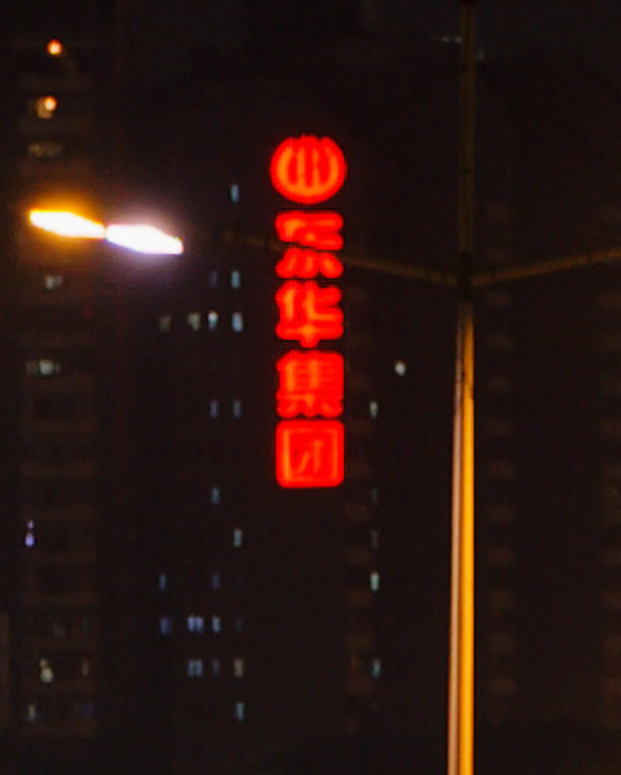
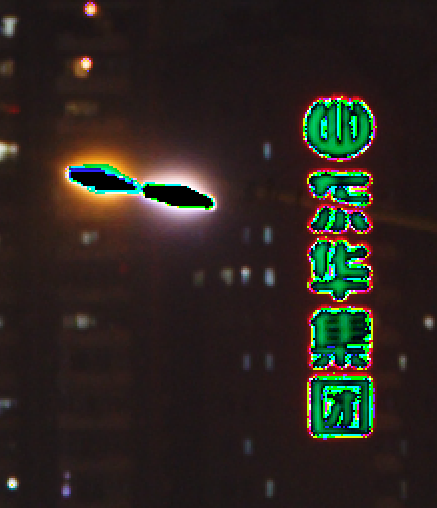
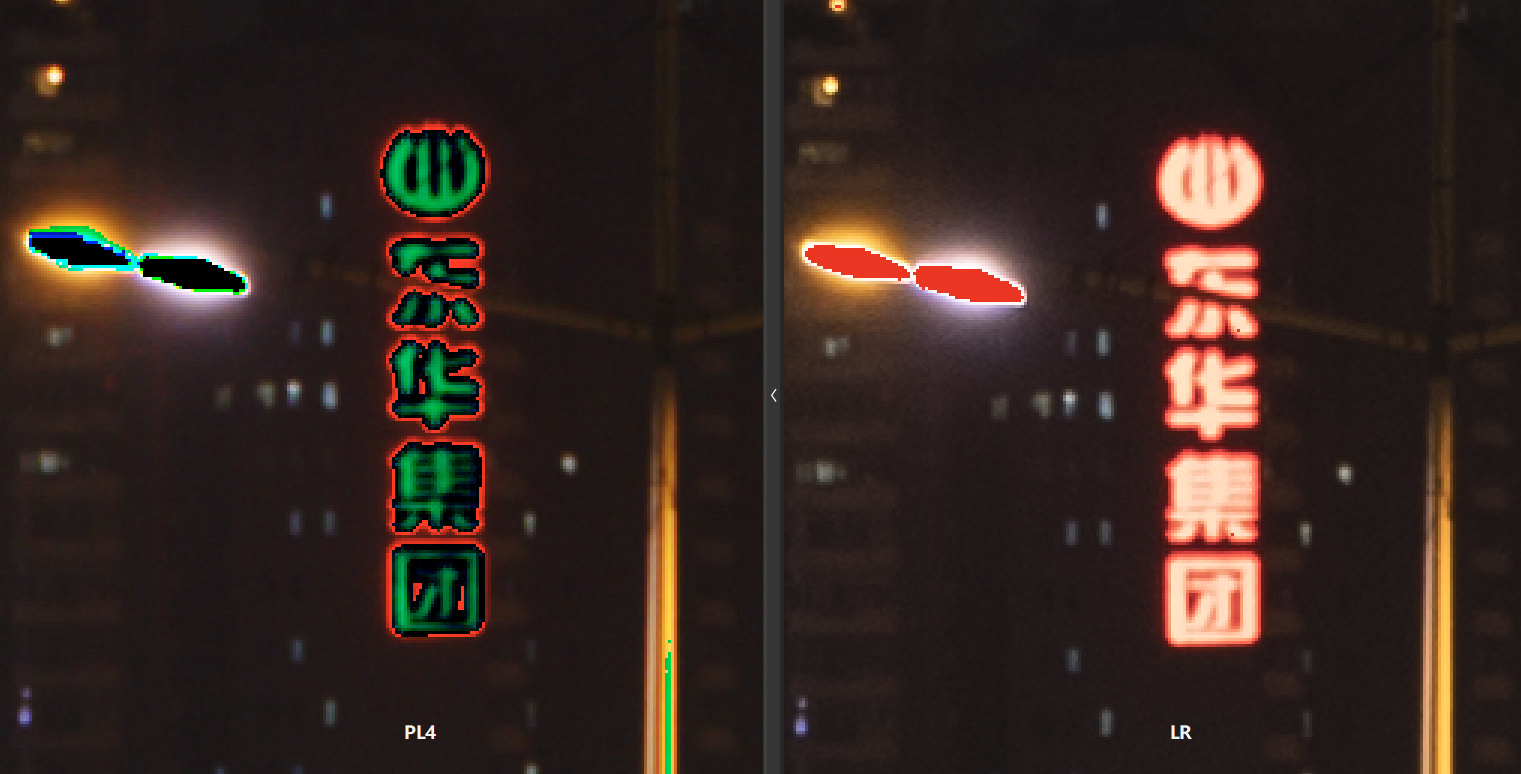
PL4, Highlights -80:
As you can see, the character became unrecognizable after reducing the highlights in PL4, however, the result of Lightroom looks ok.
You can download the raw file and the highlight reduced jpg from PL4 and LR here: IMG. I think you can reproduce this issue easily.
Apart from this, I really like the features in PL4, hope you can fix this issue. Thanks for providing this powerful tool!!
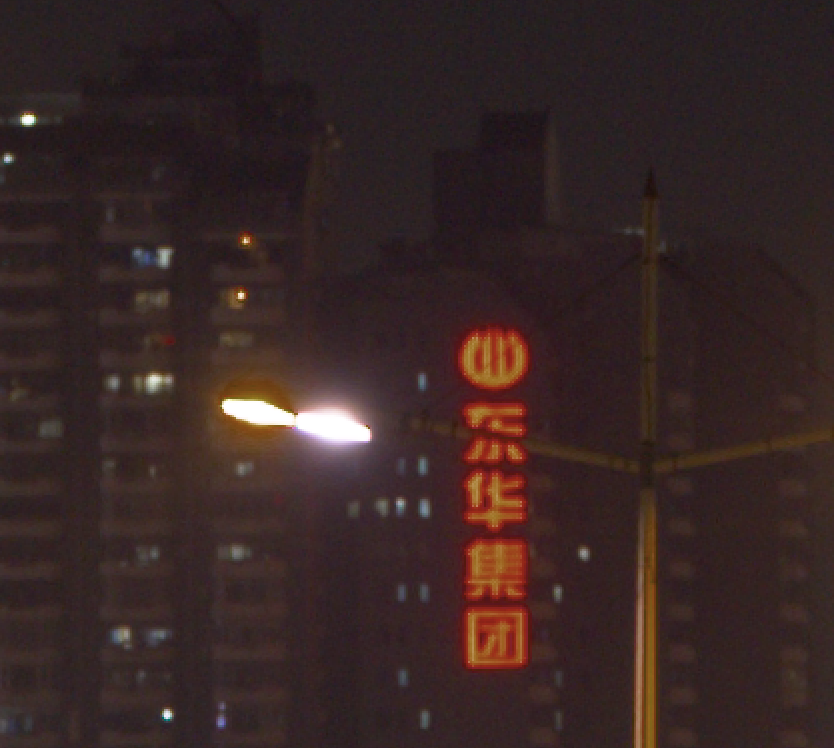
According to what I can see in DPL and RawDigger, the red channel is blown. The sign is not sharp either, so a general highlight recovery can do all sorts of crazy things - and no two apps do the same.
I tried to reduce the reds, oranges and yellows in the HSL tool. Here’s what I got:
For scenes like these, bracketing might help. Focusing on the things you want sharp helps too
Other than that, it looks like you had some haze/mist/smog, diffusing light that comes from further away.
Unfortunately, this has nothing to do with what PL4 can do and everything to do with the photographer who took the shot getting the exposure wrong
The golden rule of digital photography - depending on your camera, you can recover up to 12 stops of detail below the correct exposure but only around 2 stops of detail above.
What gets over-exposed stays over-exposed
PL4 and Lightroom handle blown highlights totally differently and the numbers do not equate. As you can see from the Lr version, the white lights have actually been turned into gray lights - this is not recovery, this is very poor handling of something that is impossible to fix.
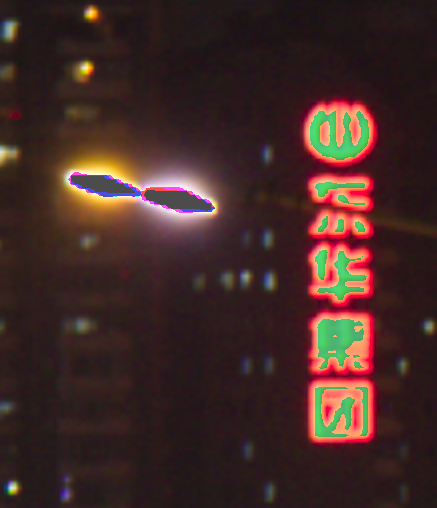
Here is your image in FastRawViewer with the over-exposure indicators turned on
As you can see, there is no chance of truly recovering anything in these highlights - all you can do is make the best of a bad job, but without turning the white lights gray
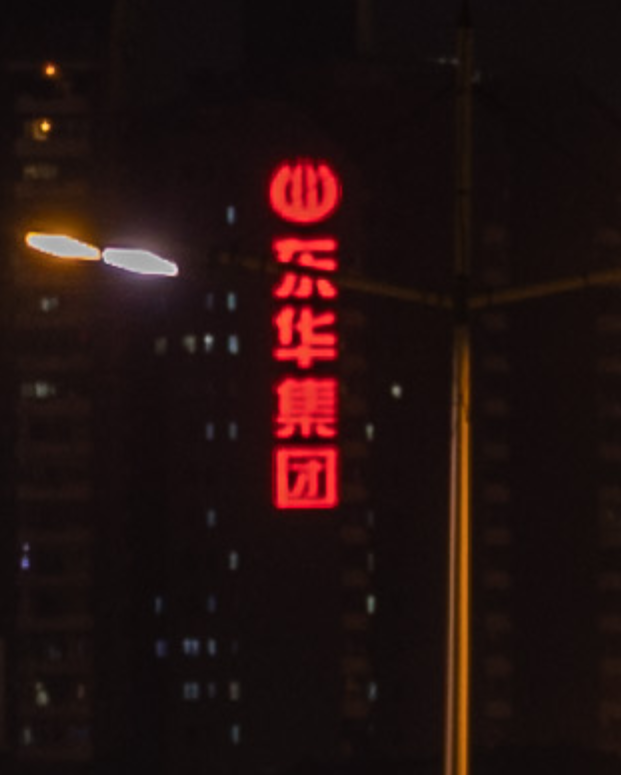
I think I see what you’re asking about, @salingo. Reducing highlights in Lightroom to -80 makes these red characters distinct against the black background. Same with the green and white Holiday Inn logo (H) and nearby details that are located to the left and up from this crop. But reducing the Highlights in PhotoLab doesn’t behave the same. It is a common misunderstanding that they should behave more similarly by design. Maybe it’s better if they are more similar, but they aren’t. To get the result you’re looking for, try this instead of reducing Highlights:
Enable Lens Sharpness and DeepPRIME.
Reduce Exposure Compensation to -2.66. Yeah, that much.
Raise DxO Smart Lighting to 60.
Raise Midtones to +40.
Raise Microcontrast to +40. (Lightroom adds quite a bit of this.)
Now, a very important adjustment: in the HSL tool, reduce red-channel saturation by at least -30. Or, raise “Protect saturated colors” in the Color Rendering palette to 70 or more.
Increase sharpness, since Lightroom is doing that as well. Way too much, in my opinion.
Now gradually brighten your highlights and tweak the other settings until you like the result. I think this will get you pretty close to Lightroom’s result.
Speaking for myself: I don’t like Lightroom’s output here. My approach preserves bright whites much better, though Lightroom (with its overprocessing) more easily recovers blown out details that aren’t white.
@platypus@Joanna
Thanks for your answer and suggestion, now I understand that it is about the different ways to deal with over-exposure, instead of an issue
Now please allow me to ask a further question, when I opened the highlight indicator in both software, the indication is quite different:
The characters in LR are not indicated as over-exposure.
Also, even the image has been reset to the initial state, they still look quite different in both software,
is this caused by different raw extraction algorithms?
Again, this is the consequence of how apps work. Rendering an image from raw is done using different algorithms and different ways to calculate r, g and b values from what data is present in a raw.
Color filters on a typical sensor are not very accurate, which means that red light is also recorded by green and blue photosites, green light is also recorded on red and blue photosites etc. Some manufacturers might share such characteristics with sw companies, others might not, which means that the “translation from raw to a nice looking preview” must be established by these sw companies, which again means that things look different in different raw developers like DPL, Lr, Capture One etc., also because opinions differ regarding what “nice” means.