Pink artifacts with "Landscape" preset

Have a look at of the snow fields taken with an unreasonable zoom rate of 300%

As we can see, desaturating takes away the pink - and replaces it with grey, which might look less offensive if viewed at reasonable distances. I’ve left the snow field alone in the right half of the image and the strip at the lower left side for comparison. Pink_artifacts.CR2.dop (20.6 KB)

If we compare highlight warnings from RawDigger (previous post) and PhotoLab, we can get the impression, in PhotoLab, that the shot is quite decently exposed. On closer inspection, we can see that there is no differentiation in highlights in the snow fields and some of the clouds. PhotoLab does a good job with highlights, but if they’re gone, even PhotoLab can’t bring them back.

Here’s an exaggerated view (highlight slider all left)

Of course the snow fields are overexposed. And yes, the lens is cheap and has noticeable CA. And yes, I can fix it with local corrections.

But my question in the OP was: “Should DxO do better?”

Highlight recovery is a fundamental quality criterion of a RAW developer, isn’t it?

I don’t think that DXO should be better nor could do better. if it is overexposed there is no data available for DXO, or any other converter, to calculate with.

Hello @obetz ,

some correction are not visible on preview with zoom < 75% (like lens sharpen) but also some algorithms are lighten and it can produce false colors on saturated areas.
You won’t have that pink with zoom >= 75% and exported image you’ll get correspond to zoom >= 75%.

Regards,
Marie

1 Like

…my upper screenshot was taken at 300% and still shows pink edges around the snow fields.

CA is easily corrected by the module and the difference is visible at appropriate zoom levels, pink and green edges go away, except for the stuff that appears due to burnt channels.

Could PhotoLab do better? Maybe with some machine training or real smarts of the humans involved. Snow is a difficult thing to photograph and has been difficult, even with film that rolls off in the highlights more tolerantly.

The current best approach points to less aggressive treatment and local adjustments imo.

Hello @platypus ,

We can always do better but we need to choose what to improve.

Problem here is there are some trace of AC left, usually it’s very acceptable but color rendering used (Konika 5D, 7D) is a booster of colors (nice for sky but we can see clouds becoming pink because they were a little pink).

Regards,
Marie

1 Like

I see. With other renderings, the problem is slightly reduced but still present.

In the mean, I asked a friend to develop the image with Lightroom, with only simple corrections for a fair comparison. The result looks much better wrt to highlight handling:

See also the details in the ragged cloud in the left third.

Settings:

since the Forum software seems to remove metadata (color profile?) from the jpeg, I attach the zipped LR image: Pink_artifacts_LR_cr.zip (1016,9 KB)

Your image is overexposed, not only the snow but a good part of the clouds is clipped as well.
According to the .dop file, the color rendering is “camera body” and Minolta, not exactly your Canon 550D.
If you select “generic renderings” your problems are gone.
Not exactly something DxO should “do better”, I think.

Hi @obetz,

played with your files … I enclose a ‘new’ dop-file Pink_artifacts.CR2.dop (78,6 KB),
which contains your original (Master) and 1 virtual copy.

Instead of the Konica / Minolta profile (see Pink artifacts with "Landscape" preset - #10 by Marie)
I used the generic one for your camera & lens, adjusted ‘Chromatic Aberration’, skipped the general application of ClearView Plus, set the black point (Tone Curve), applied Smart Lighting selectively (to fix the exposure/s), changed / added some more general settings (also Film Pack Elite → FineContrast …, Skylight Filter).

Finally I applied a few Local Adjustments. The 2 Graduated filters change Contrast, Microcontrast, Light settings, Vibrancy …, while I used the brush for the (close to) burnt highlihts in the sky (not really necessary, the clouds are bright anyway).
– The snow fields I didn’t treat (locally). The edges (the ‘line’ around those bright patches) are more due to the heavy crop, resulting in limited resolution (your subject is in a far distance), while the LR edit shows more CA.

Compare the 2 versions with ‘Active corrections’ on.

I tried to avoid the pinkish appearance of the Master and the somewhat harsh look of the LR edit,
but then, all editing is subjective. :slight_smile:
have fun, Wolfgang

this has been mentioned above. As I wrote: “Highlight recovery is a fundamental quality criterion of a RAW developer, isn’t it?”

This has been mentioned in the original posting: It’s the DxO “Landscape - Standard” preset out of the box.

BTW: It’s neither my image nor my camera or lens.

@Wolfgang: Thanks for your effort, but that’s way too much effort. BTW I don’t have a Filmpack license.

My point is less “can I get circumvent problems in Photolab by putting enough time in optimizing settings” but more “can I get good results quickly from a DxO provided preset, without a lot of knowledge and effort?”.

This scene is not special. Overexposed clouds and snow fields are normal.

If DxO provides a landscape preset, it should be robust. Else it doesn’t help so much as a general preset.

And rather likely, underlying weaknesses in the algorithms might be worth to be investigated.

No they are not. It is up to the photographer to expose correctly in order to avoid blowing the highlights. It’s one of the fundamentals of good photography and easy to do once you know the technique.

It’s not up to DxO to try and rescue your badly exposed images, and presets are not “magic bullets”. They are meant as a starting point for further refinement - after all, they are only a collection of pre-made adjustments.

Using different camera profiles than those with which the images were taken is only a good idea if you want a special effect, not for general correction purposes.

1 Like

Hi @obetz,

in your 1st post you asked, what we think and if DxO should do better.
Then, you got some answers and you don’t like them. So … ?

I’m not ‘defending’ DxO’s Landscape Standard preset, where they chose a particular camerabody plus a couple of adjustments for the Color Rendering.
( BTW, there is no addition of Chromatic Aberration Correction and ClearView Plus to the preset by default – the last one responsible for the enhanced pinkish color cast. )

A preset is a starter and not a ready made solution, especially considering you come up with a heavy
crop resulting in limited resolution, and the pic even showing overblown highlights.
As you don’t want to spent more time (on this example) sounds like you are expecting ‘AI-features’.

The time spend what should be done (im my mind) to get a convincing rendition and how to communicate, took a lot longer then the few edits you are moaning about – but, it’s up to you …


to add for comparison
Pink_artifacts_master_LR_wo.zip (7,4 MB) – the JPEGs from your Master, LR and my trial –

( don’t understand, why PL Elite being the premium version doesn’t contain features like the advanced contrast settings, something basic like the SkyLight Filter and also not ViewPoint without additional costs )

Wolfgang

I agree that the standard Landscape preset leaves something to be desired. I don’t think using an alternative camera model for the rendering is the best choice. However, keep in mind that all images differ from one another and presets are not one size fits all. They are intended as editing stating points only,

When I edit a landscape I generally do not use a special preset as a stating point unless I’m going for a specific look. In that case I have a number of custom and commercial presets I can apply as a starting point. Don’t limit yourself to a stock preset just because of its name. They contain very general settings that may work better on some images than others. Never assume they will meet your needs without further editing. .

Mark

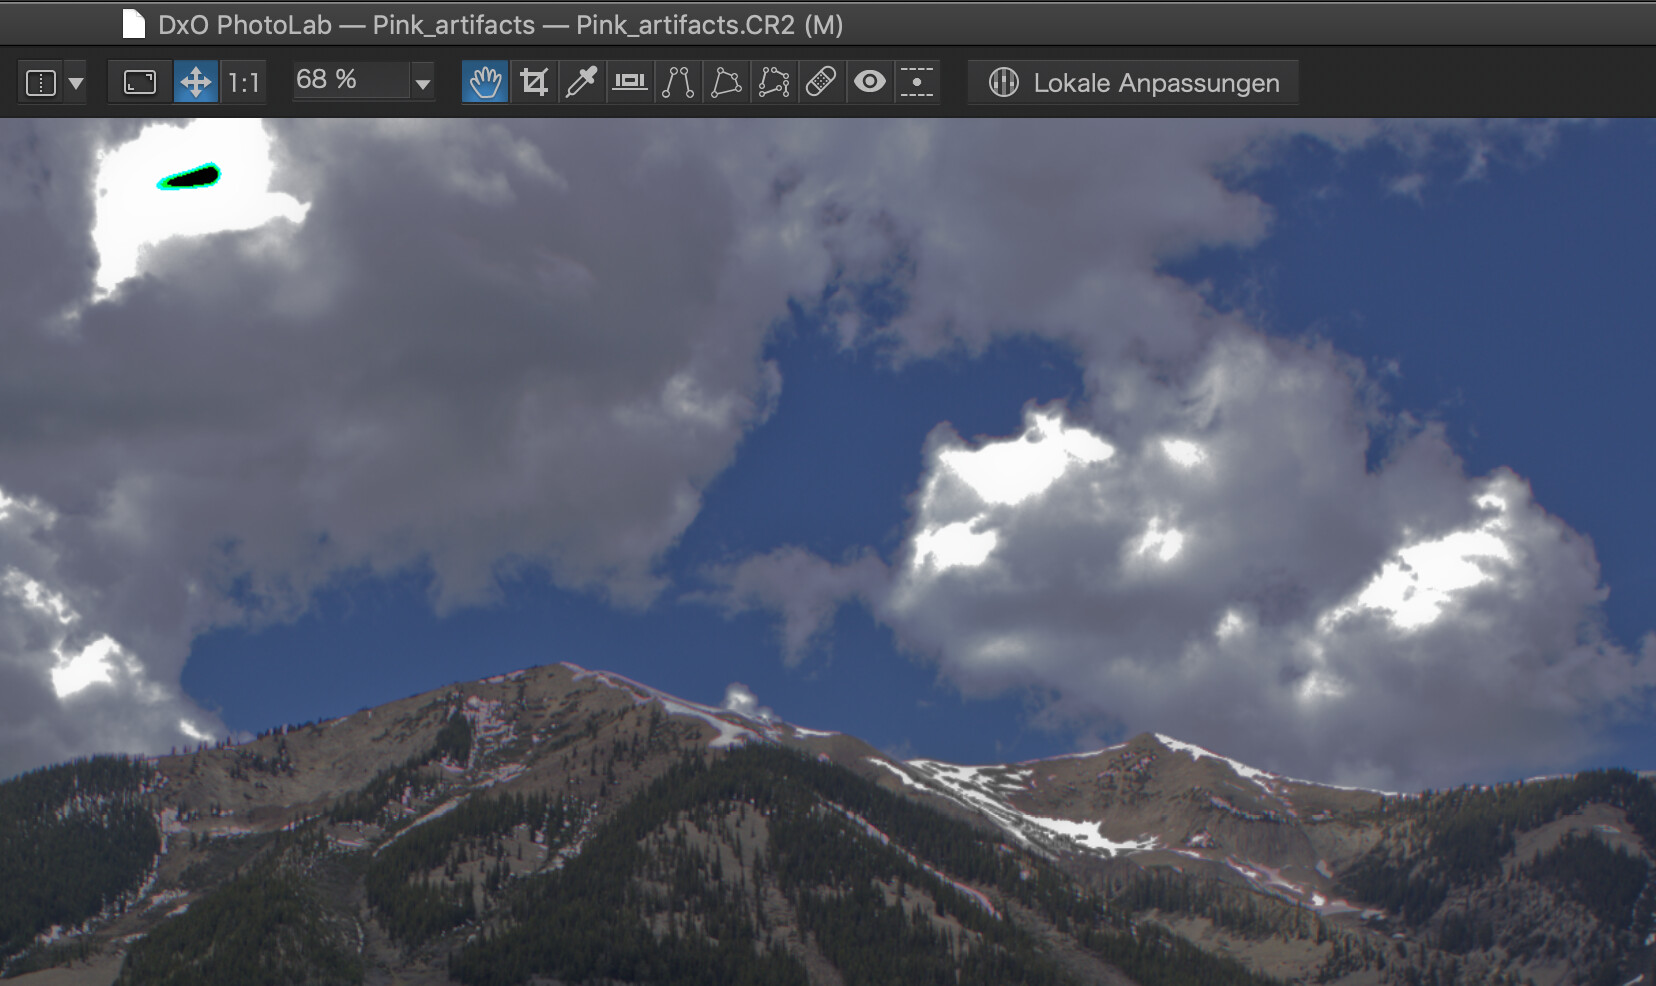
Just to add to the discussion…

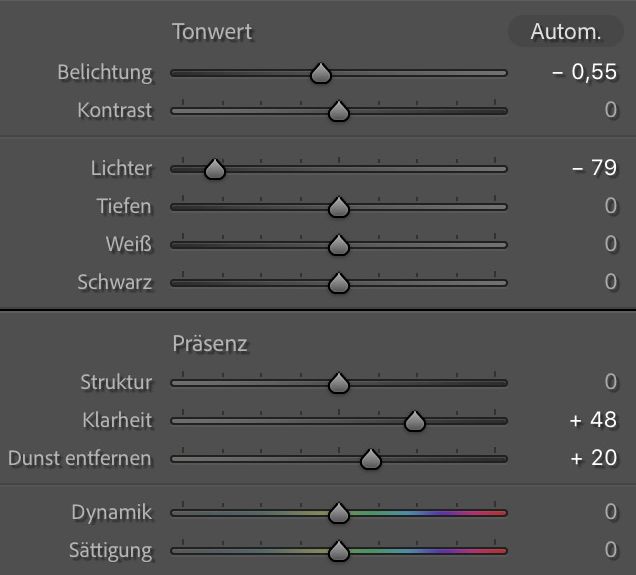
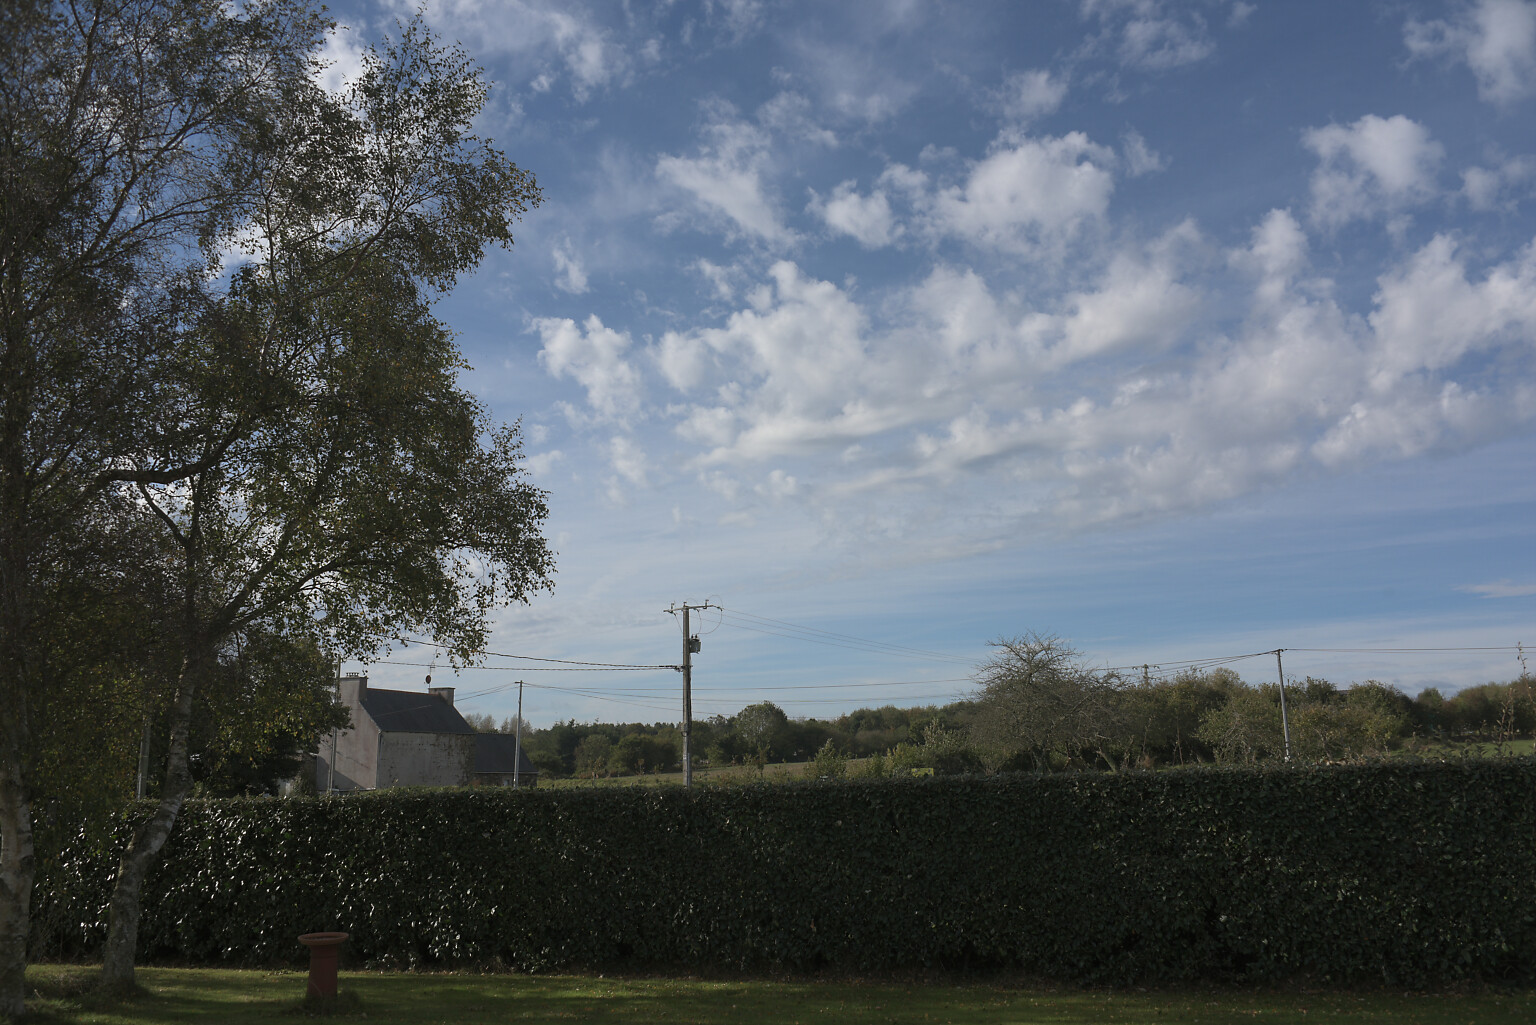
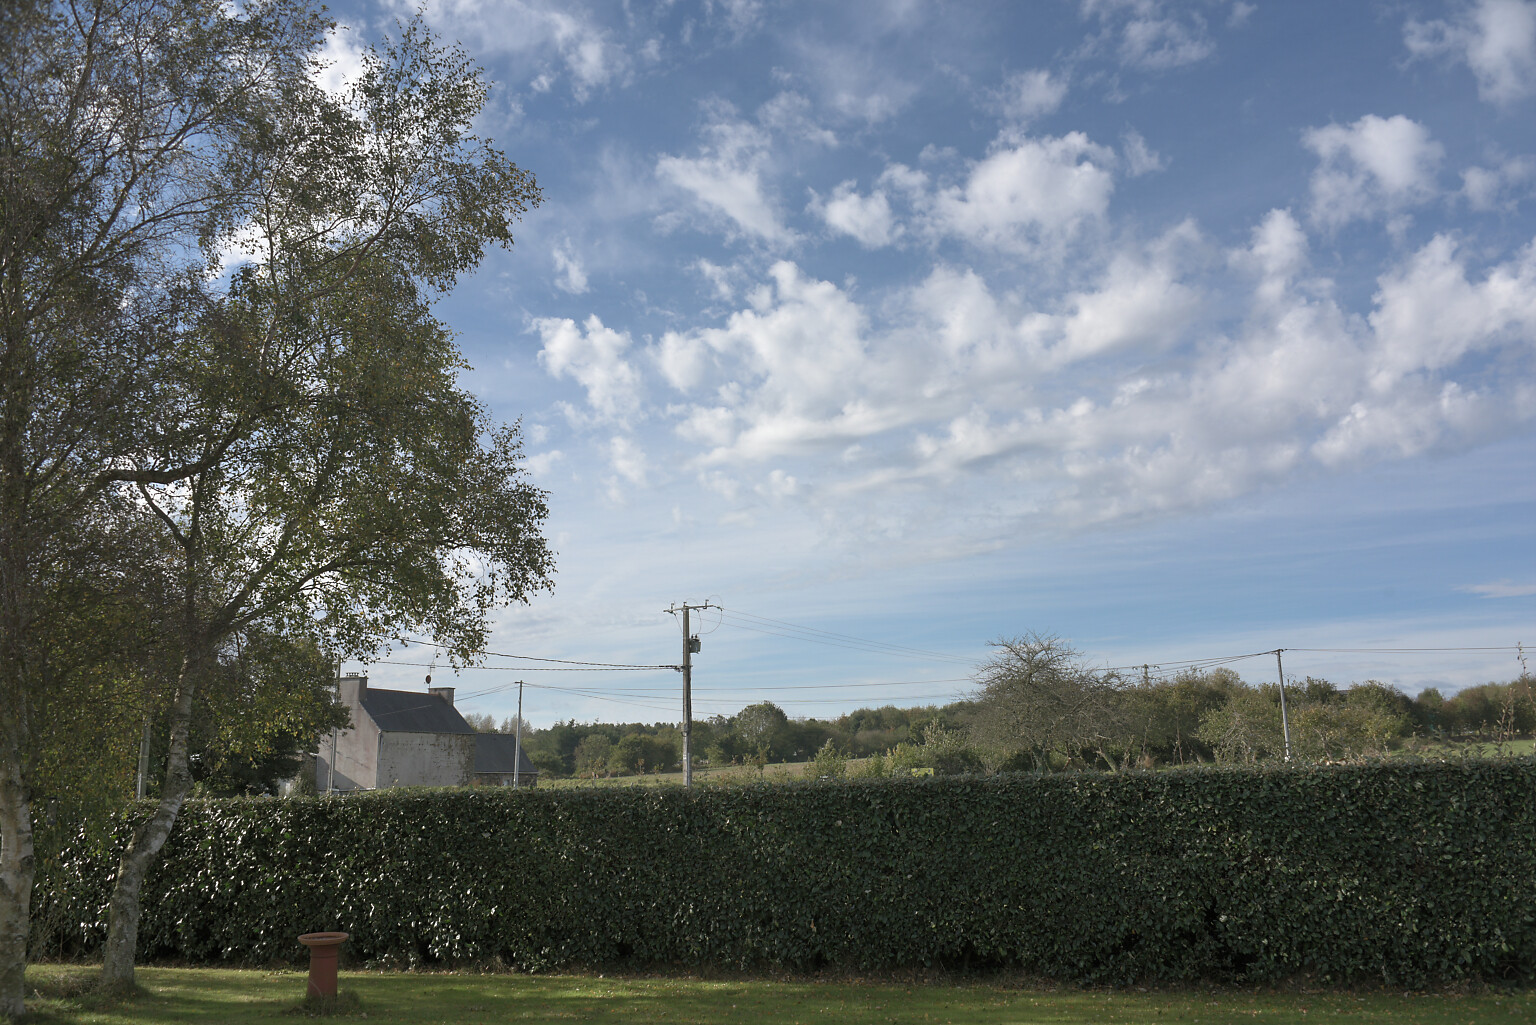
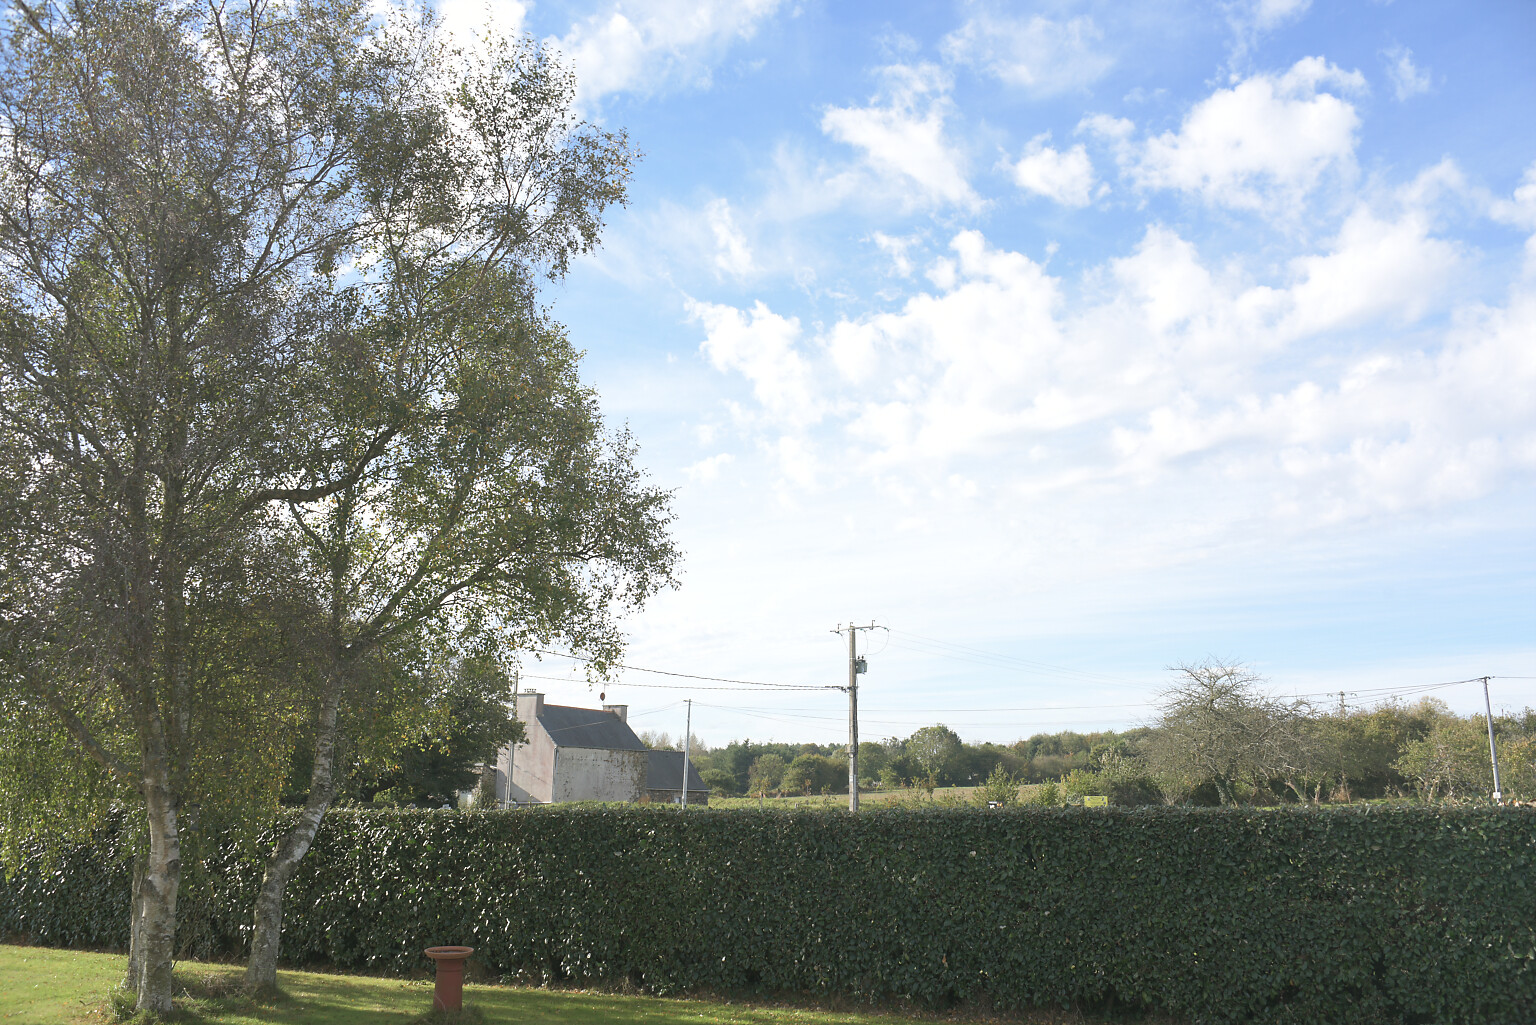
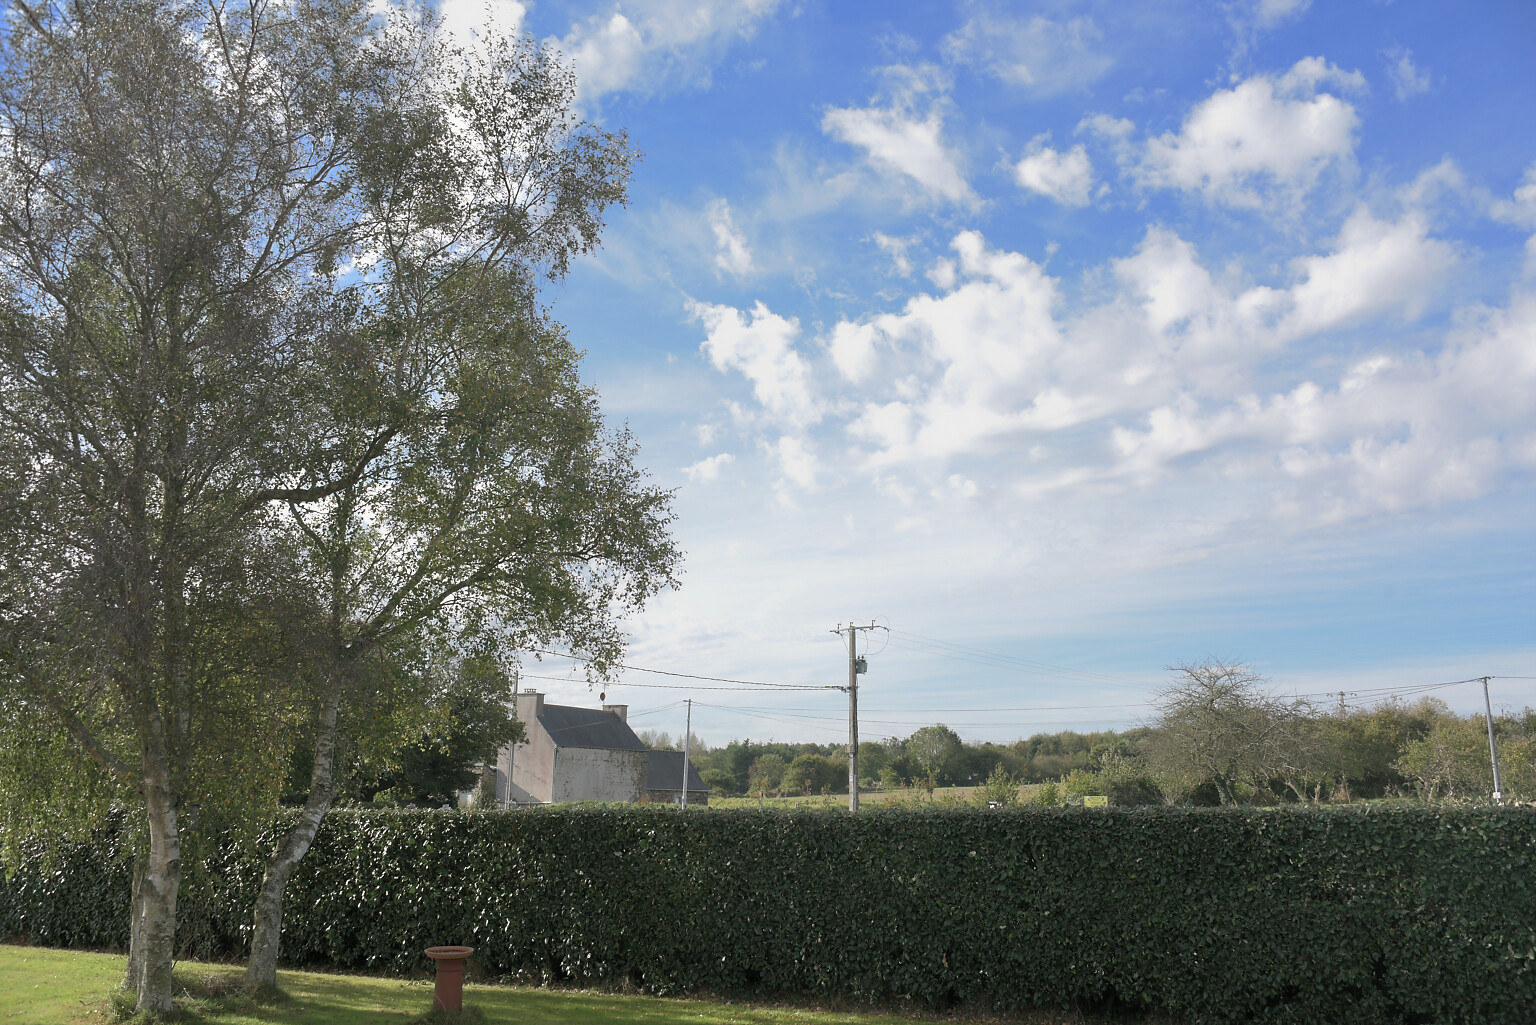
This shot was taken in JPEG mode, using centre-weighted metering. The first version is straight out of the camera, the second processed in DxO to maximise the range of the image.

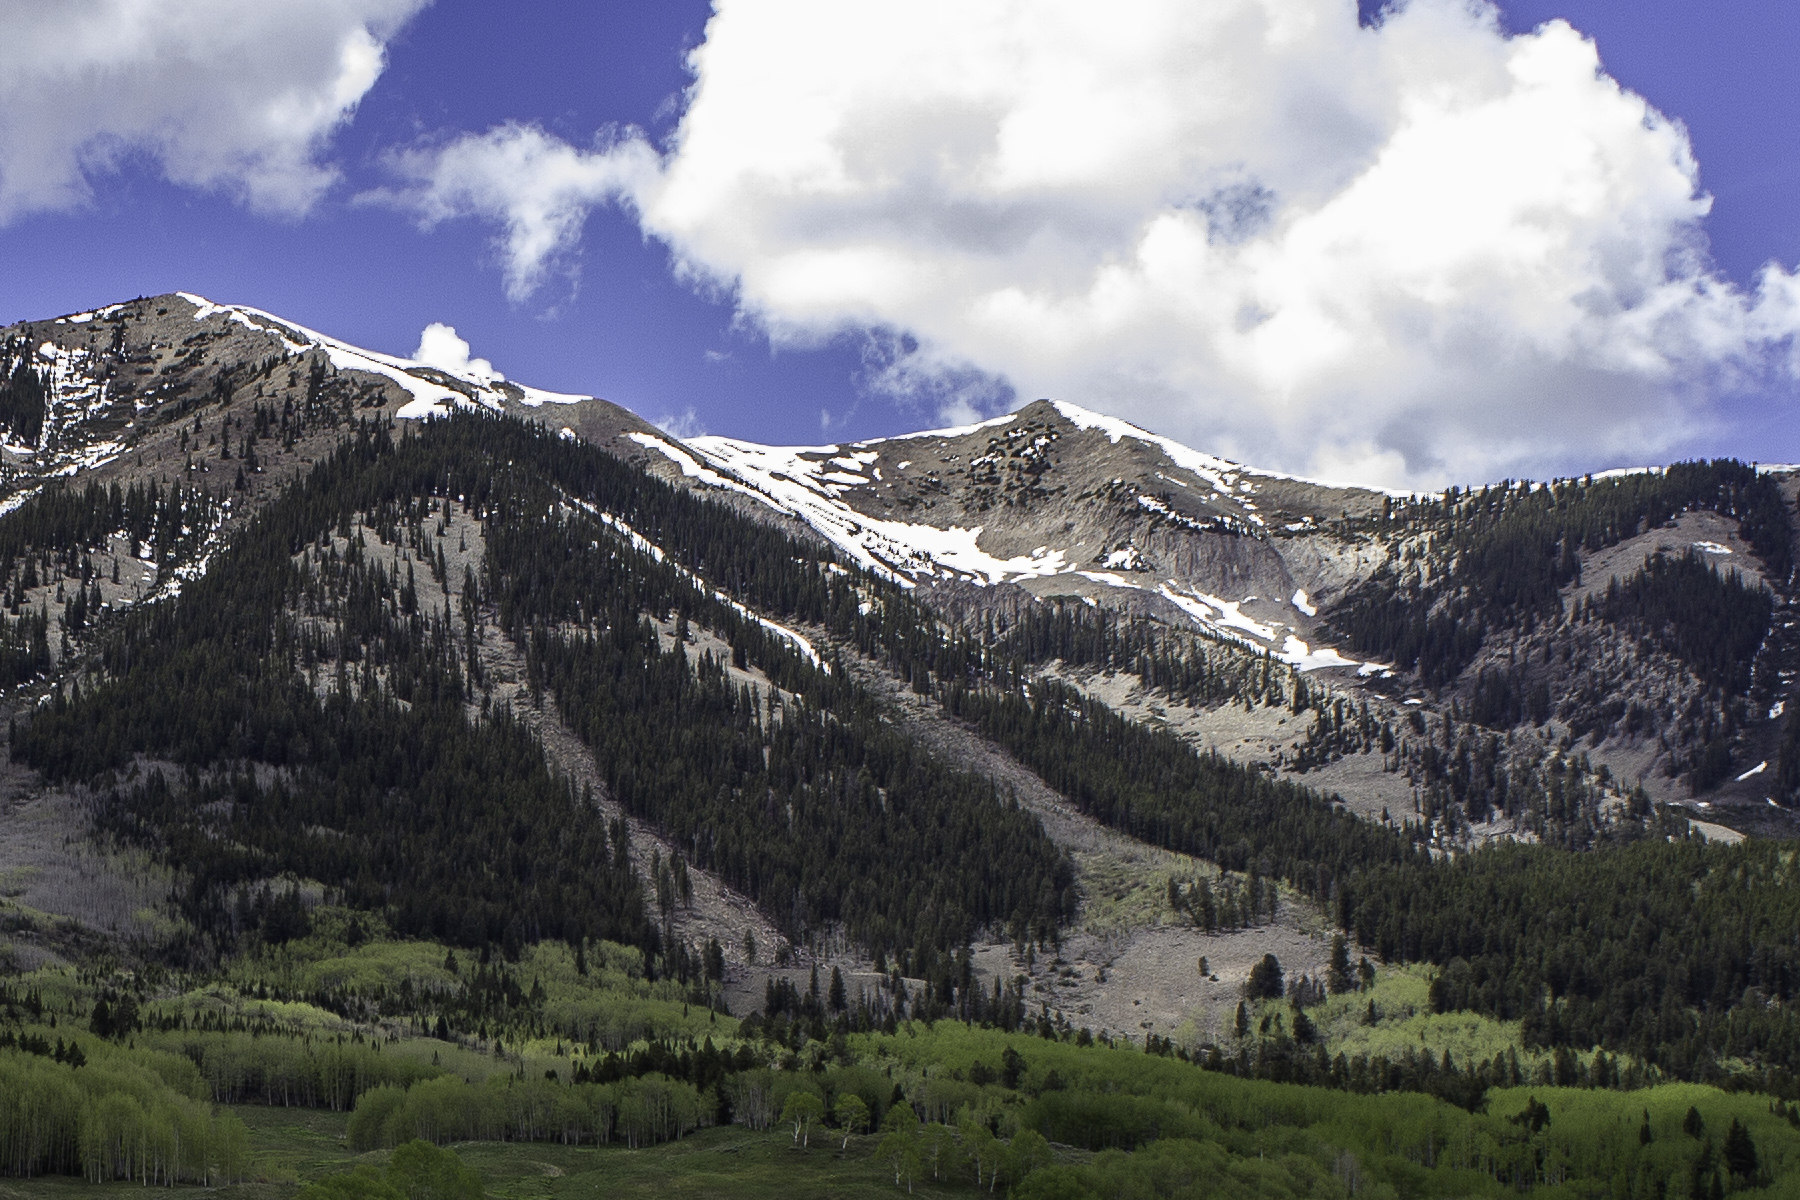
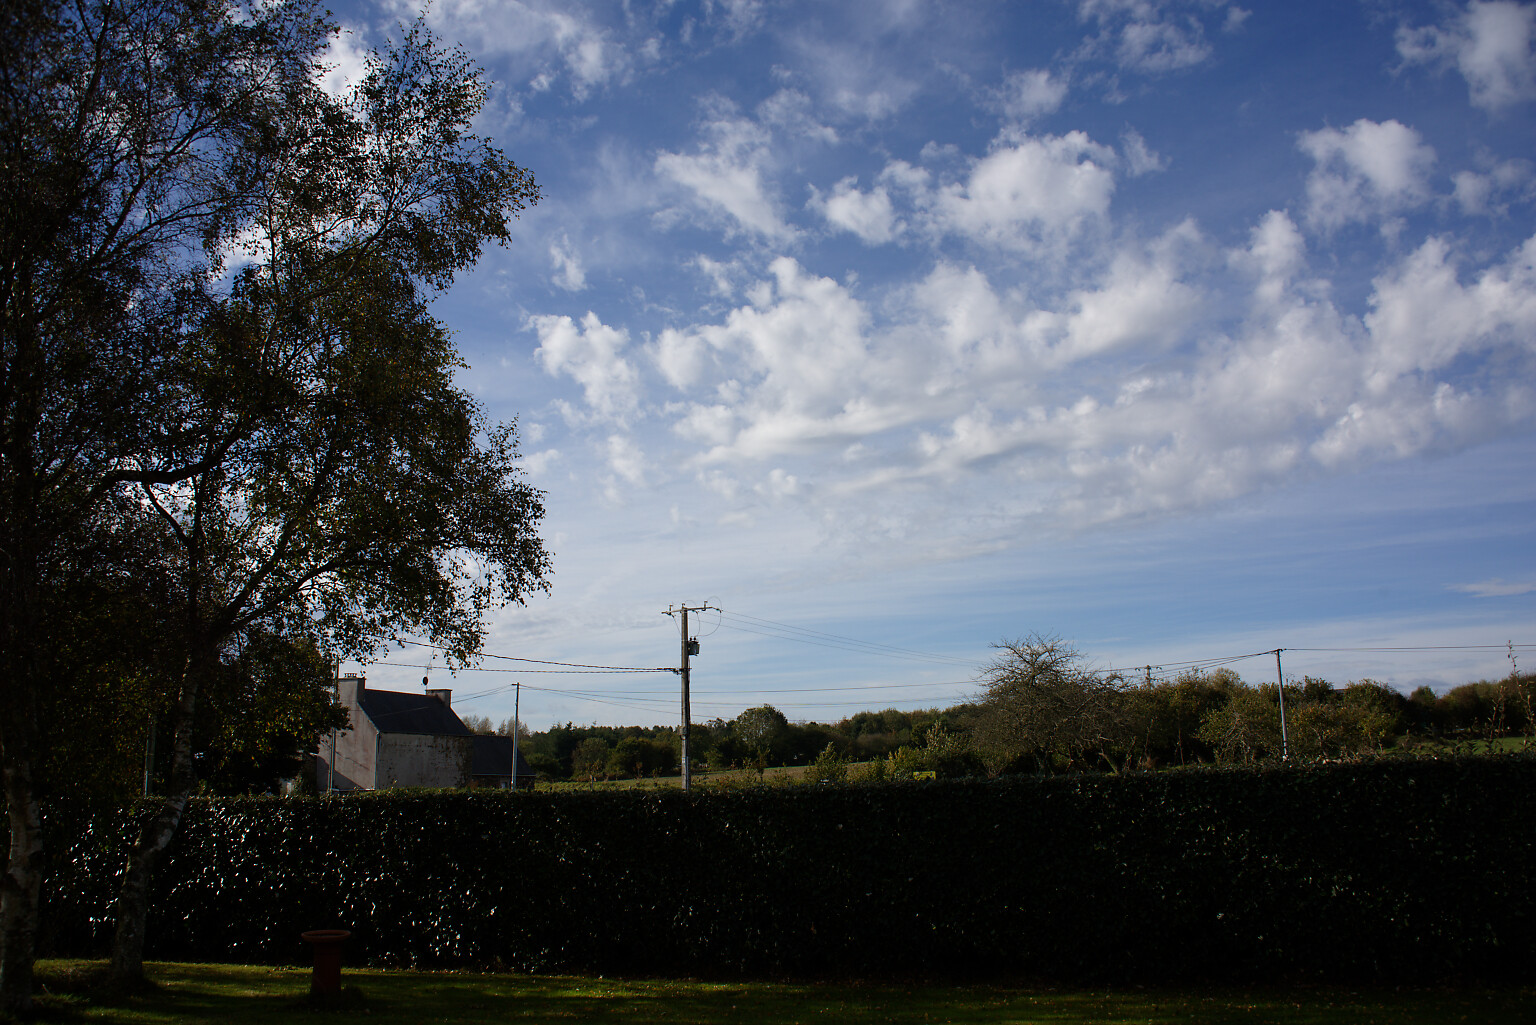
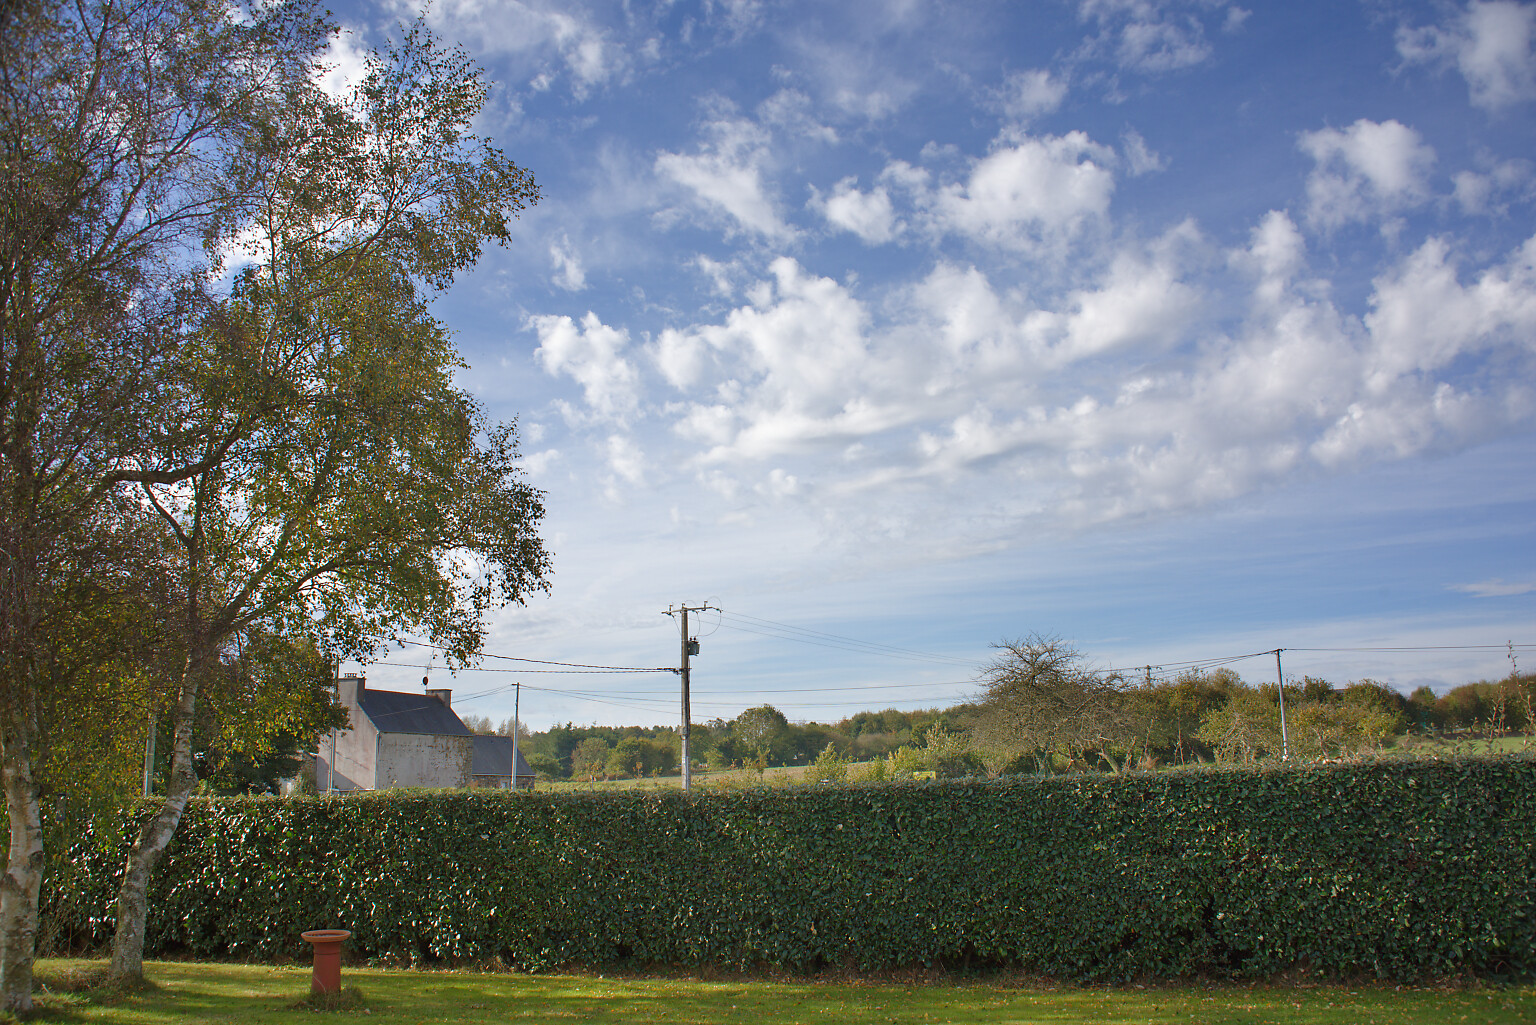
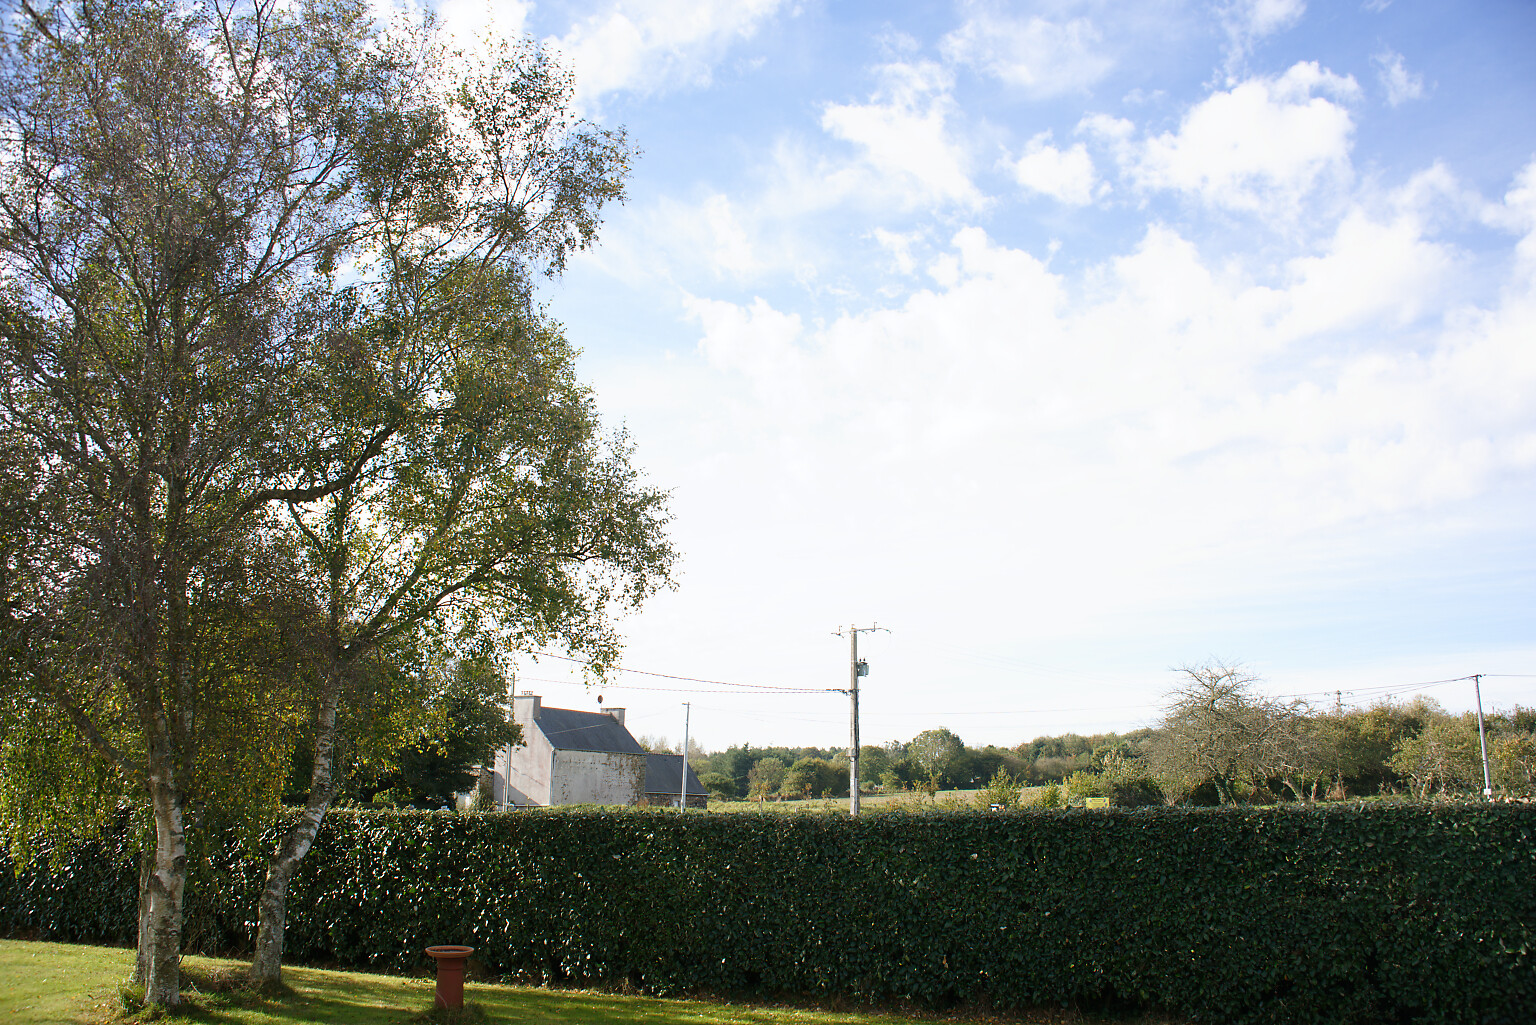
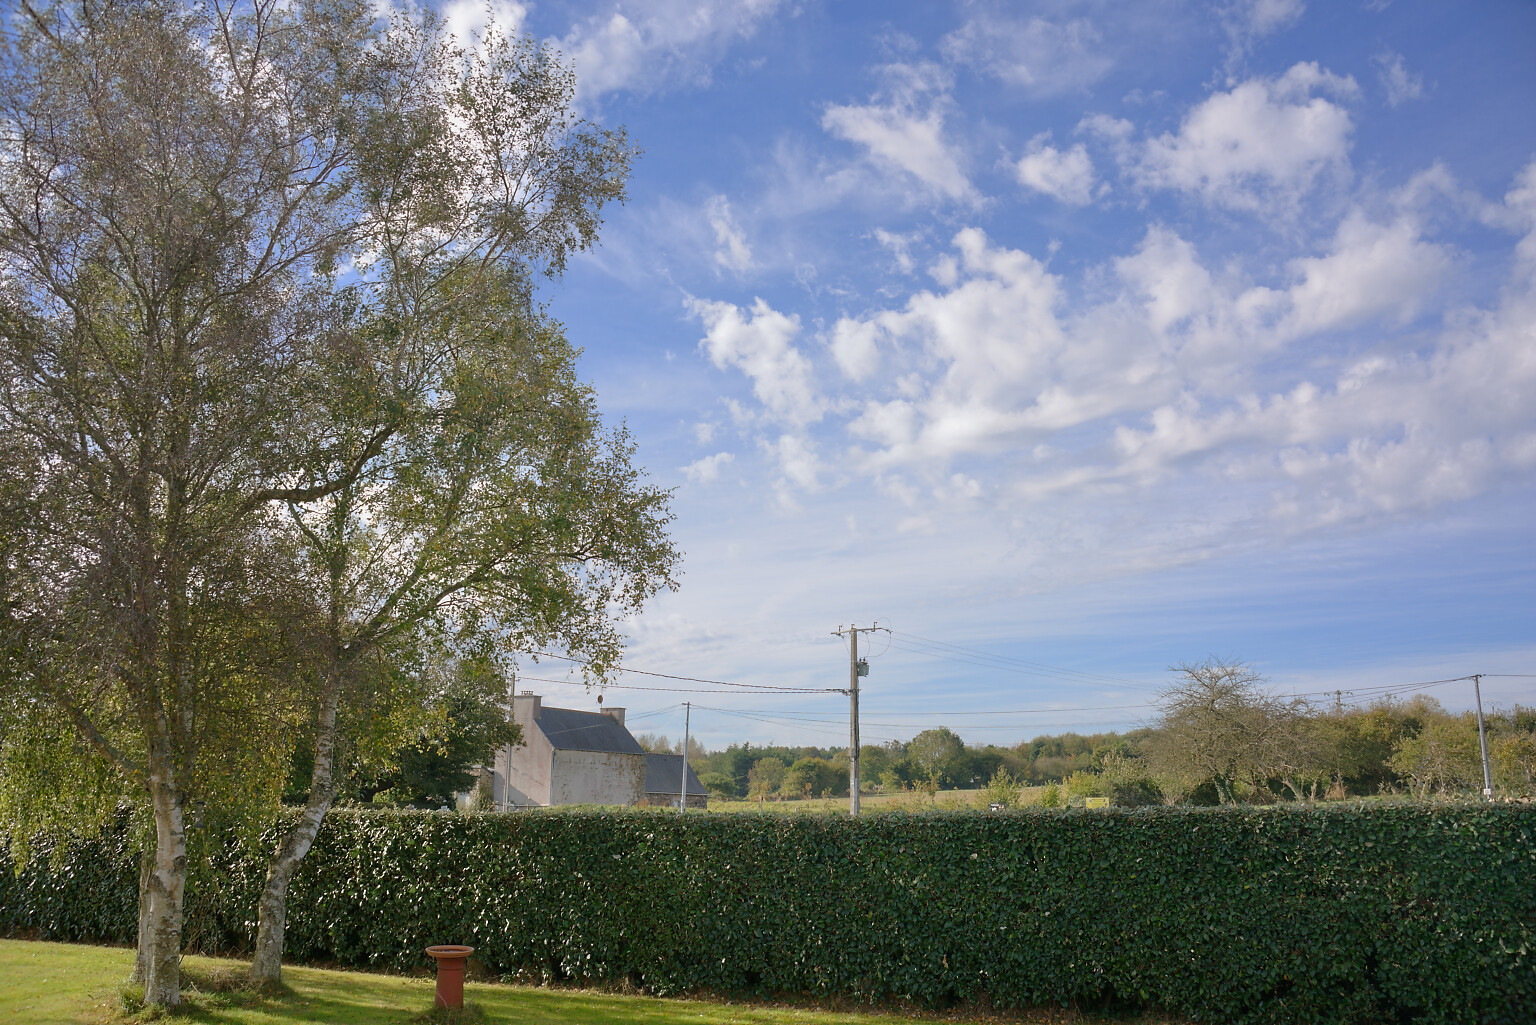
This shot was taken with the same setting but, this time, in RAW mode. Notice how much more shadow detail has been recovered because the dynamic range of RAW files is so much greater than that of JPEG files.

But the problem is that both images are still a bit “flat” and the clouds look quite dull.

This time, in JPEG mode, I over-exposed from the meter reading by 2 stops and, as you can see, we are starting to lose highlight detail which, as the second version shows, even after processing, could not be properly recovered.

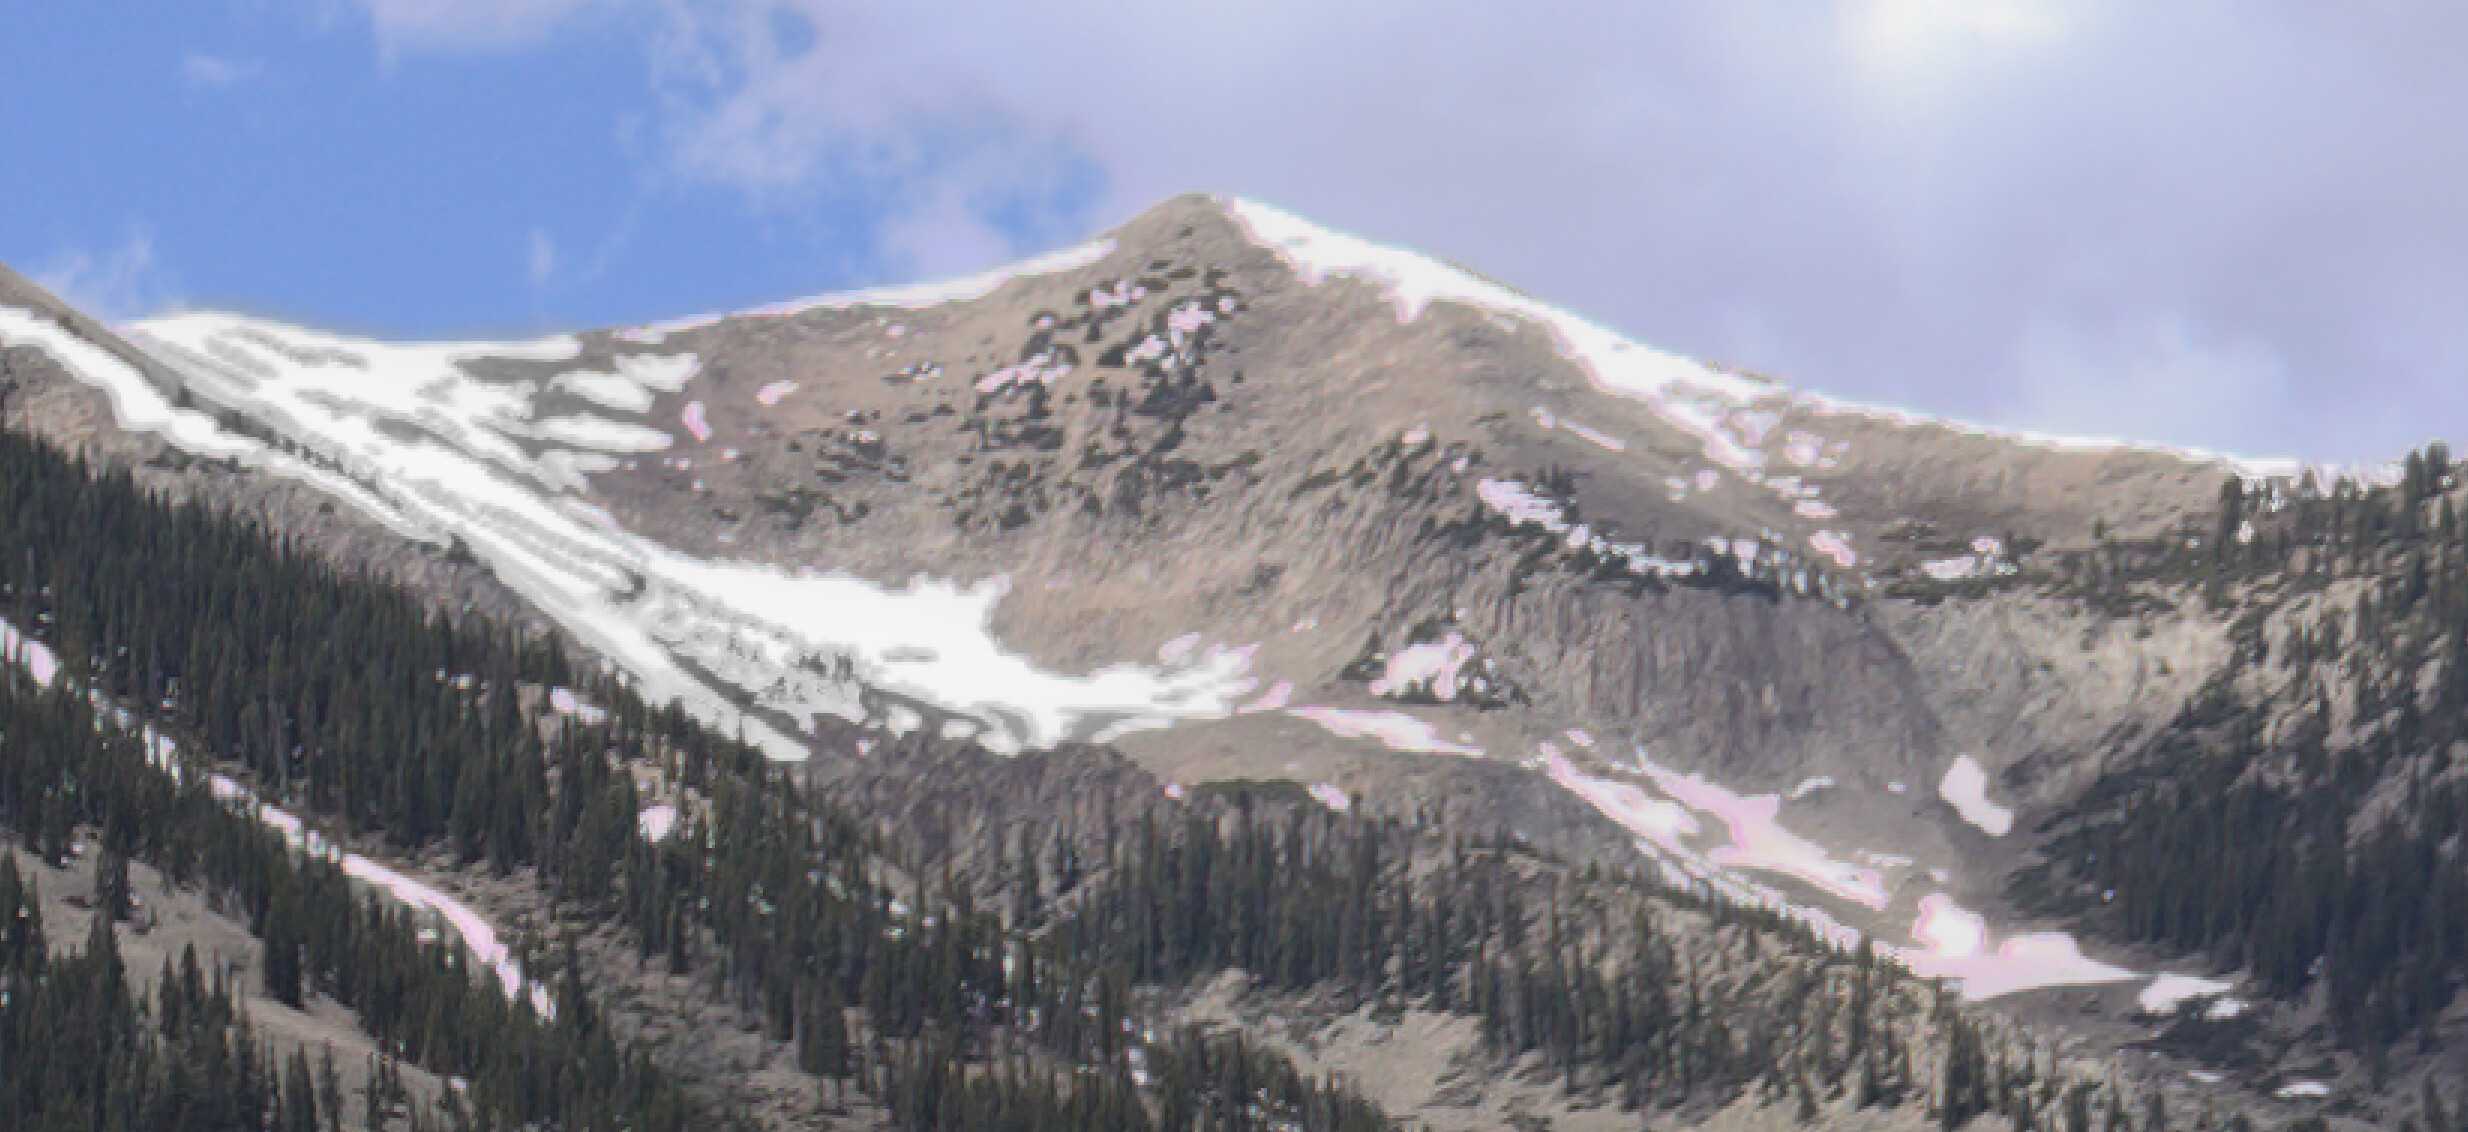
Finally, a shot taken in RAW mode and deliberately over-exposed by the same 2 stops.

Straight out of the camera, the first version looks over-exposed in the sky and lacking in shadow detail but, because a RAW file contains so much more dynamic range, with the second version, I used DxO to extract the full dynamic range available in the RAW file to make an image in which neither the highlights are blown nor the shadows blocked.

This kind of result can never be achieved with a preset which, as others have said, is only a starting point. You need to 1. know how to correctly expose in the first place and 2. know how to extract the most detail from the shot you have taken.

So, you see, blown highlights are not inevitable. You just need to learn how to expose correctly and how to process the image to achieve the best results.

Ansel Adams and Fred Archer devised the Zone System when shooting large format film to ensure that they got they best possible negatives in order to make the best possible prints.

Nowadays there is a digital version of that system which when applied, will vastly improve the quality of your photographs and require less post-processing.

@Joanna, please add a link that points to some info about the “digital version”.

Exposure is one thing in film photography and development of the film is an other. Then, exposure and development when doing the print. Let’s not forget that the choice of film and paper adds another two degrees of freedom… I’d be interested in seeing how the “digital version” compares.

I’m sorry I don’t have a link because it is something that I devised myself, based on my knowledge of the original Zone System, just “inverted” for digital positive images instead of negative film.

It goes something like this…

Learn about your camera

  1. Use RAW mode and switch to manual exposure (f/10 aperture is a good starting point) :stuck_out_tongue_winking_eye:
  2. Determine the dynamic range of your camera (link to the DxOMark site for my camera mine works out at around 14 stops)
  3. Using spot metering mode, take a shot at standard exposure of something white with texture
  4. Take a series of shots, decreasing the shutter speed at ⅓ stop intervals, to around +3 stops
  5. Take a shot at standard exposure of something black with texture
  6. Take a series of shots, increasing the shutter speed at ⅓ stop intervals, to around -5 stops
  7. Take all these shots into DxO and determine at which exposure it becomes impossible to recover either shadow or highlight detail. This will confirm the published dynamic range
  8. Note the maximum possible over-exposure before losing highlight detail. Shadow detail can be recovered easier than highlight detail. On my camera, I determined it to be at +3 stops but I prefer to use +2⅔ to be on the safe side.

Now you have the starting point for avoiding blown highlights, especially in contre-jour shots.

For taking pictures

  1. Use spot metering mode (and zoom in if you can) to take a reading from the brightest part of the scene.
  2. Forget about the shadows, they will have to fall where they will depending on the dynamic range of your camera
  3. Adjust the exposure compensation. This can be done in two ways…
    a) preset the exposure compensation to whatever your determined limit is then use that reading
    b) take the reading first and then adjust the compensation dial afterwards
  4. Reframe the image and shoot it

Processing

Use your favourite software to extract as much detail as possible, knowing that you will not have to “fix” blown highlights :smiley:

N.B.
Make sure your screen is properly calibrated and the brightness set to around 80cd/m2 for the best chance of your images being correctly balanced

@Joanna
There isn’t anything like a zone system involved.
What’s wrong using the blinkies?

George

The image you see on the back of the camera is a JPEG version, which is restricted in the dynamic range it can cope with, so the blinkies start when there is plenty more headroom in a RAW image.

Certainly, it means you shouldn’t get blown highlights if you avoid the blinkies but you are not going to be limiting the amount of shadow detail recoverable from a RAW file by under-exposing.

Thank you, Joanna

Adam’s zone system is often cited, even in digital photography, where many things have been fixed by a manufacturer and are therefore less malleable than in analog/chemical photography.

The most important thing (imo) is to expose to the (almost) right, and how this is done does not matter as long as we shoot raw - blinkies being the least desirable method, because we can never be sure what cameras do to get them, also in relation to respective light characteristics and image styles.

In demanding cases, I use UniWB…until camera manufacturers come up with raw histograms, which might never happen :scream_cat: