PhotoLab for Astrophotography?

I would love to see a tutorial for using PhotoLab for processing RAW astrophotography images. Though, as the word doesn’t even come up in the forum (one person wrote the word “astronomy”!) , I’m guessing we’ll never see this. But, hey, can’t hurt to ask.

Jason

4 Likes

Many people seem to forget that pl is a raw converter. It’s used to create rgb images and adds some basic editing to that image.
What do you miss? I don’t know anything about astrophotography. I only once took a few hundred picture of the sky and created a timelaps and a startrail image out of them.I even did shoot in jpg but I can imagine that for more demanding images that is not sufficient.

George

Jason has a good point regarding using DxO to convert RAW astro files to images. The issue is a tricky one of trying to get the blacks to stay black and the whites to stay white but expand the midtones out of all recognition to get the detail required from very subtle tonal changes… think nebulosity.
I found this… The NewAstro Zone System for Astro Imaging very good for processing in PShop, but getting the best TIFF to work with is very important.

5 Likes

Have you tried the tone curve? Leave the end points where they are and drag the line to suit your needs.

According to Jonathan Sachs, astrophotography is mainly about noise reduction and avoidance and about precise registration.
You can get his paper below, in the context of the tool Picture Window Pro

https://www.dl-c.com/Temp/features/astro.pdf

1 Like

Ugly Hedgehog has an astrophotography forum that might help you.

1 Like

Yes, I have. It’s particularly difficult as I live in a place with a very low sky-fog limit and a lot of light pollution… and I’m just not adept at using the curve tools. This is why I’d like an astrophotography-specific tutorial for PL. I’ve watched other tutorials, but there’s always some Photoshop talk that ensues which I don’t know how or if it even can be translated to PL. (I do realize they are not directly competing products).

Perhaps you can see in that that there’s also a bit of research embedded in this question, as I’m trying to see if it’s worth upgrading my PL or moving onto another tool for astrophotography. Having a PL-specific tutorial on this would do both upping my astrophotography post-processing skills and learning that for PL.

As has been pointed out, astrophotography is a fairly tricky area. I also have had issues with such images: varying quality even when taken close together, etc. etc. I stumbled across a very interesting video https://www.youtube.com/watch?v=iuMZG-SyDCU from which you might be able to adapt something. Note that a firm basis for good astro shots is a stacking methodology which is covered in the video complete with download pointers. Hope this helps.

Hi Jason,

I did process Milky Way images with DxO. I found it useful to differentiate the Astro workflow into two totally different work streams:

  1. Process and stack images with a dedicated software. Getting the biggest signal noise ratio (using flats, bias and black’s) out of your images, correct optical distortions and finally stack several images into a single one.
  2. Post process the stacked image which can be done in DxO.

You see - the bigger effort/ expertise is in work item 1. I can recommend www.siril.org as a free astro image development tool. It can read and convert RAW files. I see no dedicated feature in DxO supporting Astro. In contrast to that DxO has often been named as the best optical correction tool.

Cheers!
Andreas

Several months ago, in a different thread, @Joanna was discussing how to get decent sky photos of the stars - astrophotography. My original attempts were horrible. My tripod wasn’t good enough, my exposures were too long, and I had trouble getting anything remotely acceptable - all those images were junk. Joanna gave me a challenge to get a good (translation for me, better) photo of the sky at night.

Never mind that other than the moon and Venus, I have no idea which stars are which.

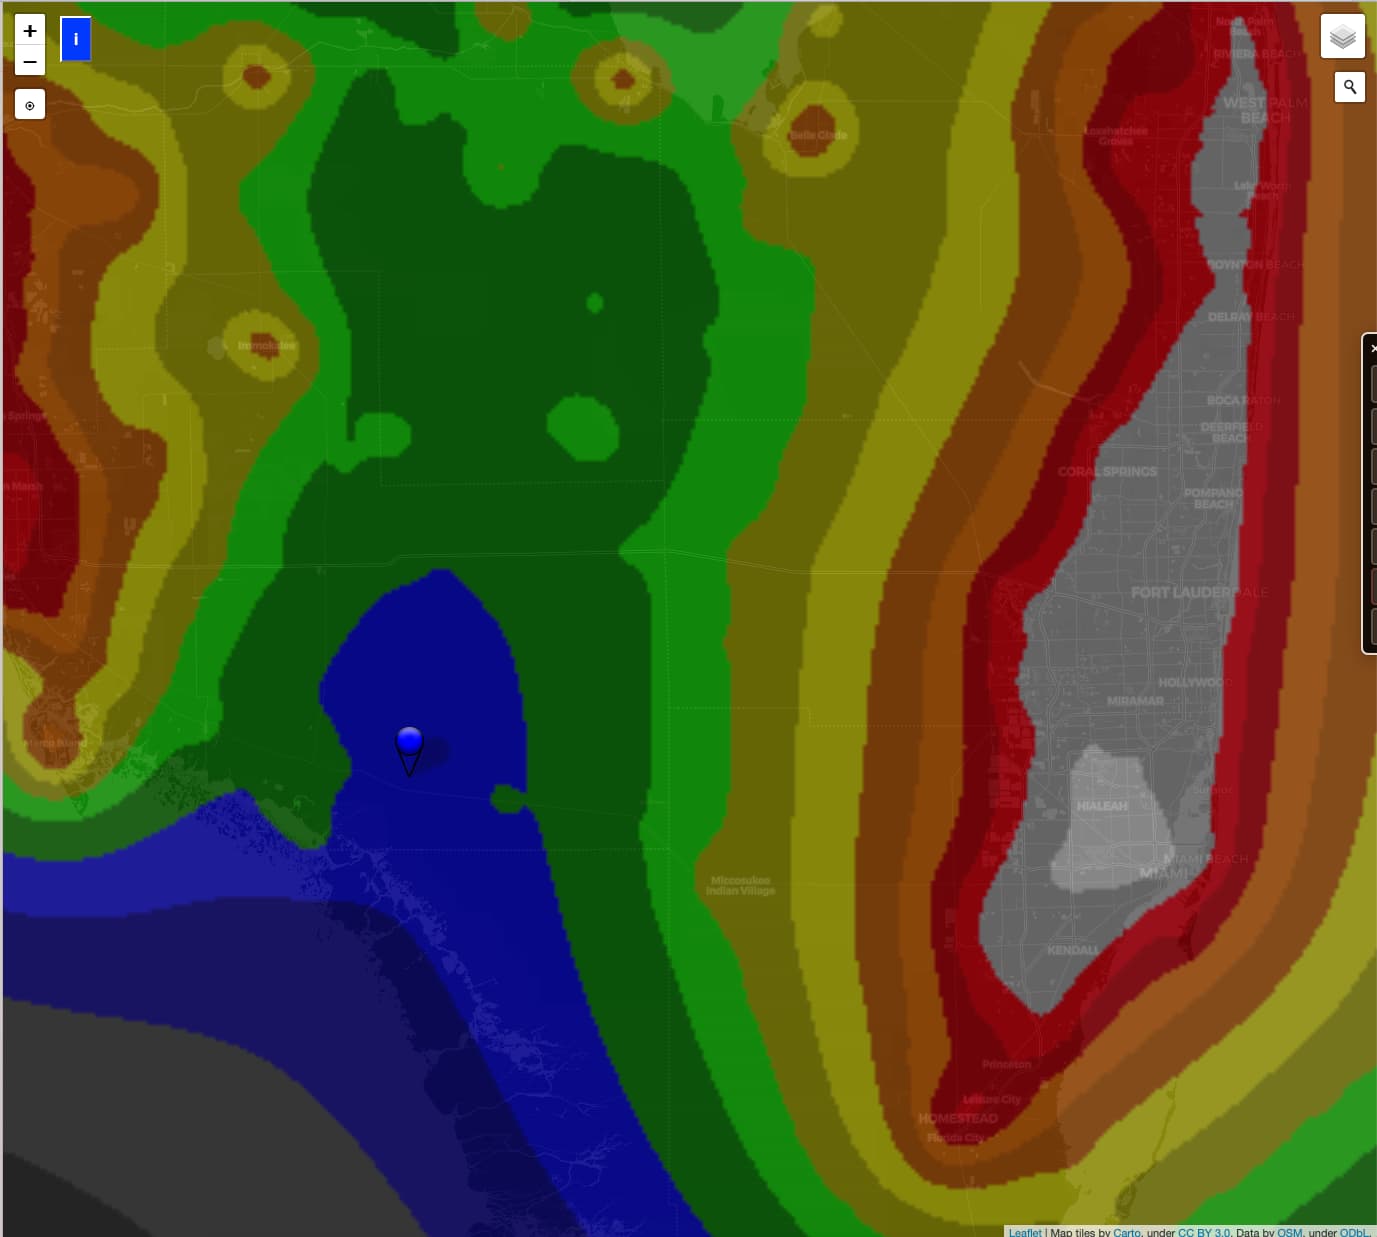
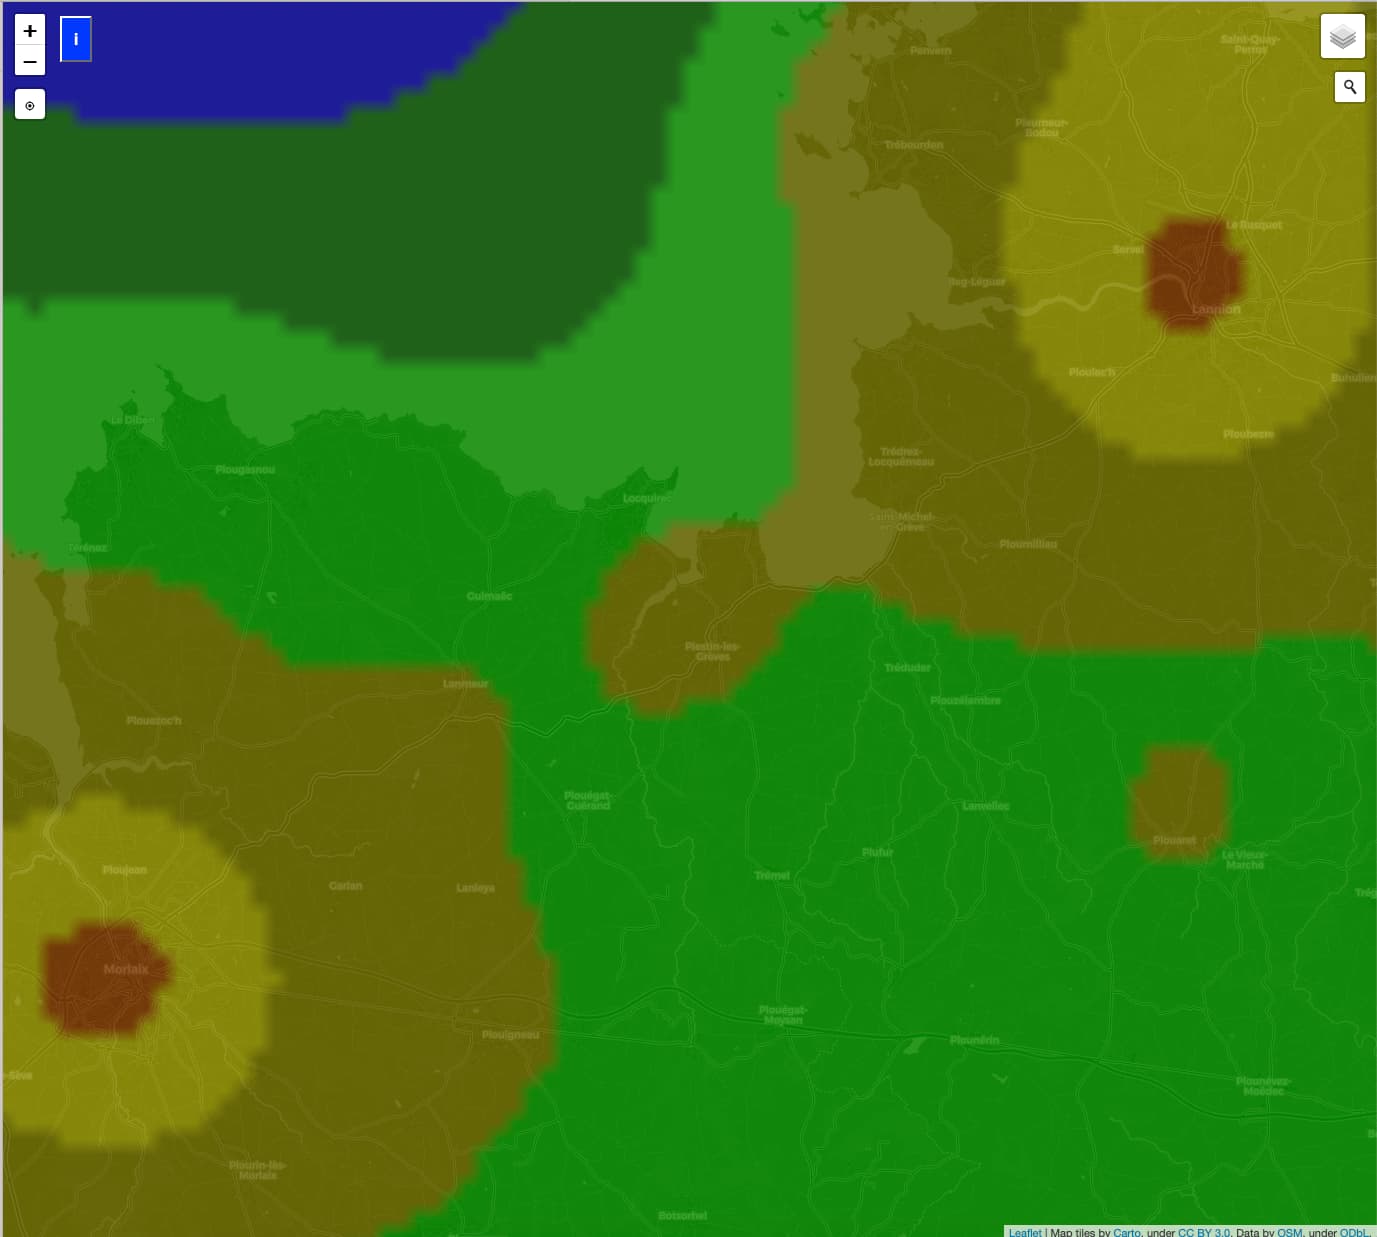
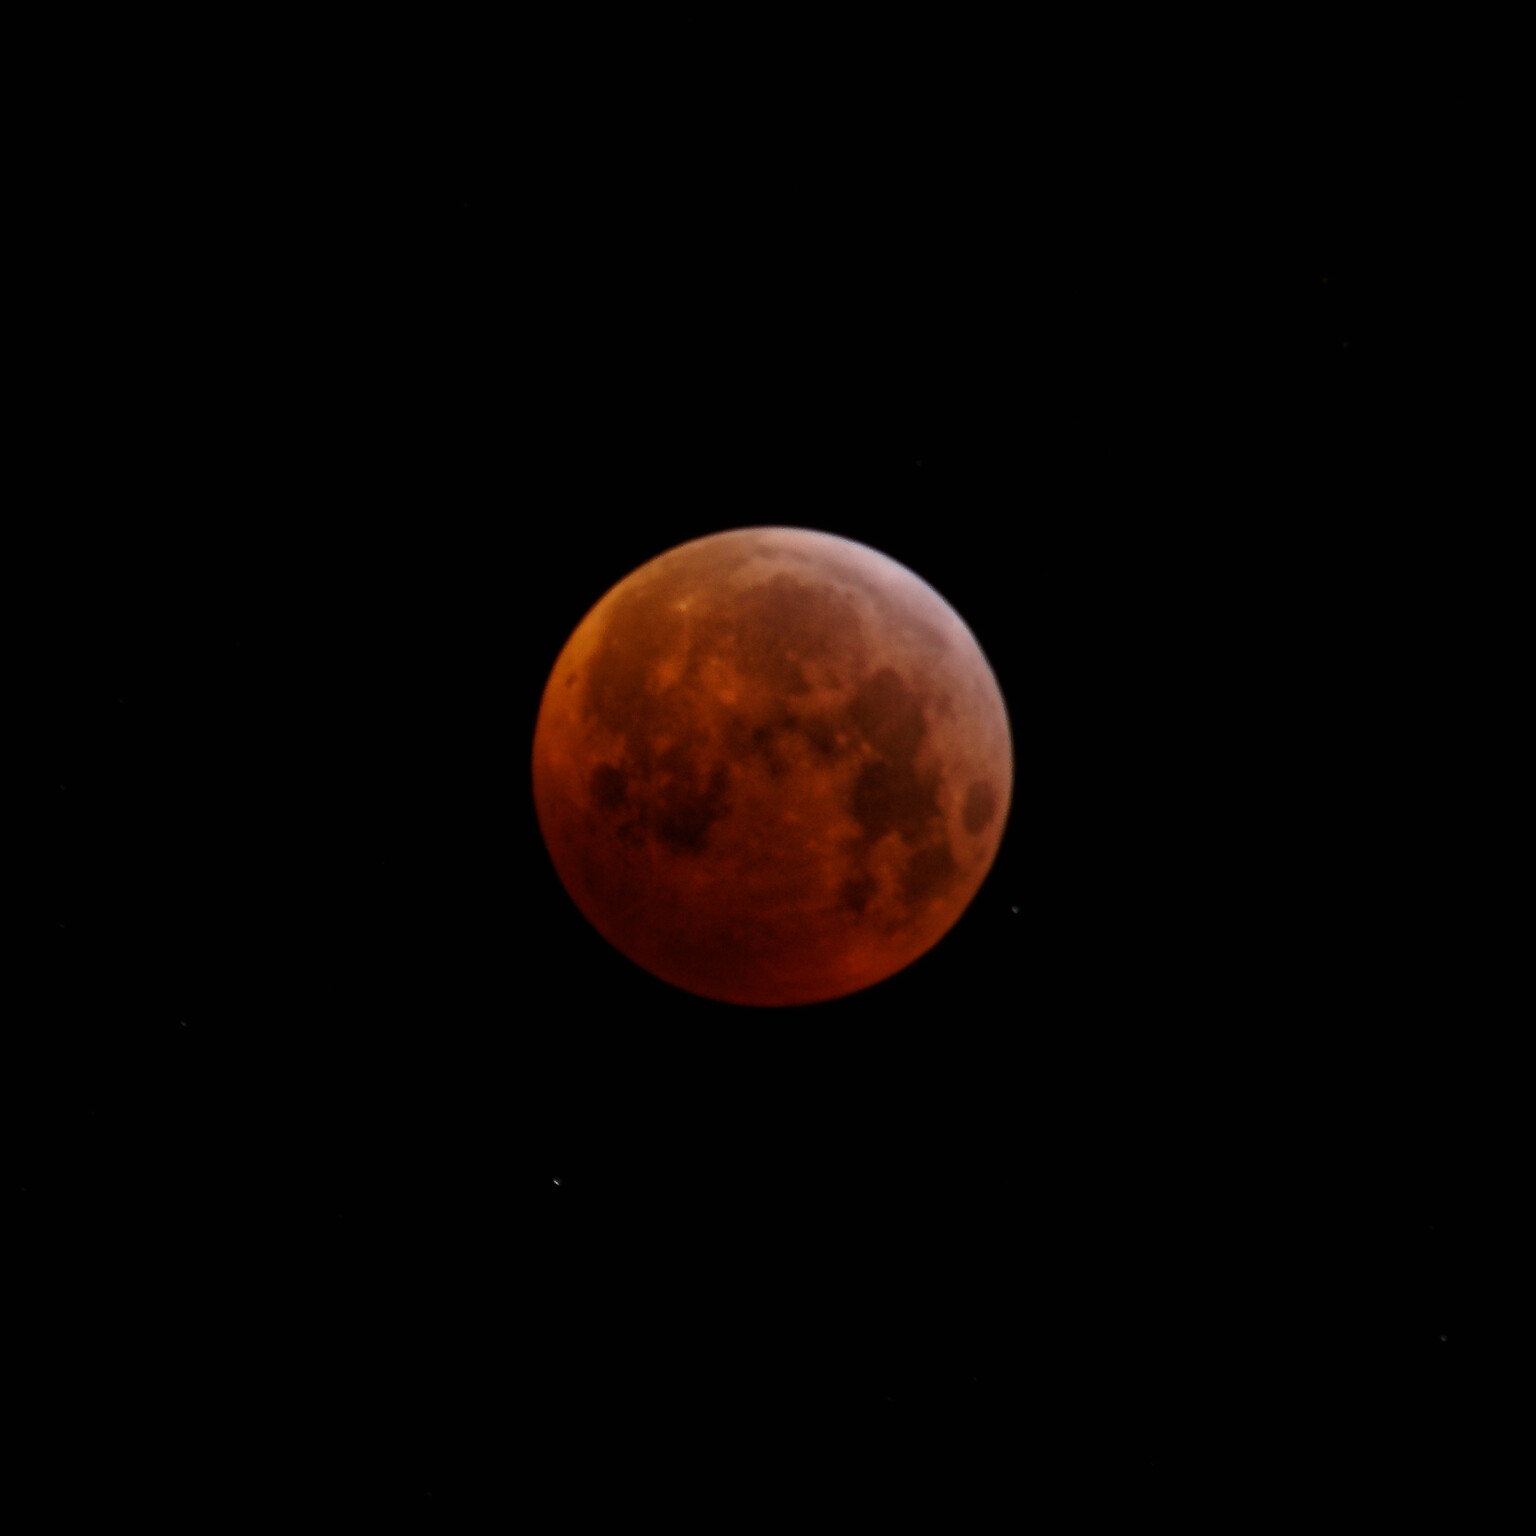
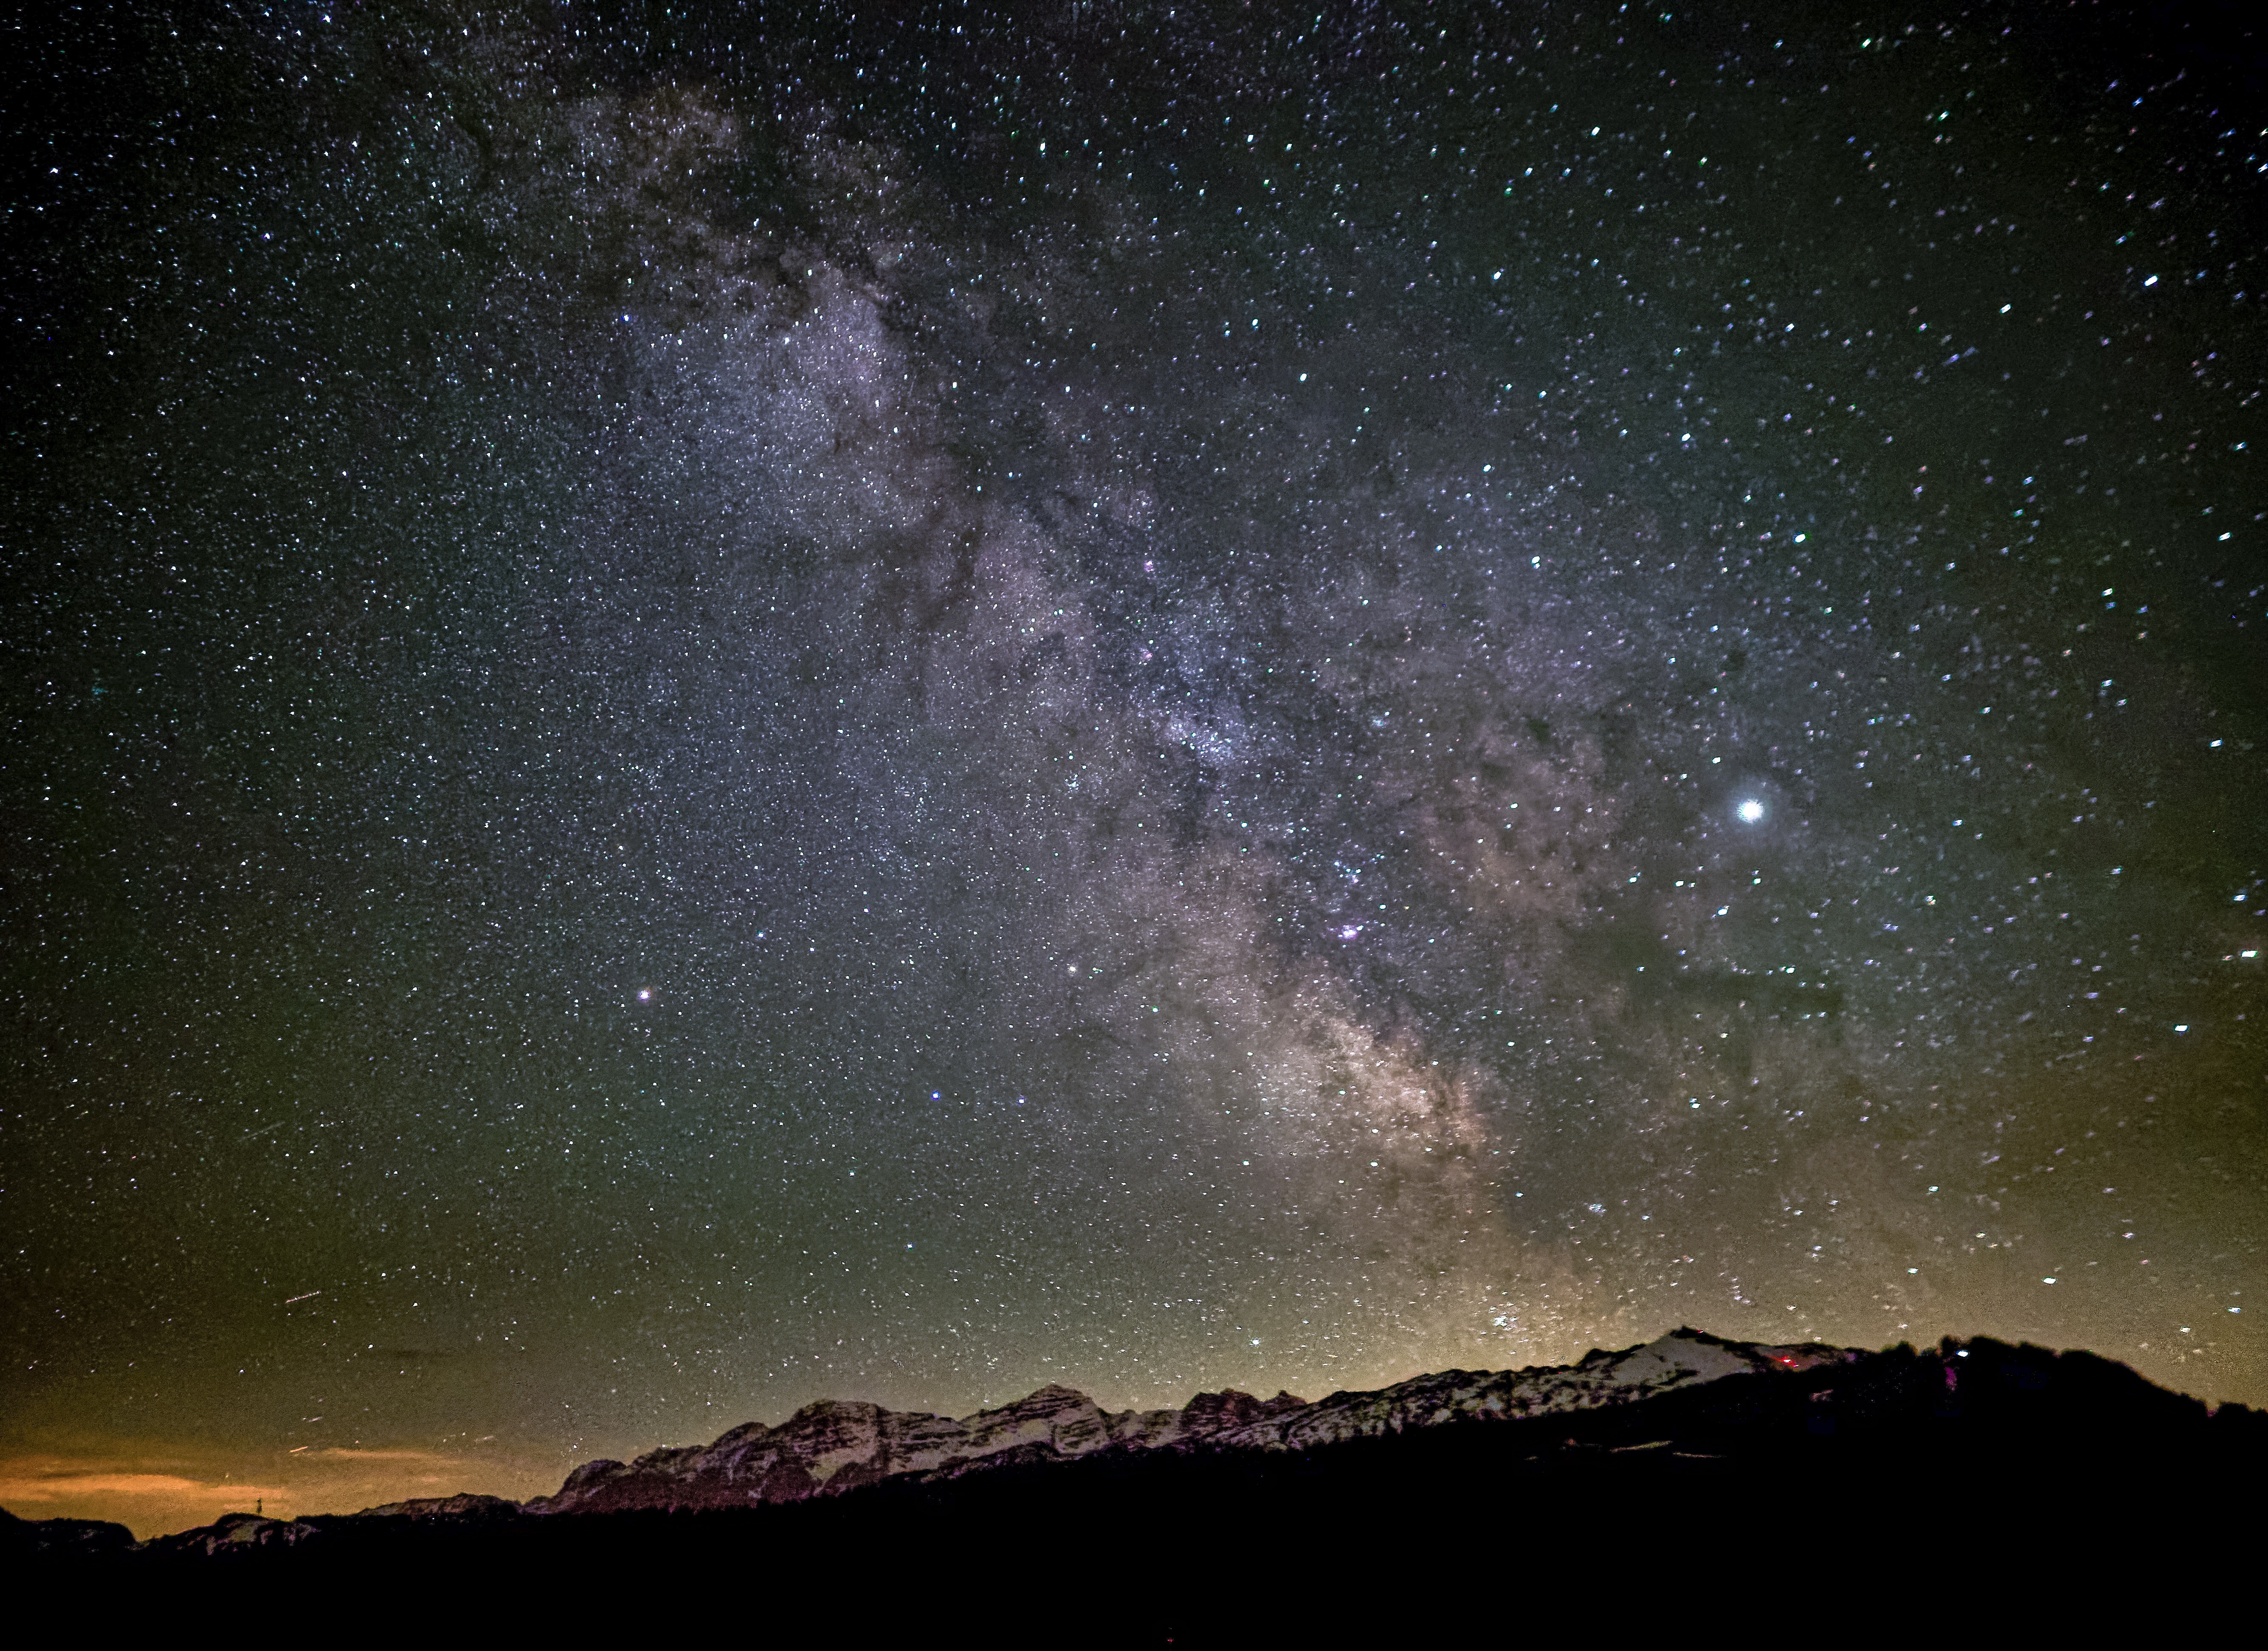
I spent last week up in the country, where it was darker outside at night than Miami. Towards the end of my visit, I decided to give it a go. I set up my tripod (this time, a good tripod) away from any lights, and turned off most of the nearby lights. My D750 is still at Nikon for repairs, so I used my Leica M10, with the sharpest lens I own, a 50mm Voigtlander f/2, and attached a cable release. Unfortunately the sky wasn’t completely clear - looking at the moon, I saw some “haze” around it. Also unfortunately, I couldn’t find a way to look up into the camera, which was now pointing upwards at the sky. Leica makes something the call a Visoflex, which sort of turns my camera into a mirrorless camera, and it pivots upwards, which in my case meant it was horizontal, and easy to see through.

I will read all the links up above - didn’t know they were even here until now, but I don’t intend to become a professional astrophotographer - I just want to capture an acceptable photo of the night sky. And once I can do that, I need to learn where to aim my camera to capture the most interesting part of the sky.

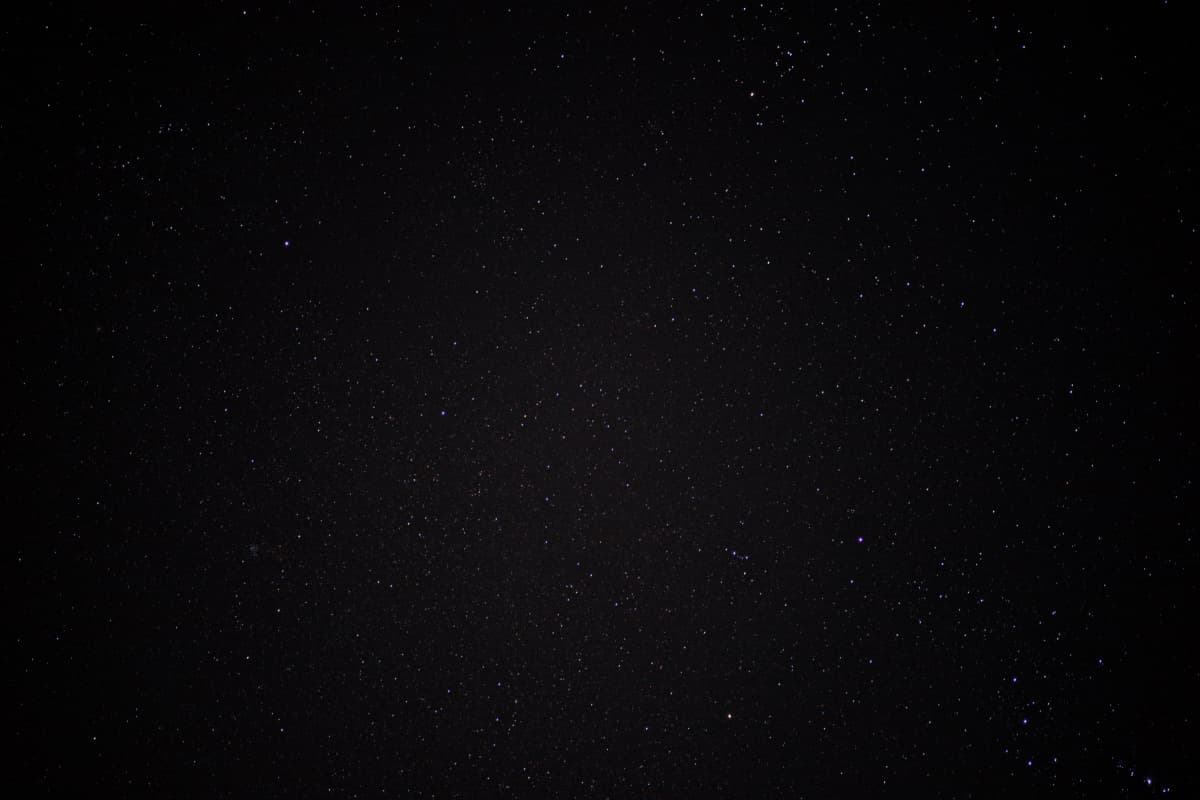
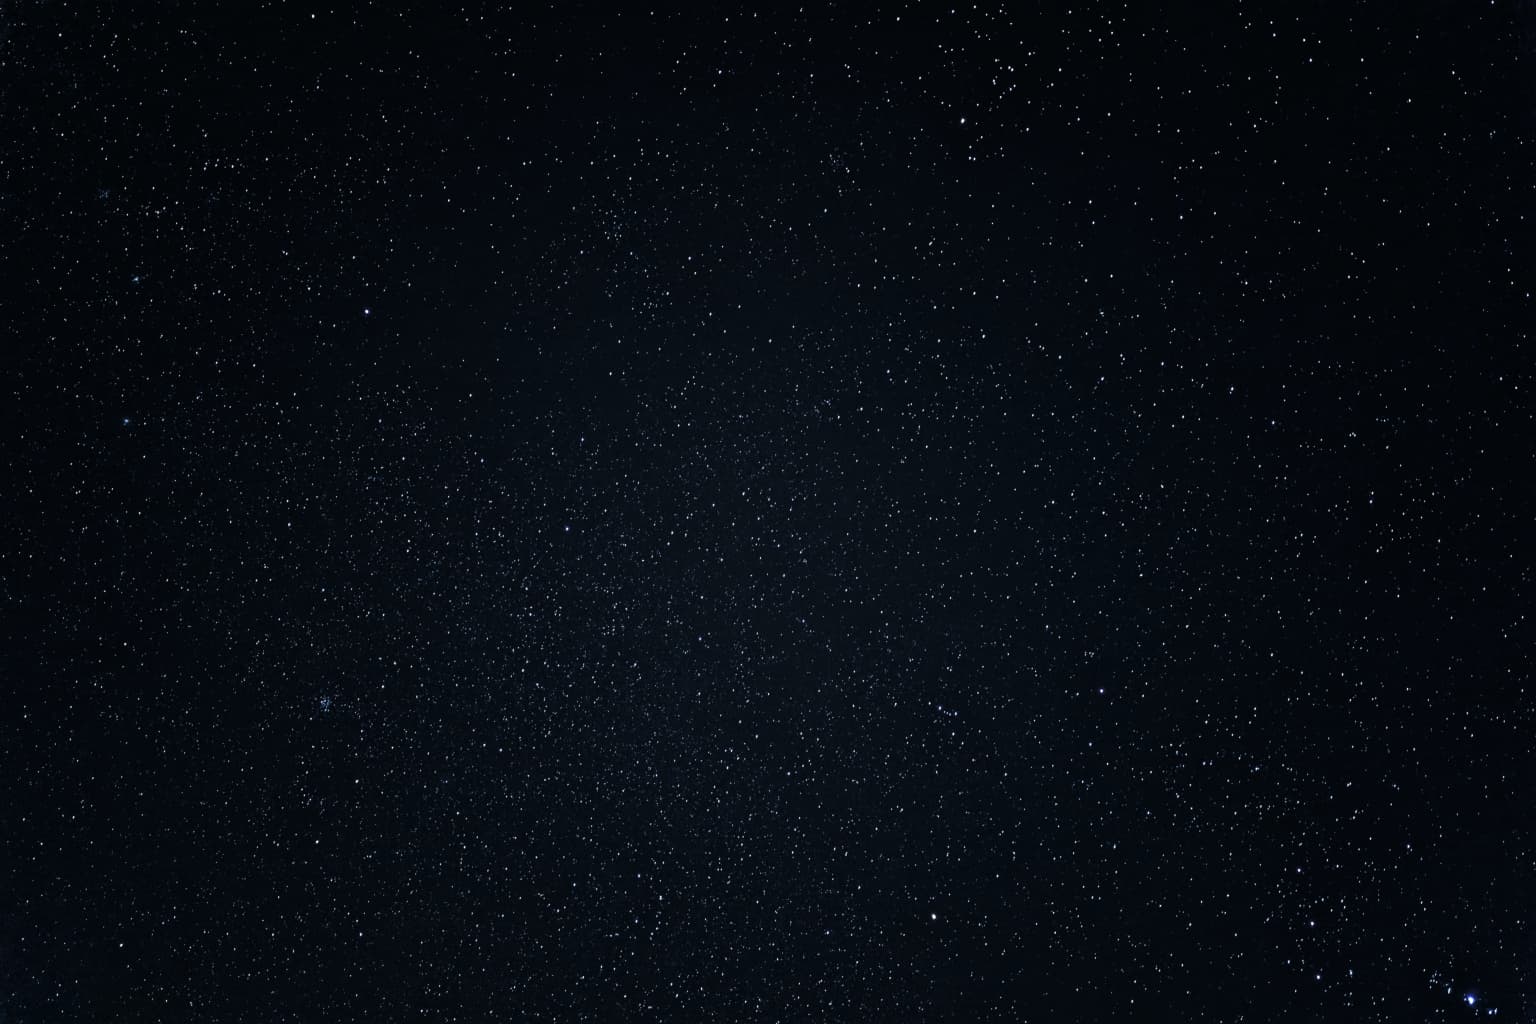
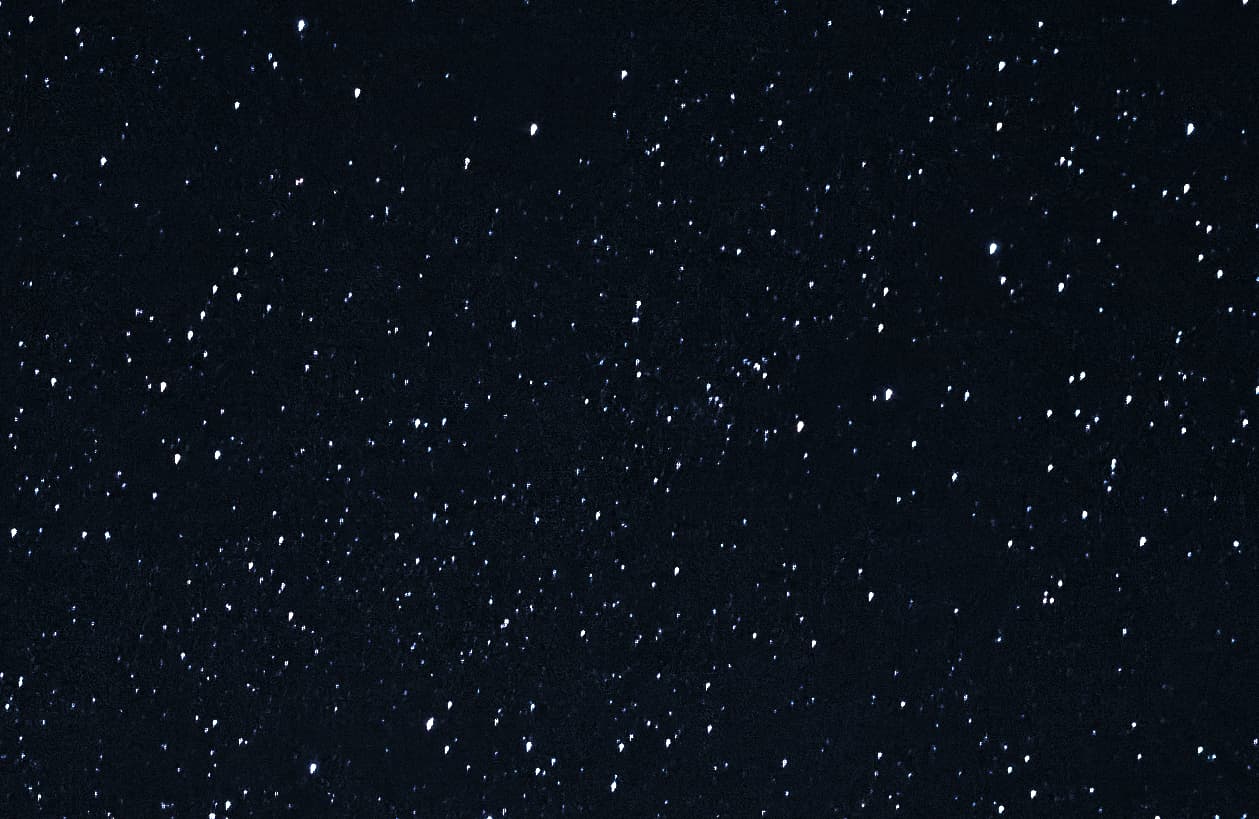
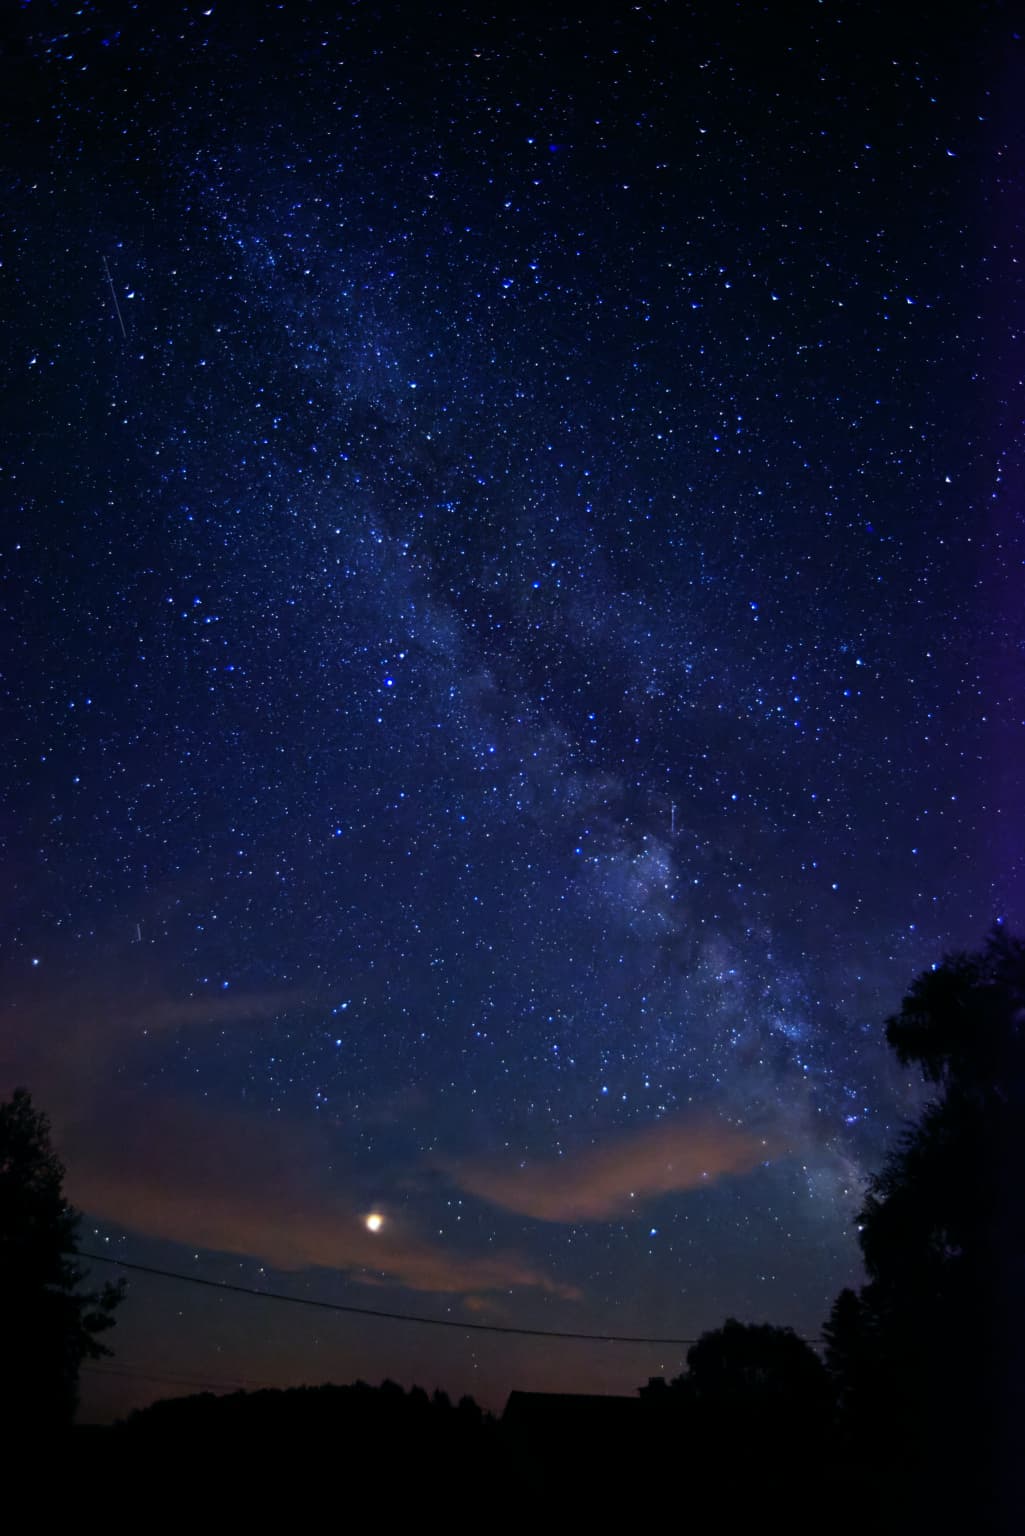
I shot many different exposures, most of which were useless. If I can find my notes, I’ll post what the shutter speed was for the following (best) image. Shot full screen, what I see does resemble what I saw with my eyes, but when viewed at 100%, I suspect I messed up in ways that I don’t yet understand. I thought my tripod was stable - now I’m not so sure. Strangely, I captured some color in some of the stars - not sure if that is “real” a fault.

By the way, PL5 tells me this is a one-year-old thread, and warns me about bumping it up to the top, but I didn’t feel like starting all over again with a new thread, when there is so much useful information already here.

…and I wonder how come I’m the only one actually posting a photo here?
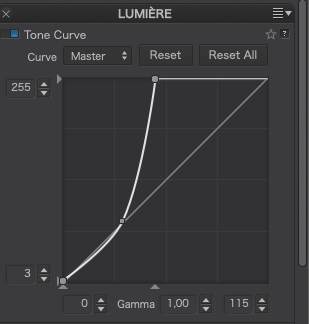
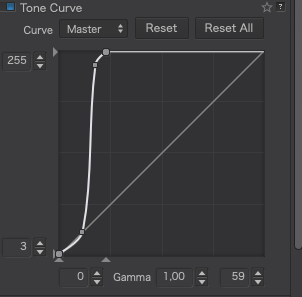
(In PL5, I can see the stars, and see them better at 100%. When I look at the jpg image below, I see a black rectangle. Not sure how to boost the brightness without losing detail in the stars…???)

L1003852 | 2021-12-10.dng (25.3 MB)
L1003852 | 2021-12-10.dng.dop (12.0 KB)

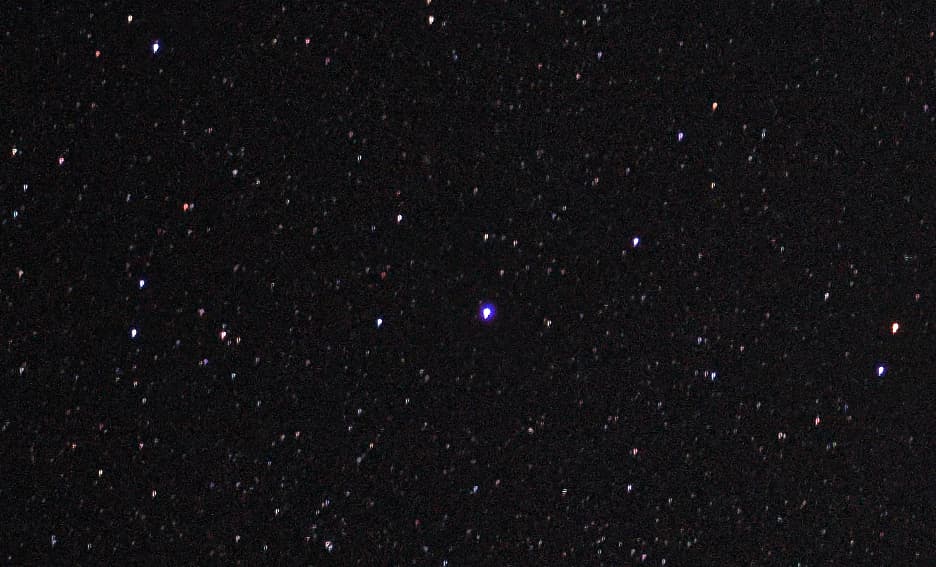
Quick screen capture at 100%

Well, apart from it being a picture of stars, somewhere, in the sky, the only thing I can say is that you followed the 500 rule and didn’t expose for too long because the stars have barely moved.

All I have done is to create a tone curve that I typically use for sky photography…

Capture d’écran 2021-12-16 à 23.42.32

And here is the JPEG export…

And here is a screenshot of the centre of a full size export at 100%, to ensure that we can see the full effect of the DeepPRIME NR…

And here is the DOP with me version second…

L1003852 | 2021-12-10.dng.dop (24,0 Ko)

Now, if only there had been a recognisable feature because, like you, I haven’t a clue which star is which.

It was around 10pm, and I didn’t recognize anything. Since North was “straight ahead”, my camera was aimed about 120 degrees (South East) and I elevated the camera what I wold estimate at 70 degrees. I didn’t think of it at the time, but the tripod has markings - I should have recorded them. The first few shots showed lines, not stars, and I eventually got this image.

I’m looking at your tone curve - I know “what” you did, and can now see it on my screen Your image is certainly far better, both at 18% image and 100%. Am I right that everything at the right of the tone curve has been boosted to 255 ? Gosh, there are so, so many stars visible with your setting, and invisible with my setting. The black sky is still black.

There was a little bit of wind that night - I suspect that at 100%, it shows the camera moved slightly.

I see from my Exif data that I bumped the ISO even higher than I remember, up to 1600. I thought I shot at f/2, with the Voigtlander wide open, as it’s such a good lens. I had wanted to stop it down, but between it and the ISO, the 8 second shutter speed was key. I would have preferred 5 seconds.

I will be back there in a few months, and try again. I’ve downloaded the app “Star Walk” to my phone. Hopefully this will help me locate a better known group of stars.

Last question - is a 50mm lens best for this, or would a wider angle lens be better?

@Joanna - is it possible for me to capture in-camera sky photos that resemble this:

Screen Shot 2021-12-17 at 07.25.27

It doesn’t look “real”, and my photo looks closer to what I could see with my eye, but when I sent my photo to a friend in India, he wrote back: "I was waiting for several moments for the image to load, also thinking that this doesn’t normally happen🤔. Then, it dawned on me that the little specks on the black indeed was the picture. Nice. "

The only tools I have to work with are ISO (already quite high, but I could boost it more) lens aperture (f/2 is the widest I’ve got) and shutter speed (limited in trying to avoid “lines” instead of “stars”).

I suppose I could buy a device that “tracks” the apparent movement of the stars, or more precisely eliminates the rotational effect of the Earth, but that’s way beyond what I’m after. Your photos looked better as I recall - how did you do it?

I need to read all that other material I read about earlier in this discussion, but haven’t had time to do so yet.

In a word, yes.

Not knowing a lot about astronomy, I would say that this is possibly multiple short exposure shots, “assembled” in special software as, I gather, this “amplifies” the light from those cloud-like areas, which I think are galaxies. Assembling multiple shots at short exposure is an alternative to buying a polar or equatorial mount.

But, I could be mistaken and bow to anyone who knows better. Helen has just said that the “clouds” could just be some of the vast regions of dust that exist “up there”.

Here is your image with a different tone curve…

Capture d’écran 2021-12-17 à 13.43.04

Essentially, the steeper the curve, the more points of light become visible, but you do have to be careful of high ISO noise, which starts to appear as coloured dots.

Here’s one of my images of the Milky Way with Mars visible…

EXIF data:

ISO - 1000
Aperture f/3.5
Shutter speed - 8 secs
Focal Length - 18 mm

The key is to keep the shutter speed under the 500 / focal length rule. Here, with a focal length of 18mm, that gives 500 / 18 ≈ 28secs; here I used 8 secs and almost completely avoided star movement.

The enemy of good star photos is light pollution. Here is a pollution map of the part of Florida that includes you…

Here is a map of the part of Brittany where I live…

The more towards blue, the less pollution, so you are going to have to travel a bit towards the west to get the same visibility without too much interference blocking the weaker stuff. Nonetheless, with a bit of judicious jiggery pokery in PL, you might just be able to minimise its effect.

The main thing you need to reproduce such an image is to locate the Milky Way, which isn’t always visible all year round, and use a focal length of around 20mm (prime is better than zoom if possible).

Basically, aim the camera roughly, take a shot, view it, move the camera, repeat until you get the right framing.

1 Like

Great shot @Joanna. Do you have a link to he (presumably) website where you got those light pollution charts?

Thanks

No problem. It’s https://darksitefinder.com

And then of course, I have to find the link on the site to a certain Kevin Palmer and his amazing photos.

This one makes my attempt at a multiple exposure shot of the moon look comparatively amateurish…

https://kevin-palmer.photoshelter.com/index/G0000ZoQDhvxOThM/I0000kL25s.7R1fY

Unfortunately, when we had such an eclipse in January 2019, I didn’t think of doing such a sequence and all I got was a couple of heavily cropped and thus slightly fuzzy shots of the fully eclipsed moon…

You could say Kevin’s image eclipsed mine :wink: :roll_eyes:

Serious astrophotography requires “median blending” in order to increase stars and decrease noise. If you want to see the colours of the stars, ordinary photo equipment won’t normally do, you’ll need a decent telescope, a cooled sensor and a lonely place wayyy out of where people live.

I looked up “median blending” and just got all sorts of stuff about noise reduction. Do you think it would do a better job than DeepPRIME, which I use on my star photos and get an amazing star-to-noise ratio. See my Milky Way shot.

If you want to know more on astrophotograhy with an ordinary DSLR camera, please take a look at the website of Roger Clark and the Youtube video’s of Nico Carver.

Roger has written a lot of articles, but please start with this one: https://clarkvision.com/articles/blue-lions-on-the-serengeti-and-natural-colors-of-the-night-sky/

See Nico Carver at Youtube: https://www.youtube.com/c/NebulaPhotos

Look at his video’s on Andromeda Galaxy with only a Camera, lens and a tripod:

A lot can be reached with standard camera equipment. For Milky Way a fast wide angle lens does the trick. Minor light pollution contributes heavily to good results - really depends where you live/ willing to go. A star tracker compensates earth rotation allowing to collect more light without having star trails but is of course additional investment.
A astro program (for example SIRIL) merges finally several images to a single one to increase signal noise ratio in the final image. With DXO I did only some final polishing - majority of the work needs to be done in the astro image software.

This image is based on 10 images (each 8s, f=1.8, Olympus m4/3 system, NO star tracker) aggregated.

1 Like