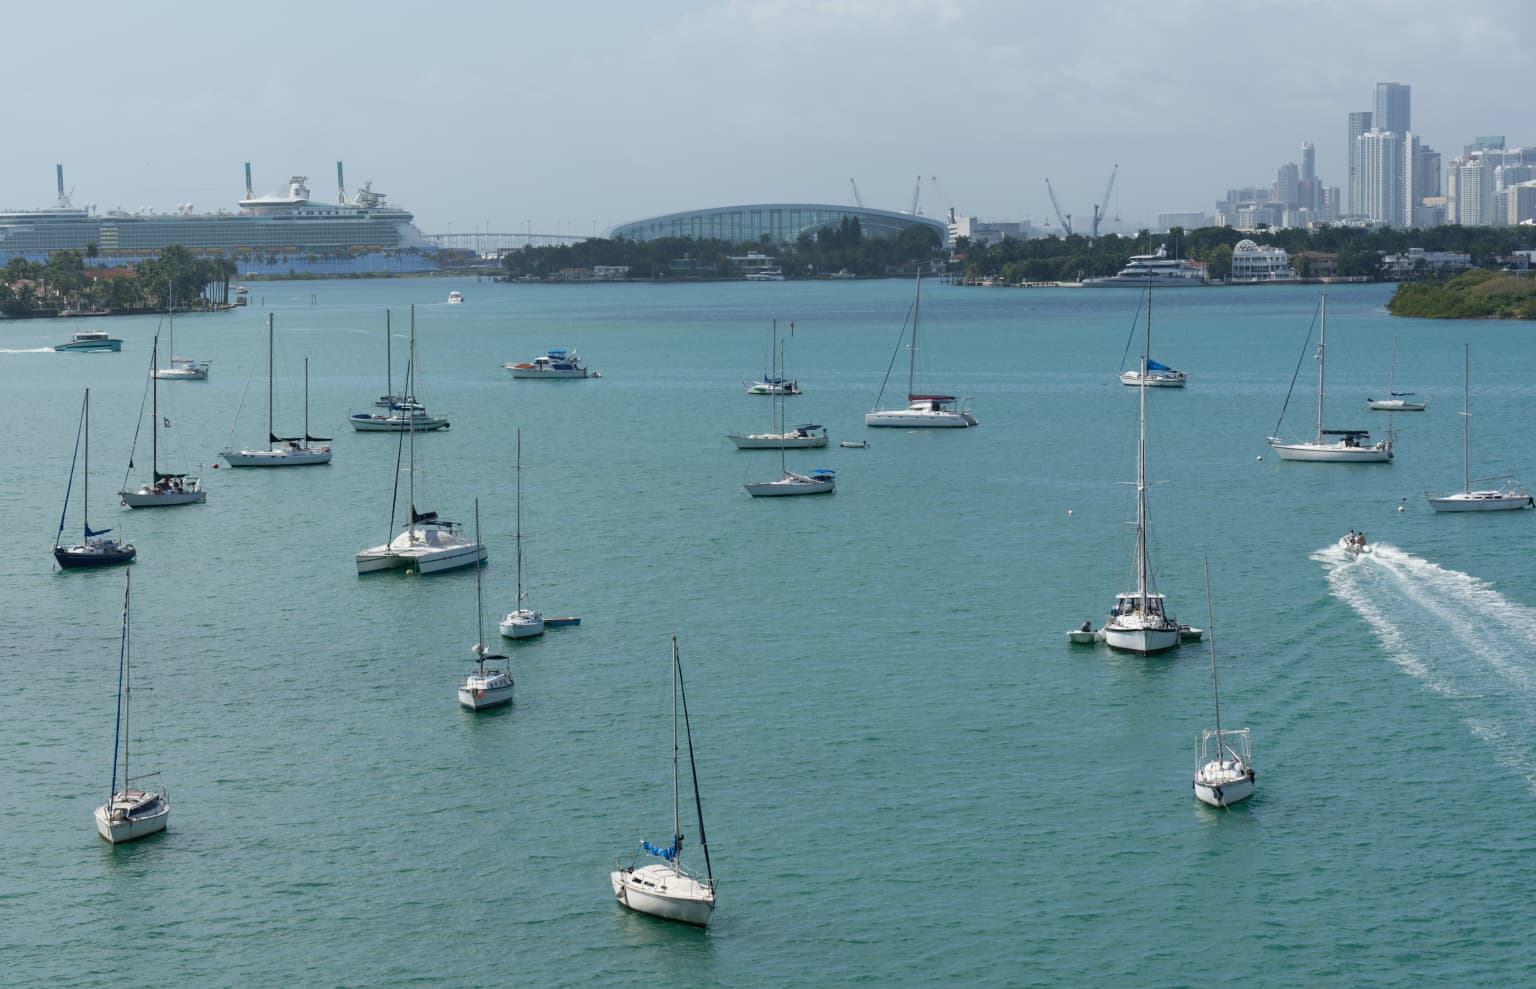
Hmmm. To my eye, this is a something or nothing shot. There really isn’t any composition and it is disquieting to the eye because, instead of being able to follow lines around the image, I find myself looking here and there with no sense of flow.
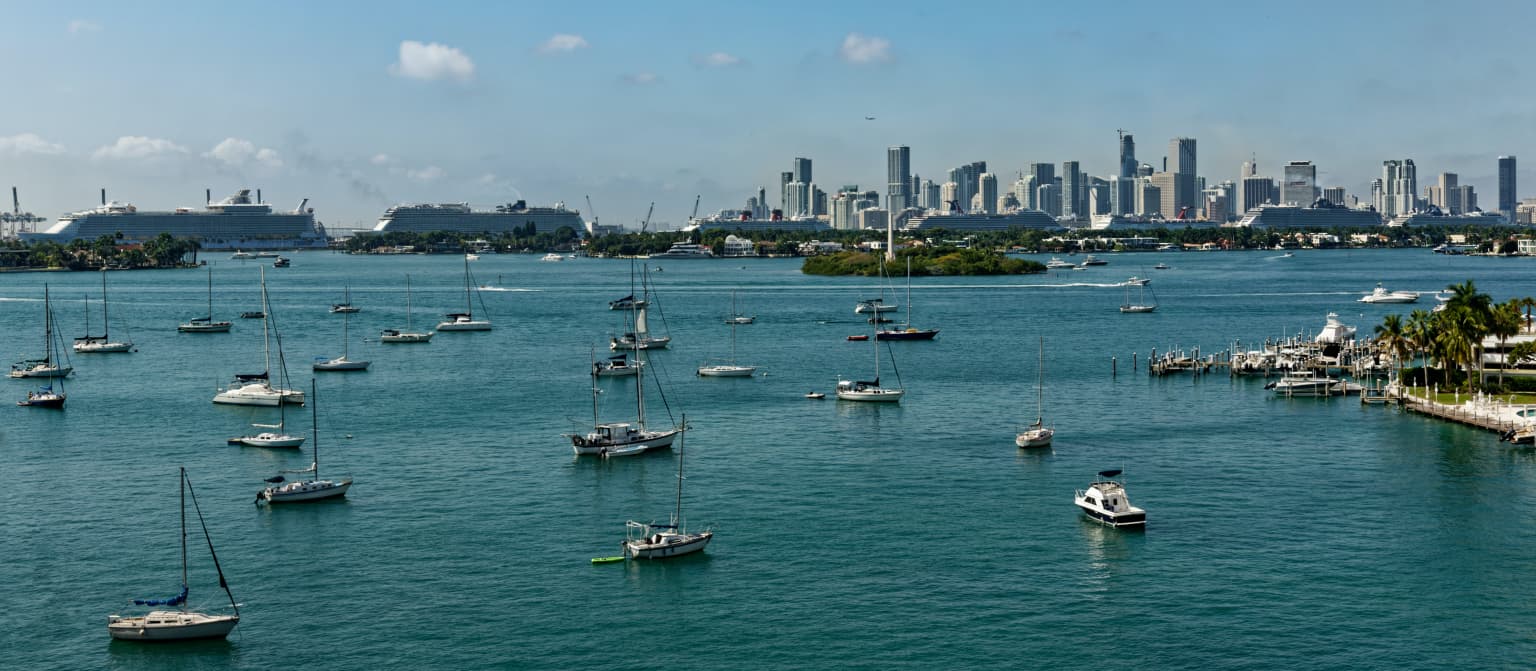
To start with, I took the full width of the image and changed the height to include some sky - essential to avoid that crowded/cropped feeling with the skyline…
I also got rid of ClearView Plus (much too aggressive) added a little fine contrast all over and some micro-contrast, with a Control Line, to the sky only to bring out the cloud detail and avoid the dreaded empty blue sky look.
But I would still call this a “snapshot” rather than a composed image
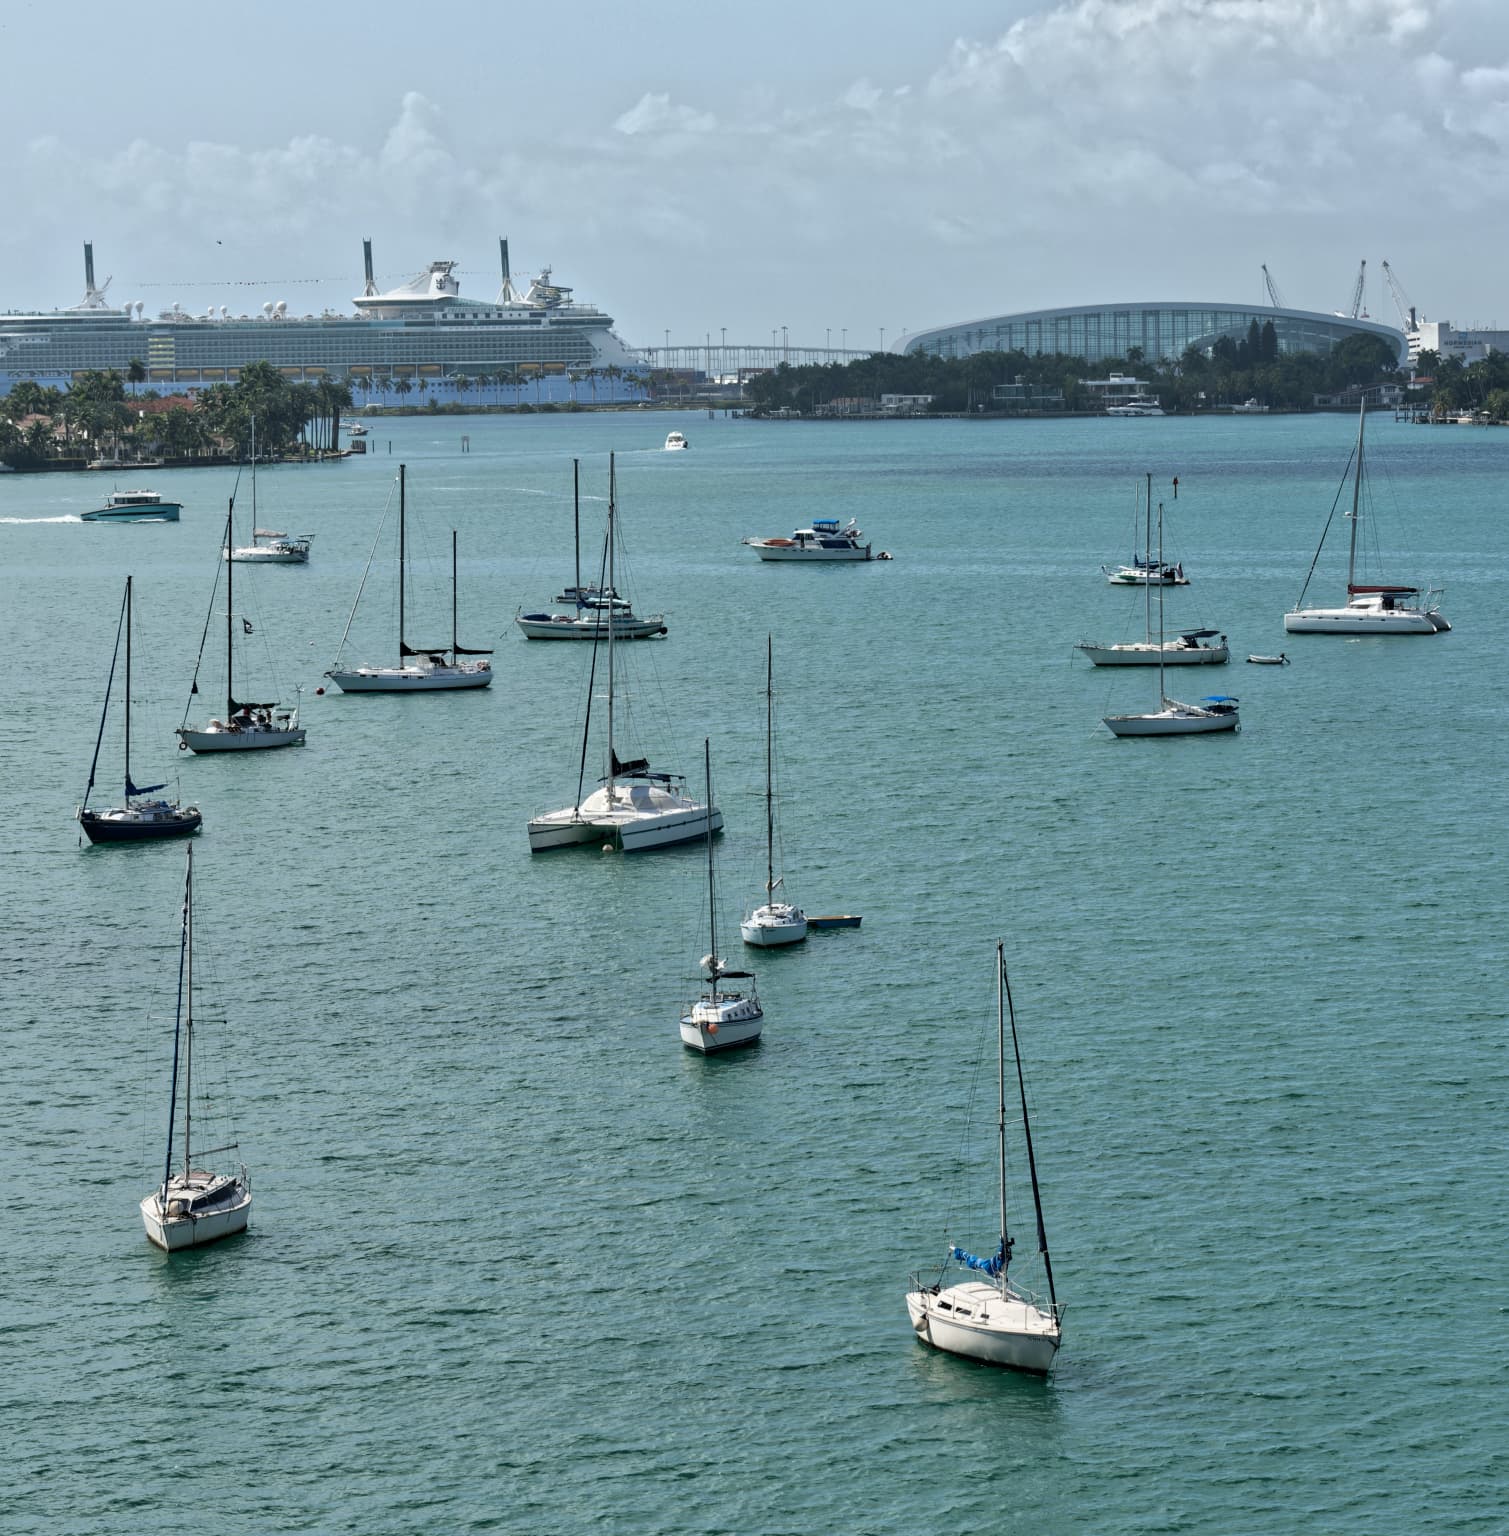
First, I attempted to create a better composition by placing the city line on the top third.
Then it was a matter of working with control lines to retrieve detail and tonality.
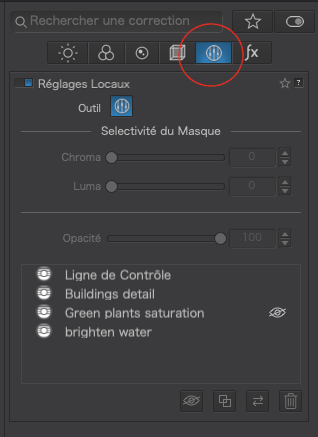
One thing you are not doing Mike, is to make use of the selectivity sliders on local adjustments to isolate the parts of the picture you want to change without affecting all of it. You’re going to have to look at the local adjustments I have made, turn on the masks, so that you can see which parts are selected (white) and which parts aren’t (black)
It is fundamentally important, especially for the Control Line and Control Point tools, that you turn on “Show masks”, position the pipettes and adjust the selectivity sliders before turning the masks off so that you can apply adjustments to the selected areas.
Let me know if you want further examples, possibly using this image, to see how to do this.
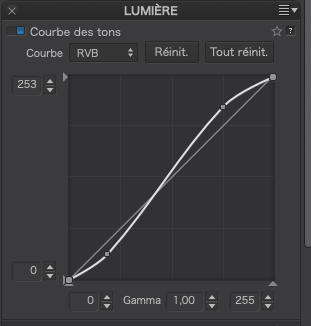
You’re right about the over-cooking but as for the matching of screenshot to original, I have no problem. Here is a screenshot of the Tone Curve as you made it…
Mike, it’s not you.
Sounds more like a Windows only problem at the moment. Could this be down to the font used in the watermark?
I have been turning on “show masks”, but I couldn’t find a way to adjust the “selectivity”. I will try to work with those sliders today, and learn this. If I get stuck, yet, one simple example might help, but knowing what you just wrote should be a huge clue as to what to do next.
I checked the files (MM2_0207, MM2_0217). Both show an S-curve, but come without virtual copy.
@mikemyers’ watermark is based on the font “Chalkduster”, which is standard with MacOS (referring to some research), but not on Windows. So I went for it – still does not enhance the pictures really.
Then, Windows does not allow the “|” character in the filename, hence it gets ‘automatically’ dropped / suppressed, when saving such a filename. – Maybe Mike will think about it, if he is concerned about compatibility.
Mike’s edit for the file MM"_0207 is way overcooked. To ‘override’ pollution / dust / mist with strong contrast and such rarely produces a convinceable output. But the scenery doesn’t don’t run away except when catching a full pier – inspite of pollution.
What I don’t understand at all, knowing that the second body does underexpose, he is still using it.
I agree - I wanted to show all the small boats that are cluttered around Biscayne Bay. The authorities are working on ways to control this, and I wanted a “before” shot. So yes, I captured a “snapshot”, then edited in PL5. As a photo, I like your cropped version better.
You need to get to the Local Adjustments palette and the easiest way is to temporarily show just that palette only by clicking here at the top of the sidebar…
After you have done, you go back to the full sidebar but clicking not he same button again.
About six, maybe seven, years ago, when I spent time getting PhotoMechanic set up to be most effective, the fellow who made the video encouraged using the vertical bar " | " as a separator so all the files line up in an organized way. All my photos on all my computers are stored using this vertical bar. I don’t expect to change now - I have no idea why Windows doesn’t allow the use of this character in a file name. I can probably find that original video, and post a link here - I know I saved it, but this was many computers ago.
Until now, when I selected a font on one computer, then moved a file to another computer, if it didn’t have that font, it substituted a basic font in its place.
Actually, it’s “0217”, and I haven’t finished editing it.
I looked up how to adjust the exposure setting, and found a place where I can do this. Before doing anything else, I took a series of photos around my home, then walking around outside, and most of the time, the exposures were correct. When I went for my walk, shooting “into” the sun, the exposures were about one stop underexposed. So, my plan is to change the calibration to +1 and try again. I also want to try center-weighted, and spot metering. Of course I am still using it - if I go back to the shop that did the repair, I need to understand what’s going on, and for me, this means using it.
Just proves I’m no “master”. Add that to my long list of things I’m not.
Which doesn’t mean I can’t improve, which is part of what keeps me going.
I agree with what you wrote, and I’ve given up on any images like this until when/if I can once again see a crisp, clear, view of the city. There aren’t enough band-aids to fix stuff like this, without it still looking awful.
About my exposure issue on D750 #2. No matter what I do, the images come out under-exposed. I had a very long talk with a tech person at Nikon. He explained a way for me to save ALL my settings to a file on my memory card, so I’ve done that twice, on two separate cards, and copied one to my computer for safe keeping.
I spoke the the fellow who did the repair, and he suggested pressing the two “green buttons” for a complete reset. I didn’t want to do that until after I had saved my settings, but now that I’ve done so, I did the reset → same result, underexposed. There must be an internal calibration setting that I don’t have access to. He told me to bring the camera back tomorrow morning.
Plan “B” is to leave the camera set to +1.3 in exposure comp, but I’d rather not do that. There is also a way to dial in +1.3 in the camera, but once I do that, the exposure comp button doesn’t work as it should, according to the manual.
I still have one Windows computer, my laptop from many years ago. I guess I could always install PL3 on it, and see what it’s like… but I’ve forgotten almost everything about Windows. I’ve been busy forgetting that stuff for years now - can’t blame it on my age.
Just saw your mail – yes, you can set the cam with the ± button ( e.g. to + 1.0 ) and the exposure is shifted accordingly. Tried it myself. One can adjust from + 5.0 to - 5.0, so there should be enough wiggle room for other settings. – At least, it’s a viable though temporary solution.
Myself I hardly use this button, cause I always forget to bring it back.
– Instead I adjust exposure compensation ‘on the fly’ (with the back wheel → user defined setting).
I will be at the camera repair shop tomorrow morning, early. There must be some way to re-calibrate the exposure setting, but maybe not in a way that I have access to.
It also says in the end The dirt getting into the camera and obstructing the light meter may skew the exposure readings and can be easily diagnosed with the above procedure.
I will be going to the camera repair shop later this morning. I printed that part of the discussion. It sounds like a very plausible explanation of what is wrong. Thank you.
That article is way over my ability to understand. If I was a camera designer, or technician, maybe it would make sense to me.
The camera fell, and the front end of the camera got “ripped off”, then replaced. Dirt getting into the camera sounds very plausible. I’ll see what the technician says about it.