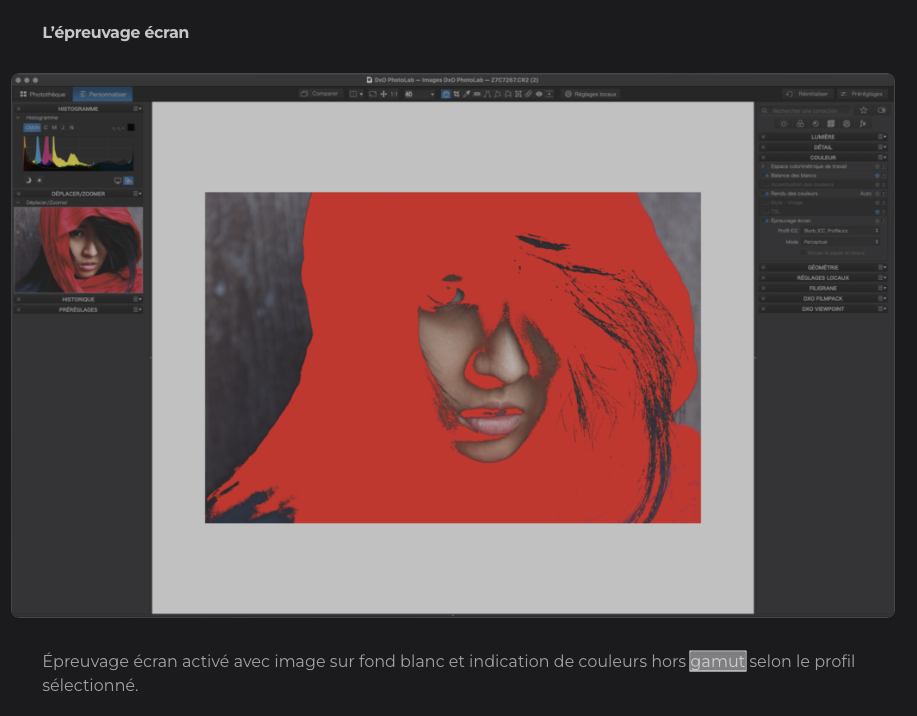
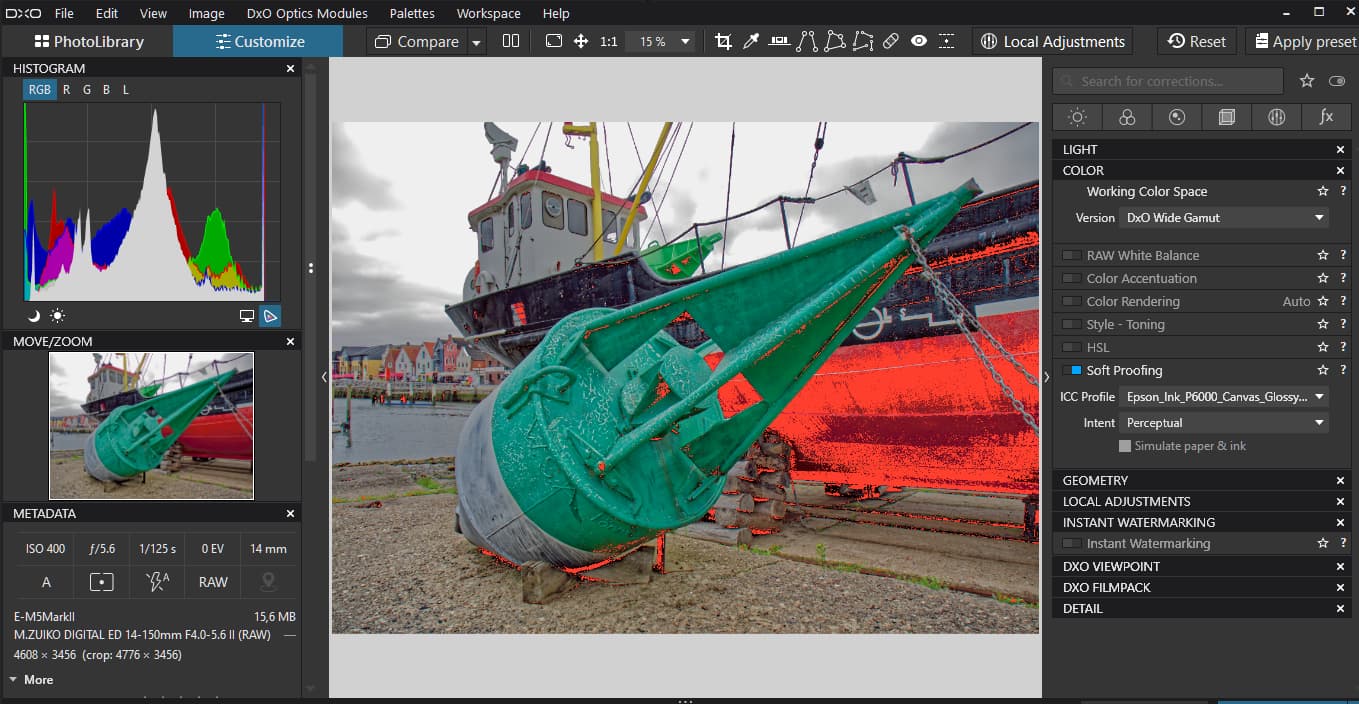
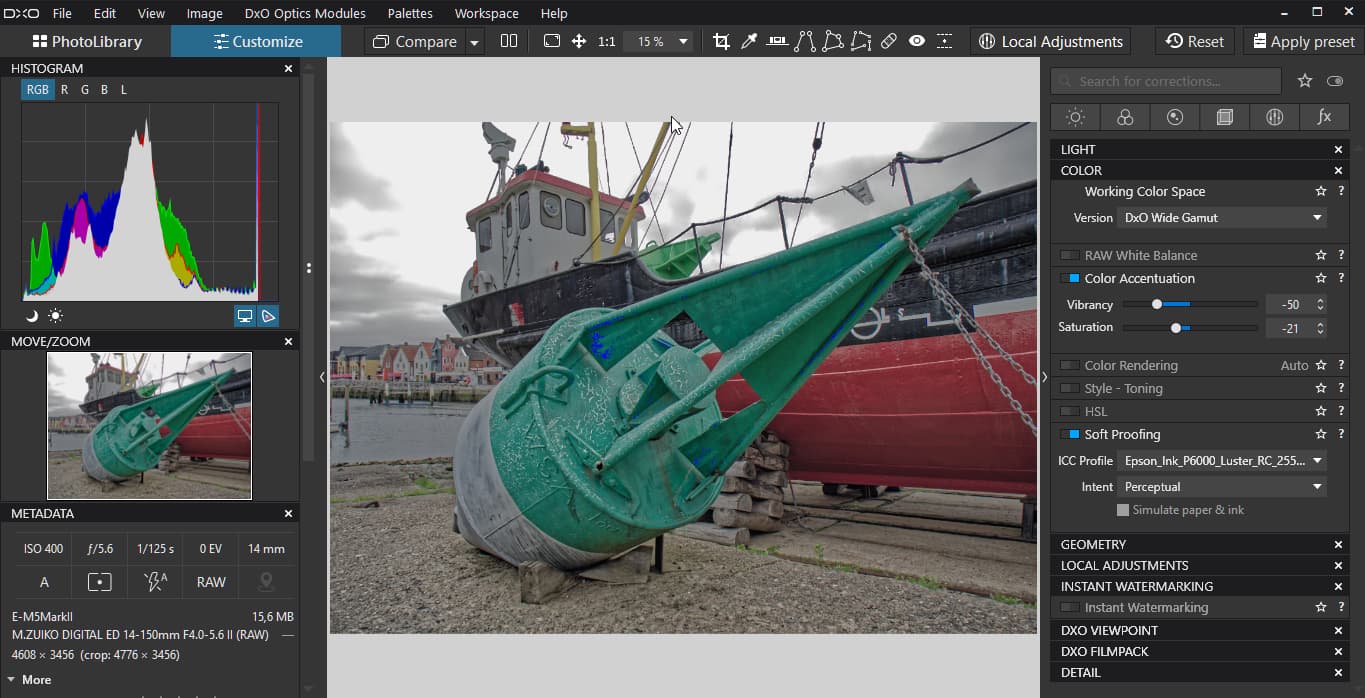
I occasionally process photographs that have saturated colours that, once processed and exported to a JPG with a SRGB colour space, have gamut warnings. This mostly happens with bright yellows and greens. I have discovered that using the soft proofing feature in PL6 highlights the worst these but there are frequently warnings on an exported JPG that do not show on the soft proof. So, if I want to eliminate them, the only way I know is an iterative process to go through to change the white balance or more frequently the darker end of the blue tone curve before exporting them again until I get an image I am happy with. It has always been an issue for me with previous versions of PL too. Does anyone have a better process?
You don’t have to eliminate all the warnings. I believe from my own experience that as with the highlight and shadow clipping warnings what’s highlighted includes what’s at the edges of the range of what can be rendered, not just what’s outside the range.
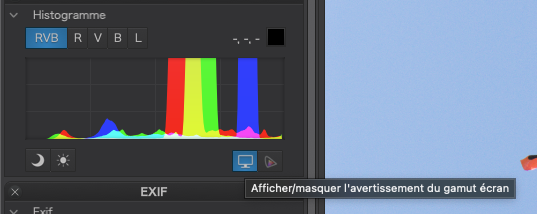
Most peculiar. The left “screen” icon is not active…
The tooltip says it is for showing screen gamut warnings and yet there is another button…
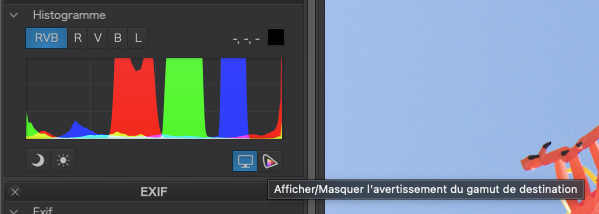
… which claims to show “destination” warnings.
So, is a screen not a “destination”?
I’m totally confused as to what does what, with kind folks here making educated guesses, but nothing explicit from DxO. The user guide talks about doing soft proofing from the PhotoLibrary tab, not the editing tab. Thus it is impossible to see any effect on the thumbnails, which are all we can see in the PhotoLibrary tab.
Please, DxO, can we have clear explanations about what, why, when and where this whole thing works, that is clearer than the user guide, which is confusing.
Be aware that the user guide has many errors. As I recall, the destination warning indicator is for soft proofing. The relationship with the screen warning does need to be clarified. As I soft proof for sRGB and my screen is sRGB, the two indicators show the same thing.
Sorry I can’t write more right now - I’m very far away from my computer. Seven time zones away.
Greg, you are far from home. Hawaii is only six time zones from you to the West, and Rome is only six time zones from you to the east. Have a safe trip wherever you are.
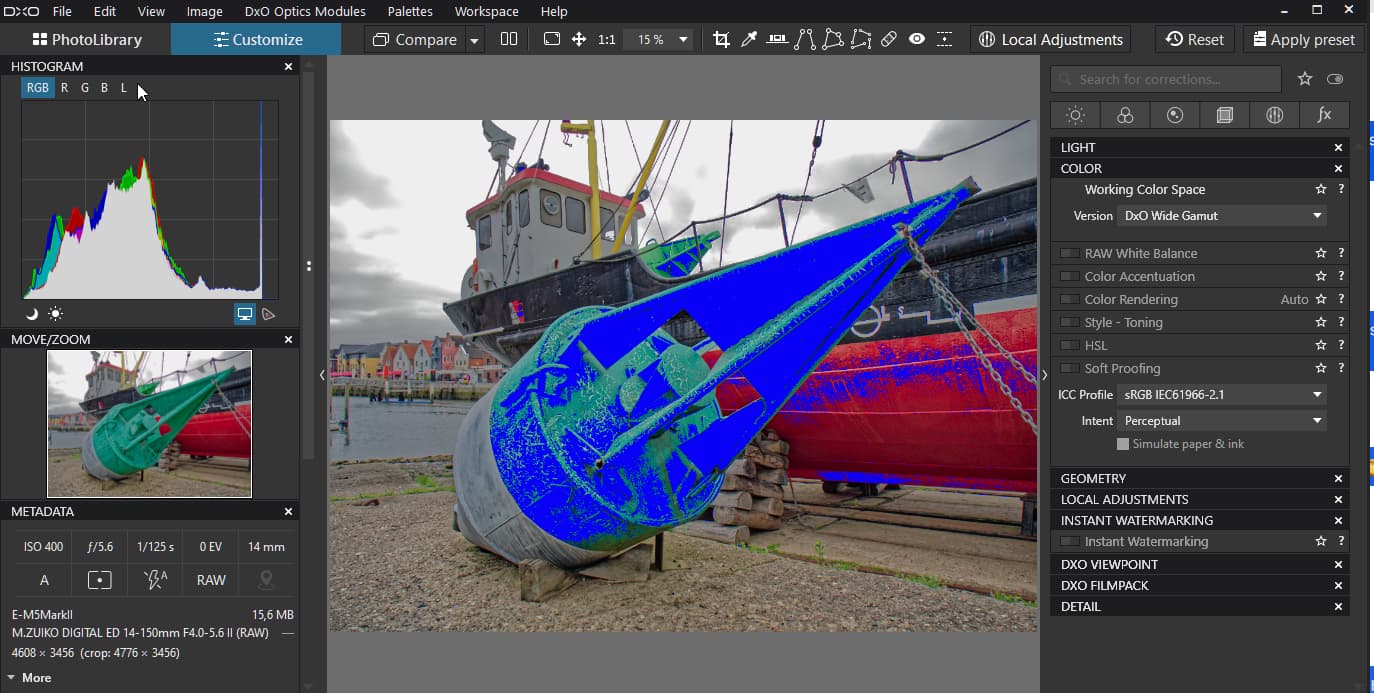
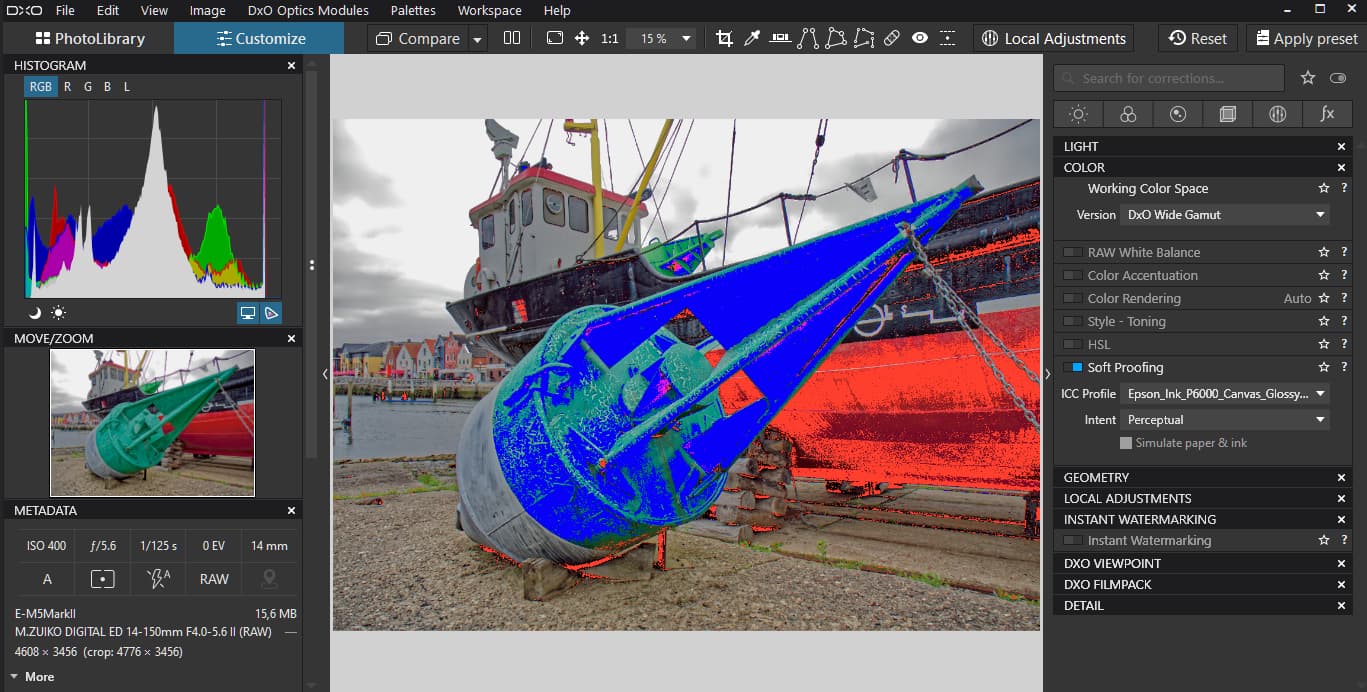
The left icon displays everything that cannot be displayed by your monitor, any colors that are out of gamut for your display. You do not have to make any corrections to those colors, it is just a warning for you to consider that these colors that you see are not necessarily the same which a different person might see if they had a better screen than you have.
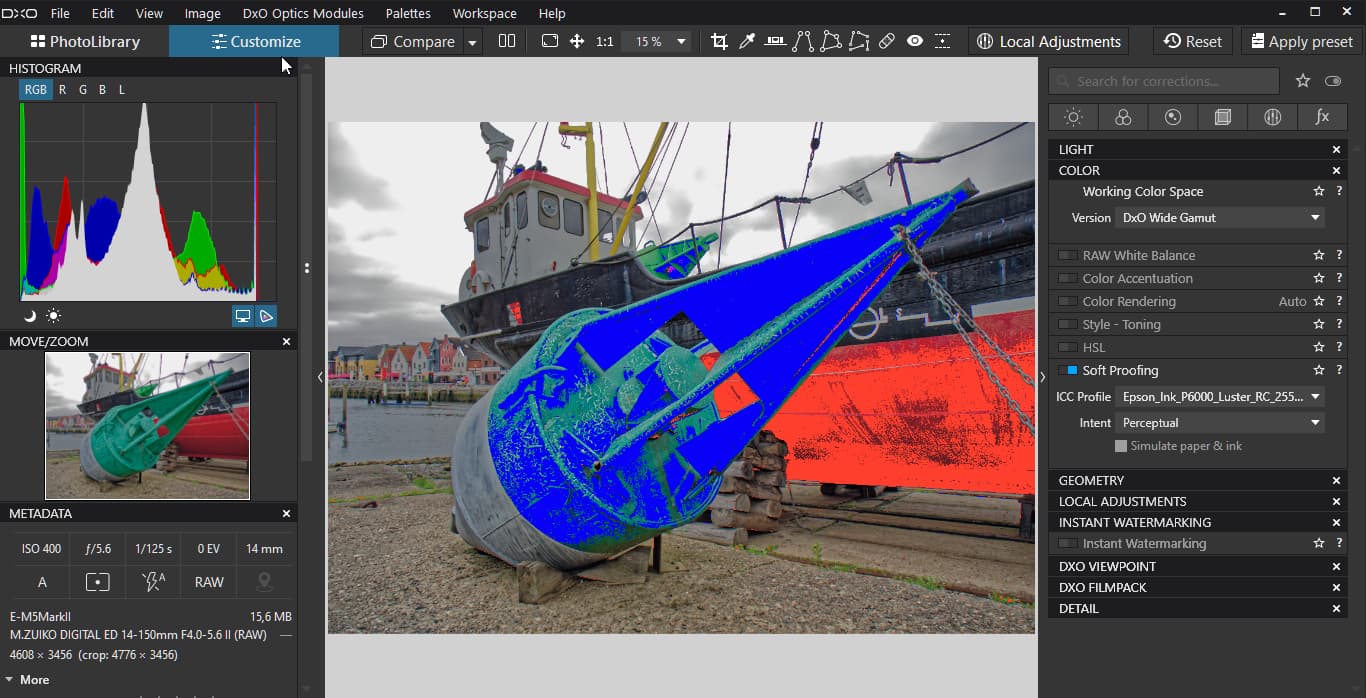
The right icon displays everything that cannot be correctly displayed or printed on a defined output profile or paper. That defined output can have both, either a smaller or a bigger gamut than your monitor. That is for softproofing, you can verify which colors will look exactly like those on your monitor and which ones might look a bit different.
In both cases, it does not necessarily mean that you have to apply any corrections. The output might still look fine. It just is an information to you that in those colors where the warnings are active, you are basically editing a bit blindly.