One eh two, remark (ad on) on your post.
1 placing the boxes is pinning a black and a white reference , (edit: or midtone, like a face.) on the global luminationrange the processed DR. (which most call exposurelevel, shown by the RGBL histogram.)
If you place two boxes and use exposure compensation tool or one of the selective tone sliders in brighten or darken more you wil see that smartlighting is trying to keep the lumination level of the boxes on same level as posible. It alters the tonality curve around those points. That’s why i call them “pins”. They are the same as the curvetone pins in the curvetool (sort off)
So pin first then adjust exposure compensation or selective tone sliders wile moving the boxes a bit around to keep a natural look as possible, use contrast and other tools to fine tune the hole look. Lots of small coreections are much better then one big one.
2 i use idyn for raw to let the camera max -1 stop underexpose on bright high dynamic scenes which i can counter correct with evc on the camera if i need or like.
As we all know blown white is gone and deep dark shadow is recoverable with the help of deepprime.
Which you need to turn of is shadow compensation of the lens that’s burned in the rawfile which dxo pl (optic module) does again which cause over corrected corners, inverted vignetting so to speak.
(Thanks for your post.)
(I cleaned the writing a bit to a point it’s better and more detailed explained.)
yes thanks to both of you for the great posts and help. I was able to find the boxes and have the feeling that they’re very helpful when actually editing a photo. It gives you much more control than global smart lighting I like this.
Plus, I saw that I have several compensation settings active on my Pentax. I always thought this would only affect the camera-internal JPG processing and thought this would be nice when shooting Raw+. Anyway. I#ll do some tests with and without these active to see how PL behaves.
Joanna! Thank you! That is so helpful! I figured out some time ago that it was better to set Picture Control to Neutral on my D750 but have always struggled a bit with controlling highlights and shadow since I shoot a lot into the sun and my work tends to be in the foreground. Dropping two Spot Weight rectangles never occurred to me! I always thought I’d have to choose between one on the sun or one on the shadow and then I had to struggle with gradated masks to rescue the opposite areas. I just tested placing two and I can see already that it’s going to make my life a lot easier. I owe you one!
I found out with panasonic’s version of anti vignetting which i turned on for my jpeg plus raw setup. Shooting flying bird against a bright blue sky. With in this case a lumix 14-140mm f3.5-5.6.
I saw the corners to be over brightend. First i was thinking the optical module was over adjusting but after some web browsing and googling i found out that the shadow compensation is not only applied on the ooc-jpeg but also “burned in” in the raw file data. In the exif you can see the flag on or off so it would be possible for dxo to acknowles the setting and react acordingly. But for now i turned it off and let dxo take care of the problem also for the ooc-jpeg.
If you use an other brand please do some test. And /or google for info.
I haven’t had a chance to test it yet but I can say that I noticed the difference when I moved from Nikon Capture NX2 to DXO. Capture NX2 allowed control over the RAW in a Camera settings tab and I could adjust vignetting control as I could on the camera but DXO seemed to add a layer of control rather than give you the original control. I was never sure what was going on though, only that the right result was more difficult to achieve.
Hi Andrew. I just noticed this comment and wanted to clarify something, in case you didn’t already know.
The Picture Control only affects a jpeg file (if you shoot jpeg) or the embedded jpeg that you see on the back of the camera. It does nothing at all to the RAW image.
In fact, the “Neutral” preset is not strictly neutral as it contains some sharpening. Possibly me being a bit OCD but I saved a custom preset, based on that, but with no sharpening.
One thing that does affect the RAW image on Nikons is the Active D-Lighting, which I also disable, but, for now, I do leave the Vignette control on Normal and haven’t, so far, notice any problem with PL’s modules. I will have to do some tests.
Addenda
I just ran a series of tests on my D810 with the Vignetting control set to Off, Low, Normal and High.
If anything, when viewing the thumbnails in PL4, there seems to be a tiny bit too much correction, but it is the same on all camera settings. 80% seems to work better when viewing the thumbnails but, to be honest, I’ve never noticed any over or under-correction in the main image window with the appropriate DxO lens module applied.
Every raw is a container with processed sensor readout data.
Some brands only adds correction data of the camera + lens combination and focallength and aperture characteristics to the exif file which a rawdeveloper can read and use for it’s own calculations to correct.
Panasonic chooses to embed some corrections, applied on the sensordata before creating a rawfile.
Fairly sure shadowcompensation, vignettingcorrection, and maybe diffraction compensation. The Airydisks thing.
Idyn, intelligent dynamic controle, is for jpeg contrast tonality ánd exposure effective.
For rawfile only -1/3 -2/3 and -1 stop exposure correction as influence.
Ires, using silkypix that reads Ires settings stored in the exif and applies that it self on the rawfile same as camerastyle like vivid or custom.
DxO can’t read those settings and does nothing with the exif info.(or won’t delibralatly)
I conclude this after some reading, every brand does it’s own rules and actions on exif and rawfiledata and every developer software does it’s own actions on those data.
In your case nikon and capture nx2 are as silkypix and panasonic/fuij, buddy’s.
So the info distrubution in the rawfile is more detailed.
Only way to get facts and clear view on what and when and how the effect is of dxo on which rawfile is testing , shoot with and without settings active in the same scene.
Then and only then you can determine which settings are idle in raw and which are effective in exif reading or even imagedata.(non reversable like shadow compensation)
The problem a lot of people seem to have is that they think the camera manufacturer knows best and, possibly because of the complexity of the manufacturers’ manuals, they really don’t understand what does what, so leave everything at factory settings and then moan about processing software not giving good results.
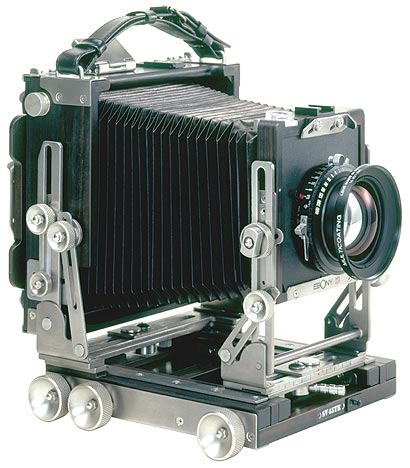
Here is a picture of one of my cameras…
The manual might contain a detailed list of which knob does what but, as to setting the exposure, avoiding vignetting, adjusting for high or low dynamic range, etc, you’re on your own. If you don’t know how to take an exposure reading for a given light condition and work these things out, you are not going to get the best out of it.
On the other hand, when you’ve set up the camera as you want it, you then have to learn how to process the film and make a print from the negative in a way that makes best use of the tonal range you exposed for. All of which will give you the most amazing images.
Of course, you could also set the aperture to f/64, the speed to 1/25 second, use 100 ISO film and get an average shot on a sunny day.
It seems to me that a lot of people use quite sophisticated digital cameras in a similar manner to my last example. Just shoot on automatic and hope it is “fixable” in post-processing.
Bottom line - get to know your camera and what it is, and is not, capable of. Find out if a particular setting affects the way it will be processed. The camera cannot anticipate every possibility or know how you are going to process the resultant files.
to understand limits and sweetspots of a certain camera type you need to understand the test results in diffraction : knowing from which F-number the sliding slope goes in to a steep decent of the used lenses, (aperture settings) fall off of light / vignetting (aperture and focal lenght.)/flaring AC issues.
it’s iso threshold in DR and noise. it’s Imagestabilisation quality (amount of stops) and behaviour on tripod.
then you can proceed to set limits by testing and processing in, say DxOPL, to decide when it’s gone too much down the hill for your standards. then make a mental note of those limits set camera aid settings accordingly to those findings.
i raise my iso limit this year from 3200iso to 6400iso because of DeepPrime.
my diffraction “fair” is gone down from f8 to f11 and if needed f16. (m43)
Why? details preservation is quite good in dxo and microcontrast and lens sharpening can cope with the blur that airialdisk cause.
because 99% of my output of camera use is raw and 1% is ooc-jpeg i turned off any aid settings in camera which can have a conflict in dxo. So the ooc-jpegs need some extra care but not much.
testing and viewing is always a good way to learn something. create a case think of what you expect and execute. review outcome to decide if the theory sticks.
Yes, I do know this. I’m not a professional photographer and have no formal training so I depend very much on how the result of a shot is displayed to me on a digital camera and I always have it set to show blown highlights. At some stage I figured out that having the camera set on “Landscape” or whatever masked what I was getting in the RAW so I set it to Flat or Neutral. Later I did the same to active D-Lighting. I don’t mind the little bit of sharpening because the ultrawide I use mostly has such a huge depth of field that I’m seldom misled.
I’ve never been completely satisfied with how PL handles vignetting and I’m going to see if changing camera settings makes an improvement.
What I’m really grateful to you for is now knowing I can place two spot weighting rectangles like that! I had no idea! I always thought I had to choose between placing it on highlights or shadows.
OK. My challenge to you is to get to know the capabilities of your camera well enough that you don’t need to look at the back of the camera to see if the shot was OK or not
After all, in the days of film, you had to learn how to get it right because you would have to wait to finish the roll of film and send it to a lab before you got to see the results.
Since the “blinkies” are related to the jpeg preview settings, taking your guidance from them means you are wasting dynamic range as the RAW file can manage more top-end range without blowing. You just need to take the time to make a few test shots to determine the upper limit and then you can shoot with more confidence that the RAW is not blown and contains more highlight detail than the preview would indicate.
Actually, to be strictly true, diffraction depends on the size of the aperture in relation to the focal length from the aperture to the image, whether there is a lens or not and is related to the circle of confusion.
Whether it is relevant to an image or not depends on the enlargement factor and viewing distance from the printed image.
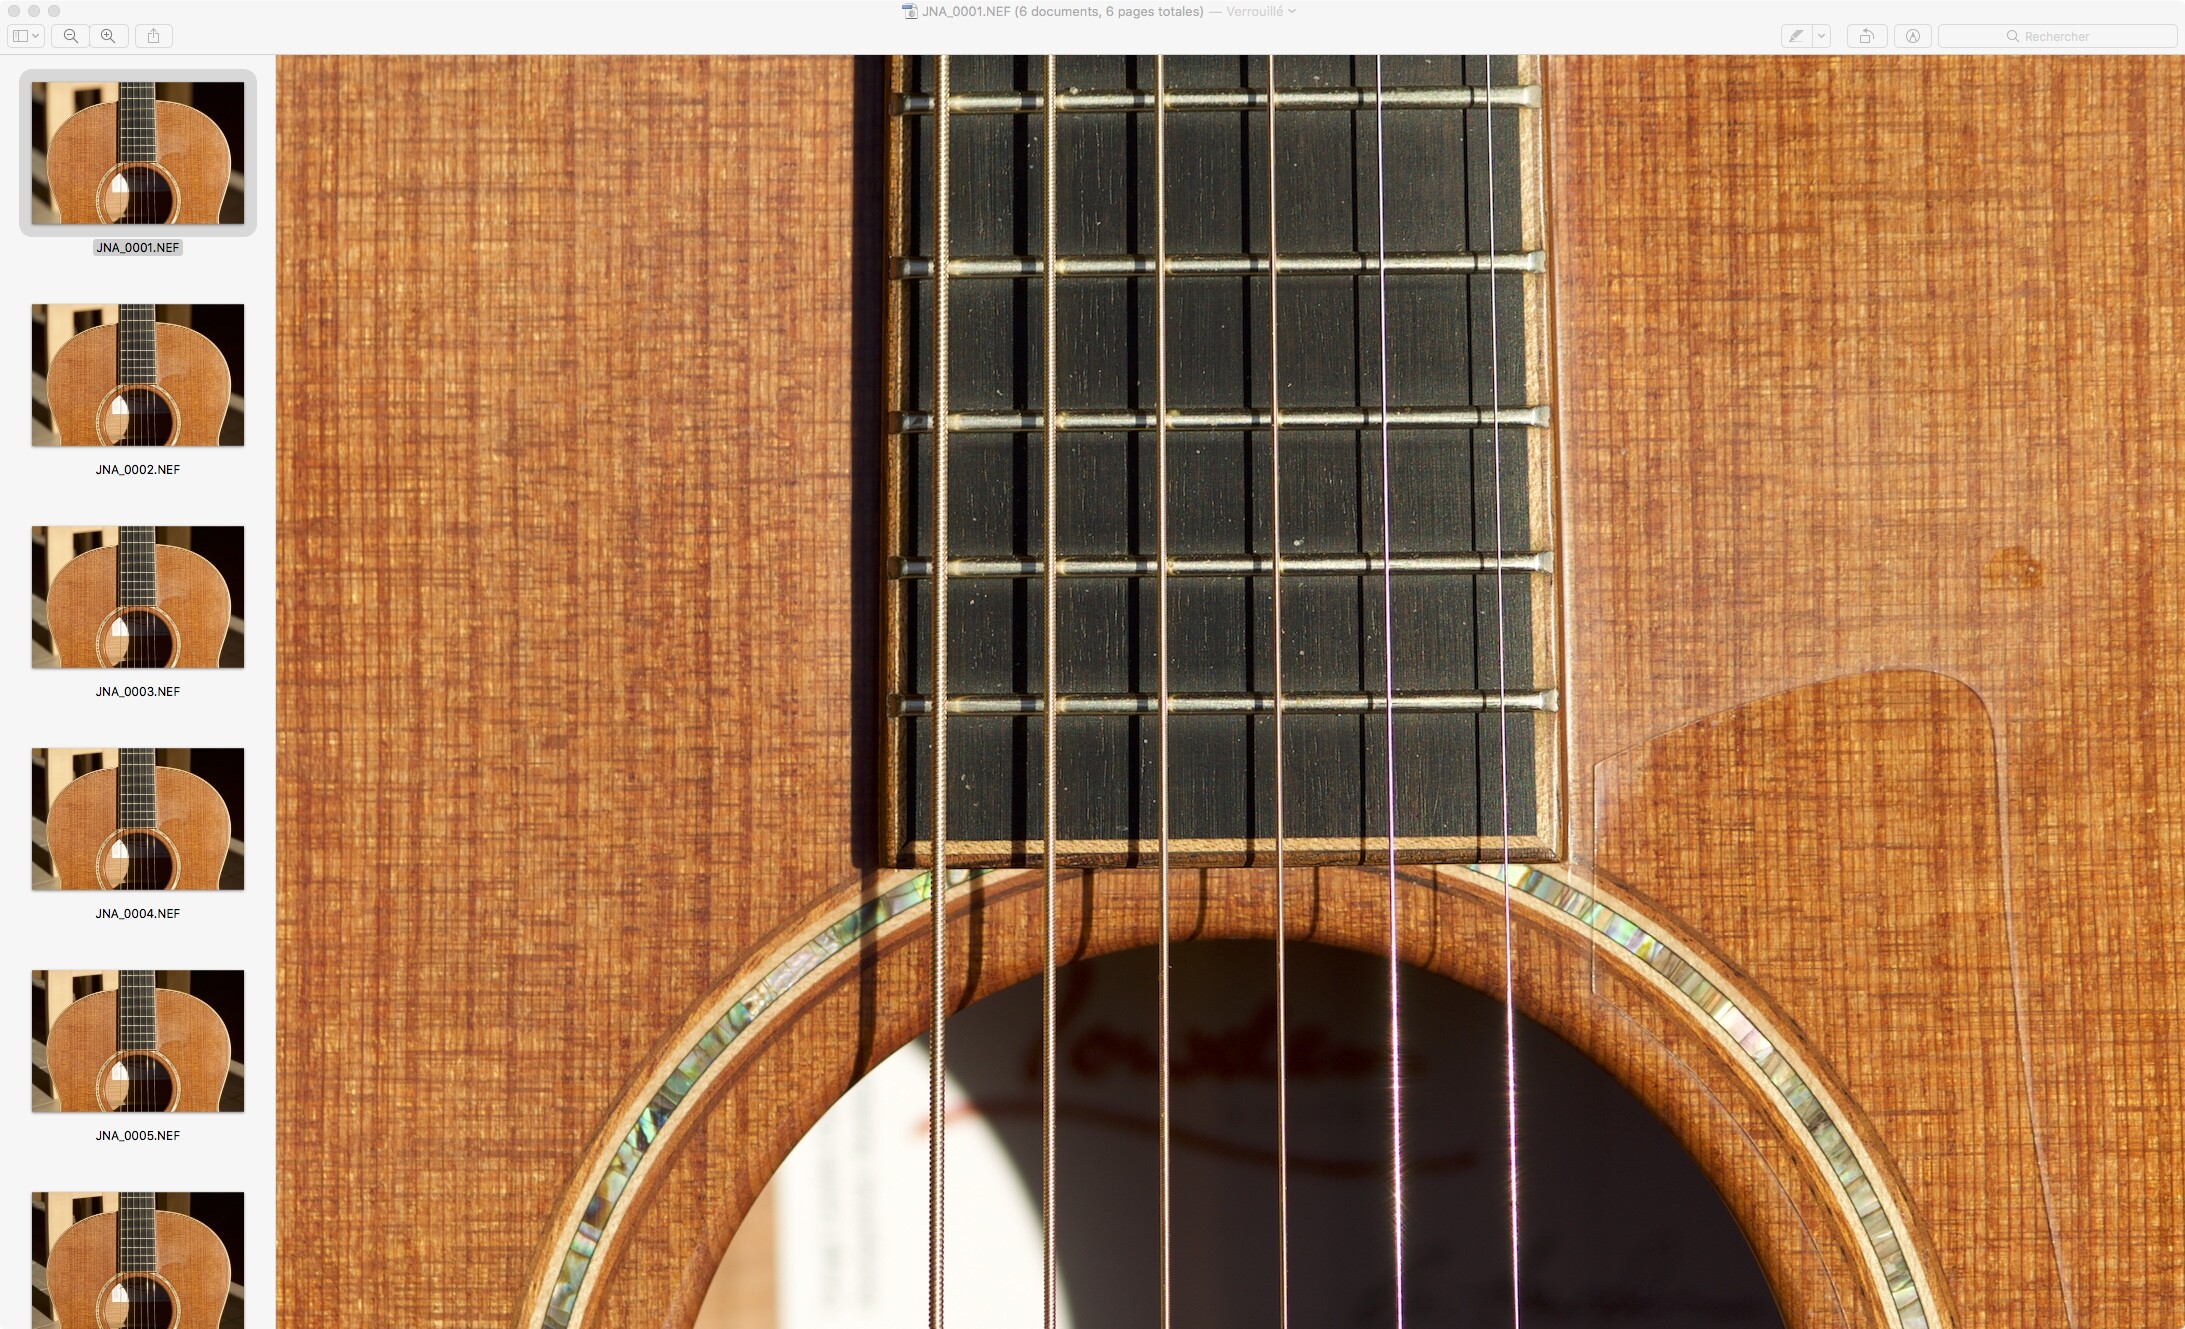
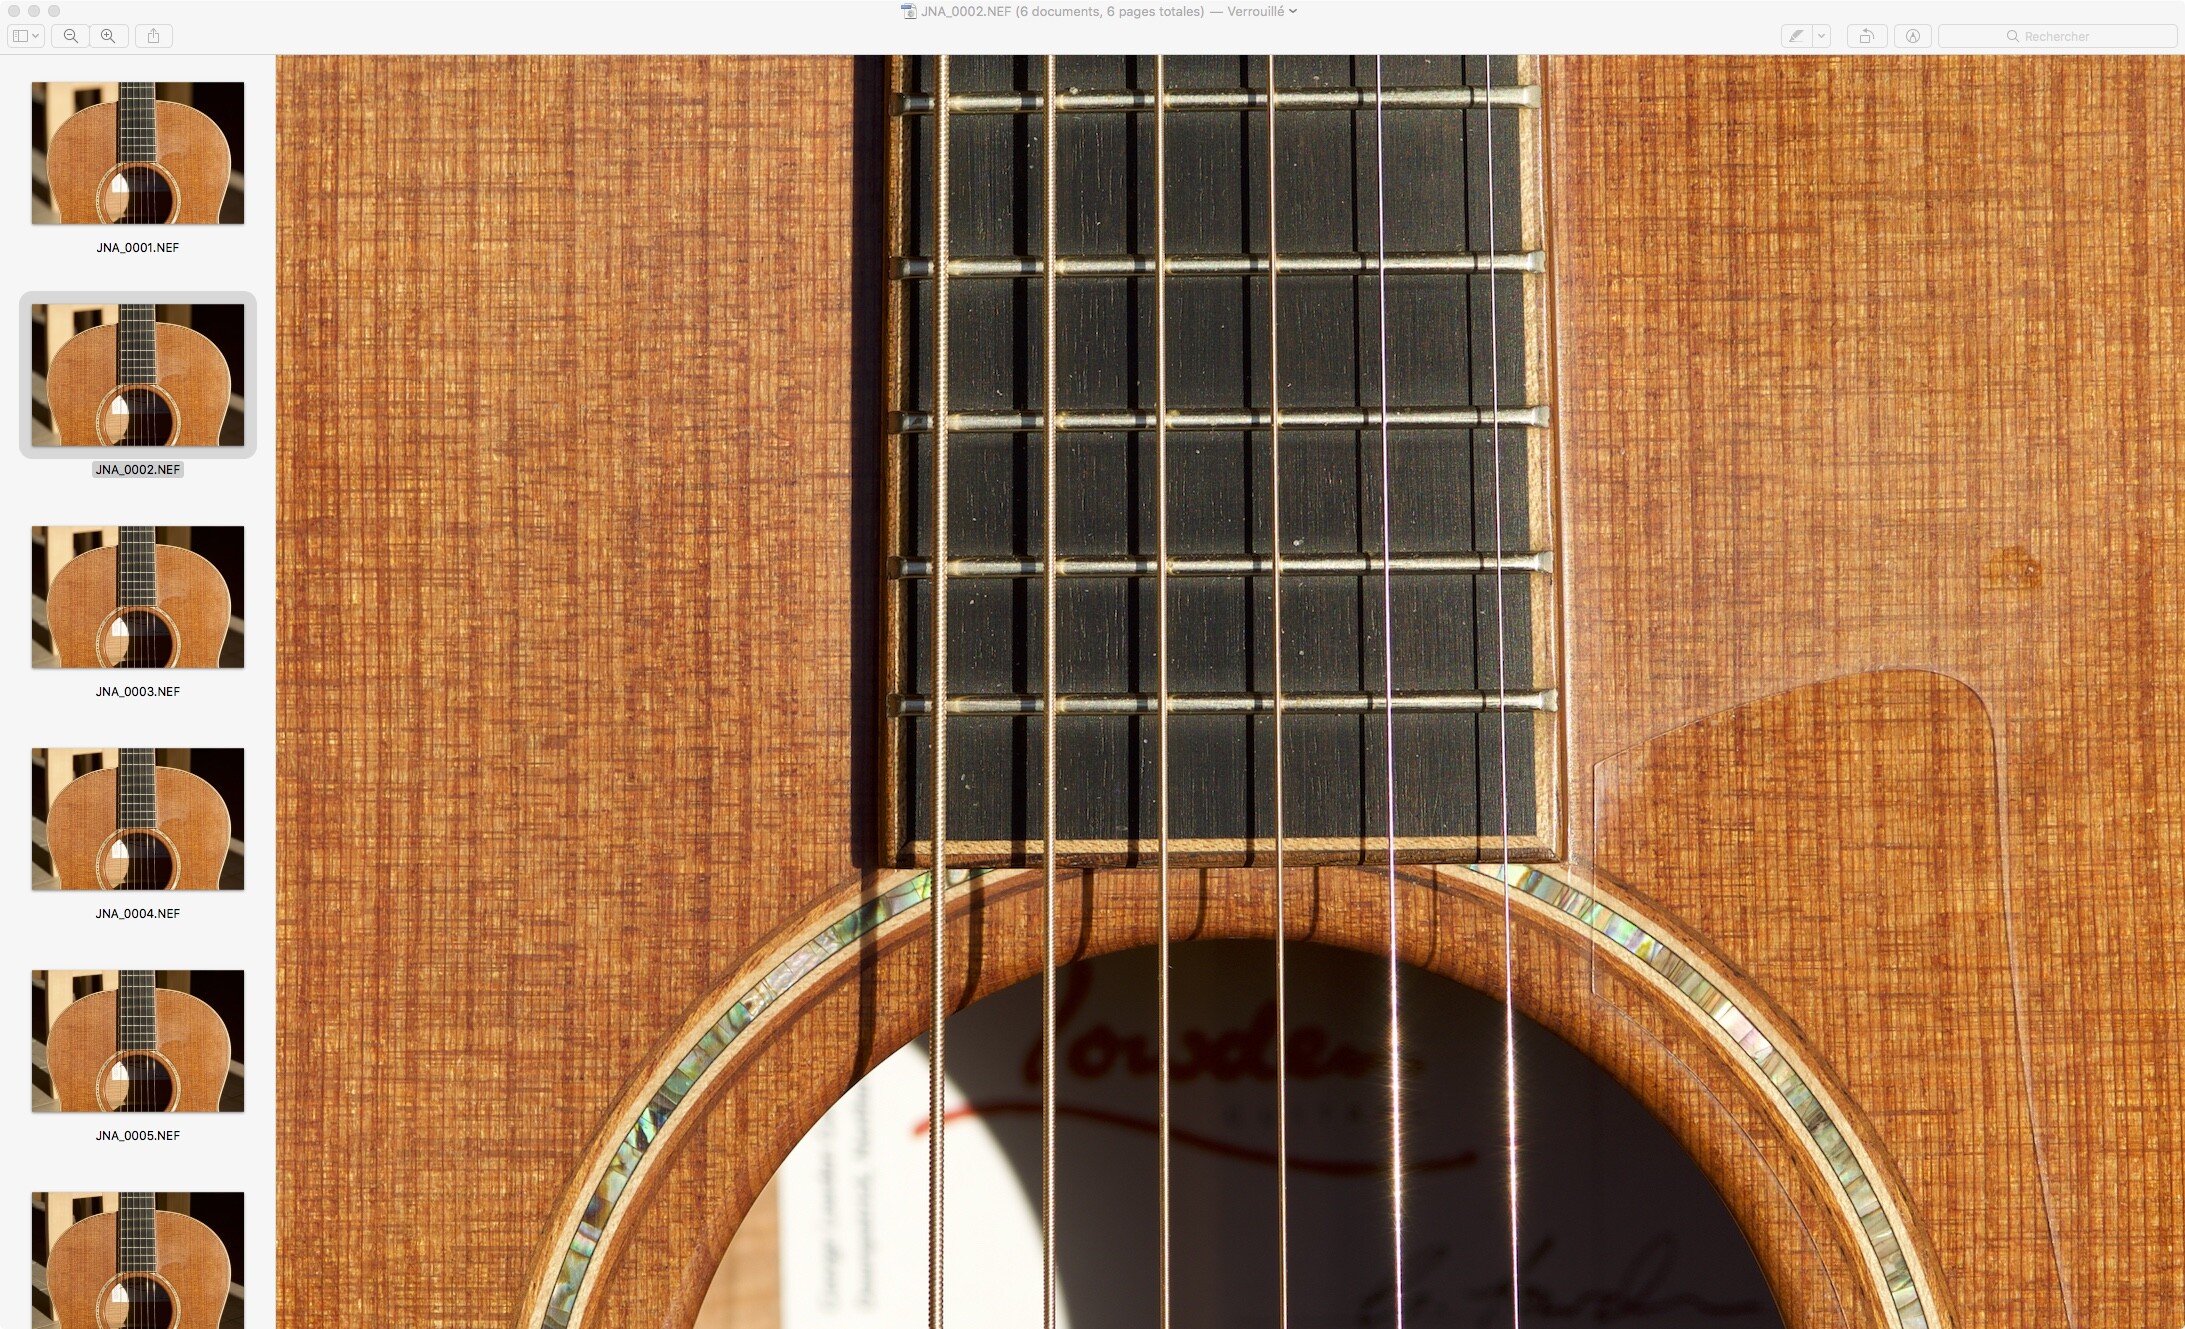
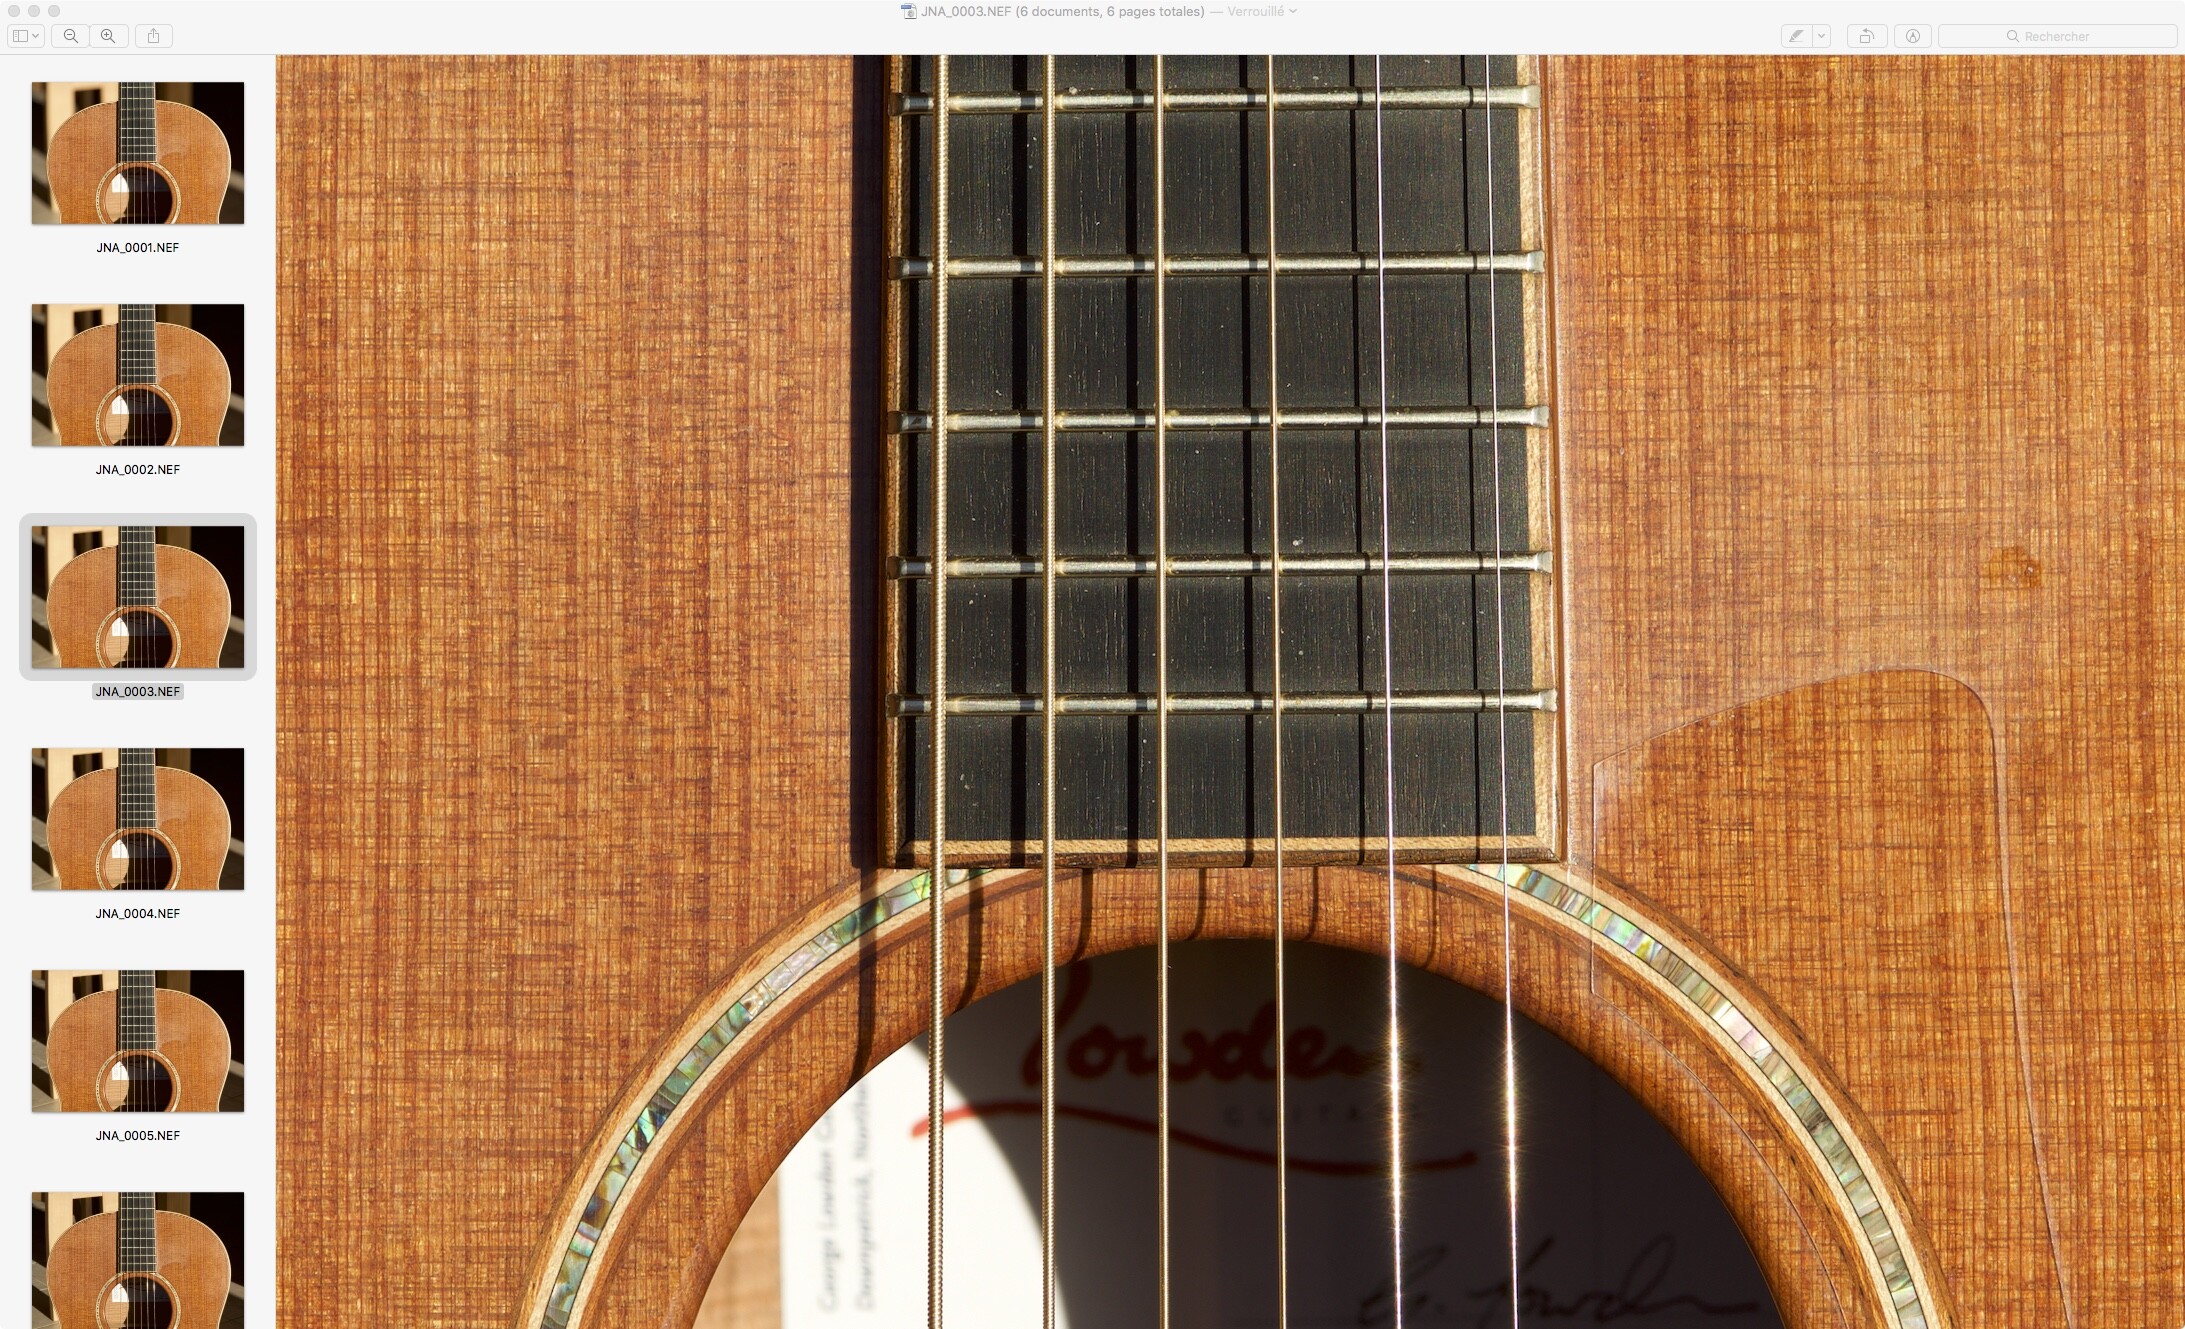
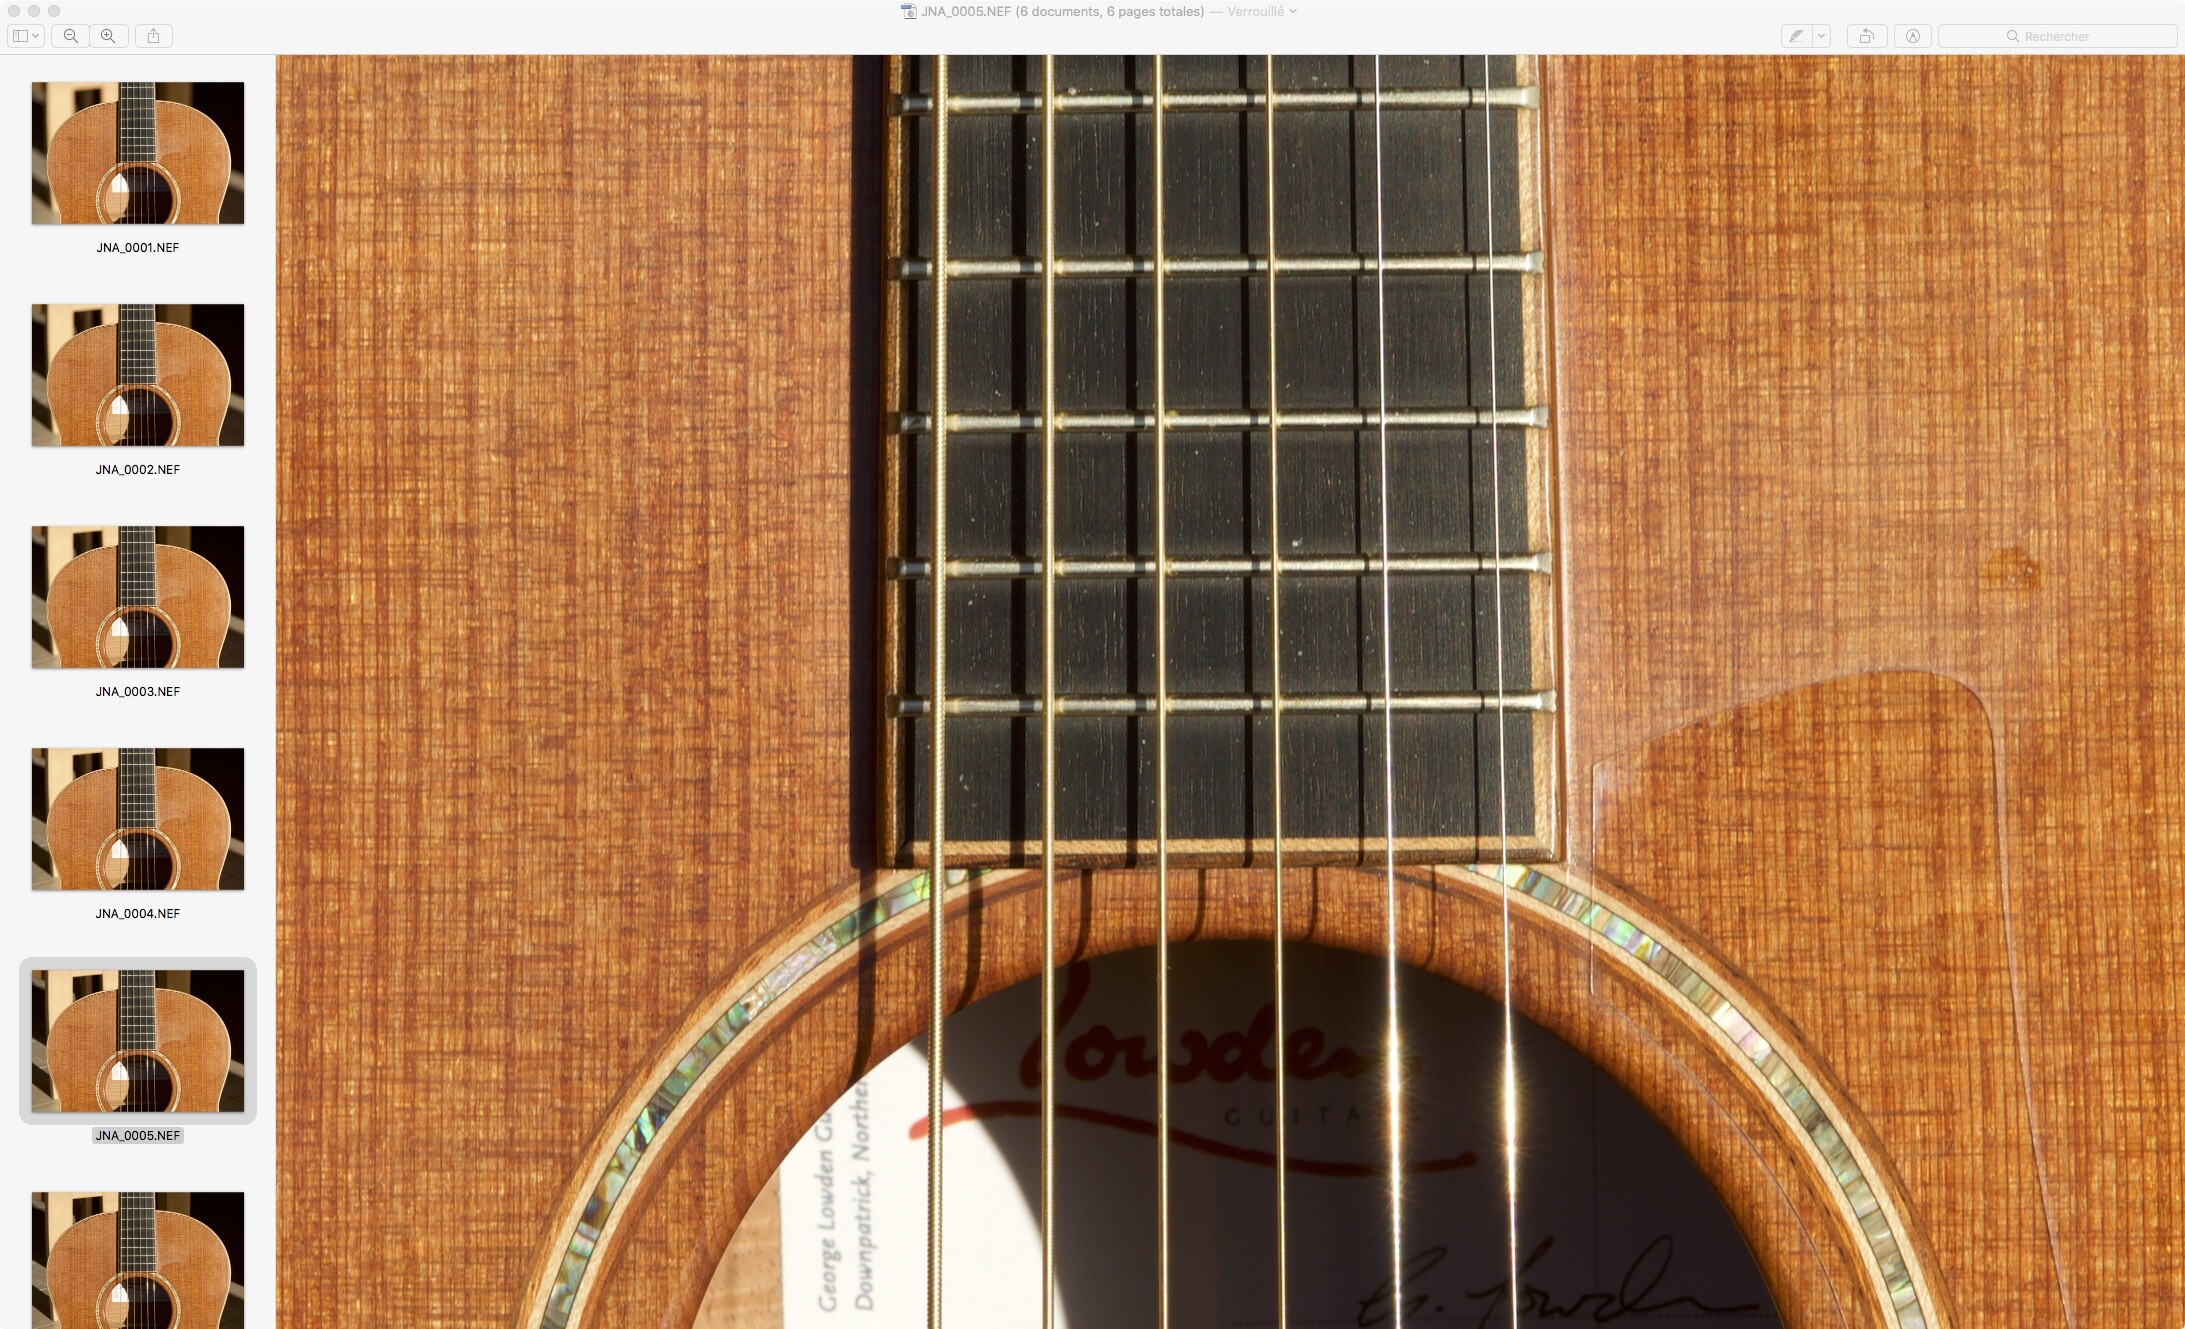
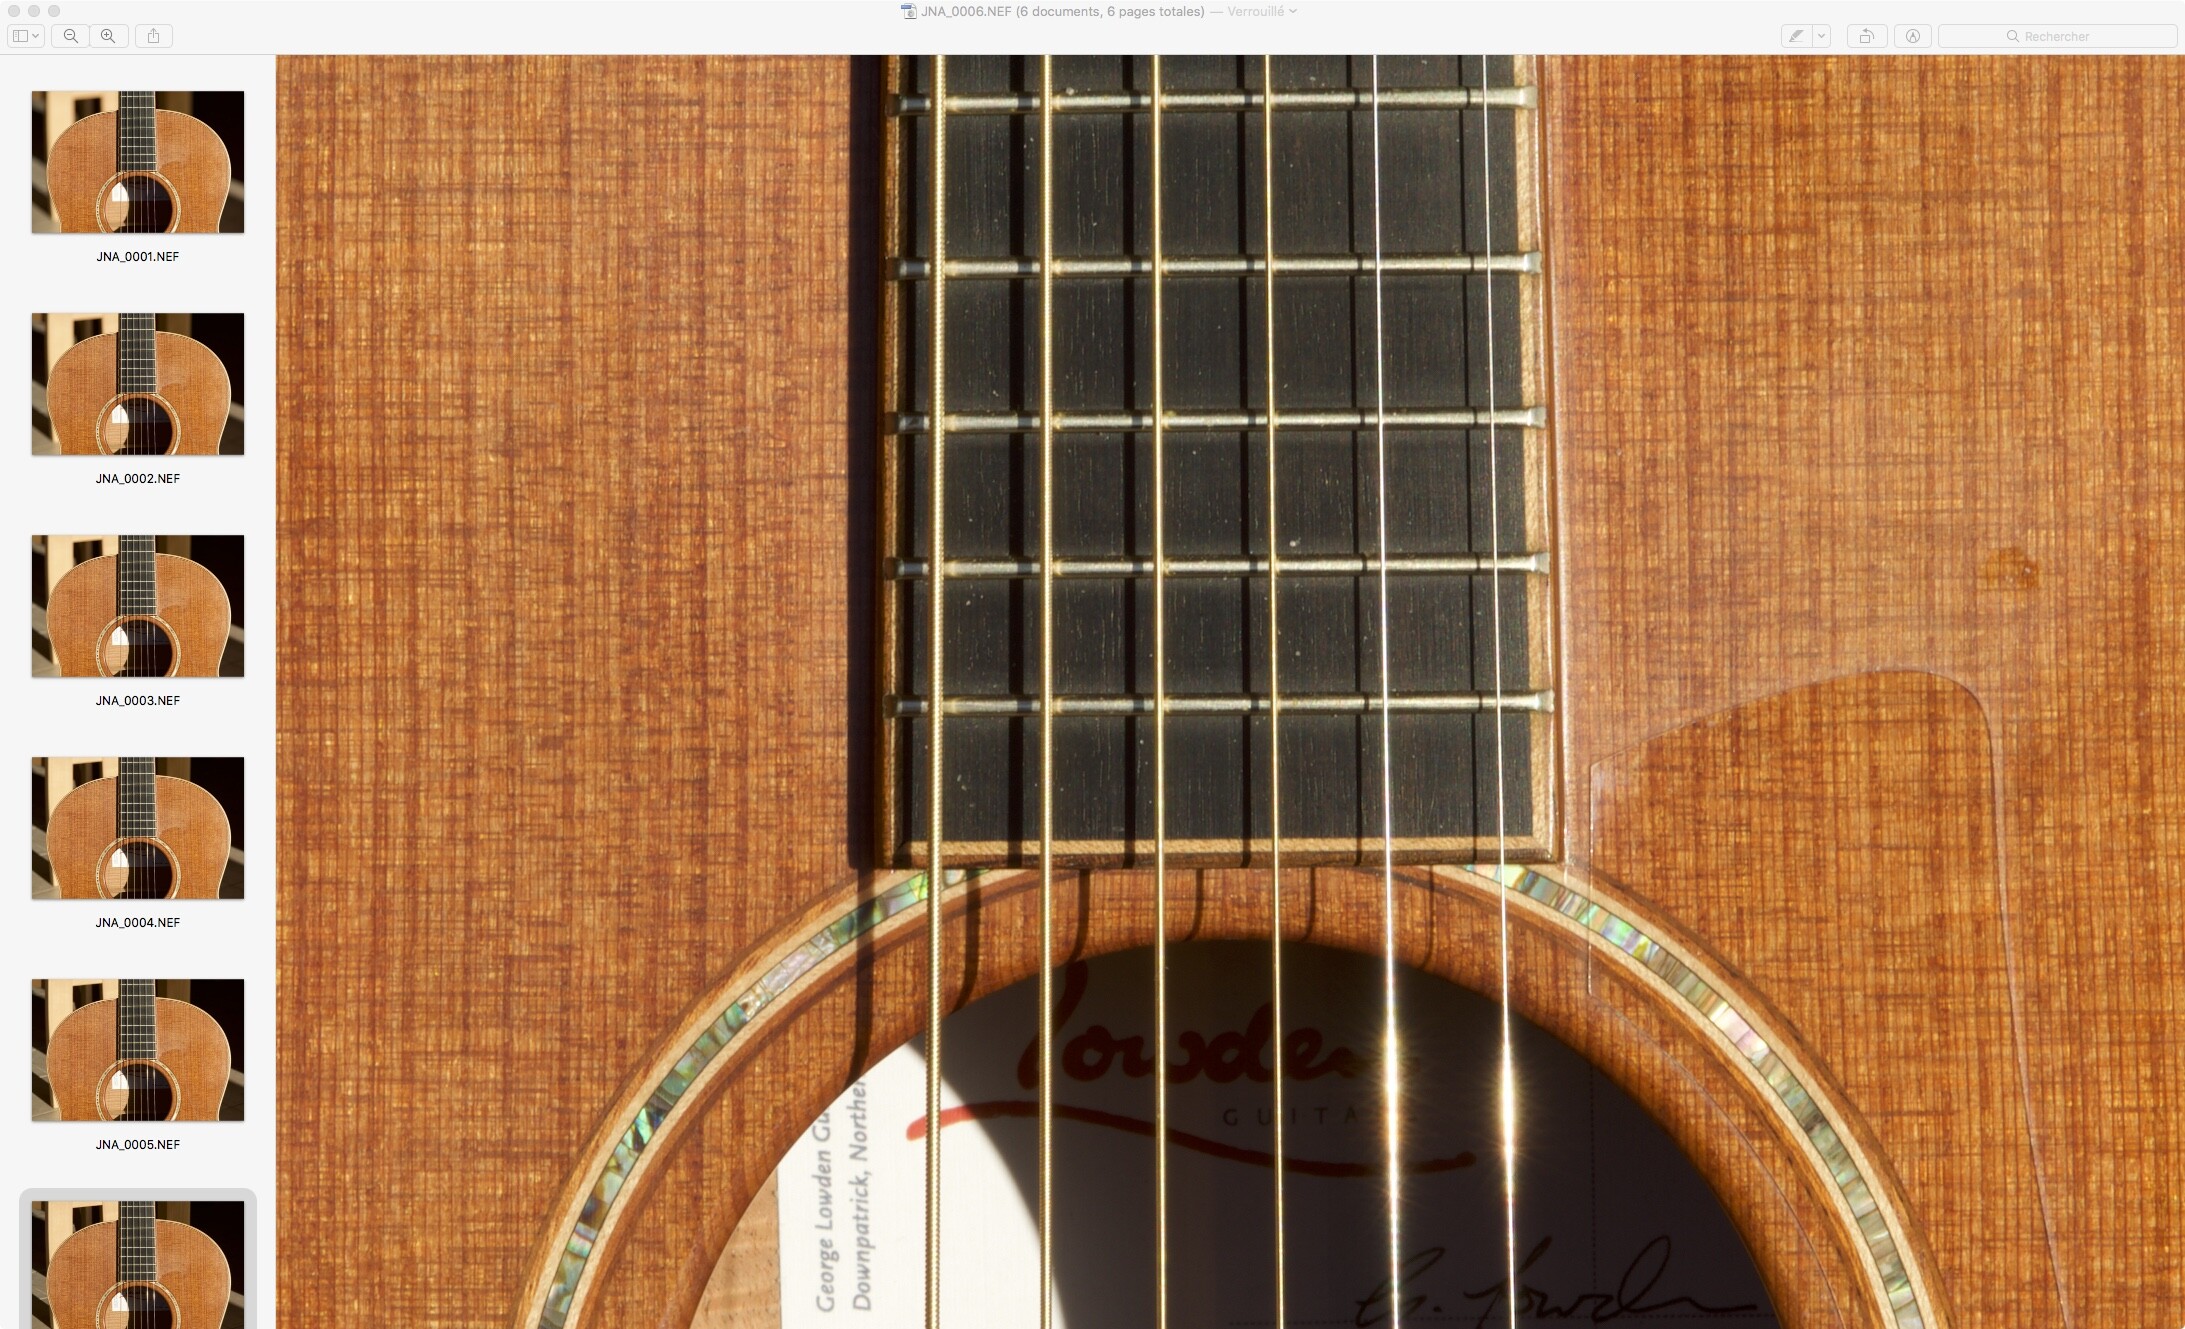
I did this series of images to demonstrate diffraction vs depth of field for a course at our photo club…
More precisely, diffraction depends on the angle of the light cone formed by the aperture diameter and the distance to the sensor. The smaller that angle is, the more diffraction is visible. There is no relation with the circle of confusion. Diffraction is mostly visible when the coc is 0 or just a minimal point, theoretical super focused. The bigger the coc the less diffraction is visible.
In your picture you probably focused on the body. When making the aperture smaller, then the background is getting within the dof limits.
If you want to make diffraction visible, you should make a picture of a 2 dimensional object.
Joanna, that would be ideal but your 50 years of experience is going to take me to over a 106! I’m a calligrapher by trade and I doubt I’ll ever get past that amateurish dependence on the digital assistance modern cameras give me. I can say, however that I am resorting to bracketing and exposure compensation less often. And I do realise that the “blinkies” (new word for me there!) reflect the cooked preview. I’ve kind of gotten to know how much I can trust it. I love the dynamic range of the D750!
Yes ofcoarse. But the showing of diffraction is a combination of sensor resolution and lens properties. Higher resolution shows airy disk earlier.
I can’t calculate it but a g80 16Mp and a certain lens or a G9 20Mp with the same lens could cause a stop less of f-number because of the different size of 1 pixel.
The smaller the pixel the earlier the surface is covered by the blur.
ISO is mostly sensor(size and resolution) and ADC properties and characteristics which makes the noise vs signal threshold of not acceptable. (which is for everyone his own choise.)
But the point i like to make is even non proffesional photographers can create with there equipment better images if you take the time to read about theory, geartests, ask around when needed to grasp the info, and then just test this with there camera setup.
Like exposure vs electronic exposure, (iso and post correction)
Or trying to gues the focus point made by AF. A point does 1/3 infront and 2/3 at the rear of DoF. Things like photographers app on your phone help alot to visualise action and reaction. DoF and focal distance relation.
The more you remember the better you can make decisions to get the best out of the situation. No matter the camera. (i see often people with apsc and a superzoomlens on full auto AI clicking around, which isn’t wrong but a small effort can make such a differents in enjoying the hobby and you get better images for free.)
 )
)

 I always thought I had to choose between placing it on highlights or shadows.

 I’m a calligrapher by trade and I doubt I’ll ever get past that amateurish dependence on the digital assistance modern cameras give me. I can say, however that I am resorting to bracketing and exposure compensation less often. And I do realise that the “blinkies” (new word for me there!) reflect the cooked preview. I’ve kind of gotten to know how much I can trust it. I love the dynamic range of the D750!