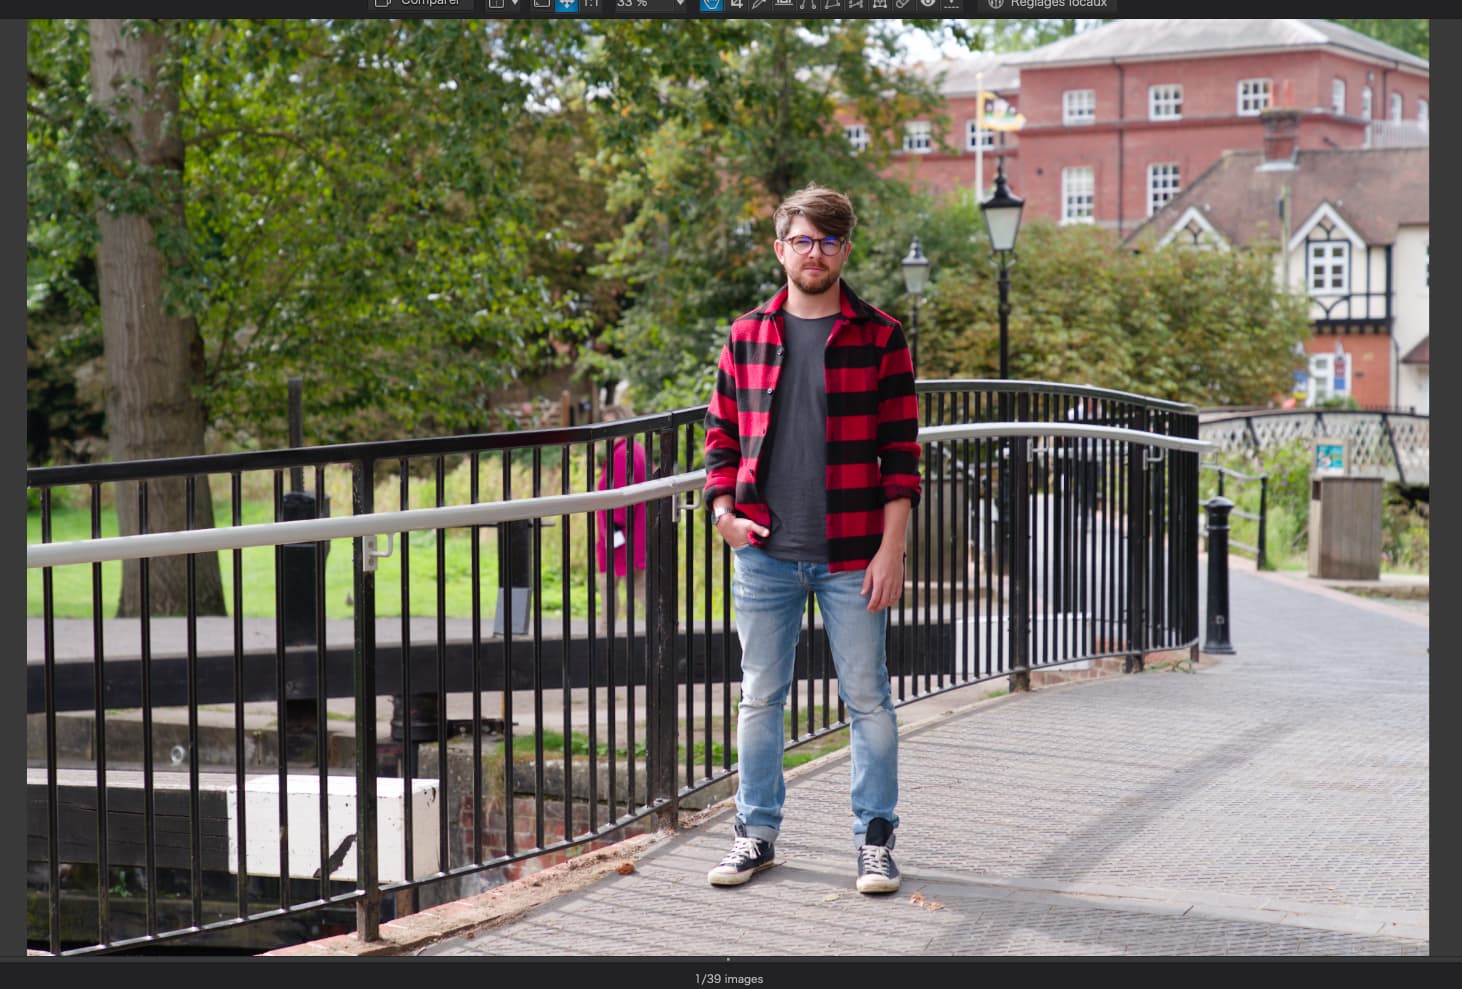
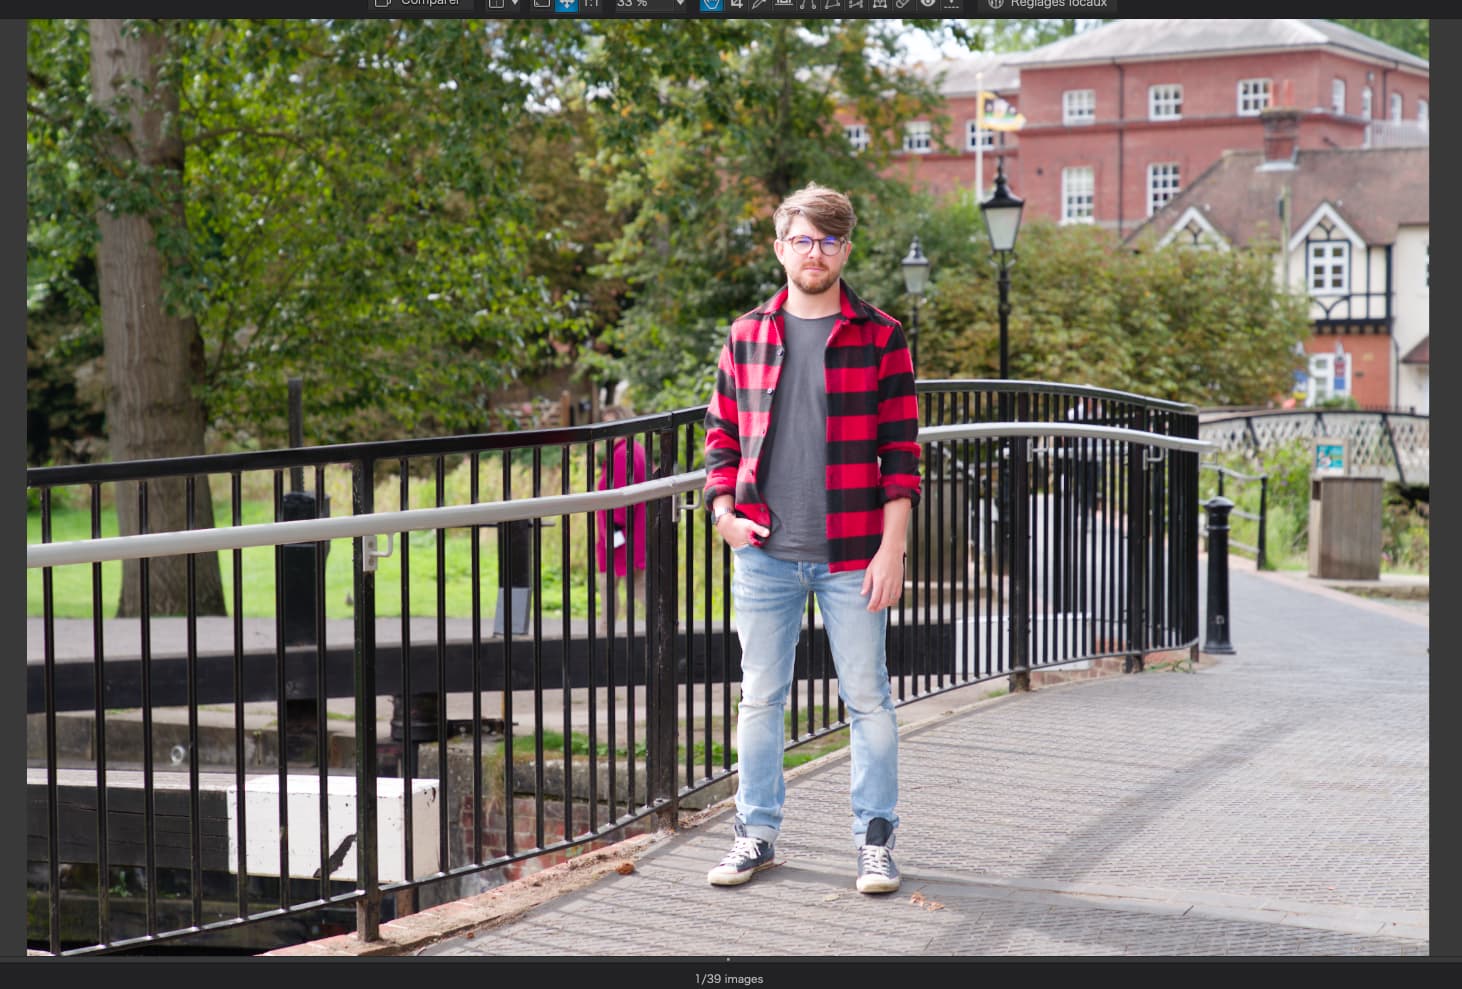
When doing complex masking (i.e., several close control points as well as exclusionary control points), I’d like to be able to temporarily hide all the control point circles but still have the adjustments equaliser be accessible. This would allow me to make adjustments to the masked area(s) without having them so obscured by all those control point circles/lines. Am I alone in this?
p.s. would also be nice to be able to have a handle on the equaliser so that it could be moved off to the side
move the mouse pointer temporarily out of the content area to get an uncluttered view
( alternatively: disable / enable the related layer’s visibility )
Thanks Wolfgang - yes, I’m aware of those options and use them. But it does require some extra clicks (i.e., to off and on the equaliser vs moving it completely out of the way).
Also, if I move the cursor off-image to ‘hid’ the control point circles, it doesn’t really do what I’m seeking, which is to have an unobstructed image so that I can change the equaliser settings and dynamically see the effect on the image. Right now, I have to make an adjustment, drag the cursor away from the image to clearly see the effect, then go back to adjust my adjustment and so on…
I also wished this was adjusted. In general, the interface could be optimized. If I have used many u-points, the interface is full of circles and it is even difficult to place more u-points correctly.
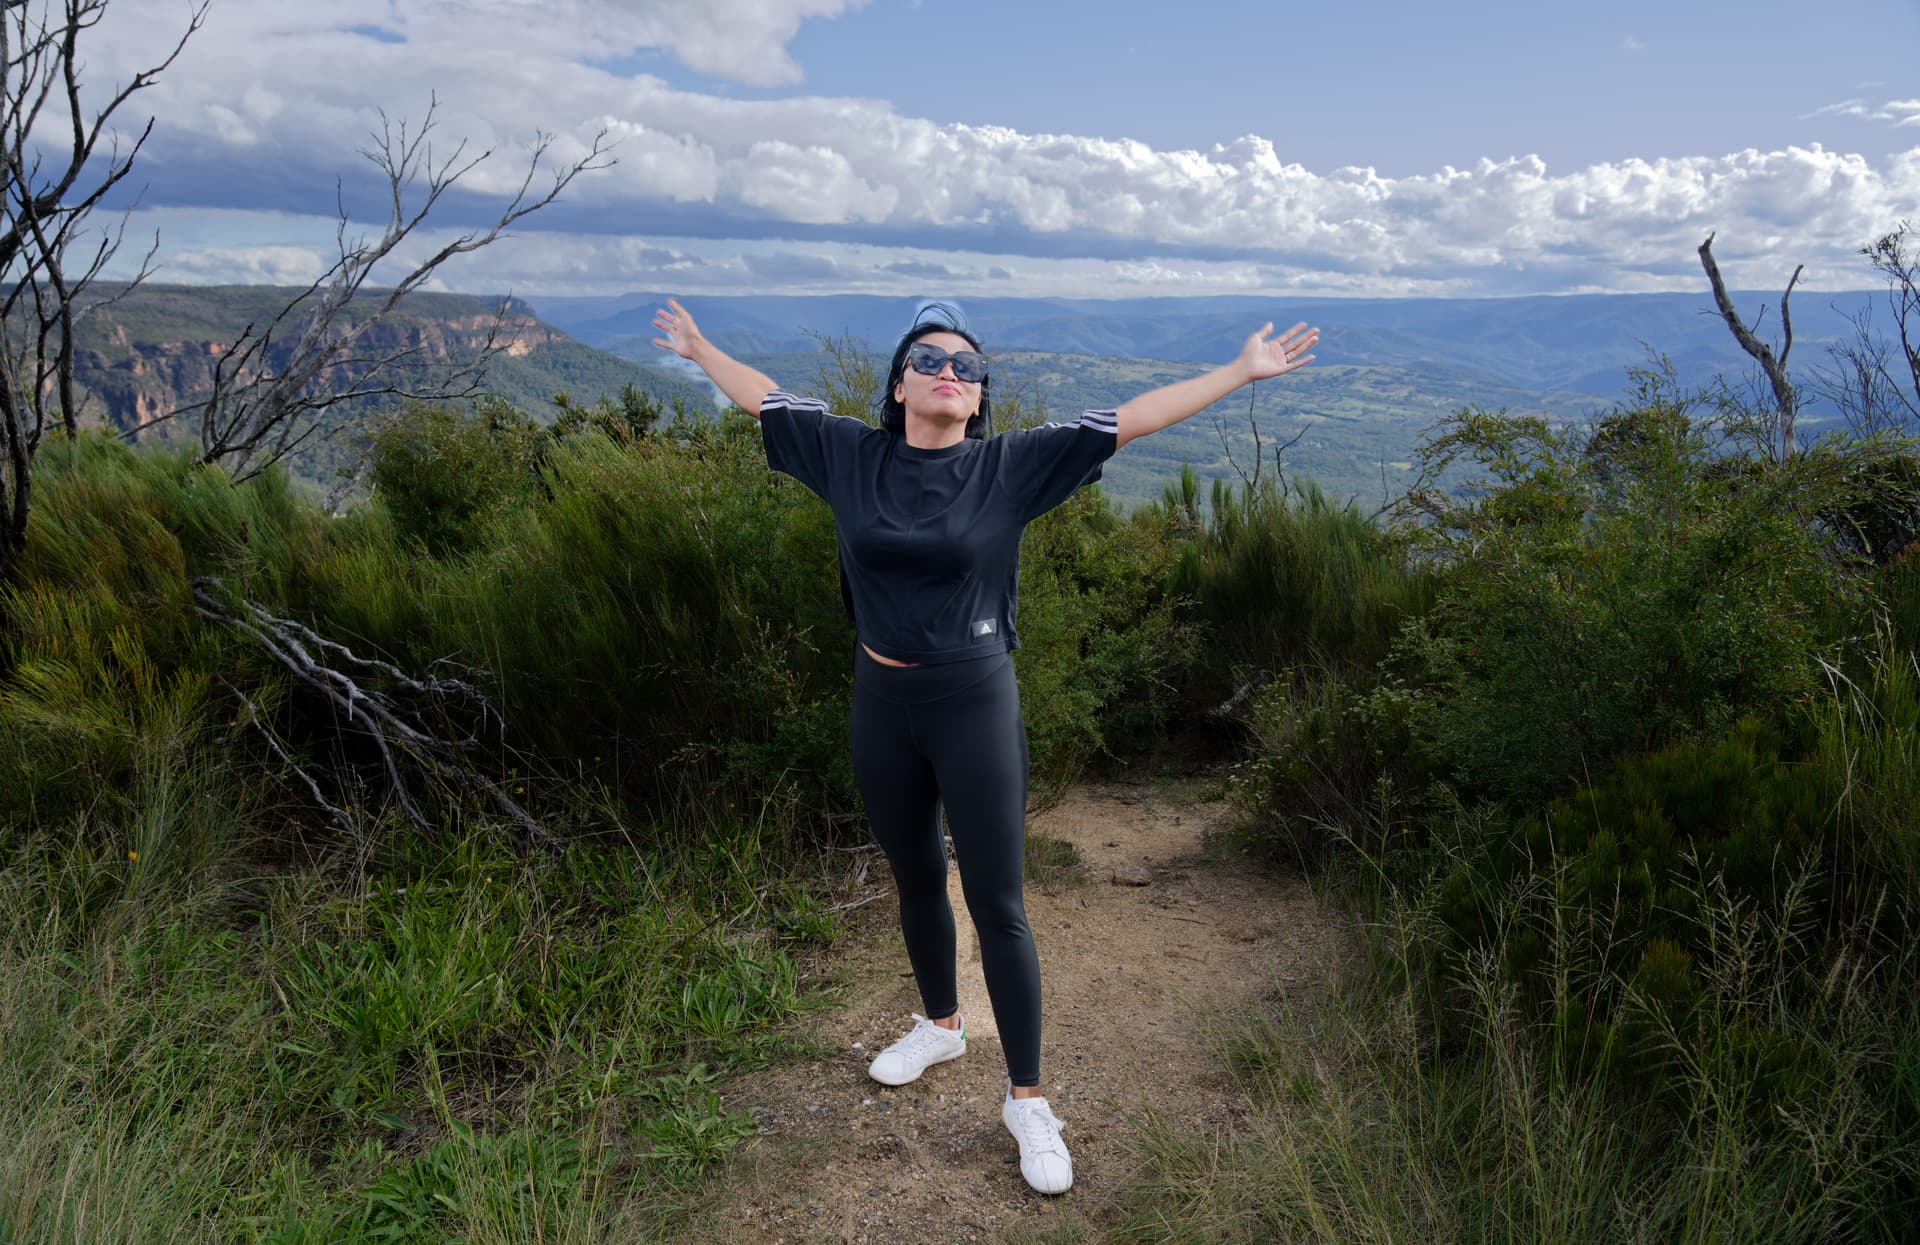
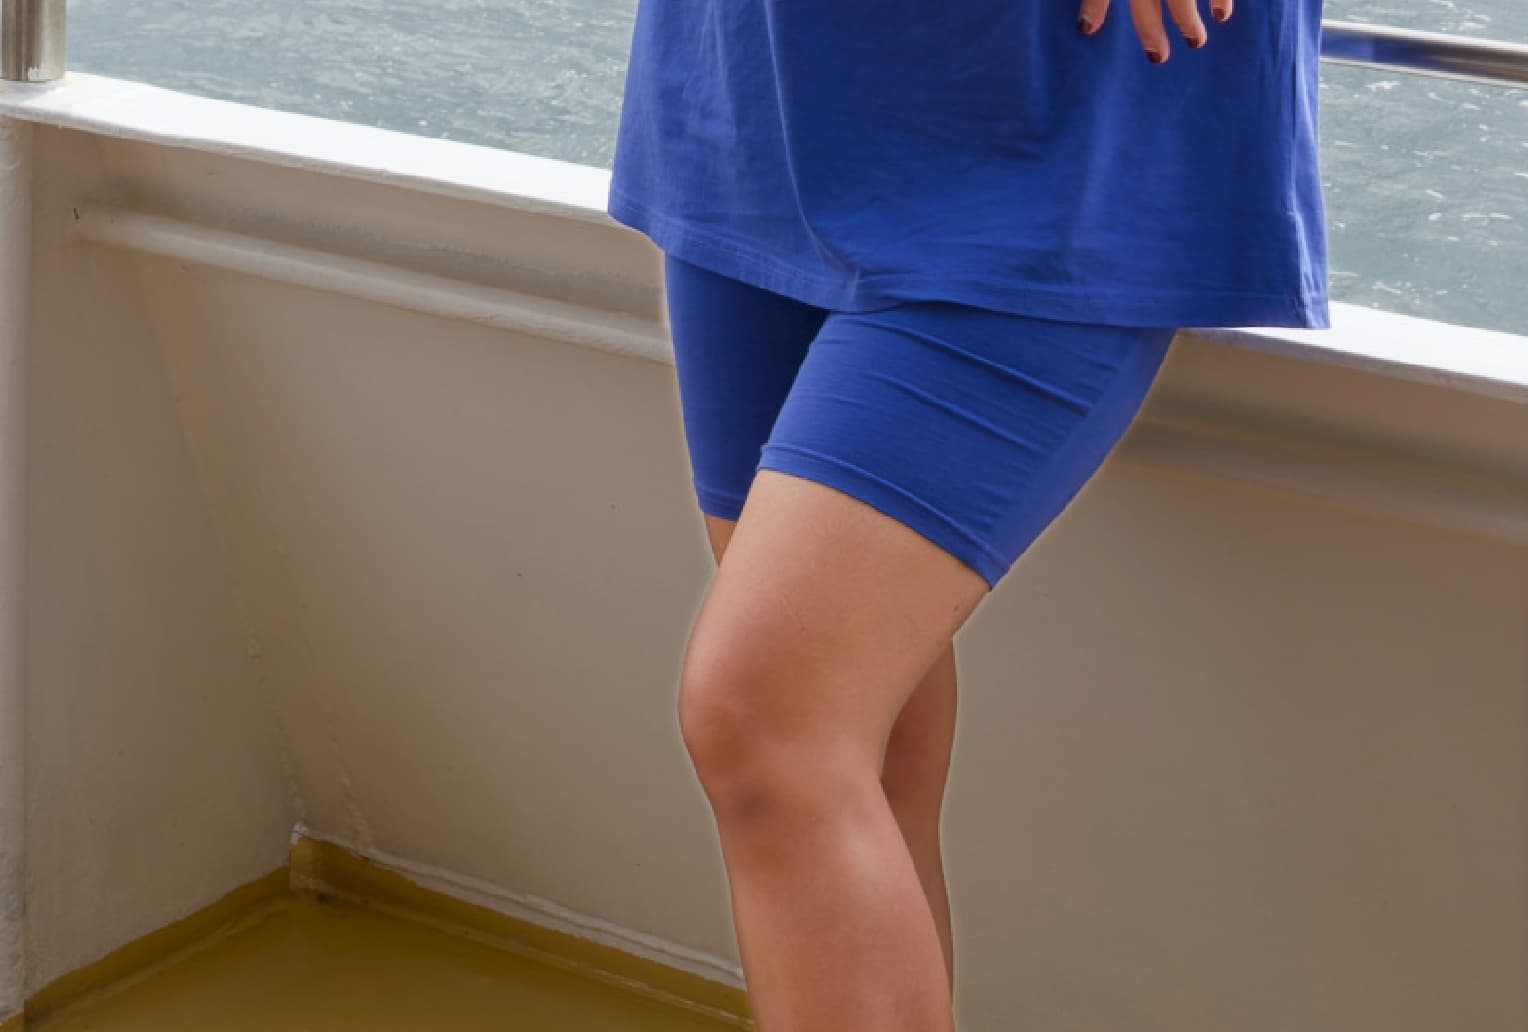
Sorry, Joanna, but I don’t believe that will work for (for example) lightening a figure at the centre of a scene. I frequently use Control Lines (with the dropper), but I can’t see how that method will work to lighten a shaded subject relative to the background (and I don’t find the auto masking brush accurate enough).
Fair enough, but one instance that you’ve experienced doesn’t invalidate my own. Whenever I’ve used auto-mask, I’ve had to go back and adjust areas that were missed or that overshot. Did you need to do that in this instance? Because if you did, a few clicks of control points ends up being faster.
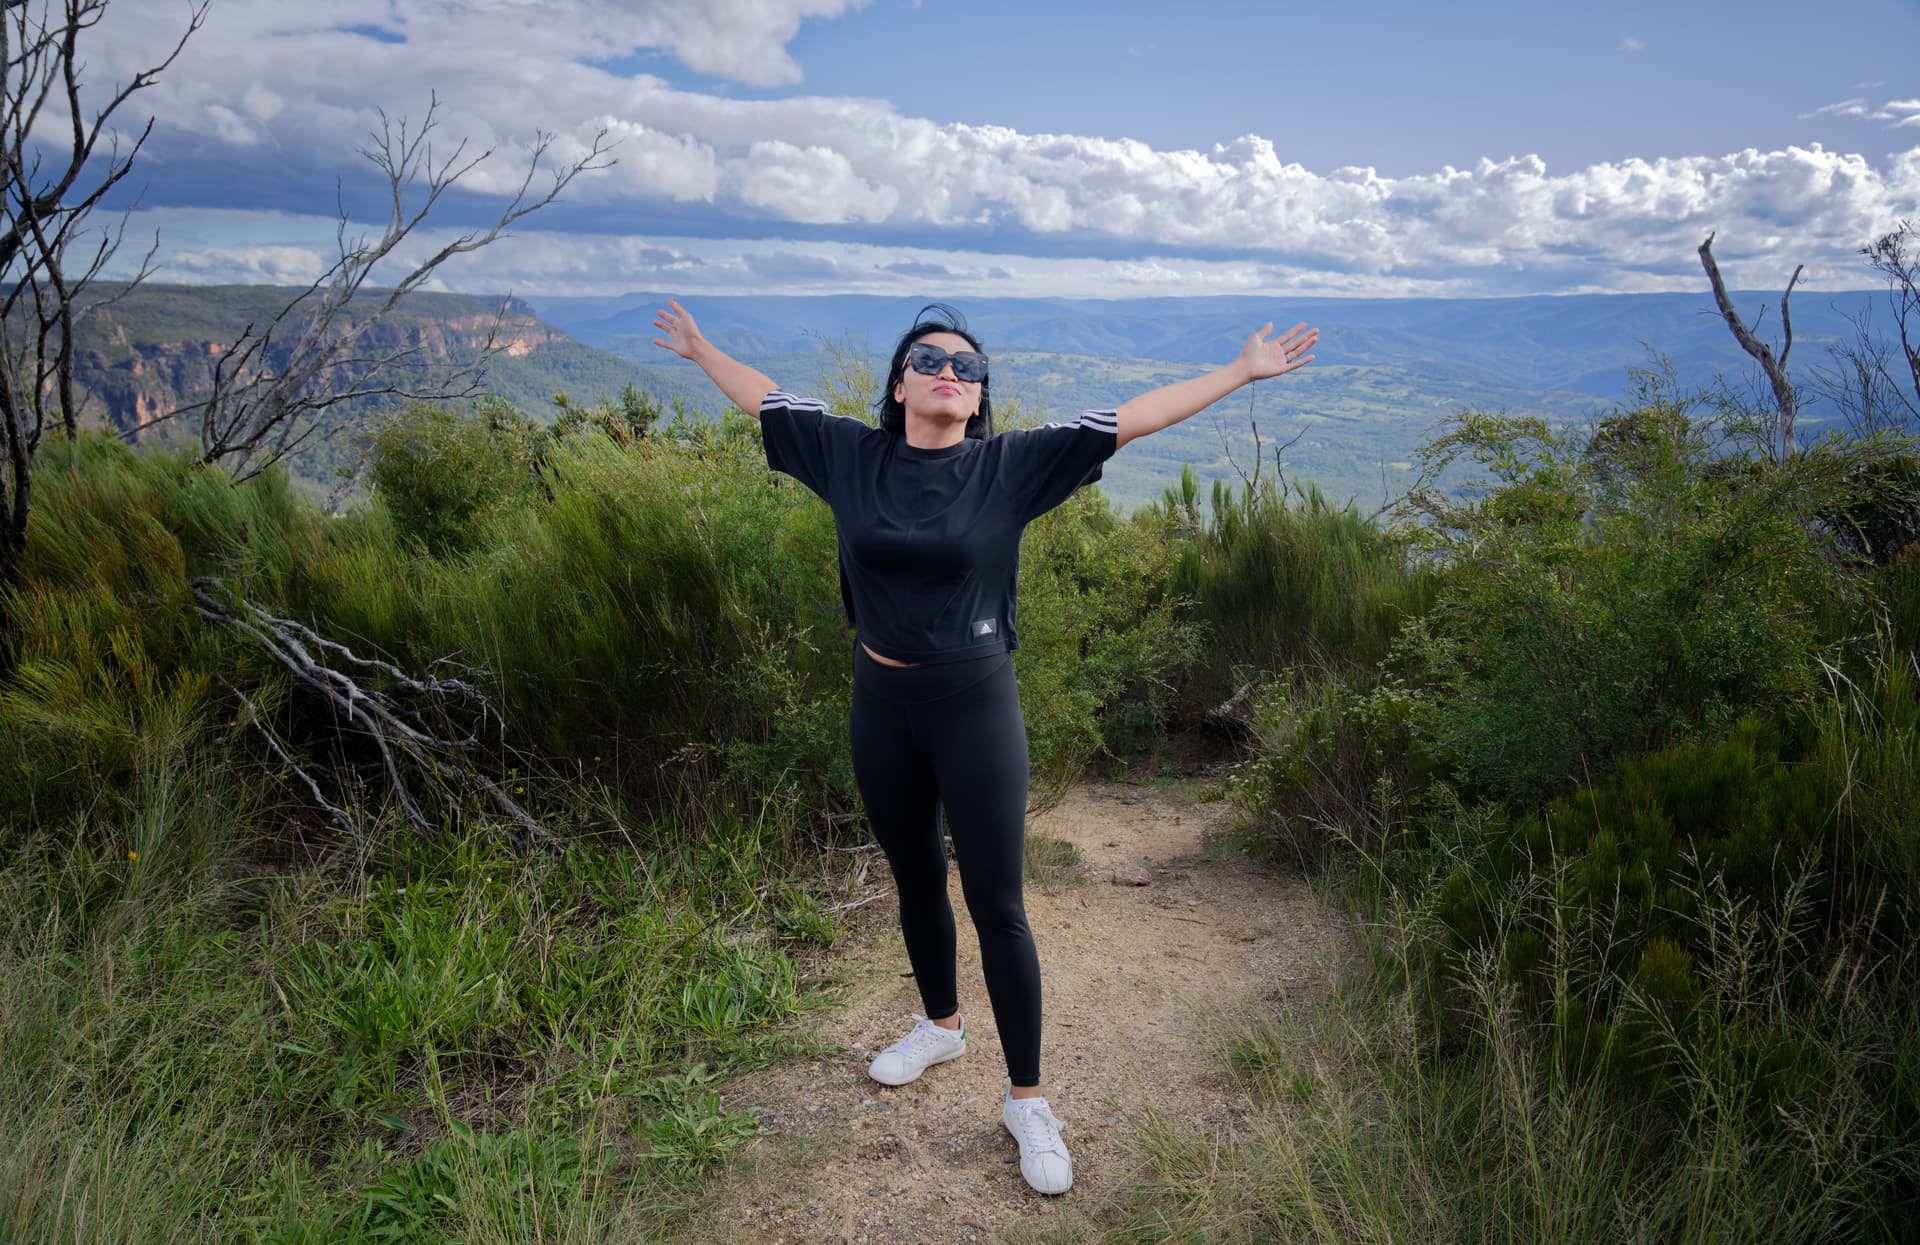
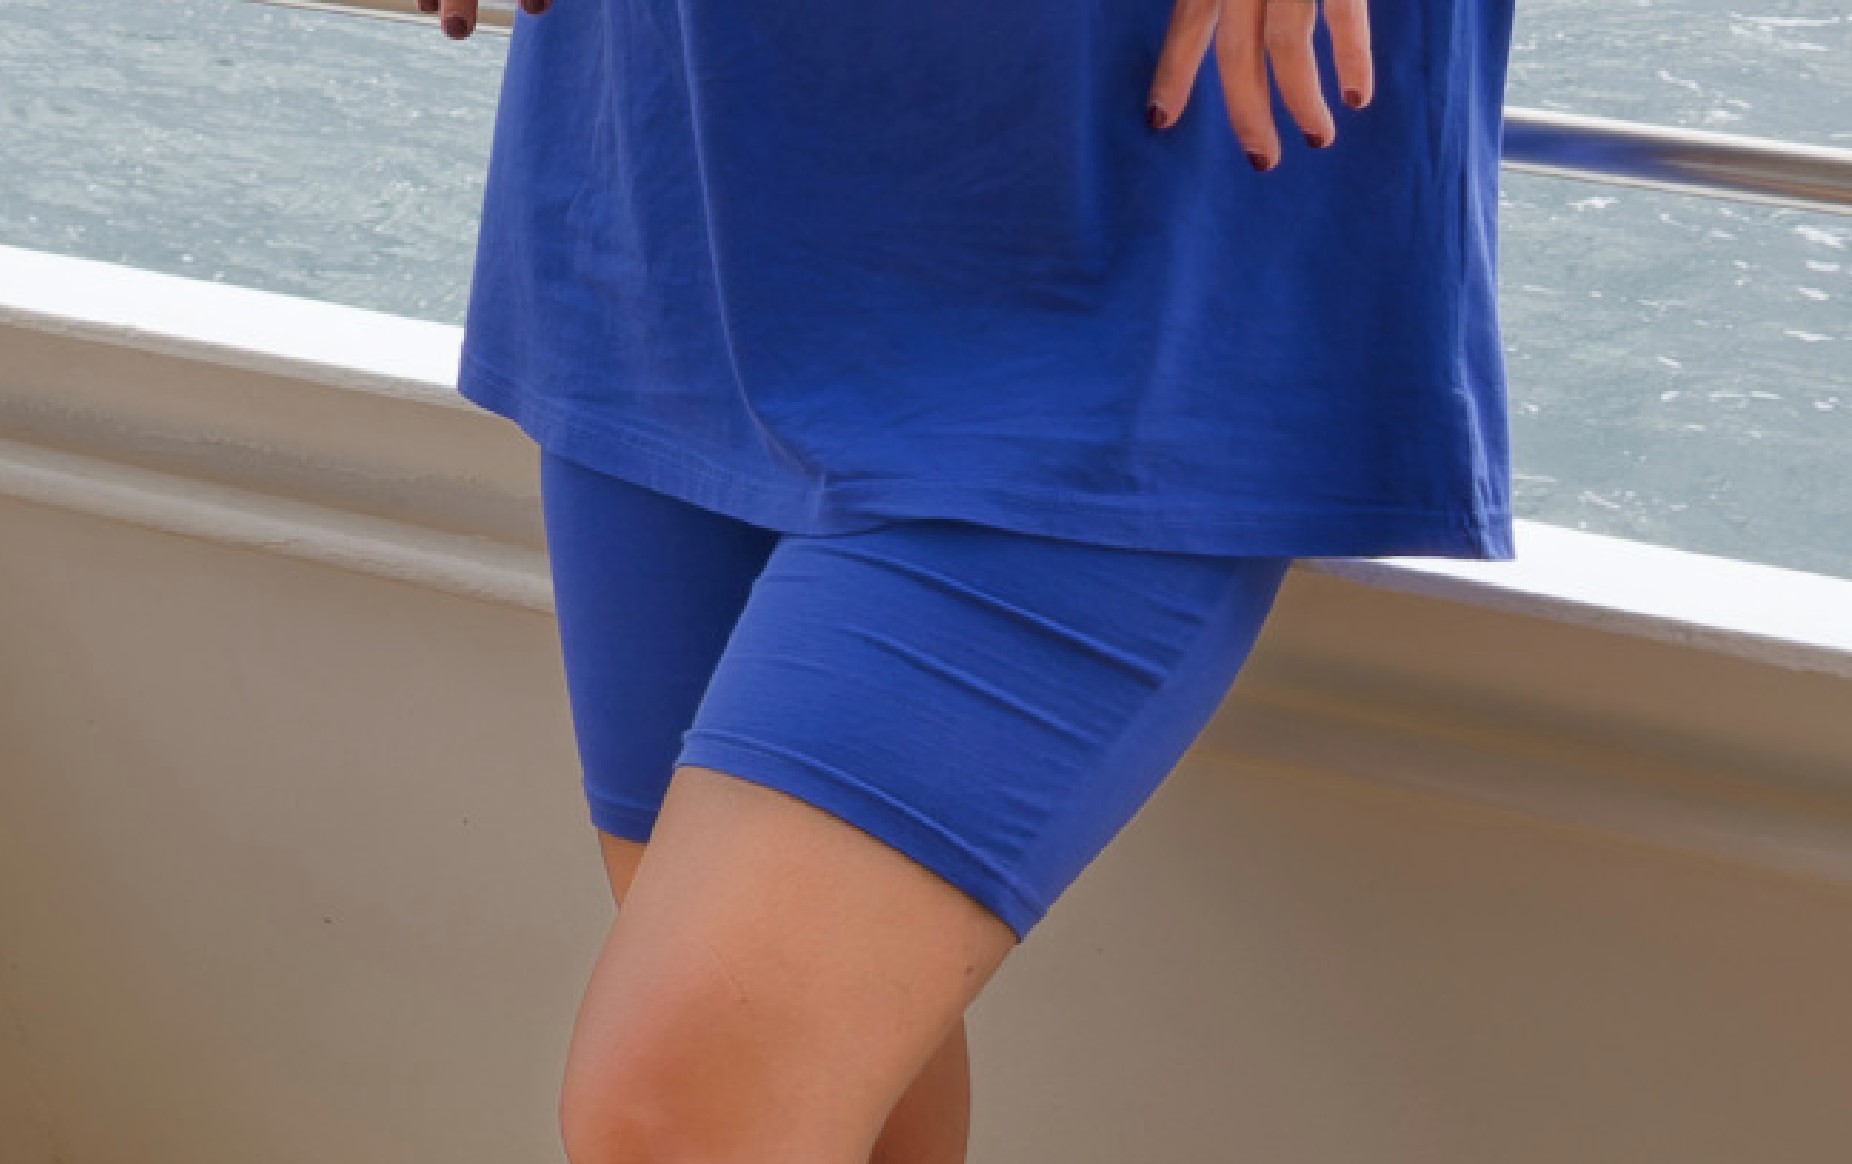
Ok, Joanna, here’s an example I just tried. First off, auto-mask takes more time to apply in the first place. Second, as you can see, it’s initial attempt is imperfect, which means having to go back and delete the overshoot (e.g., around her right arm and between her legs).