I know this kind of creativity isn’t a key tool for raw developer applications.
So or in Filmpack or in NIK.
tried silver efecs, color efec pro and viveza.
no luck.
Best way would be two options:
1- build in automasking (protect inside mask and then all other convert to monchrome.(Filmpack?)
2- single color pointing as keep color rest convert to monochrome.
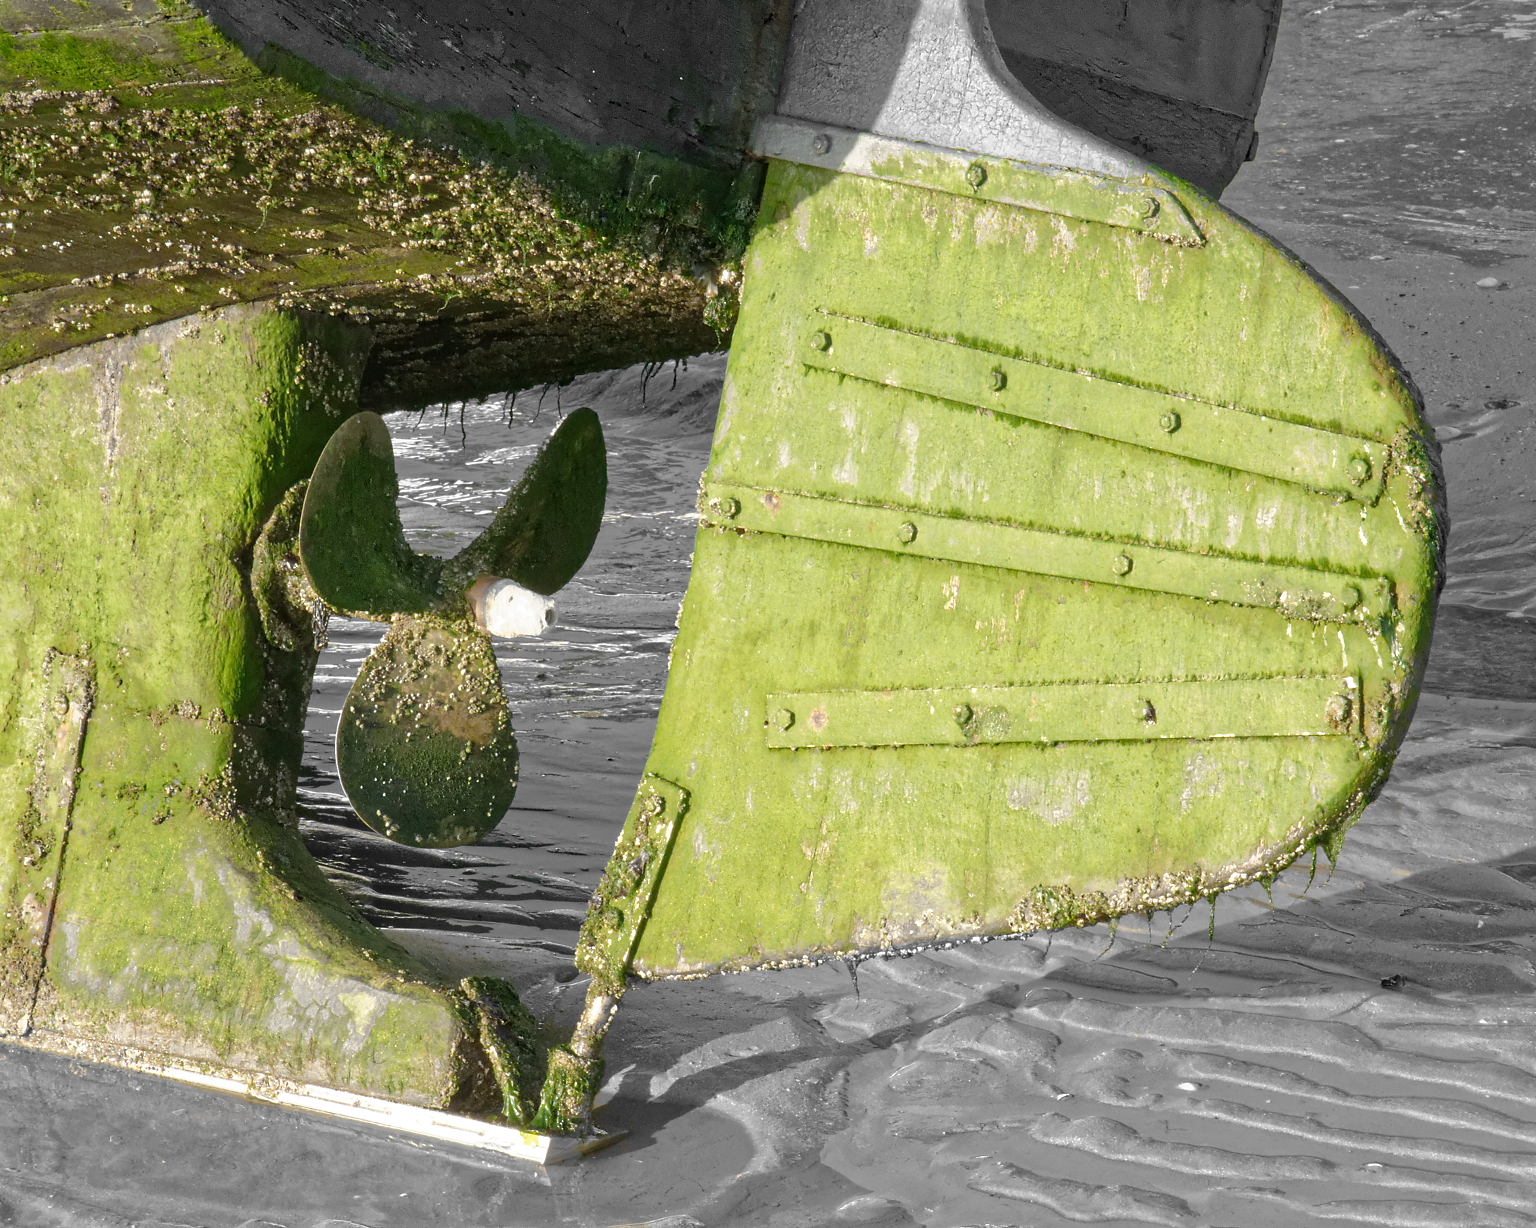
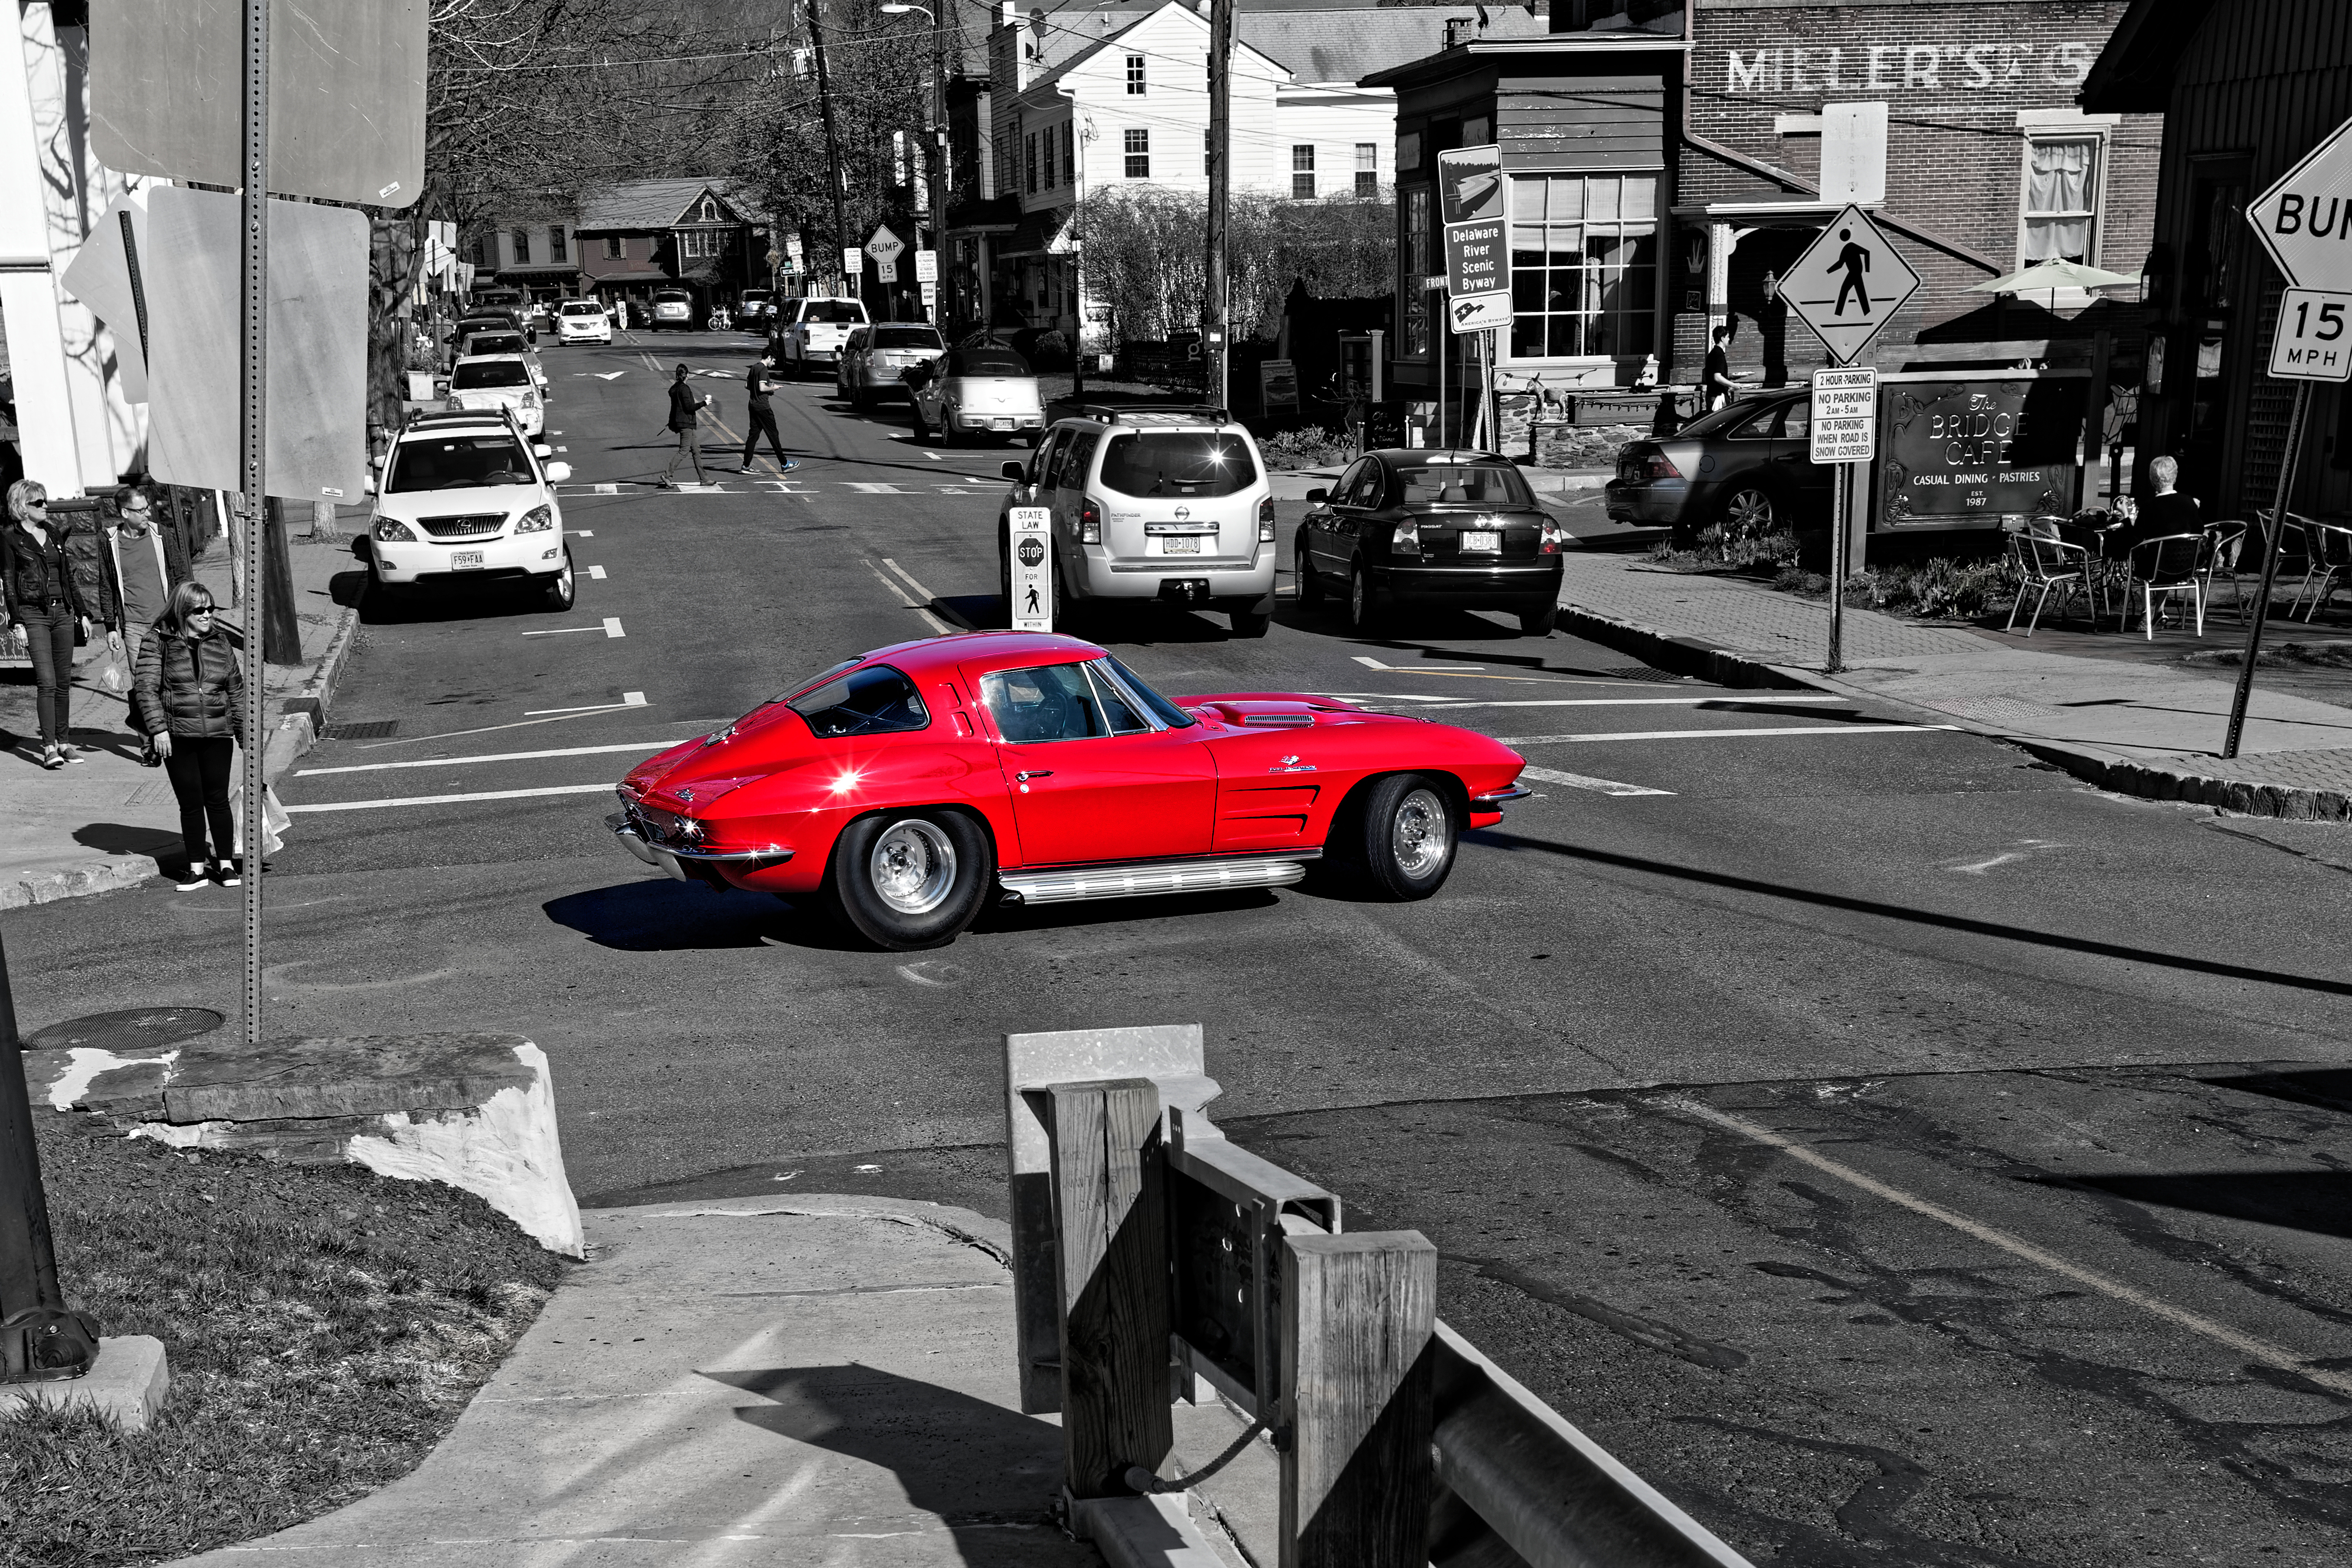
Because this one needed only green and a bit of yellow, and the sand contained yellow, I was obliged to create a local adjustment mask around everything apart from the rudder and keel, in order to desaturate everything except the rudder and keel.
Ok so auto mask the things you want to be b&w, and clean with erazor the colored object you want to be colored. And then use saturation slider to minimize color?
That could be working, i tried a white liliy and green leafs.
I knew it has something to do with a mask to pull this of. Did it the wrong way around. Masking the object instead of the surroundings.
Thanks
Ps this kind of editing is a nice tutorial subject to show other how to do this. Hint hint.
Ok as i understand, just place a wel placed number of negative’s .
And select a silver efex b&w filter?
The negative controlpoint protects the object for be converted to b&w?
This can be a useful one also. I think the b&w convertion has more punch then by using a desaturation methode.
(Is it possible to use “plus” controlpoints to control the influence of the negative?, like normal you use the negatives to control the masking shape of a controlepoint?)
I think your methode needs a good knowledge of RGB -white control.
And indeed if the object to be stayes colored isn’t a 80-90% r or g or b then it’s difficult to not damage that color.
That’s why i failed in using your suggestion.
I think i try all three methodes on some test subjects to see if i understand the borders and thereby can select a methode for the image i want to convert.
I never played with this before.
In camera it is to much “hassle” to select that modes and select the object on a tripod for the stability of reverencepoint, rest of family feet tapping waiting , much better to play with in post.
Previously I used desaturation or the BW filter in Affinity. Both methods are useful, especially while exploring options on what to do with an image.
Now I just use Silver Efex as the results are much better overall. I generally get the image exactly how I want it in colour and then apply Silver Efex
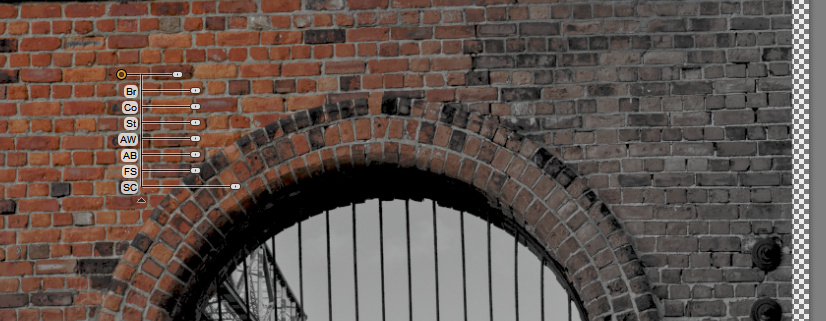
Like a number of NIK plugins it has both positive and negative control points. For the image I posted I used both.
owh i get frustrated by the control different UI! of NIK and DPL’s upoint/controlpoint
i know how to work with things but always forget names and key-combi’s of shortcuts.
add a negative control? silver efex.pro 2.
no quicklist of control commands in help feature goes to a general page.
every time i need to use internet to do a remember this search.
if DxO decides to redo UI of both so they work the same with the same short commands and such i would buy it.
I don’t use nik that much , i think you know that by now. , so i use the free dxo NIKv1.
Is there a NIK control key list somewhere out there? because i think there arn’t negative controlpoints in Silver efex pro 2.
//because i think there arn’t negative controlpoints in Silver efex pro 2.//
You are correct.
Rather, the same Control Point can apply an effect from 0-100%
The particular control I meant is at the bottom of the CP options list called “Selective Colourisation” allowing colour to be B+W (default) through to full colour
This guy helps alot, talks clear shows slow enough to congest and remember. Webinair of DxO
Around 25min he shows shortly the selective colorarisation slider.
(in general it’s a reminder to visit dxo’s support webinair tutorial section more. After a wile you think you seen them all but in fact they replaced and updated alot af the old optic pro tutorials for new one’s. And even when you think that you are generally known the potential of PL it’s refreshes your view about some things.)
Edit: first things of mind (selected some rawfile to practise)
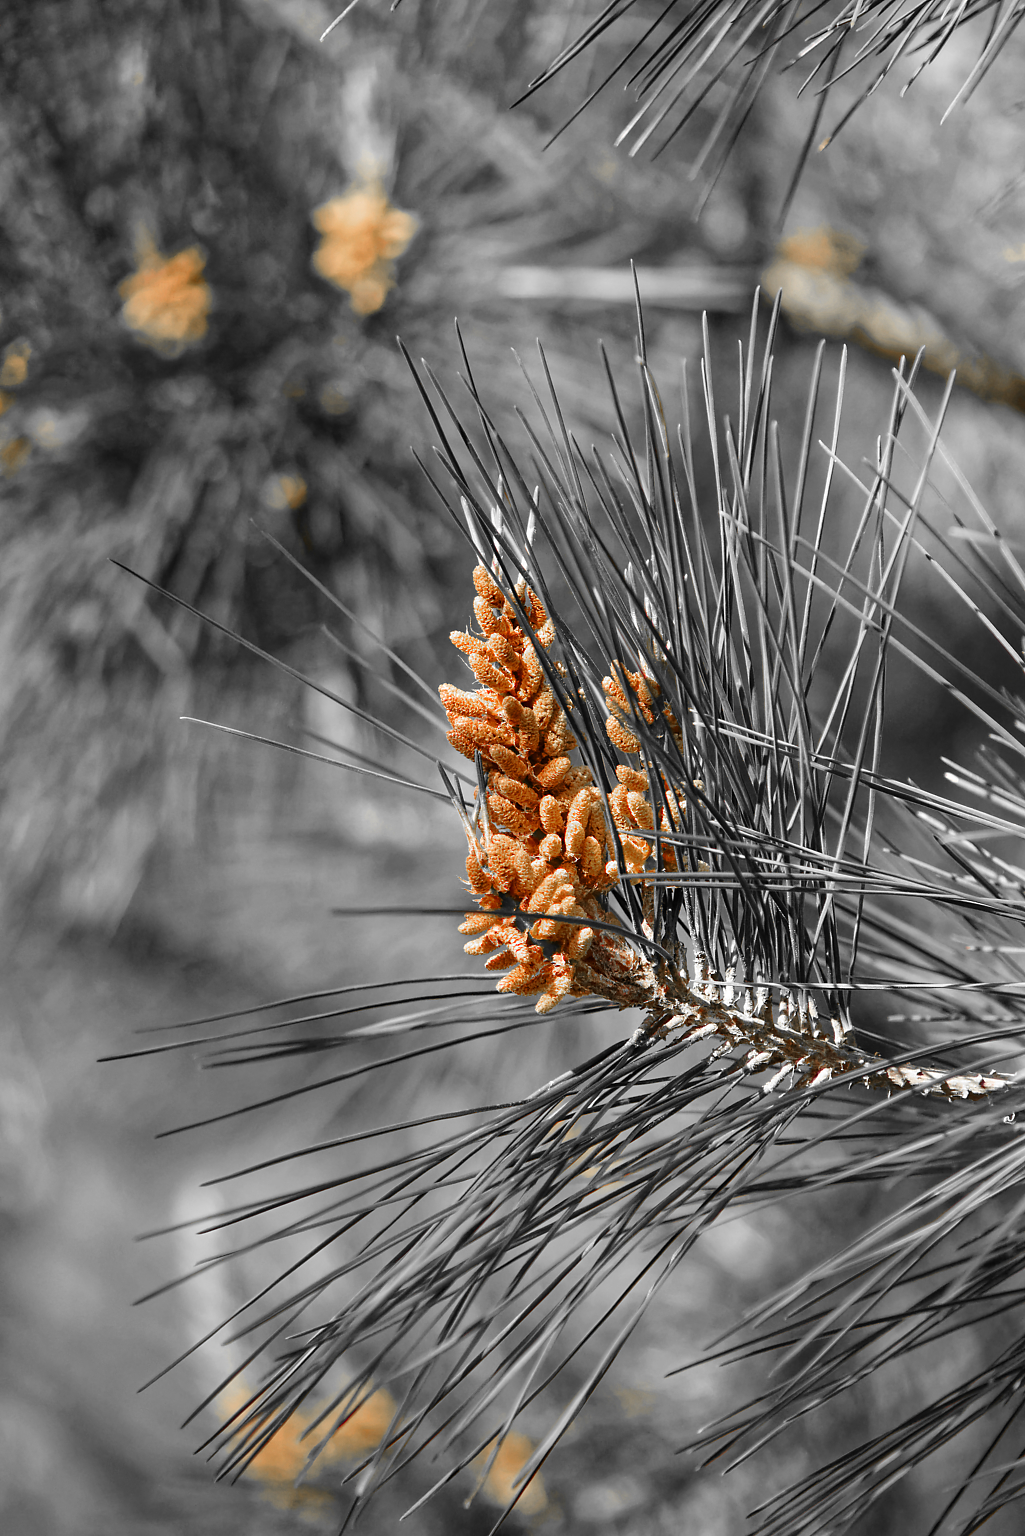
The silvereffex method: controlpoints and selective color retrieval: works mostly for images with a certain strong color, So a image made on purpose to use as B&W with a colorpart. Otherwise to much bleeding of controlpointgroups which needs to be corrected with other controlpoint groups.
What is a good thing is that the filters for BnW conversion are very nice and versatile so after the color recovery you can reselect the filter you like and fine tune the BnW section.
(The filters and control inside this SilverEfex is as i watched from above webinair the most preferable in BnW conversion. no protection brushing sadly only controlpoints.)
(In Photoshop it seems you can use protection masking with brushes and such and stil export to Silverefex convert and back in Photoshop to merge both layers as one.)
Marks methode: is very good for objects with a clear edge and multiple coloring. Long preparation sadly to carefully “cut out” object(s) You need to mask hole image except colored objects and use erazor to fine tune the hole thing. It would be great if we could also use the mask’s as “negatives”. So we could paint the things we want to be staying colored and desaturate the image as hole keeping the masked area’s colored. and viseversa. B&W the masked objects in one switch. (desaturate objects is posible now with masking.)
But what would be great is protection masking and after that HSL tool for the conversion
other thought: the auto masking is now not possible to preview selection of automask, when you paint the painted color is evenly blue so a “preview-button” to fine tune would be helpful in this matter.
(Joanna’s methode:) -one color: (not jet existing?) color-picker to use in HSL to select a certain color and re saturate that picked color after a all color desaturation in the HSL tool and filmpack filters and preset filters inside DxOPL.
And incolor efex pro 4 you can use a B/W conversion and place negative controlpoints on the places you want color. bit the same as above in silver effects pro’s selective color recovery.
am i forgetting a methode?
His remark about the short cut list on dxo faq is not found yet by me.
When i have the time i wil do the same image on different methodes just to see which wil serve me wel.

 , much better to play with in post.