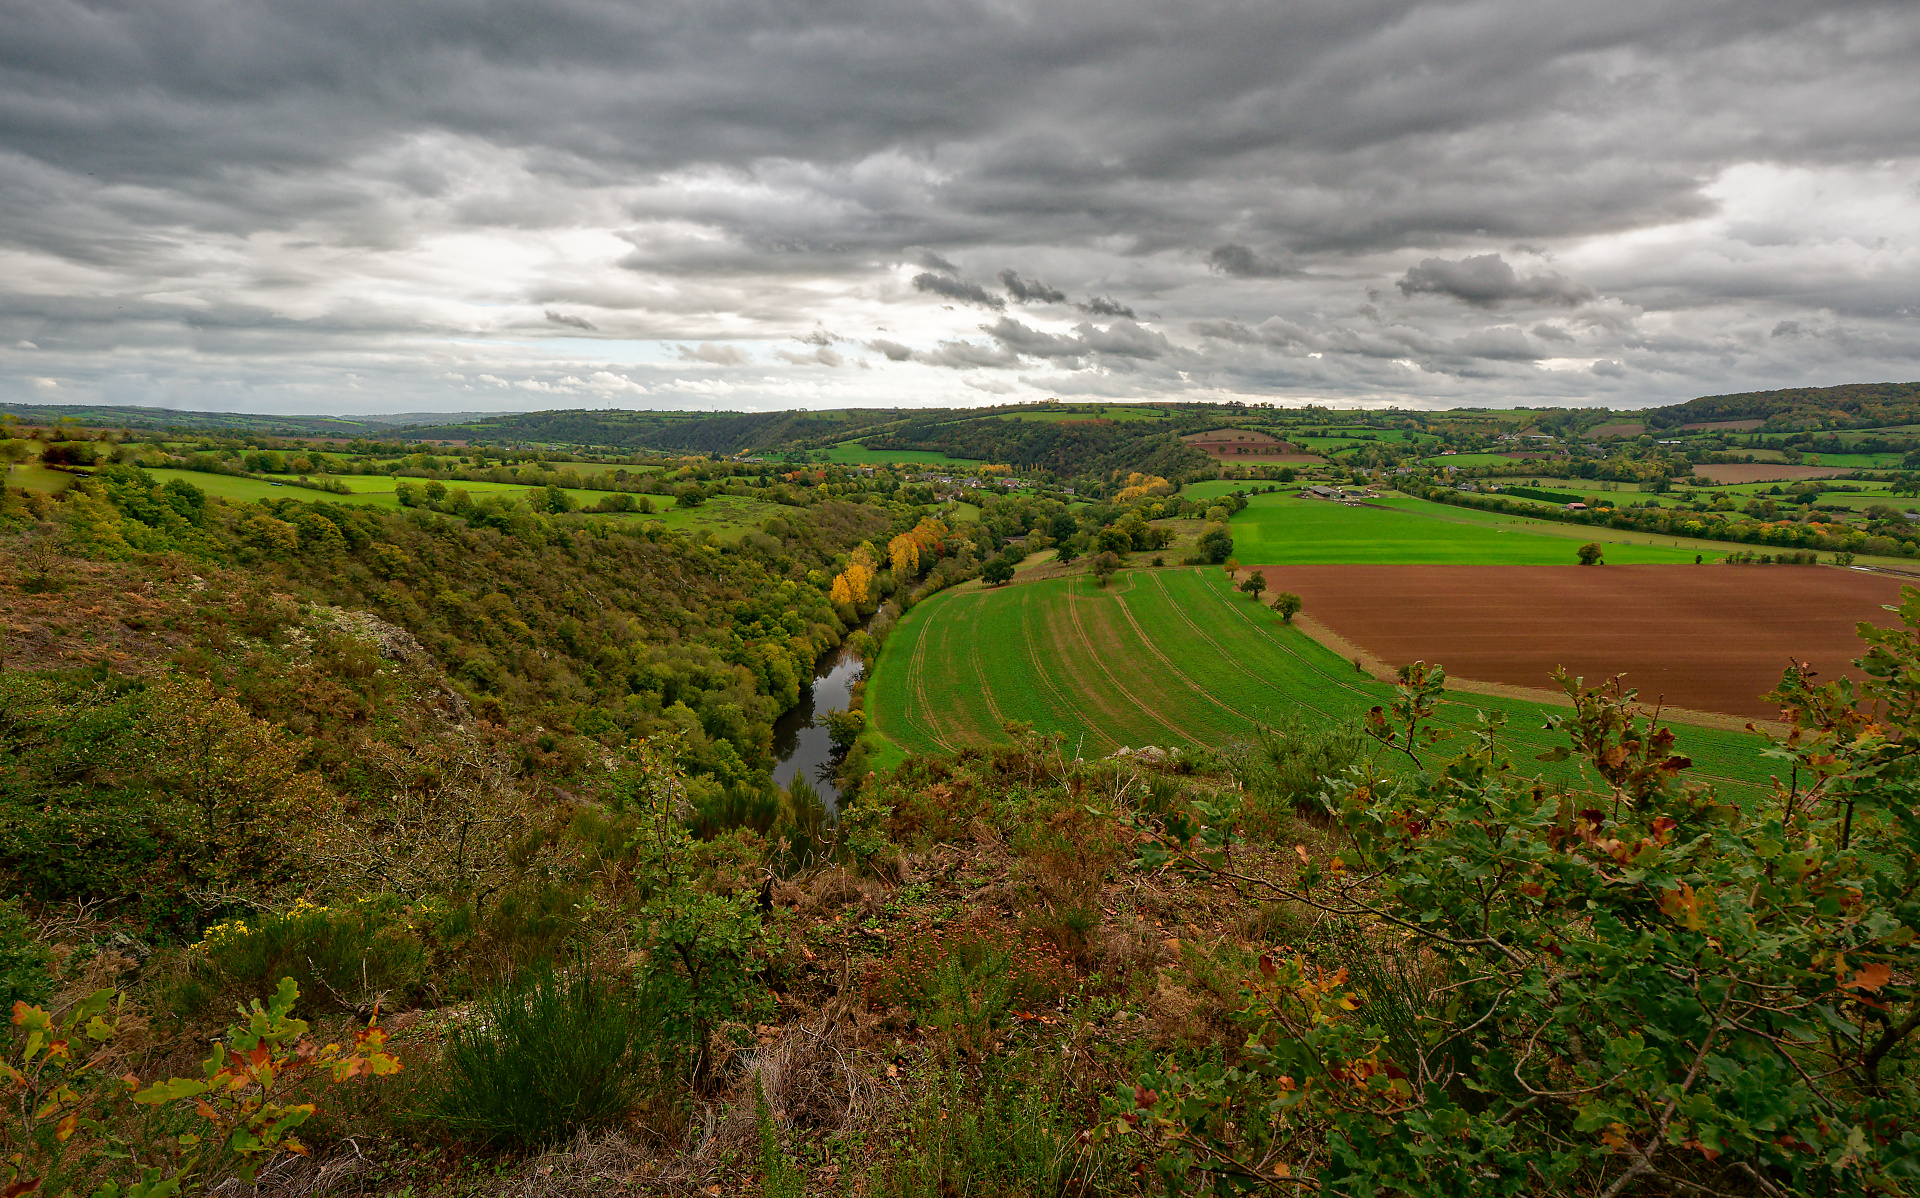
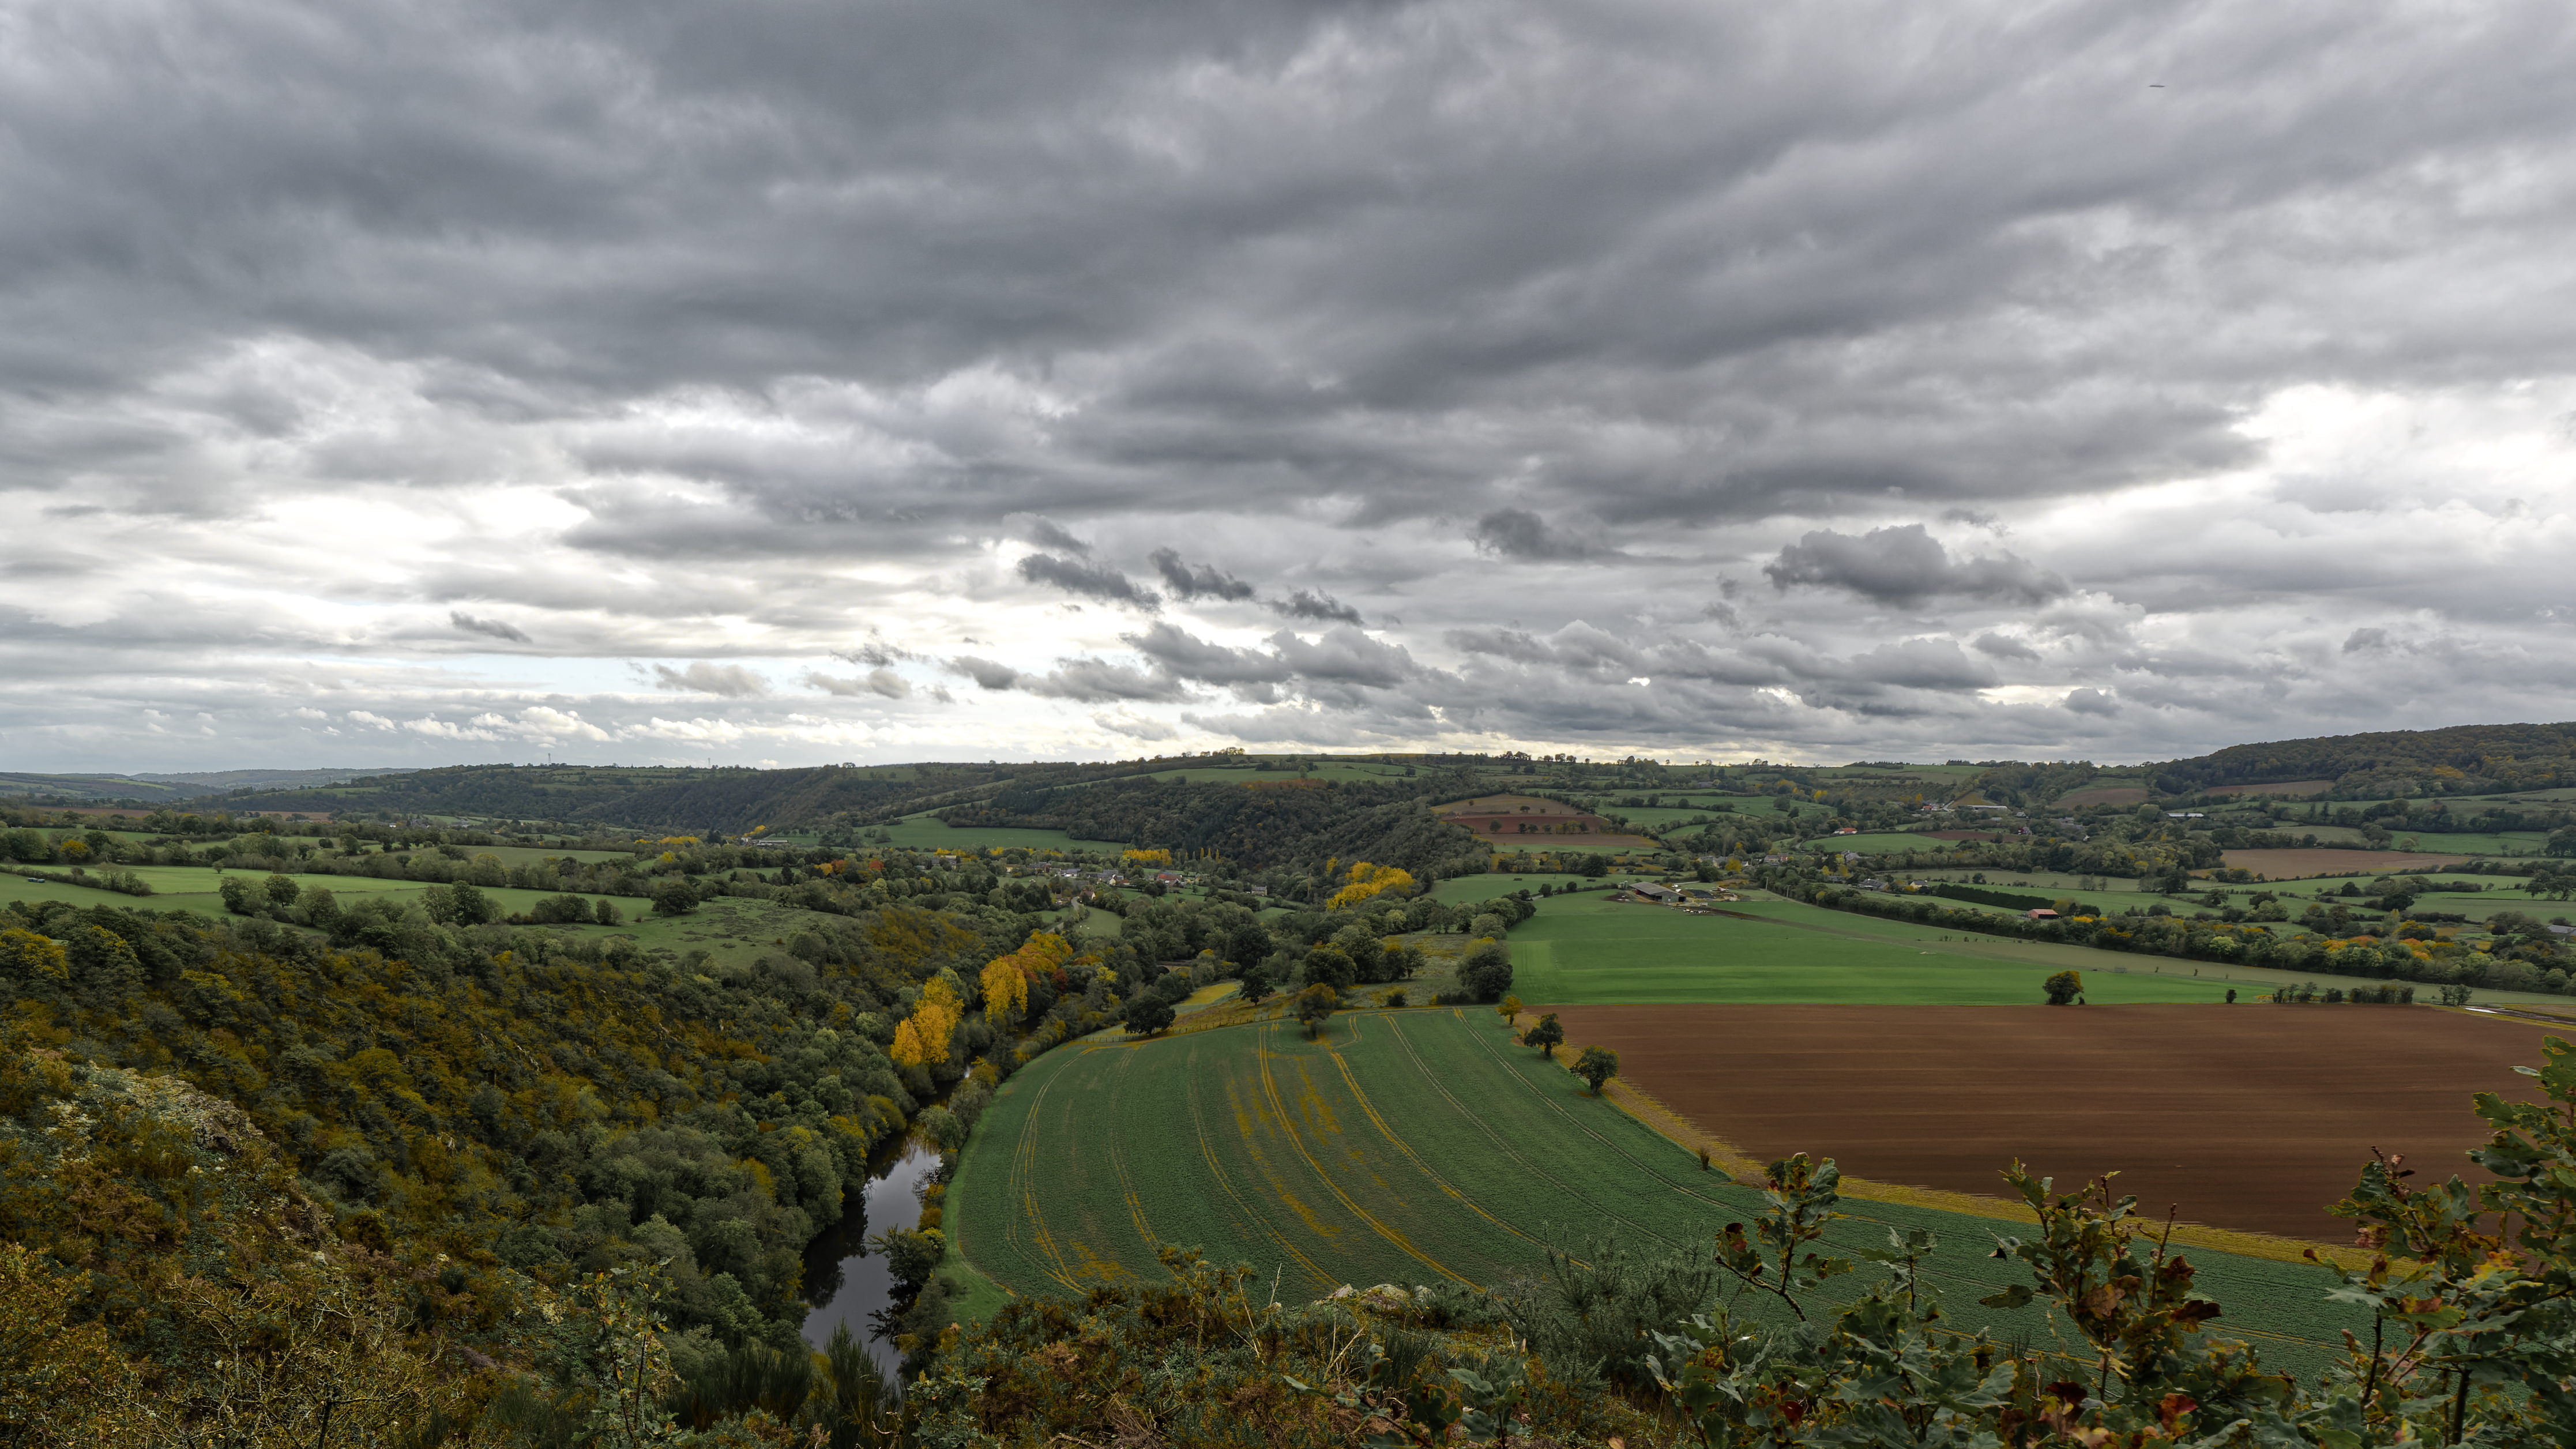
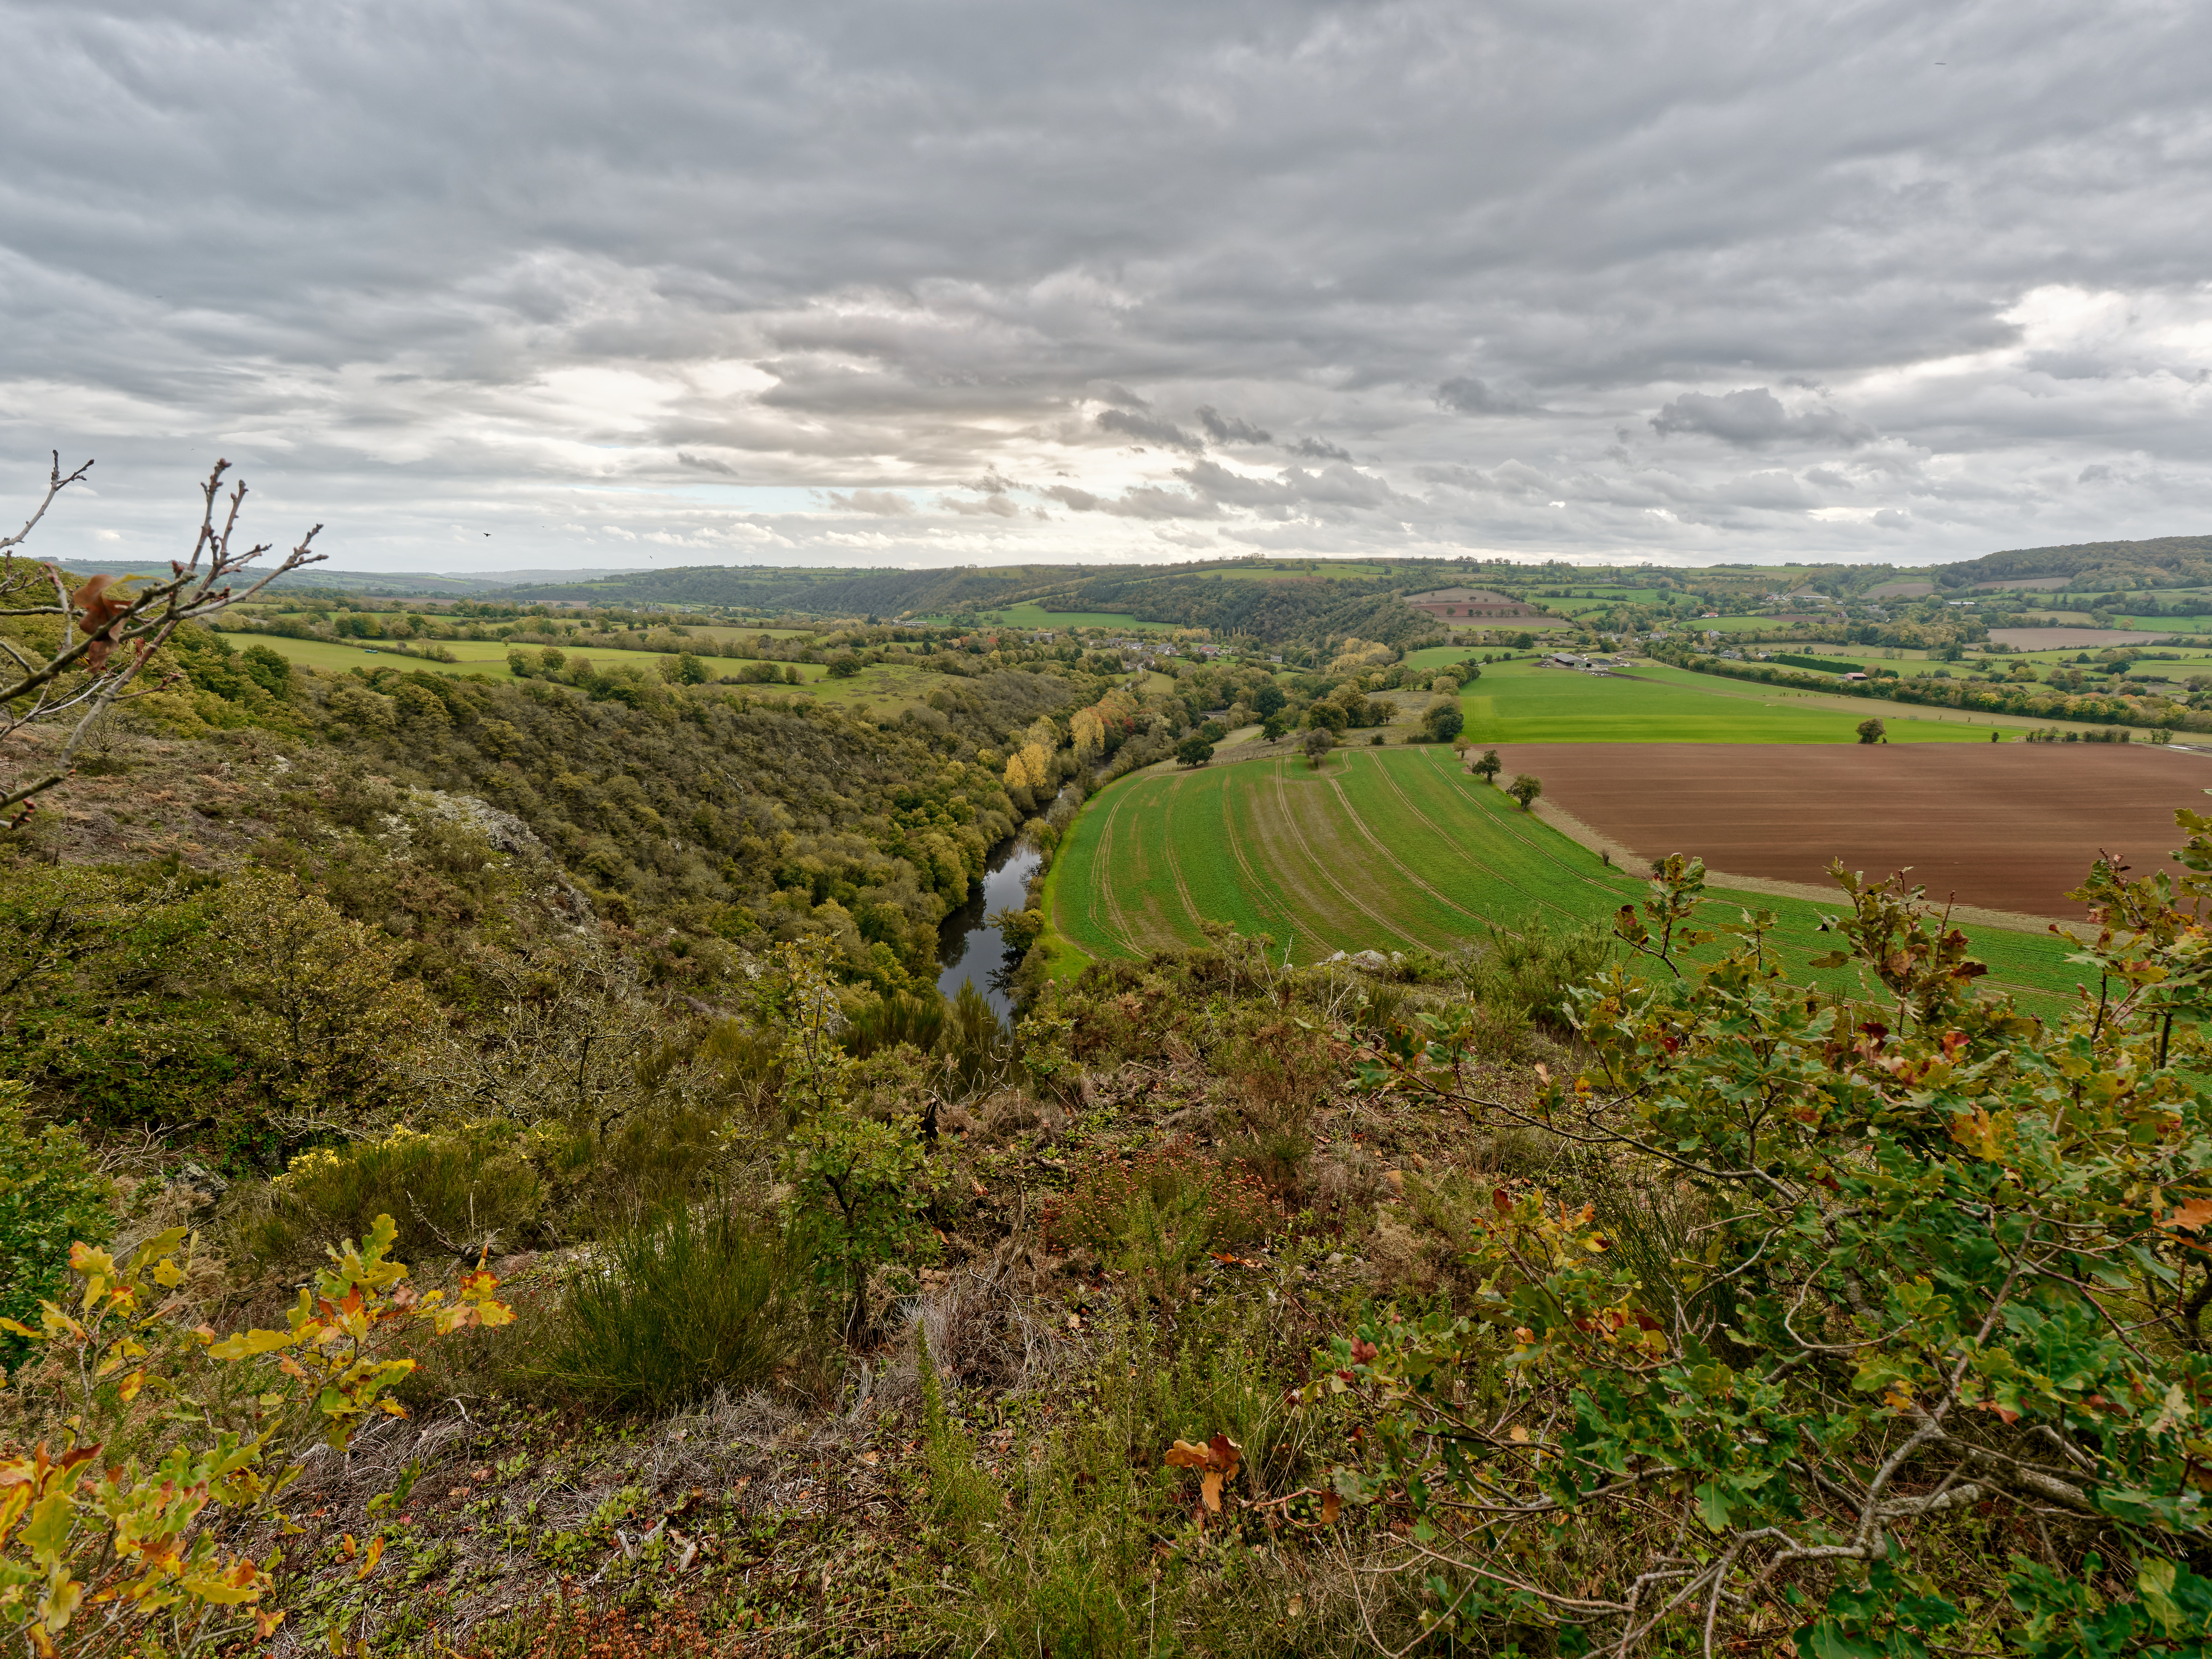
There are so many ways to process a file … many good answers. I gave a try to the one with bracketing, using only the middle one _1087051.RW2. I processed the image just for optical corrections and DeepPRIME using PL4. Continued using Nik collection Color Efex.
i like the first… i have NIK free version but don’t use it much. same as filmpack emulators by the way. not enough patience to search and look which i like at that moment.
( then i know never which i like…)
Man - Something you may wish to to consider is use of Spot-Weighted Smart Lighting (instead of the Tone Curve, which is global in its application - without ability for “finesse”). To use it, draw a rectangle on the image, and then move it around - especially over high-contrast areas - to see the result you get. You can draw multiple rectangles to have influence applied from different tones in the image (tho, one or two is usually sufficient).
Also, I see that you’re applying Unsharp Mask (perhaps 'cos you’re coming from a LR background?) - - which, again, has a global impact … whereas, you’ll most likely be better off relying on PL’s Lens Sharpness correction (which understands the specific characteristics of your {body+lens} combination). If you’re not happy with sharpness of the exported result, try Interpolation = Bicubic Sharper (especially if you’re resampling to smaller image size - as I did in the image above).
HTH - John M
3 Likes
Bebop
(Barb Mac 11.7, PL6, FP6, VP3, Canon, Olympus)
31
Thank you, that’s interesting. I checked it and it had been left on As Shot - which I would expect to be sRGB on my cameras, but it is not my camera, so that might make sense.
I see you also commented on Unsharp Mask above. This is something I keep meaning to look into to see if there are any tutorials. I never use it - I am from a Lightroom background, but I’ve felt so far, that the sharpness was enough without it. I just seem to do less processing overall with Photolab 3.
1 Like
Bebop
(Barb Mac 11.7, PL6, FP6, VP3, Canon, Olympus)
32
Now trying again with the sRGB profile - thank you so much for mentioning this, and I’m glad I said they were a bit flat. So much to learn!
m-photo
( Marc (macOS Sonoma on MBP16" Intel))
35
If my camera is supported but there is no profile for my lens, I will use unsharp mask right ?
Or do you guys use another technique to bring some overall sharpness ?
Thanks a lot for those tips John, very useful. I’ll give a try with smart lighting.
Regarding unsharp masks, i know it can bring noise to the whole picture, but on my screen i find that it gives a little more sharpness. Do i use not properly sharpness lens correction ?
Yes, you were using Lens Sharpness correctly. Note, tho, that you will not be seeing the actual results of Lens Sharpness (nor of Unsharp Mask) unless your zoom rate is 70% or greater.
And, generally, Lens Sharpness will provide a “smarter” result than will the global impact of USM.
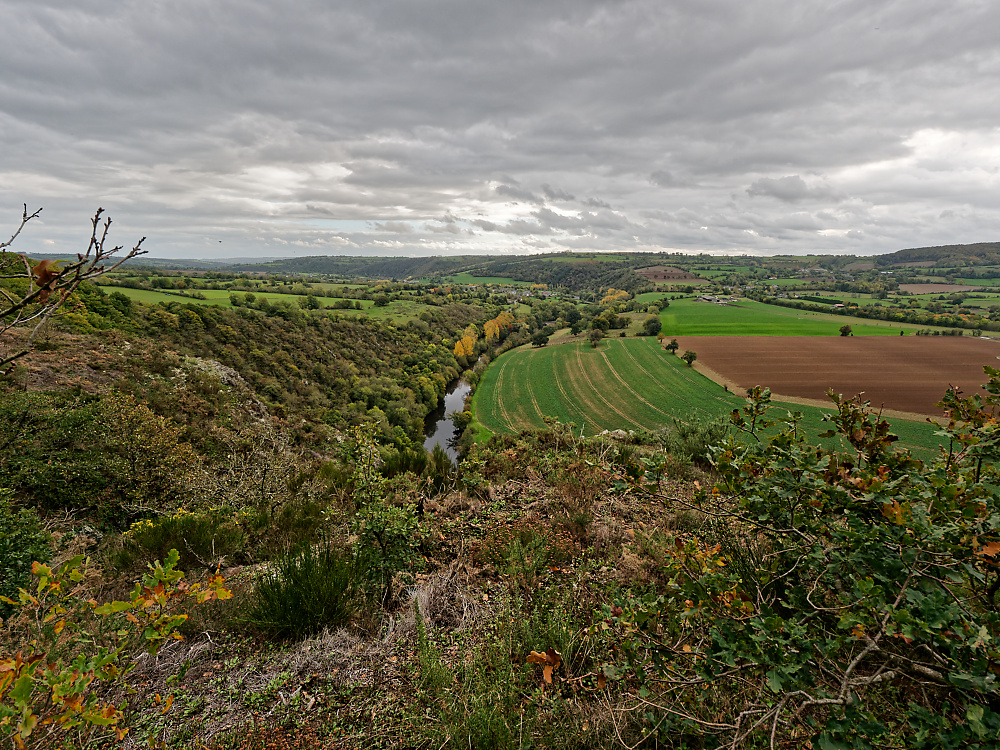
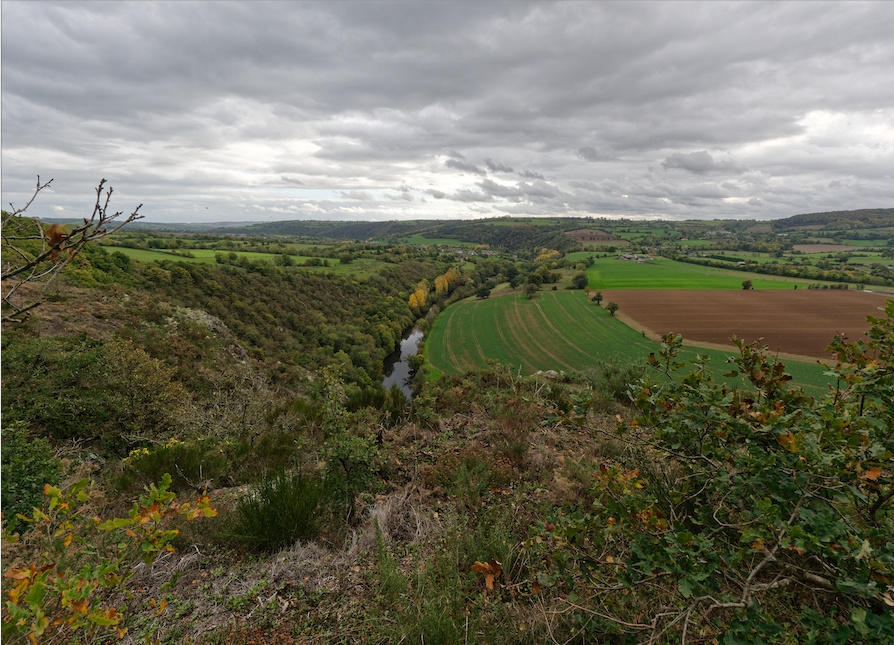
for the first, lighten the lower part of the picture
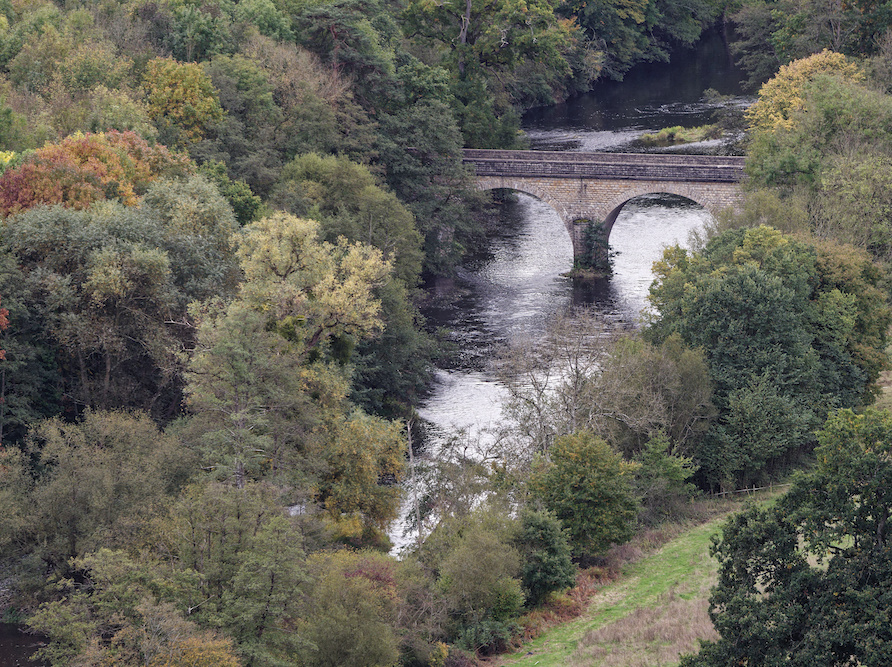
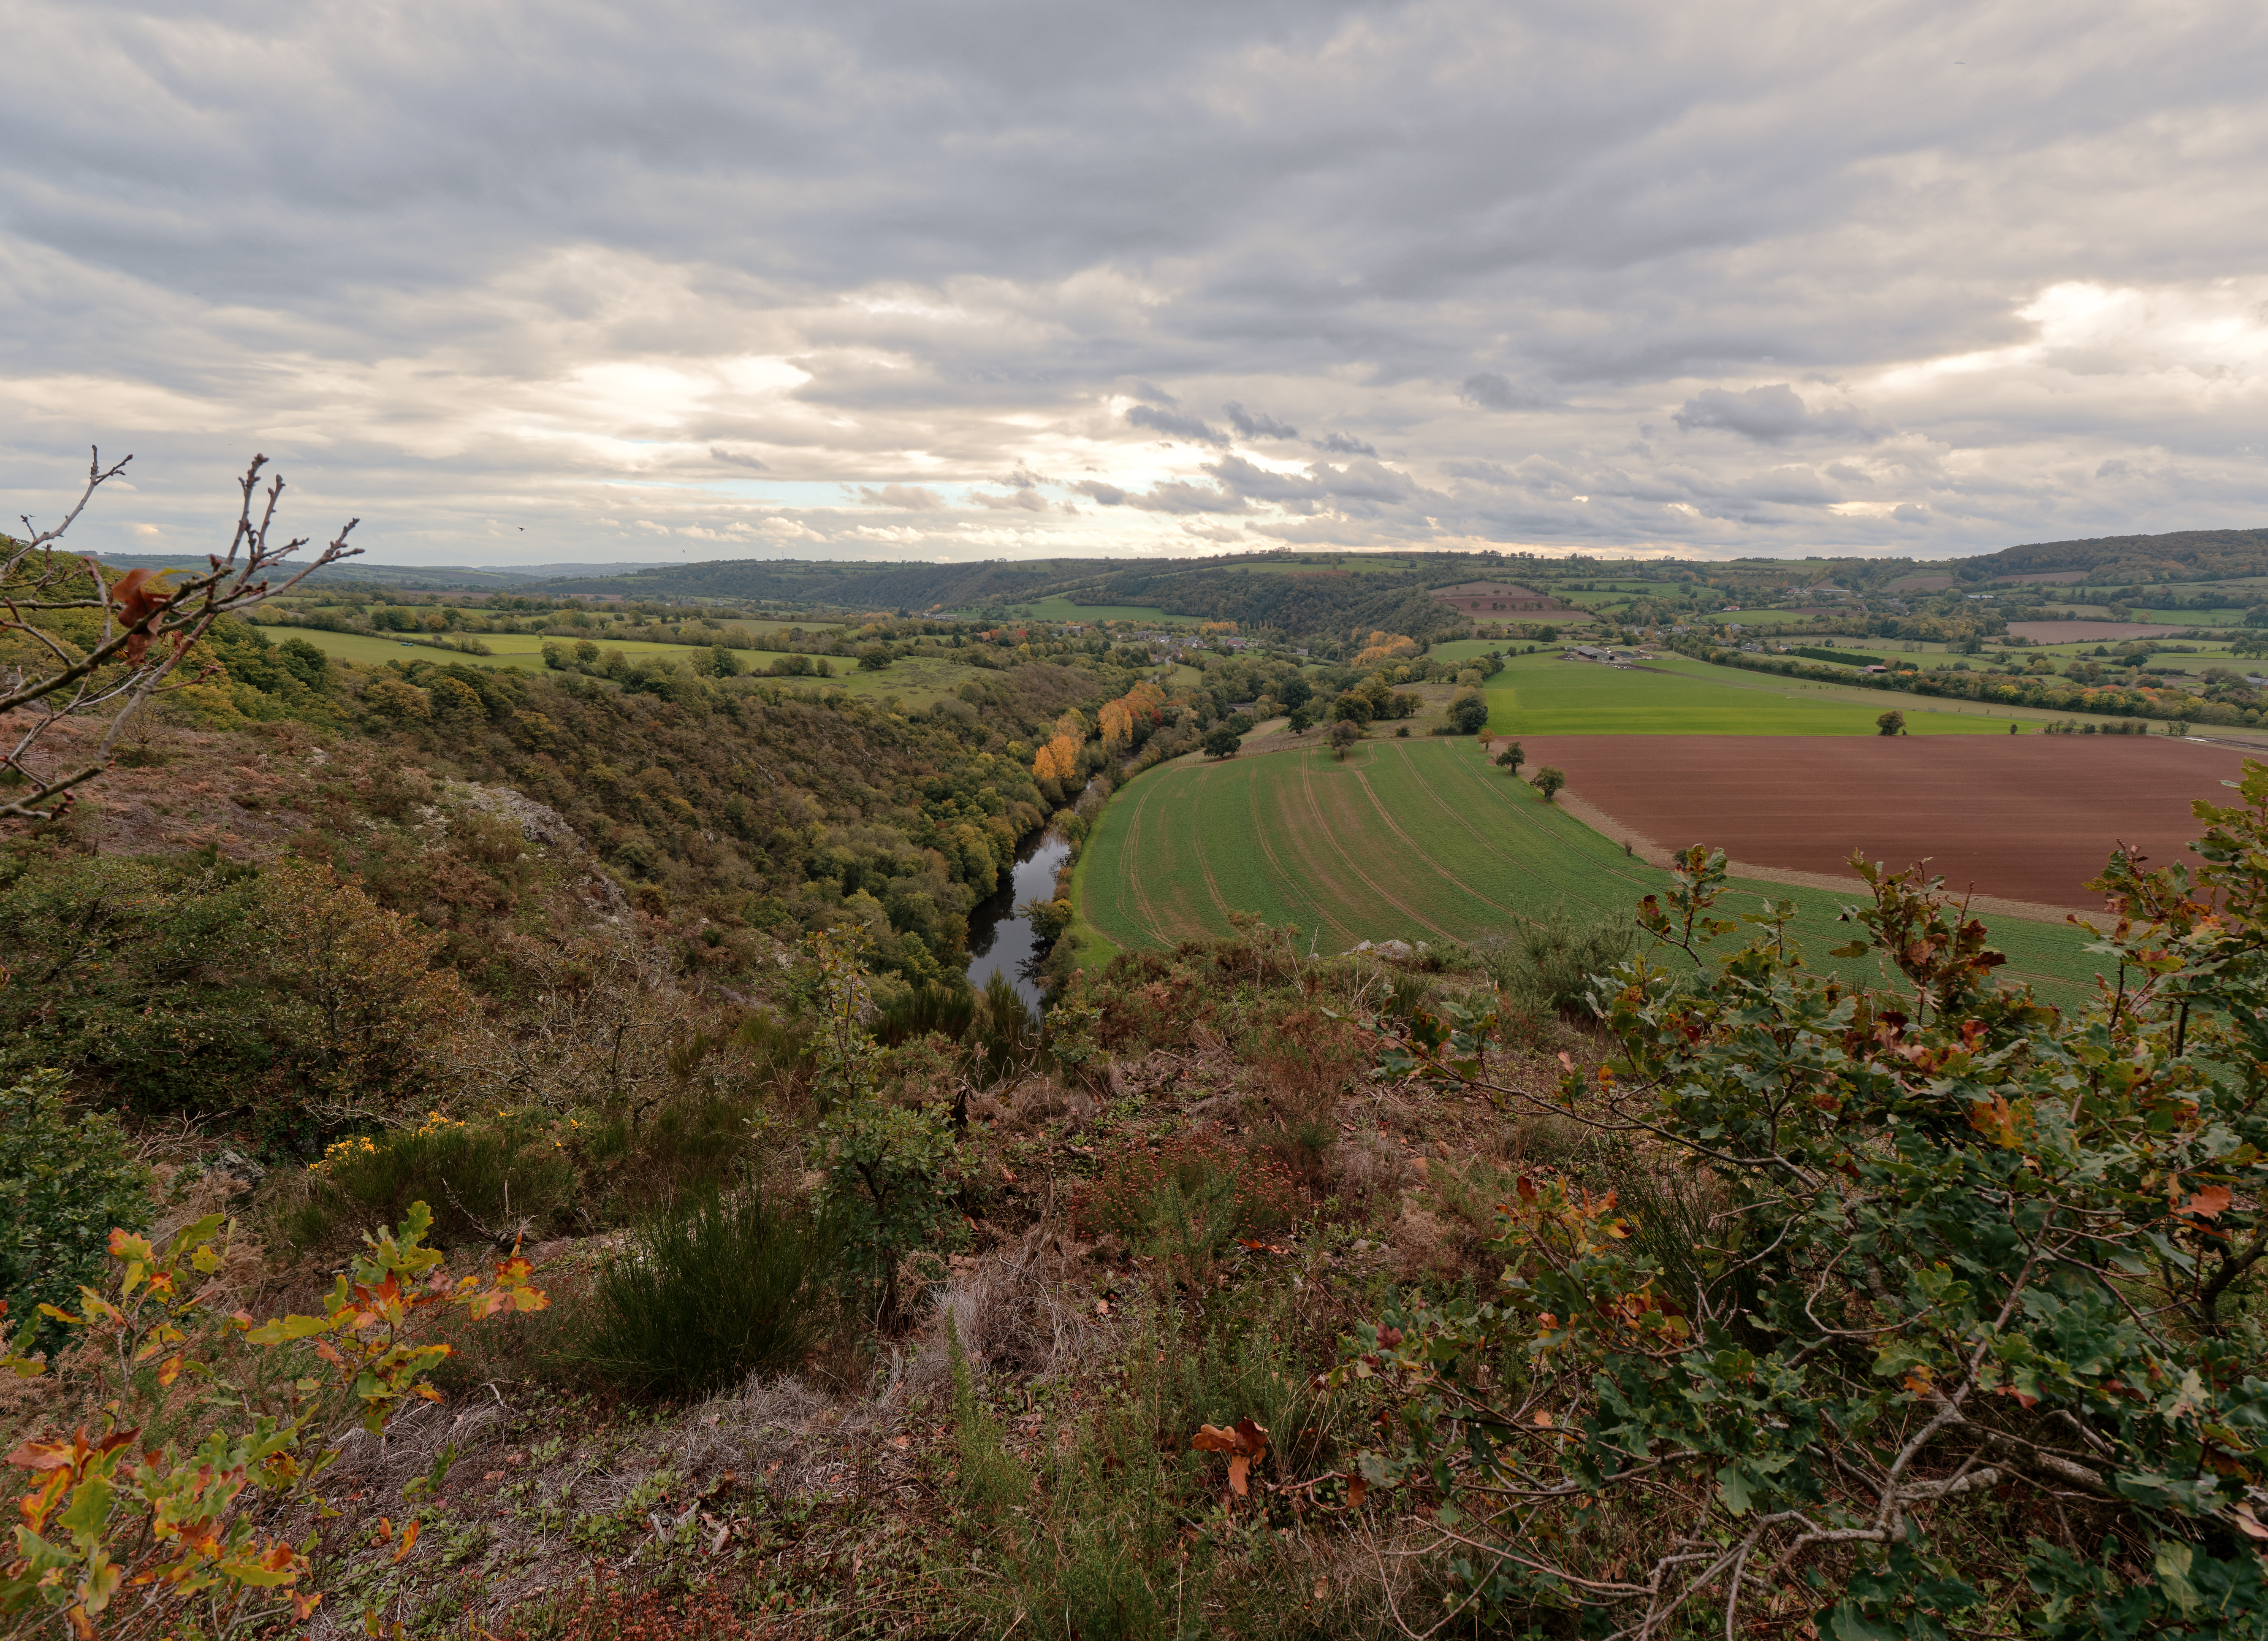
for the second, clear view because it increase slightly contrast and saturation.
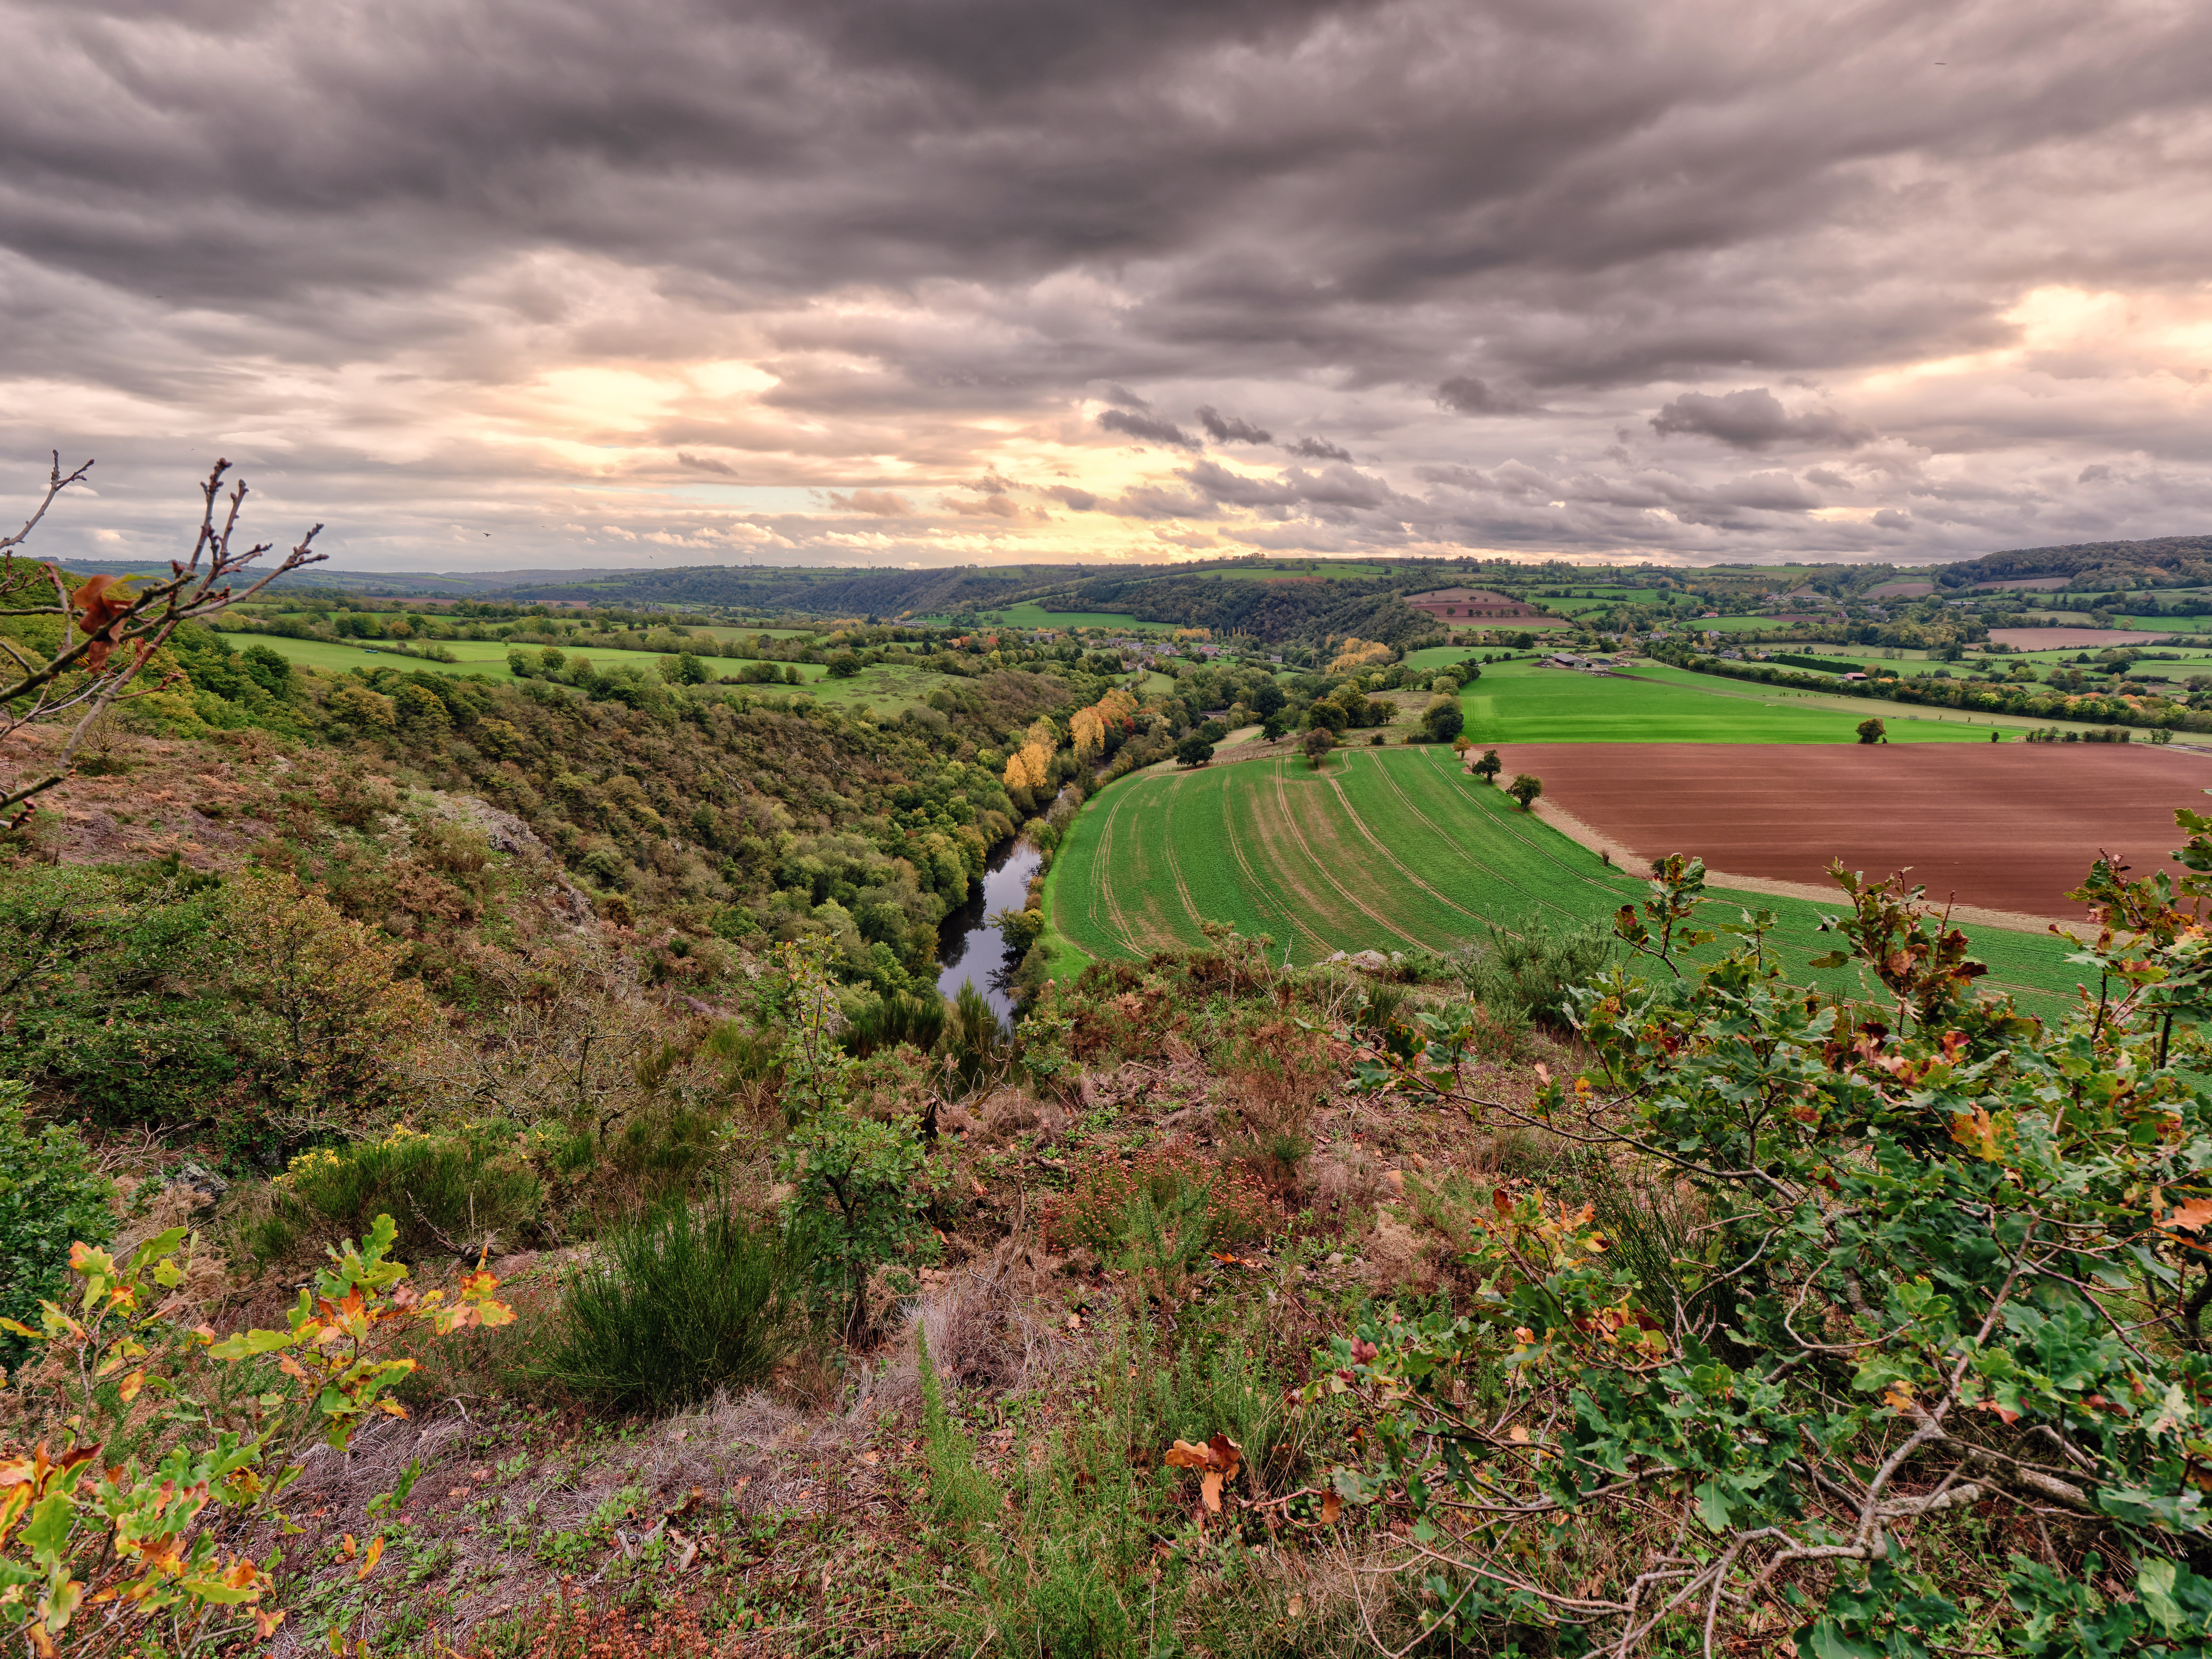
Increase the corrections renders pictures that look no more real ; they become artistic creations rather than photographies !
I forgot : always a little increase of micro contrast.
It’s always a pleasure to have someone else’s raw images to play around with, especially with
this kind of scene, which we don’t have anything like in Southern California … or anywhere nearby. I shoot a lot of landscapes with my G9+8-18mm Panasonic/Leica zoom. I took the liberty of cropping it, as I almost always do with my 8-18mm. I selected three areas for Spot Weighted Smart Lighting and set the intensity to 30. I used control points to add extra clear view and micro contrast to the clouds. I also used control points on the river and added micro contrast a big. I also removed the two birds, which are too small to add anything, in fact distract. I increased saturation in yellows and reds and decreased saturation in greens. Of course, I ran it through DeepPRIME; even at ISO 200 I always end up with some noise, particularly in sky and clouds, and I have yet to see it degrade image. This is exported JPEG 100%, but reduced in size using JPEGmini PRO.

 then i know never which i like…)