Aha! a crack in the armour of the “pure” photographer 
And it is all down to what Ansel Adams called visualisation, where, essentially, he worked out in his mind what he wanted the image to convey and then worked out in practice what it would take in terms of exposure and development to realise that “vision”. Something that involves far more emotion than just pure record photography 
If by trial and error you mean assessing the exposure on the back of the camera, then you need to remember that you are looking at a jpeg image that is a “best guess” of what the RAW could look like, made by the camera.
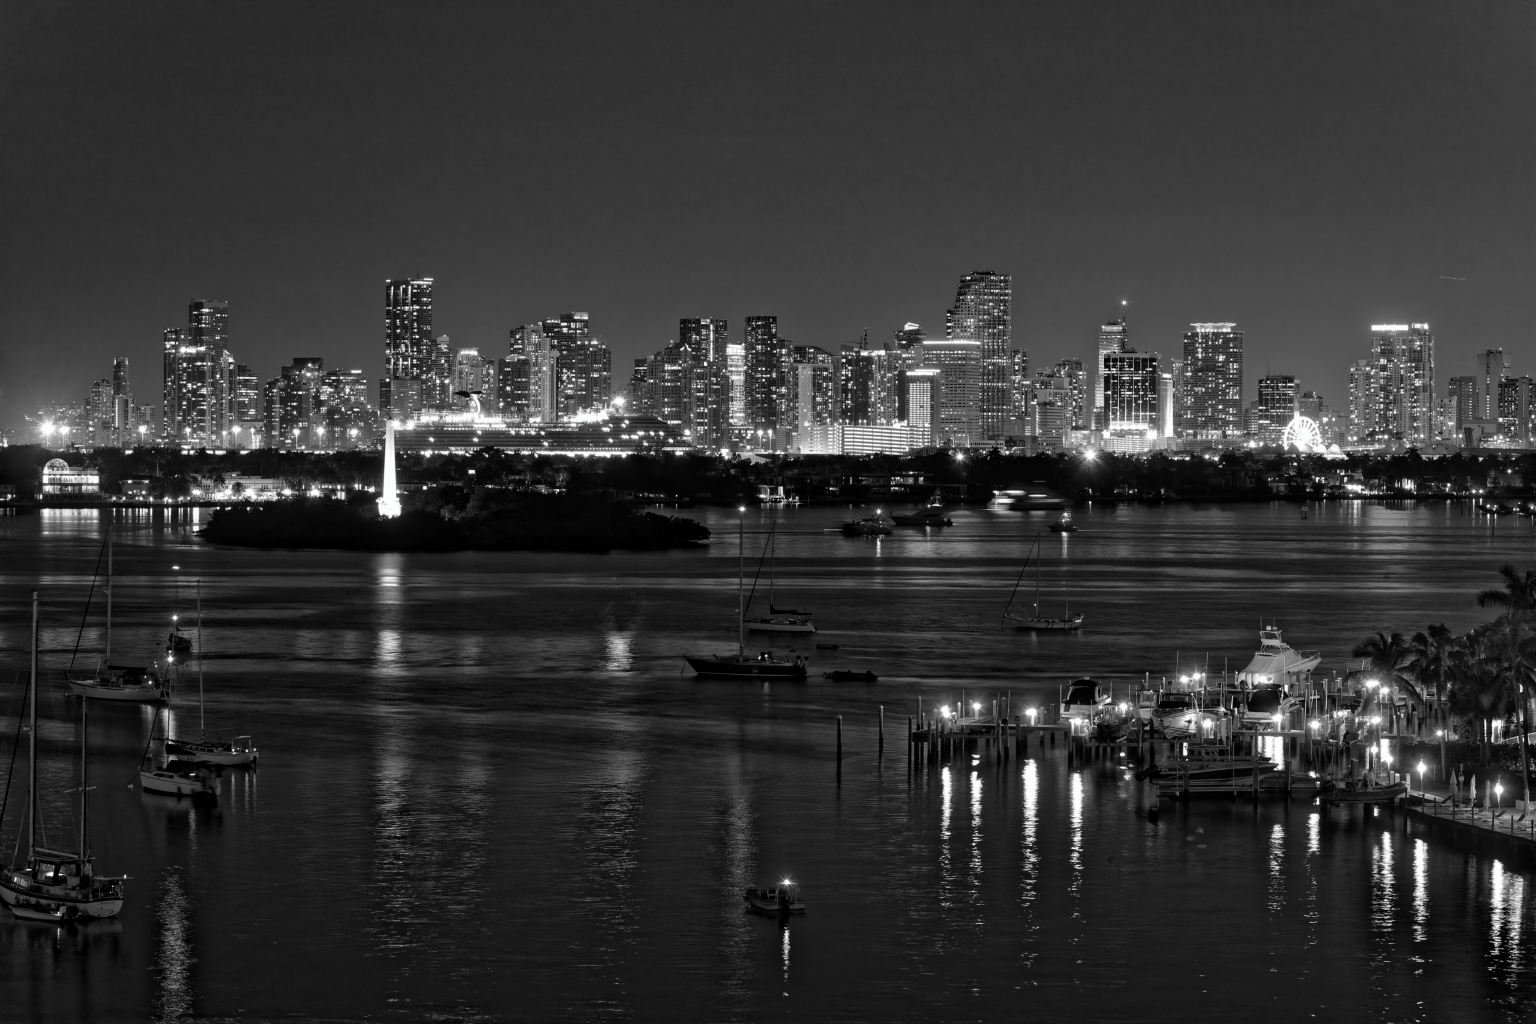
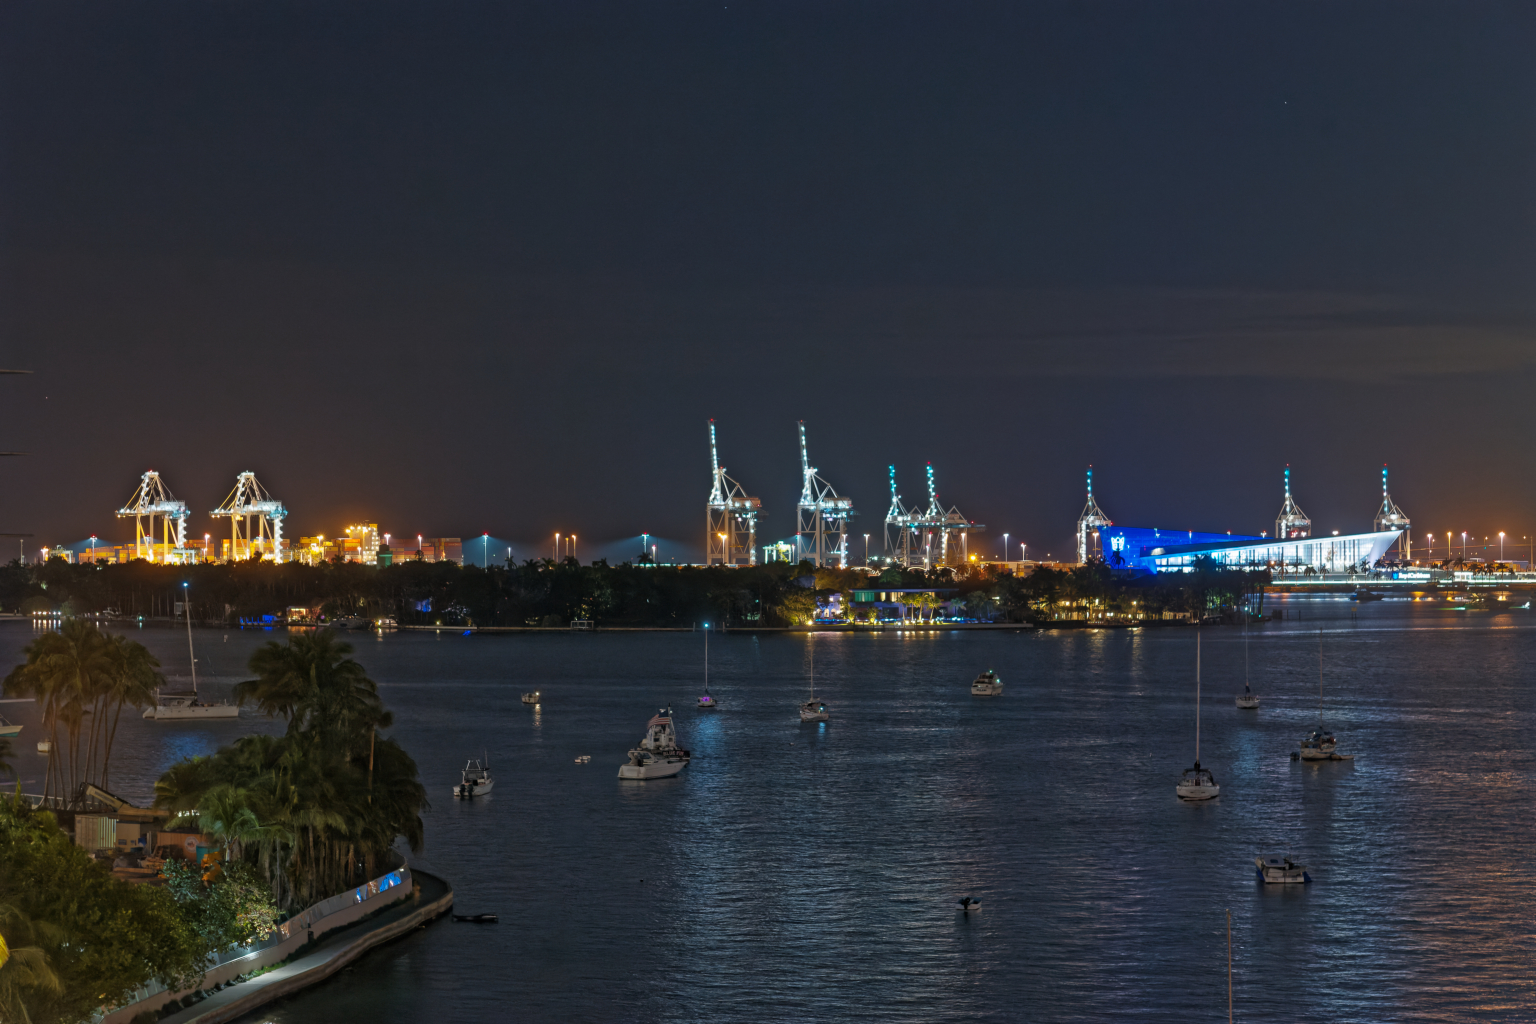
Once again, I can’t emphasise how useful it is to know the dynamic range of your camera and to try to avoid over-exposure at all costs. The problem with this type of shot is that you almost bound to get over-exposure on the actual points of light (similar to trying to meter the sun  )
)
Personally, I would have spot-metered the lit wedge-shaped building on the right and placed it as 2 stops over-exposed.
To completely avoid blown highlights, I found 1737 was fine but you might have been able to add 1 stop to that. What are known as specular highlights, such as points of light or bright reflections are “allowed”
Interestingly, if you use FastRawViewer, you will see that it is almost impossible to achieve blocked shadows - even the lowest exposure only shows a few dots here and there. In fact, if you had exposed in 1 stop increments, you would find that halfway between 1738 and 1739 seems to be about the sweet spot between not enough shadow detail and too much noise.
It would be very interesting to see what result you get by spot metering the brightest part at +2, which should be at the limit of your sensor.
DxOMark shows your sensor as having 13 stops of dynamic range at 100 ISO, so I would expect you to be able to place highlights at around +2 without too much problem, leaving the shadows to fall anywhere around -11 stops, which is pretty dark, and still recover details.
Oh, and my attempt at “perfection”, based on 1738
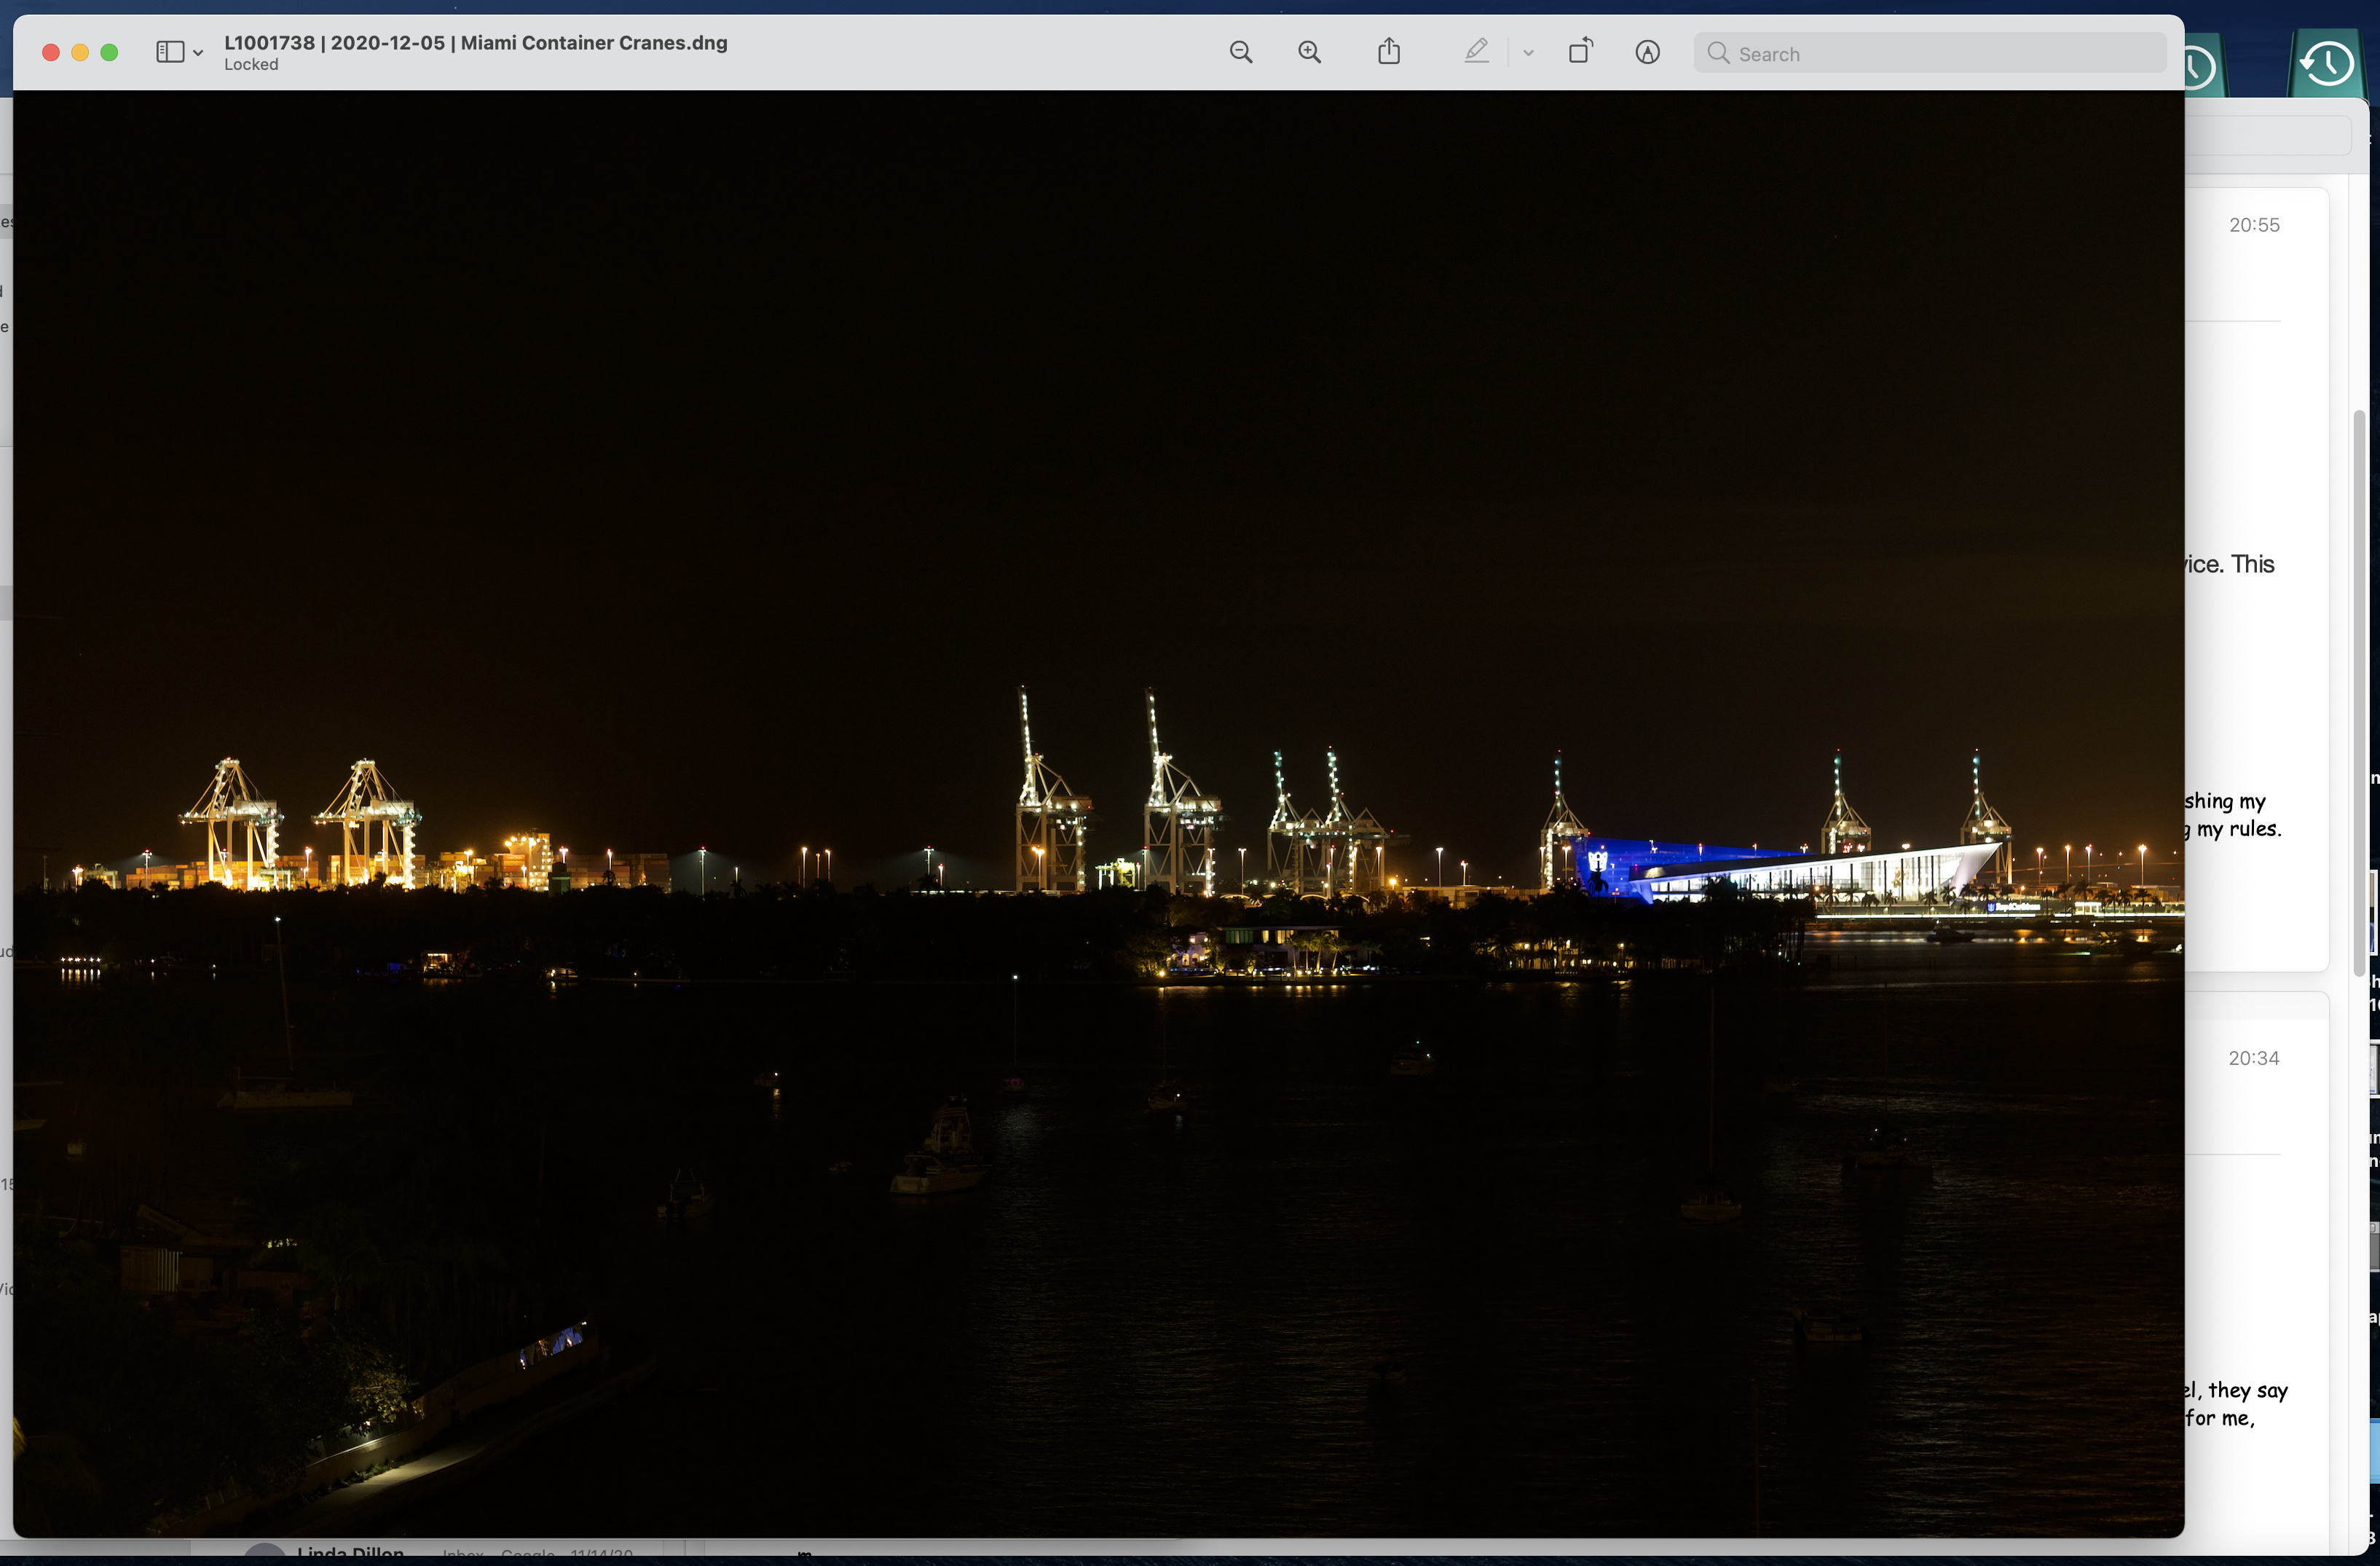
L1001738 | 2020-12-05 | Miami Container Cranes.dng.dop (11,4 Ko)
 then it’s a very nice version.)
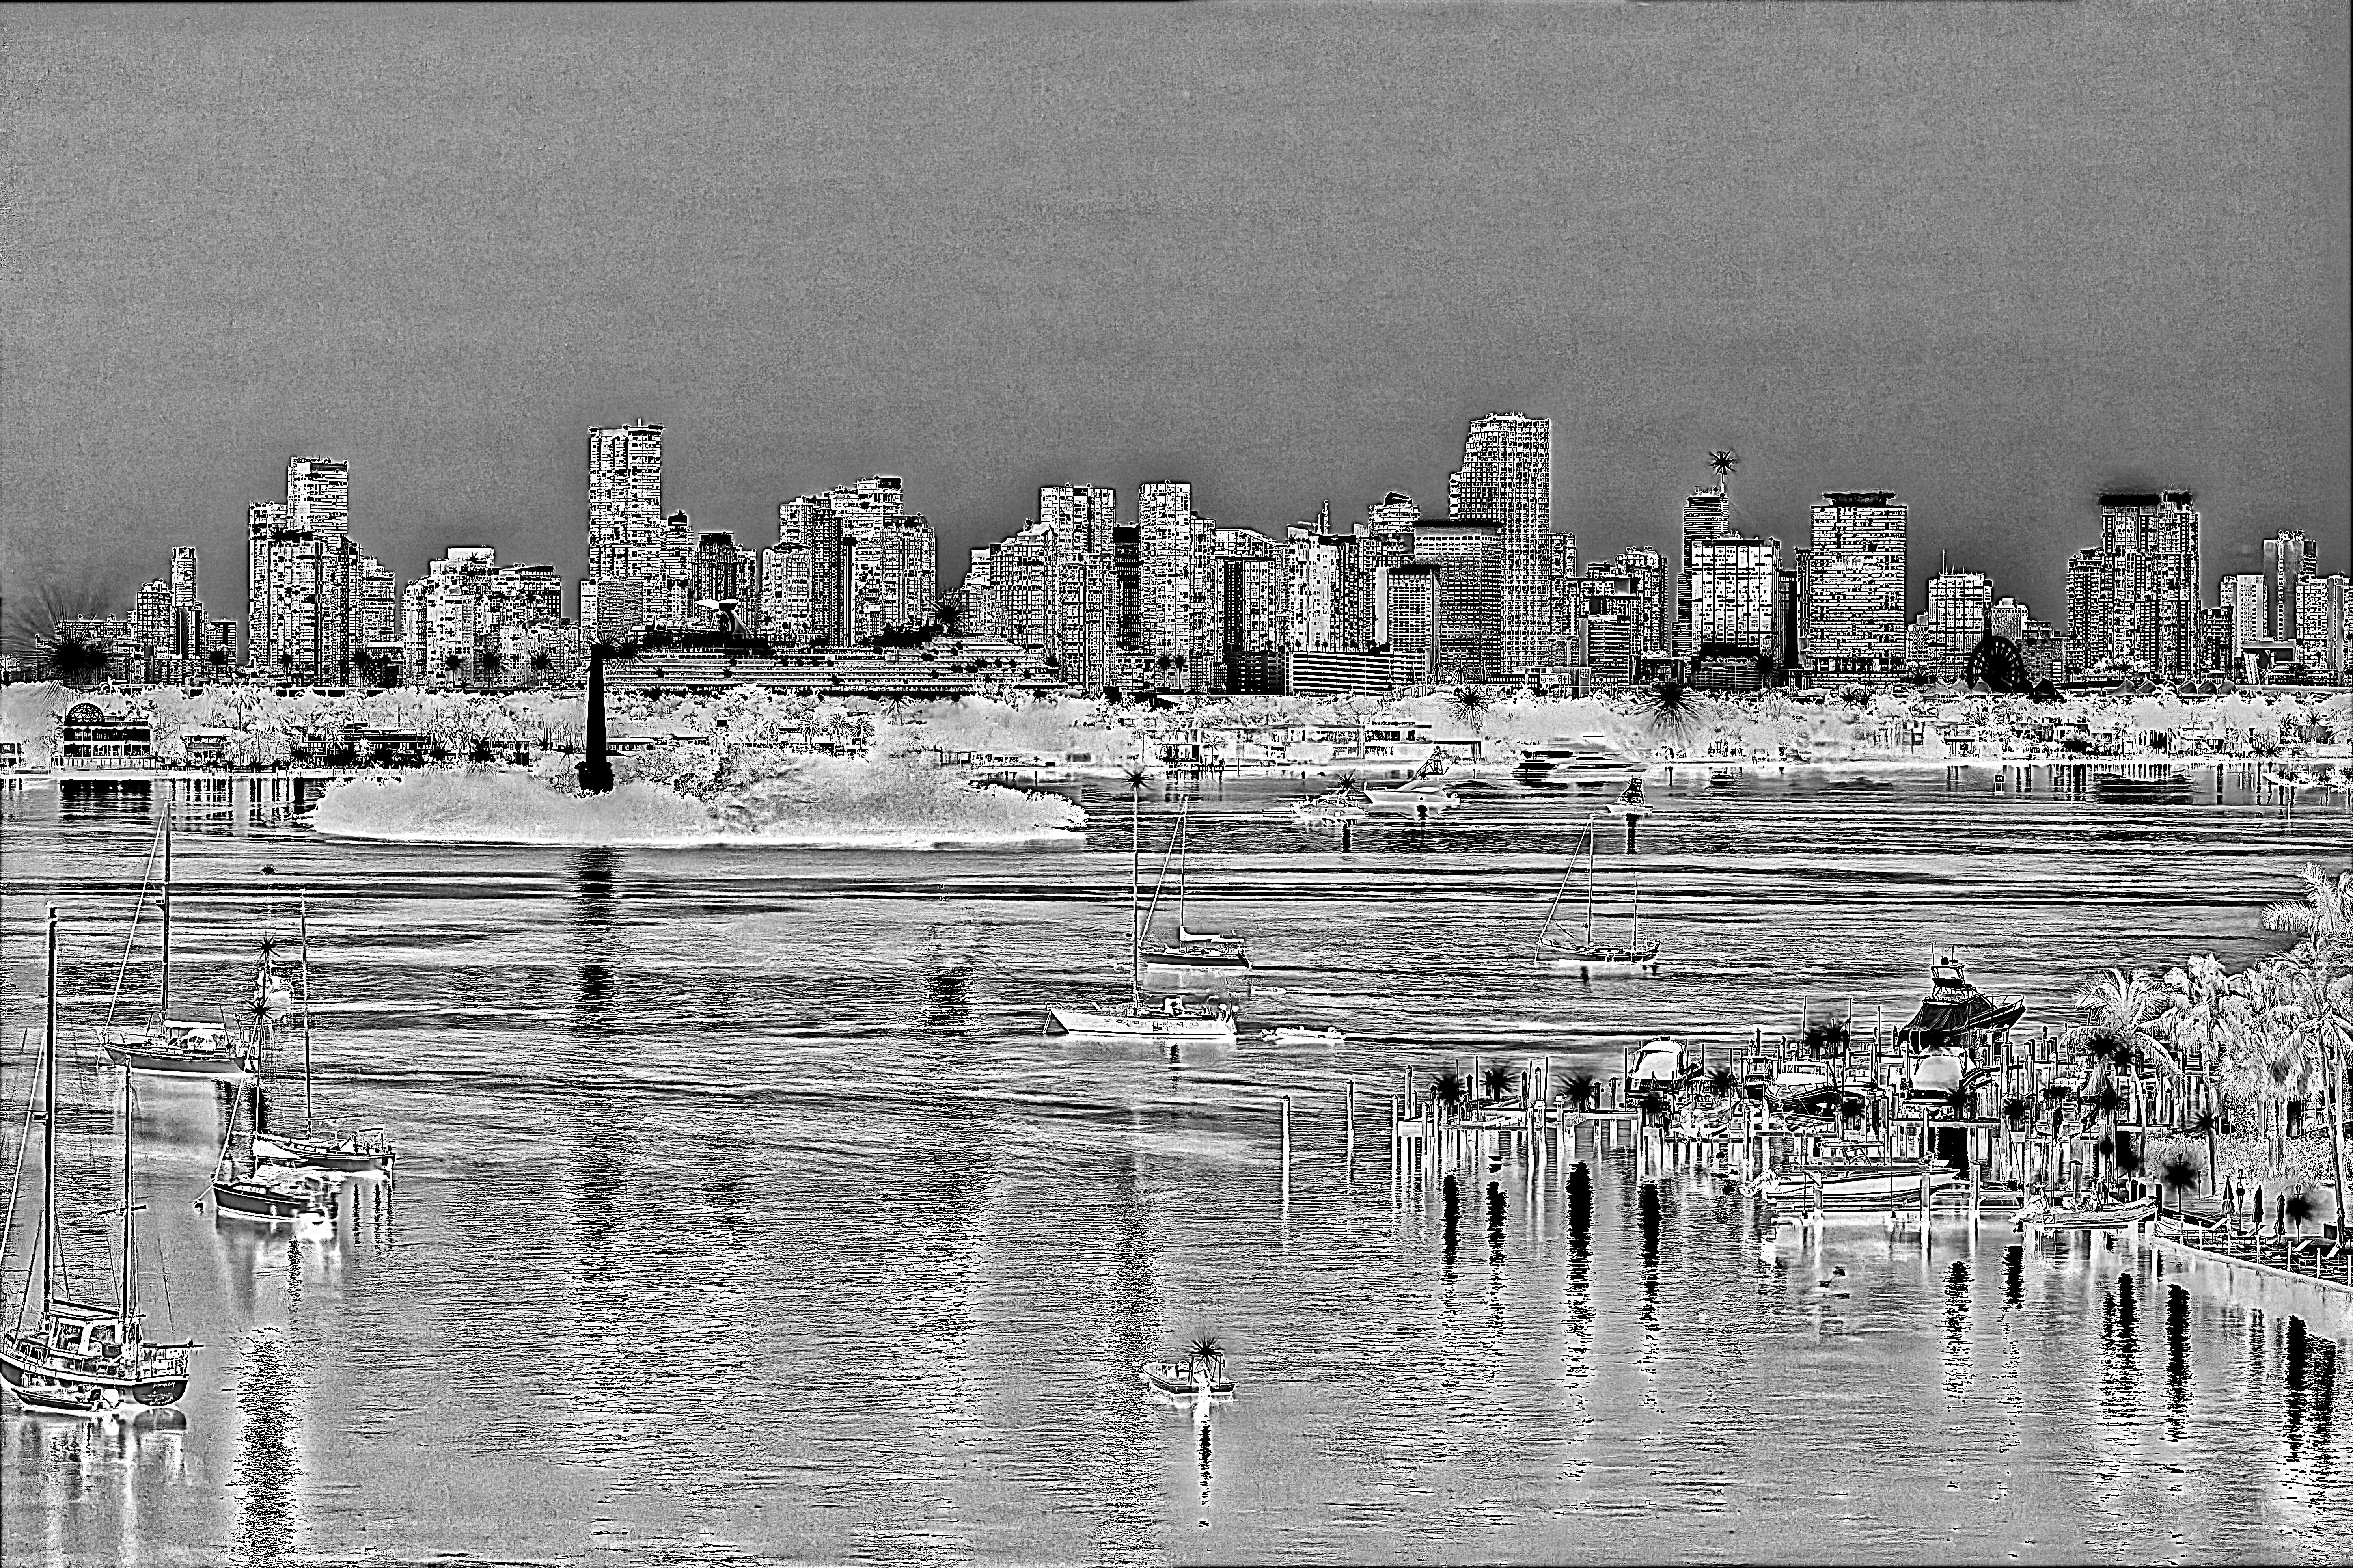


 ) depended.