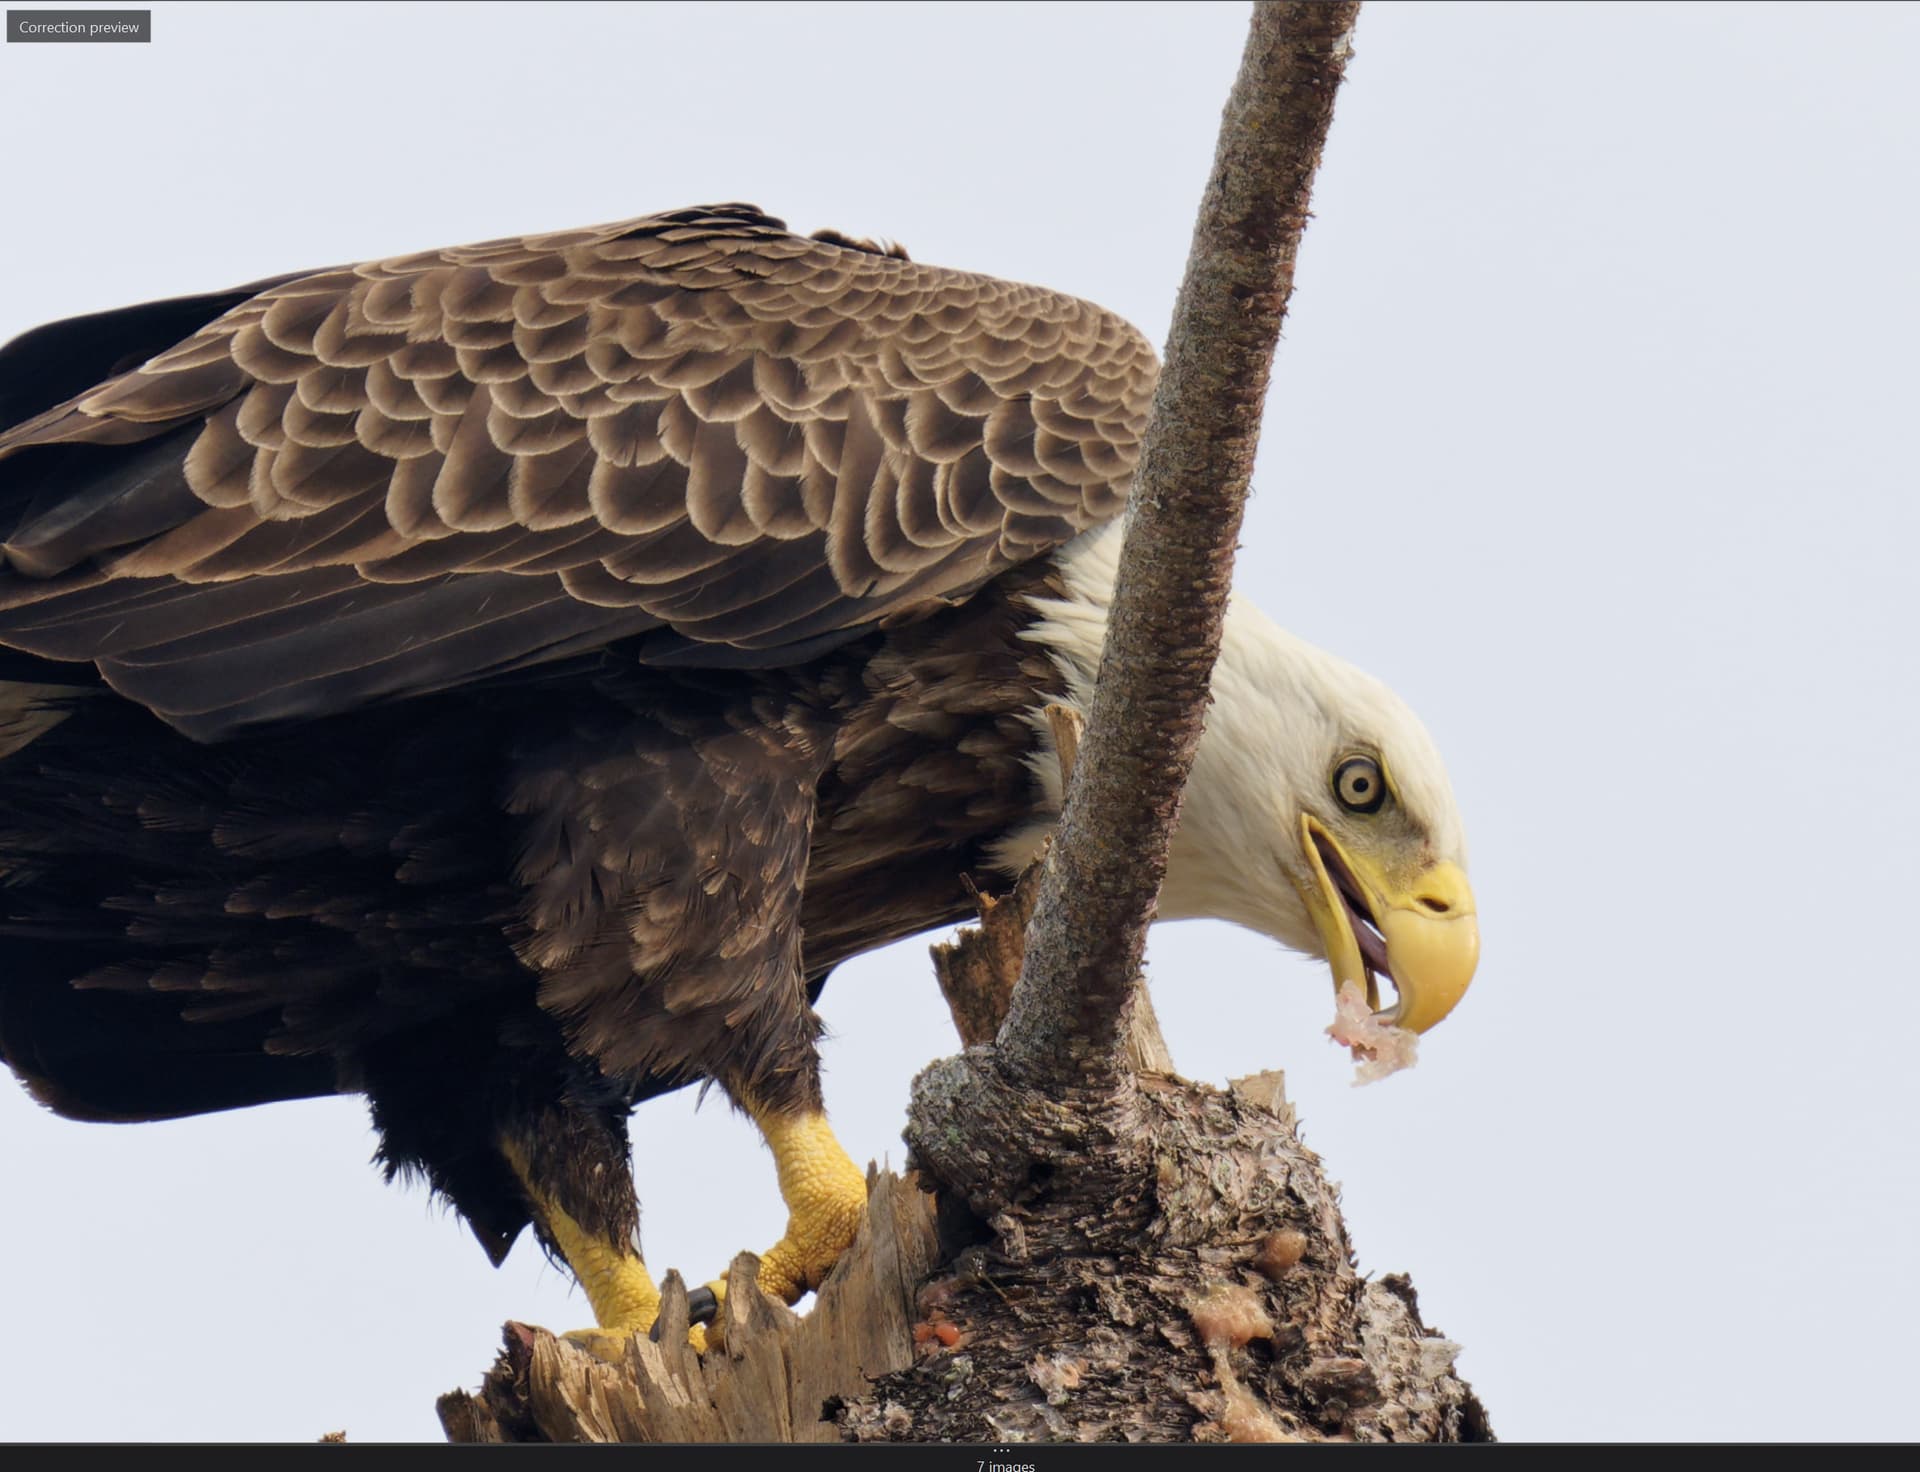
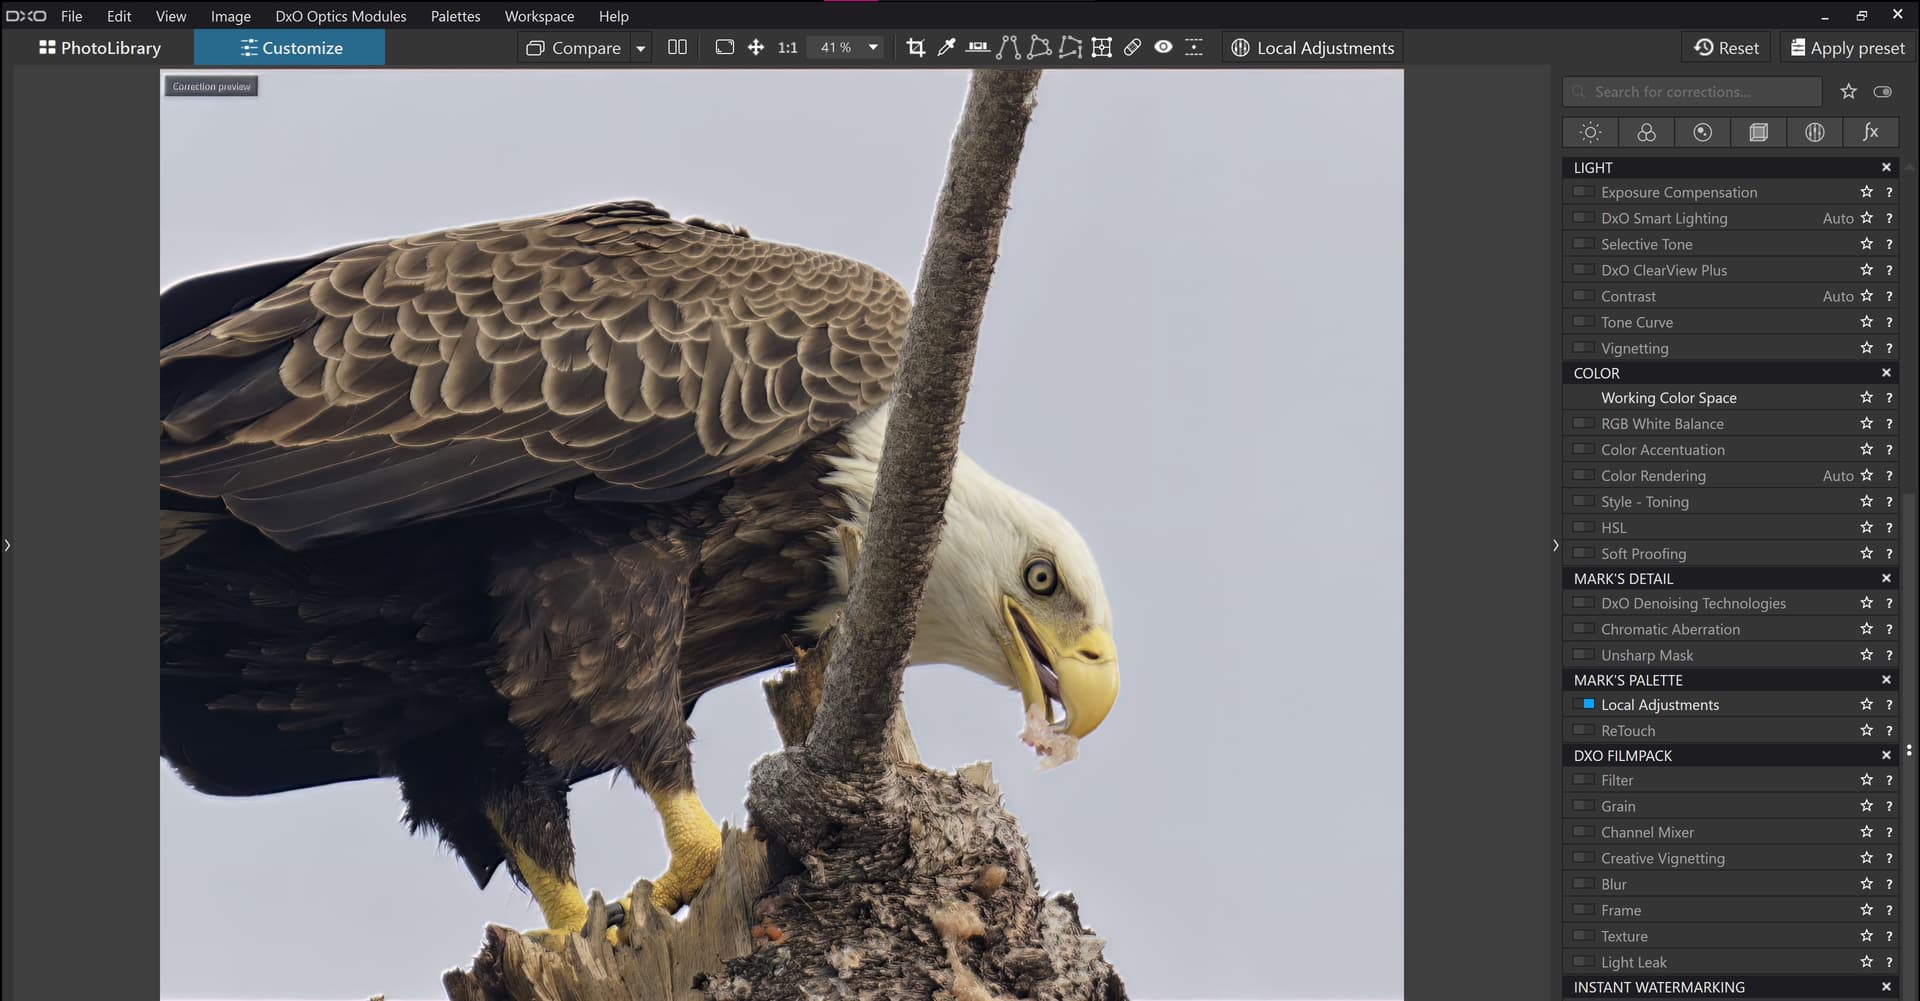
I want to change the sky and I thought the best tool would be a control line. I can mask the whole sky and black out the bird but some of the bird’s head is affected. I can’t figure out how to erase or protect the area on the head. Any help is appreciated!!
Control lines are primarily color based. Put the color pointer on an area of the color in the sky you want to change. If other areas of the image are impacted by the color change you can apply negative control lines or negative control points to eliminate the change made to a specific object or area. On the Windows version you hold down the Alt key while drawing a negative control line or negative control point. You can add as many negative control lines or control points as you wish.
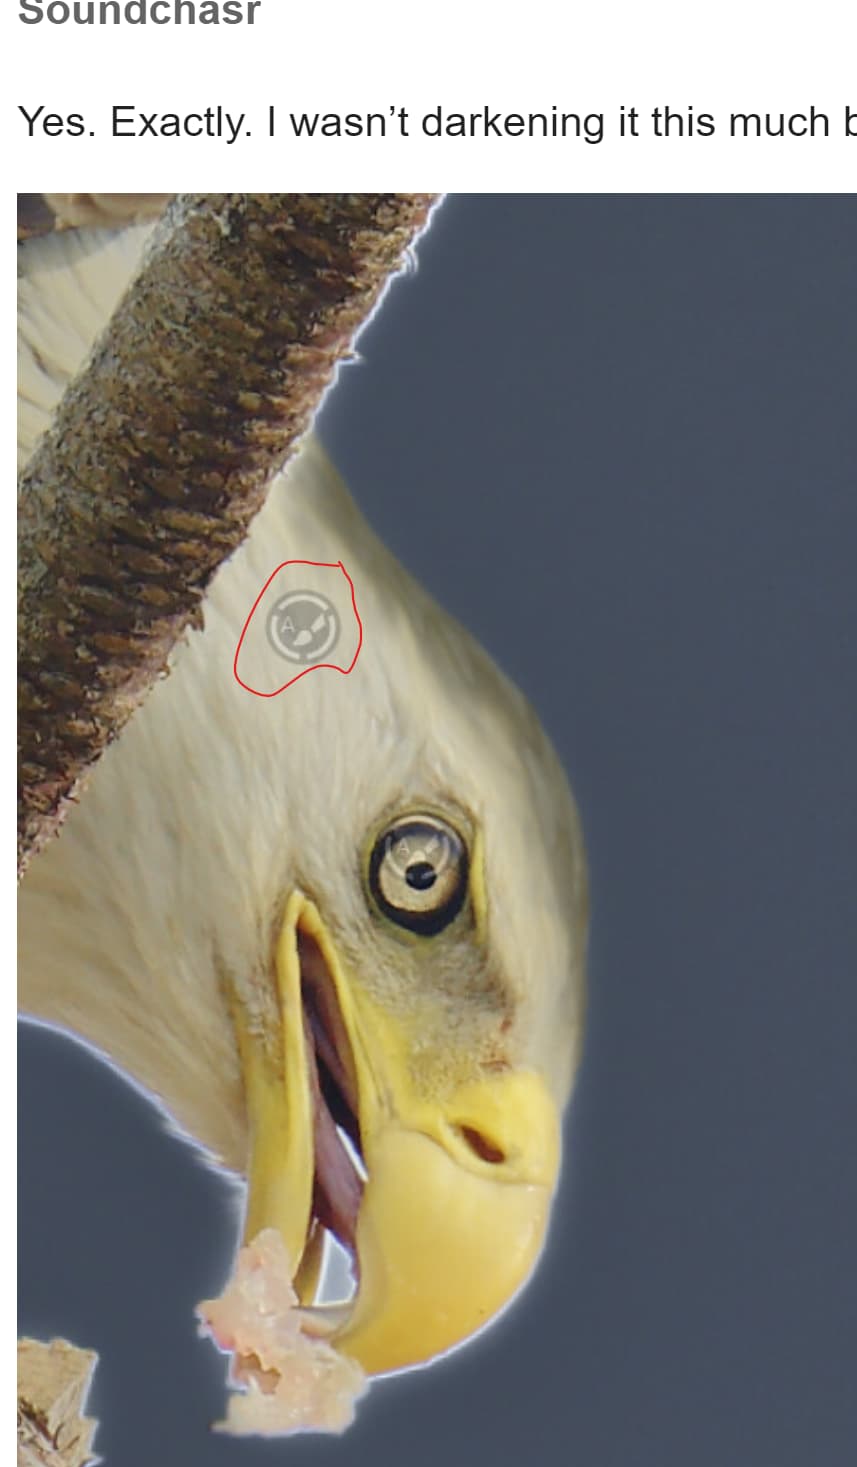
I’m trying to figure out how to do this with a neg control line or net control point as you mentioned. Neither really works. If a negative brush could be used then it would be easy to draw around the contour of the head but that doesn’t seem to be possible.
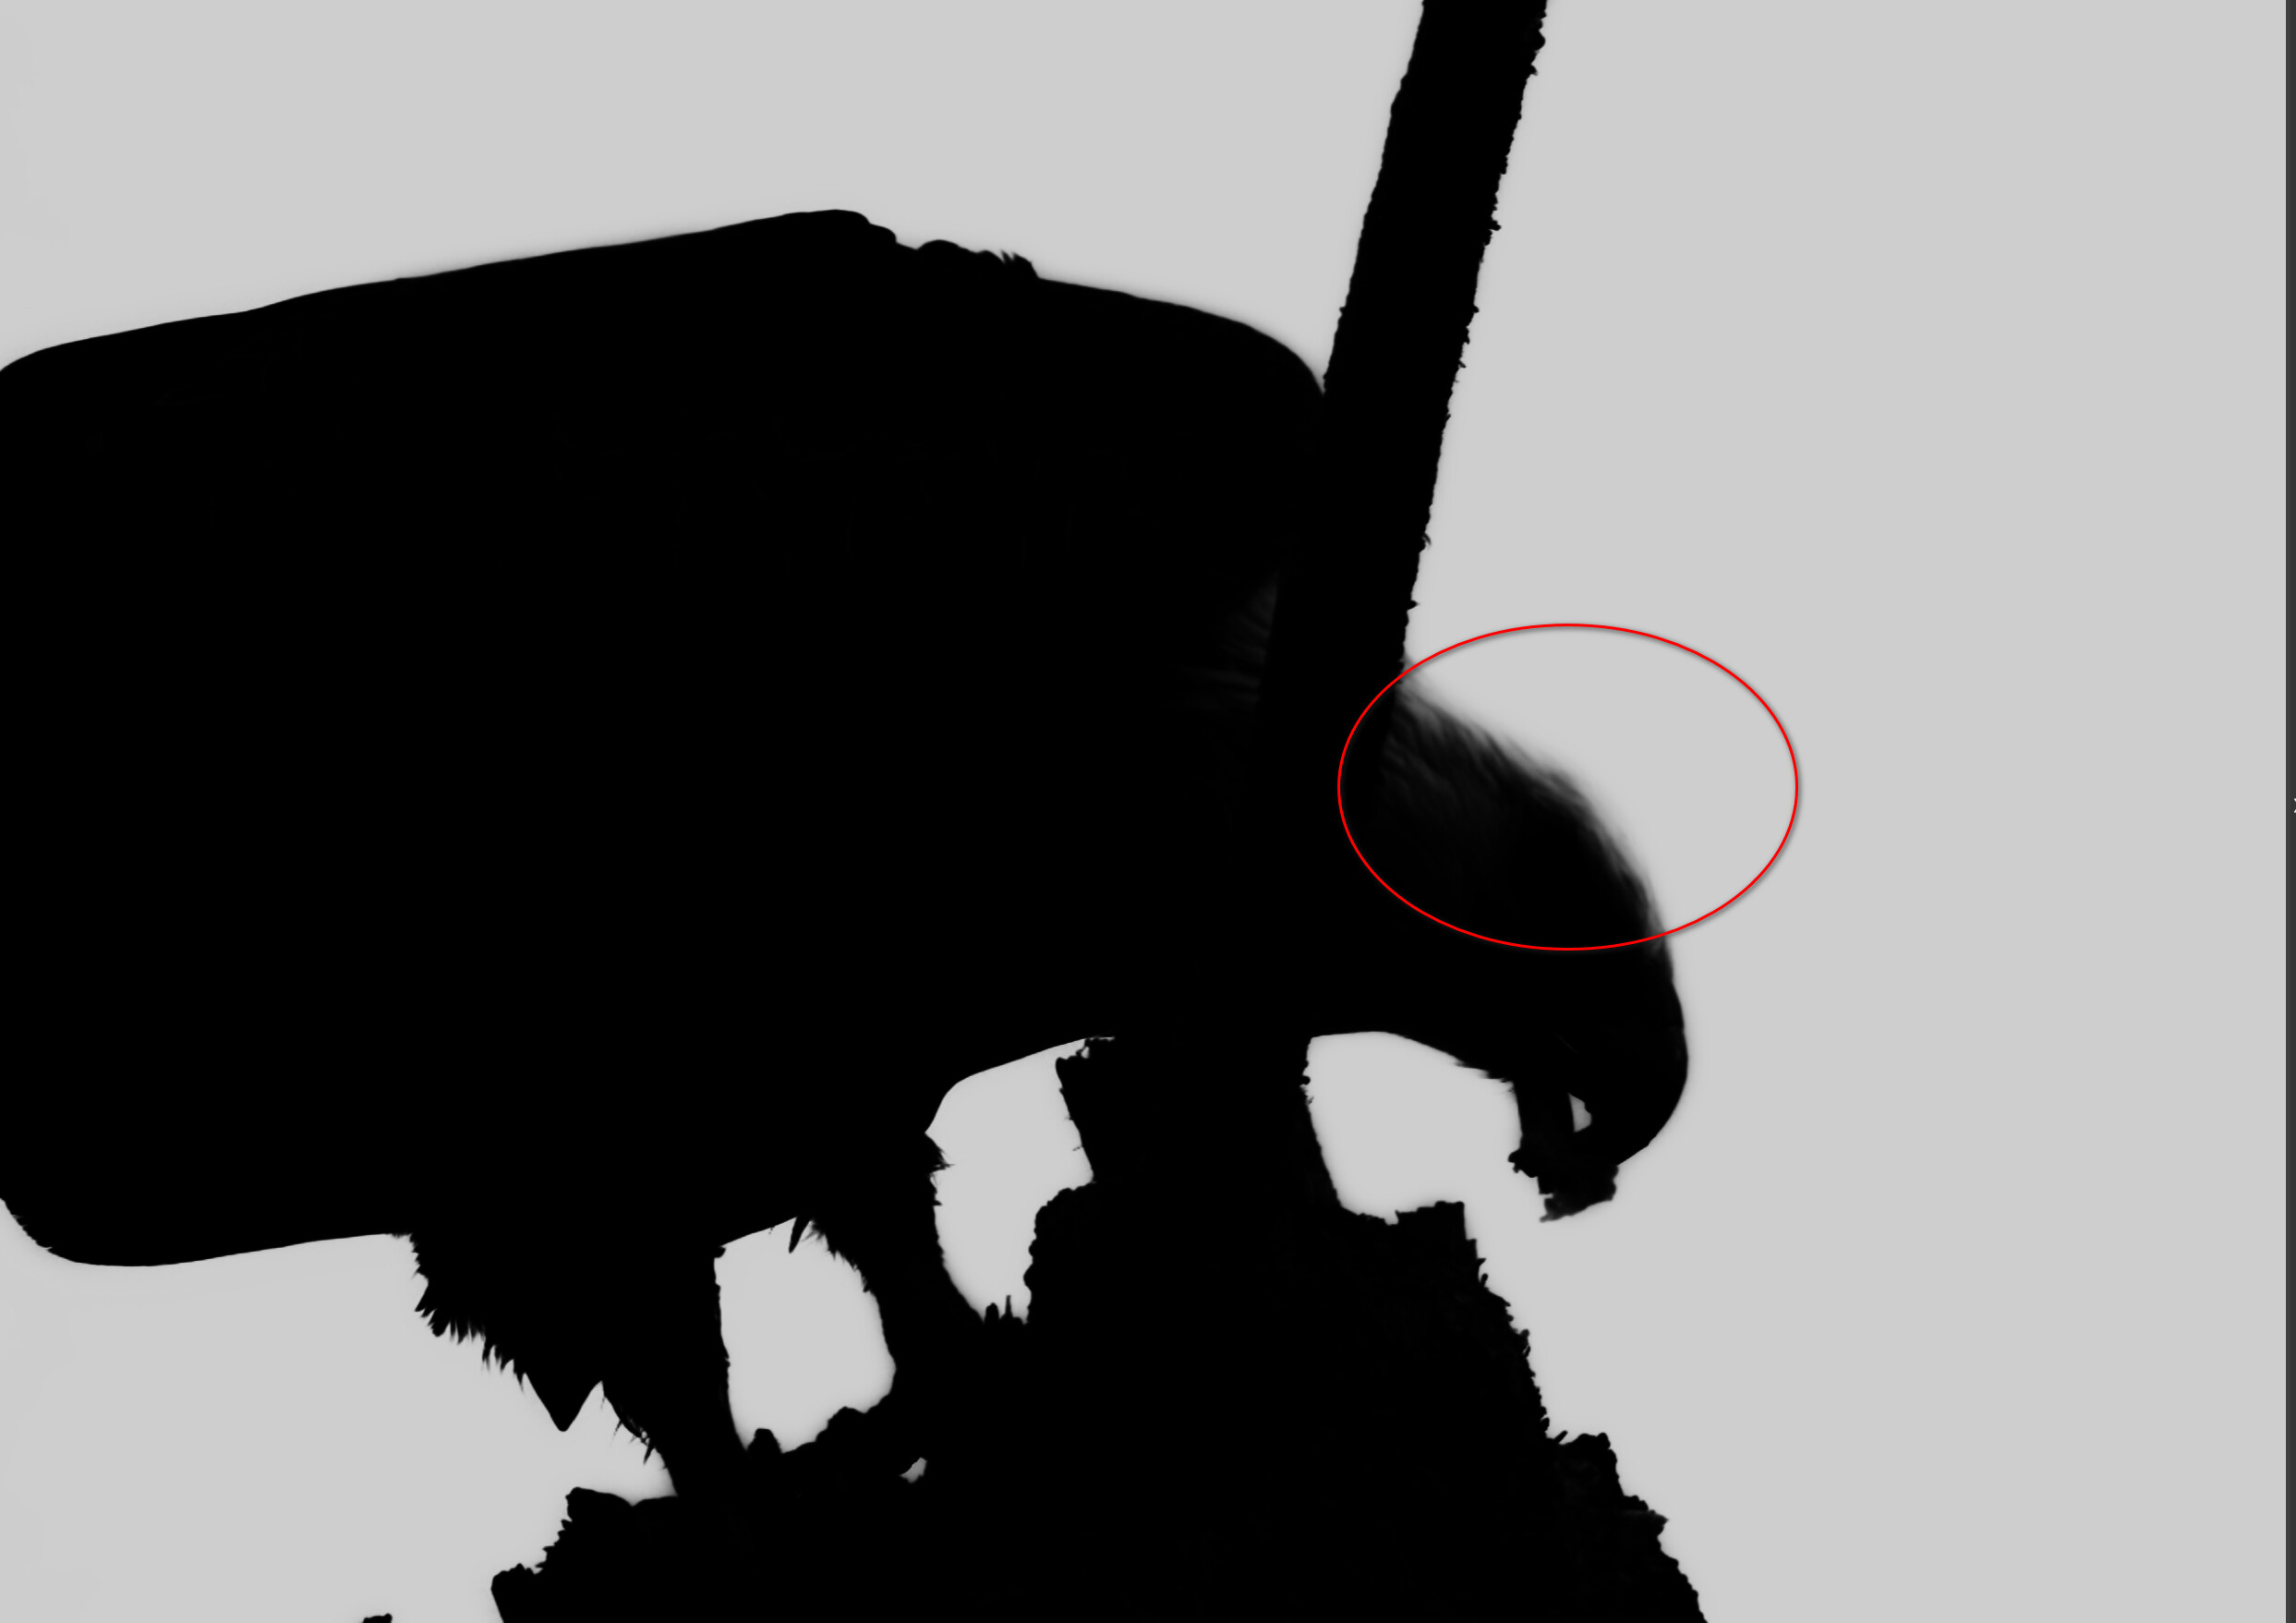
I knew the area you were concerned about, What I wanted to know was how did the control line alter that area? It wasn’t clear in your example. Did it change the color, or darken it, or something else? When you are showing the mask you can see the darkened separate feathering on the top of the head as I would have expected. So what is not correct?
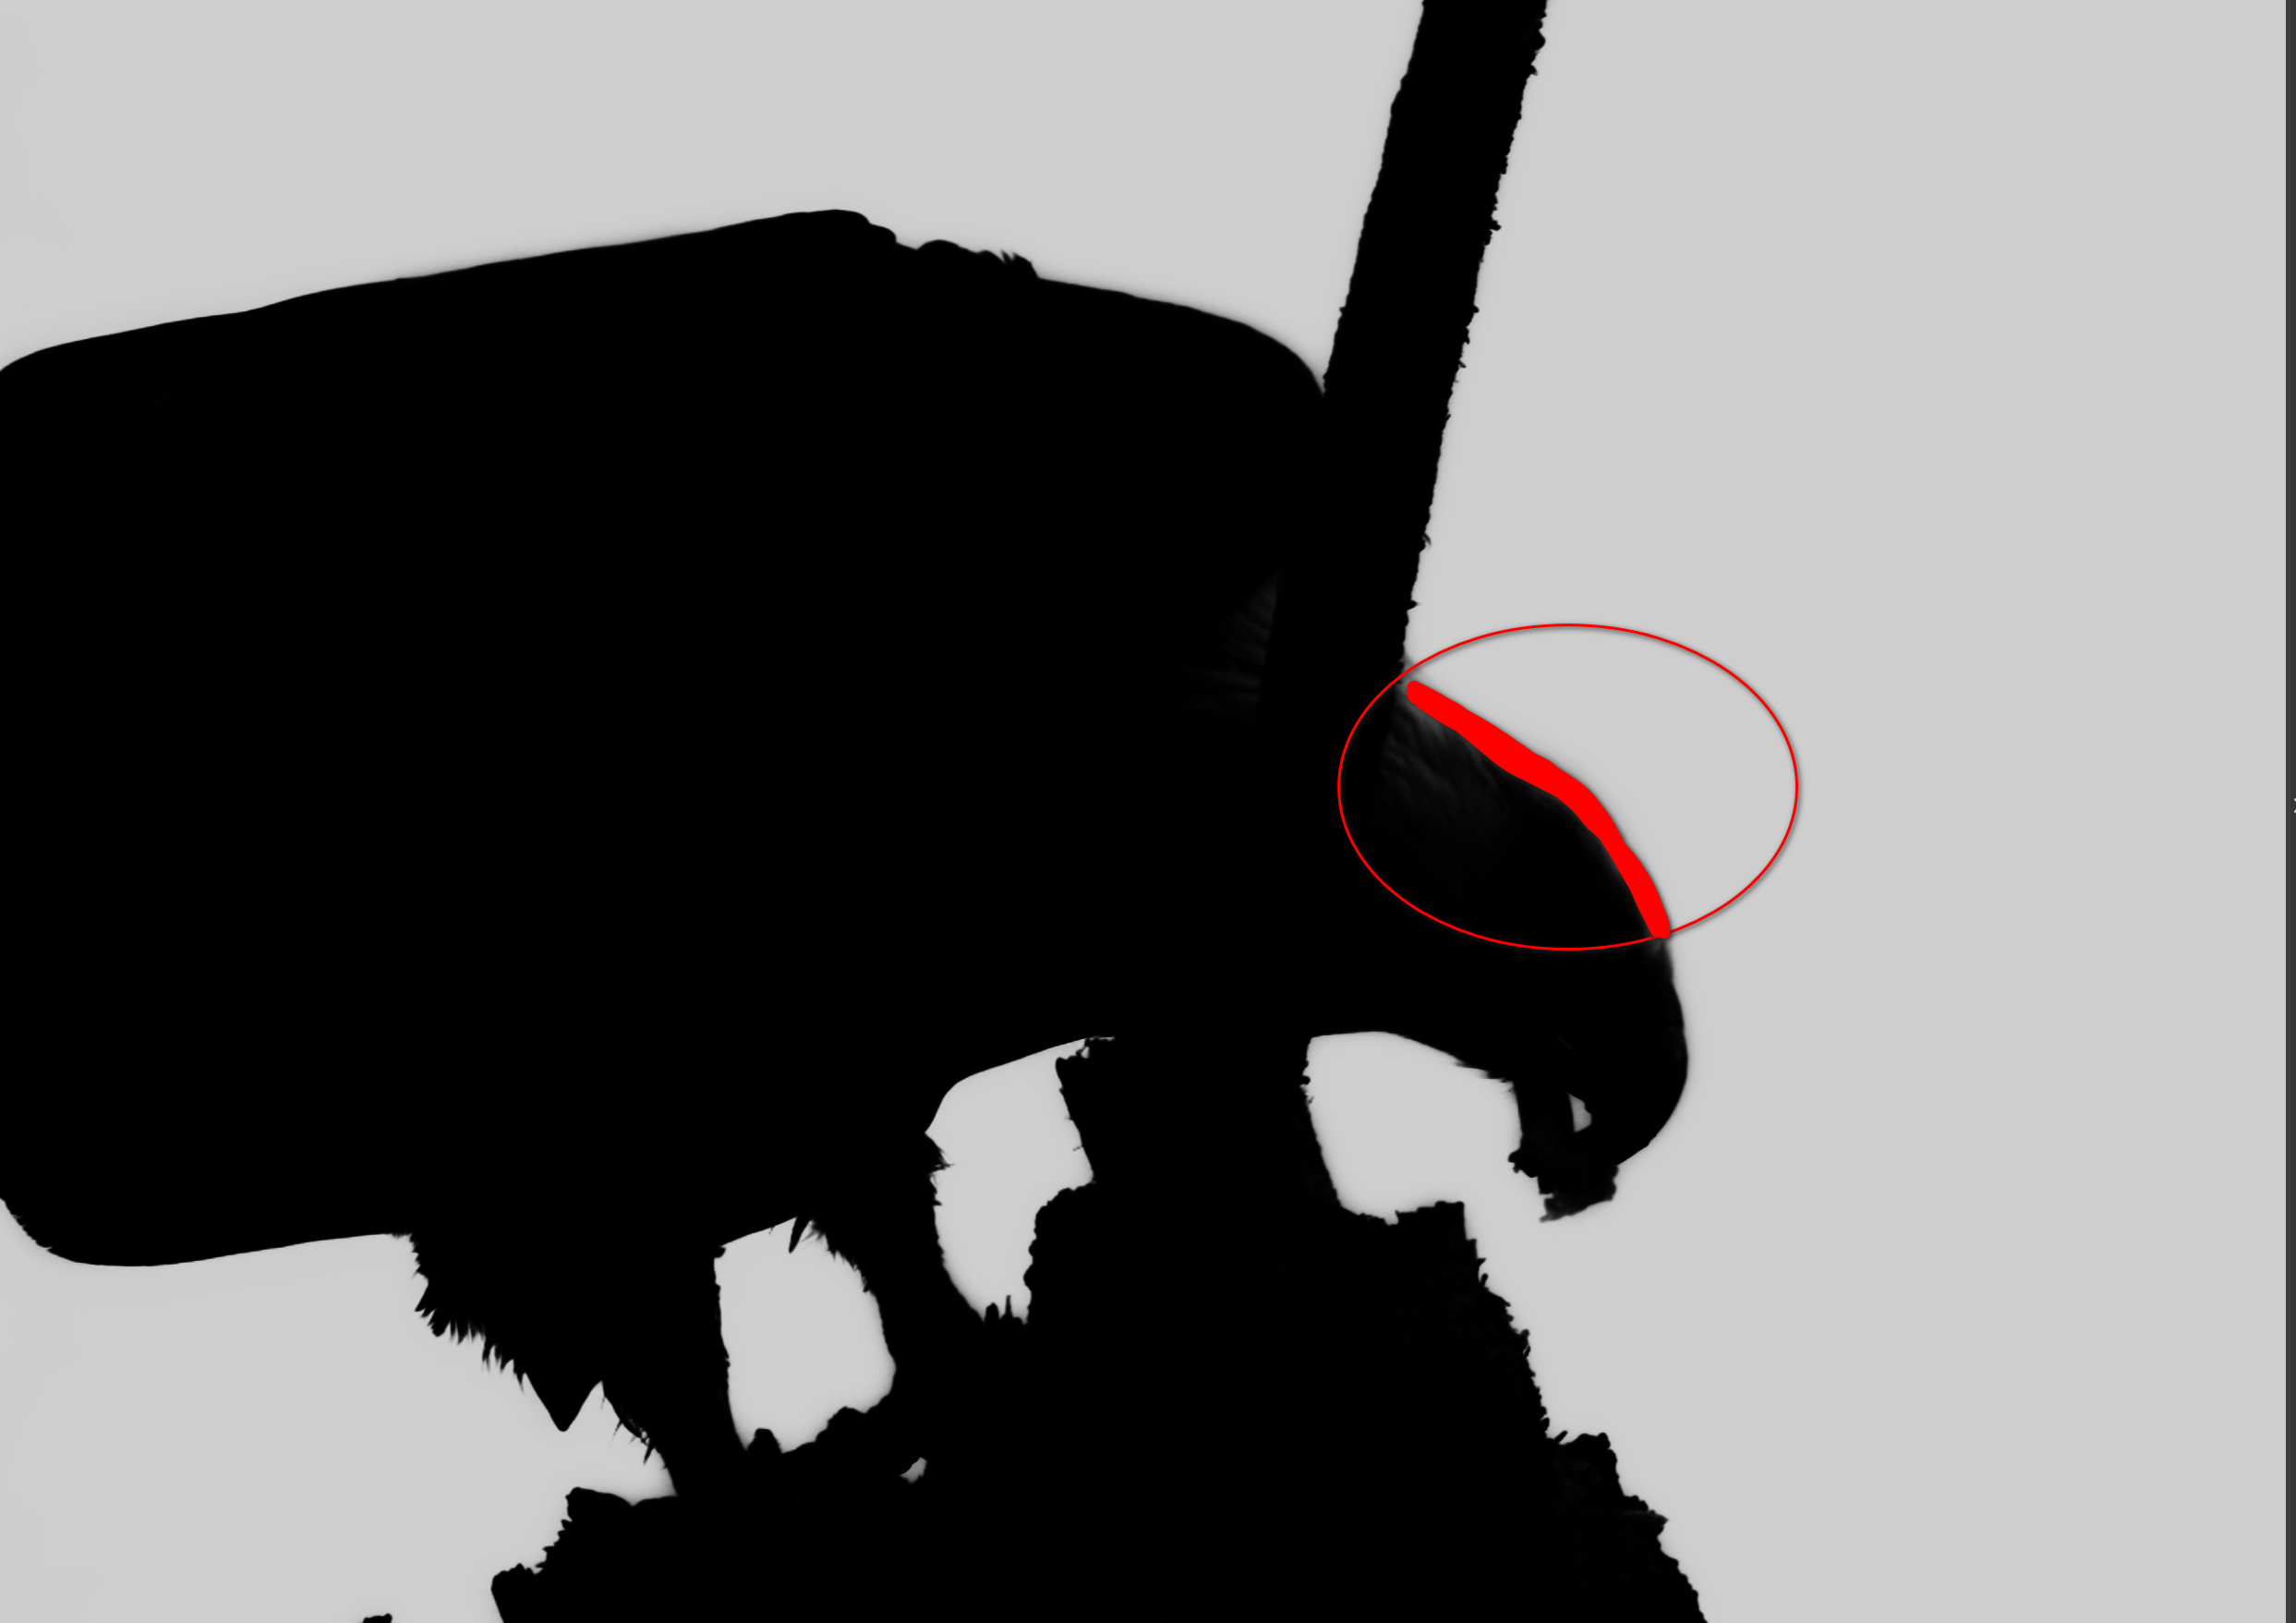
Ok… Try zooming in on your image, and apply a negative control line by placing the color picker in the darker area on as solid looking an area of the darkened pin feathers as you can find. It is easier to control the pickers exact location when zoomed in. If you are actually applying a negative control line you should see a negative sign next to the control origin… You can also play with the Chroma and Luma sliders in the Local Adjustments palette which affects mask selectivity. It takes some time and effort to master the technique.
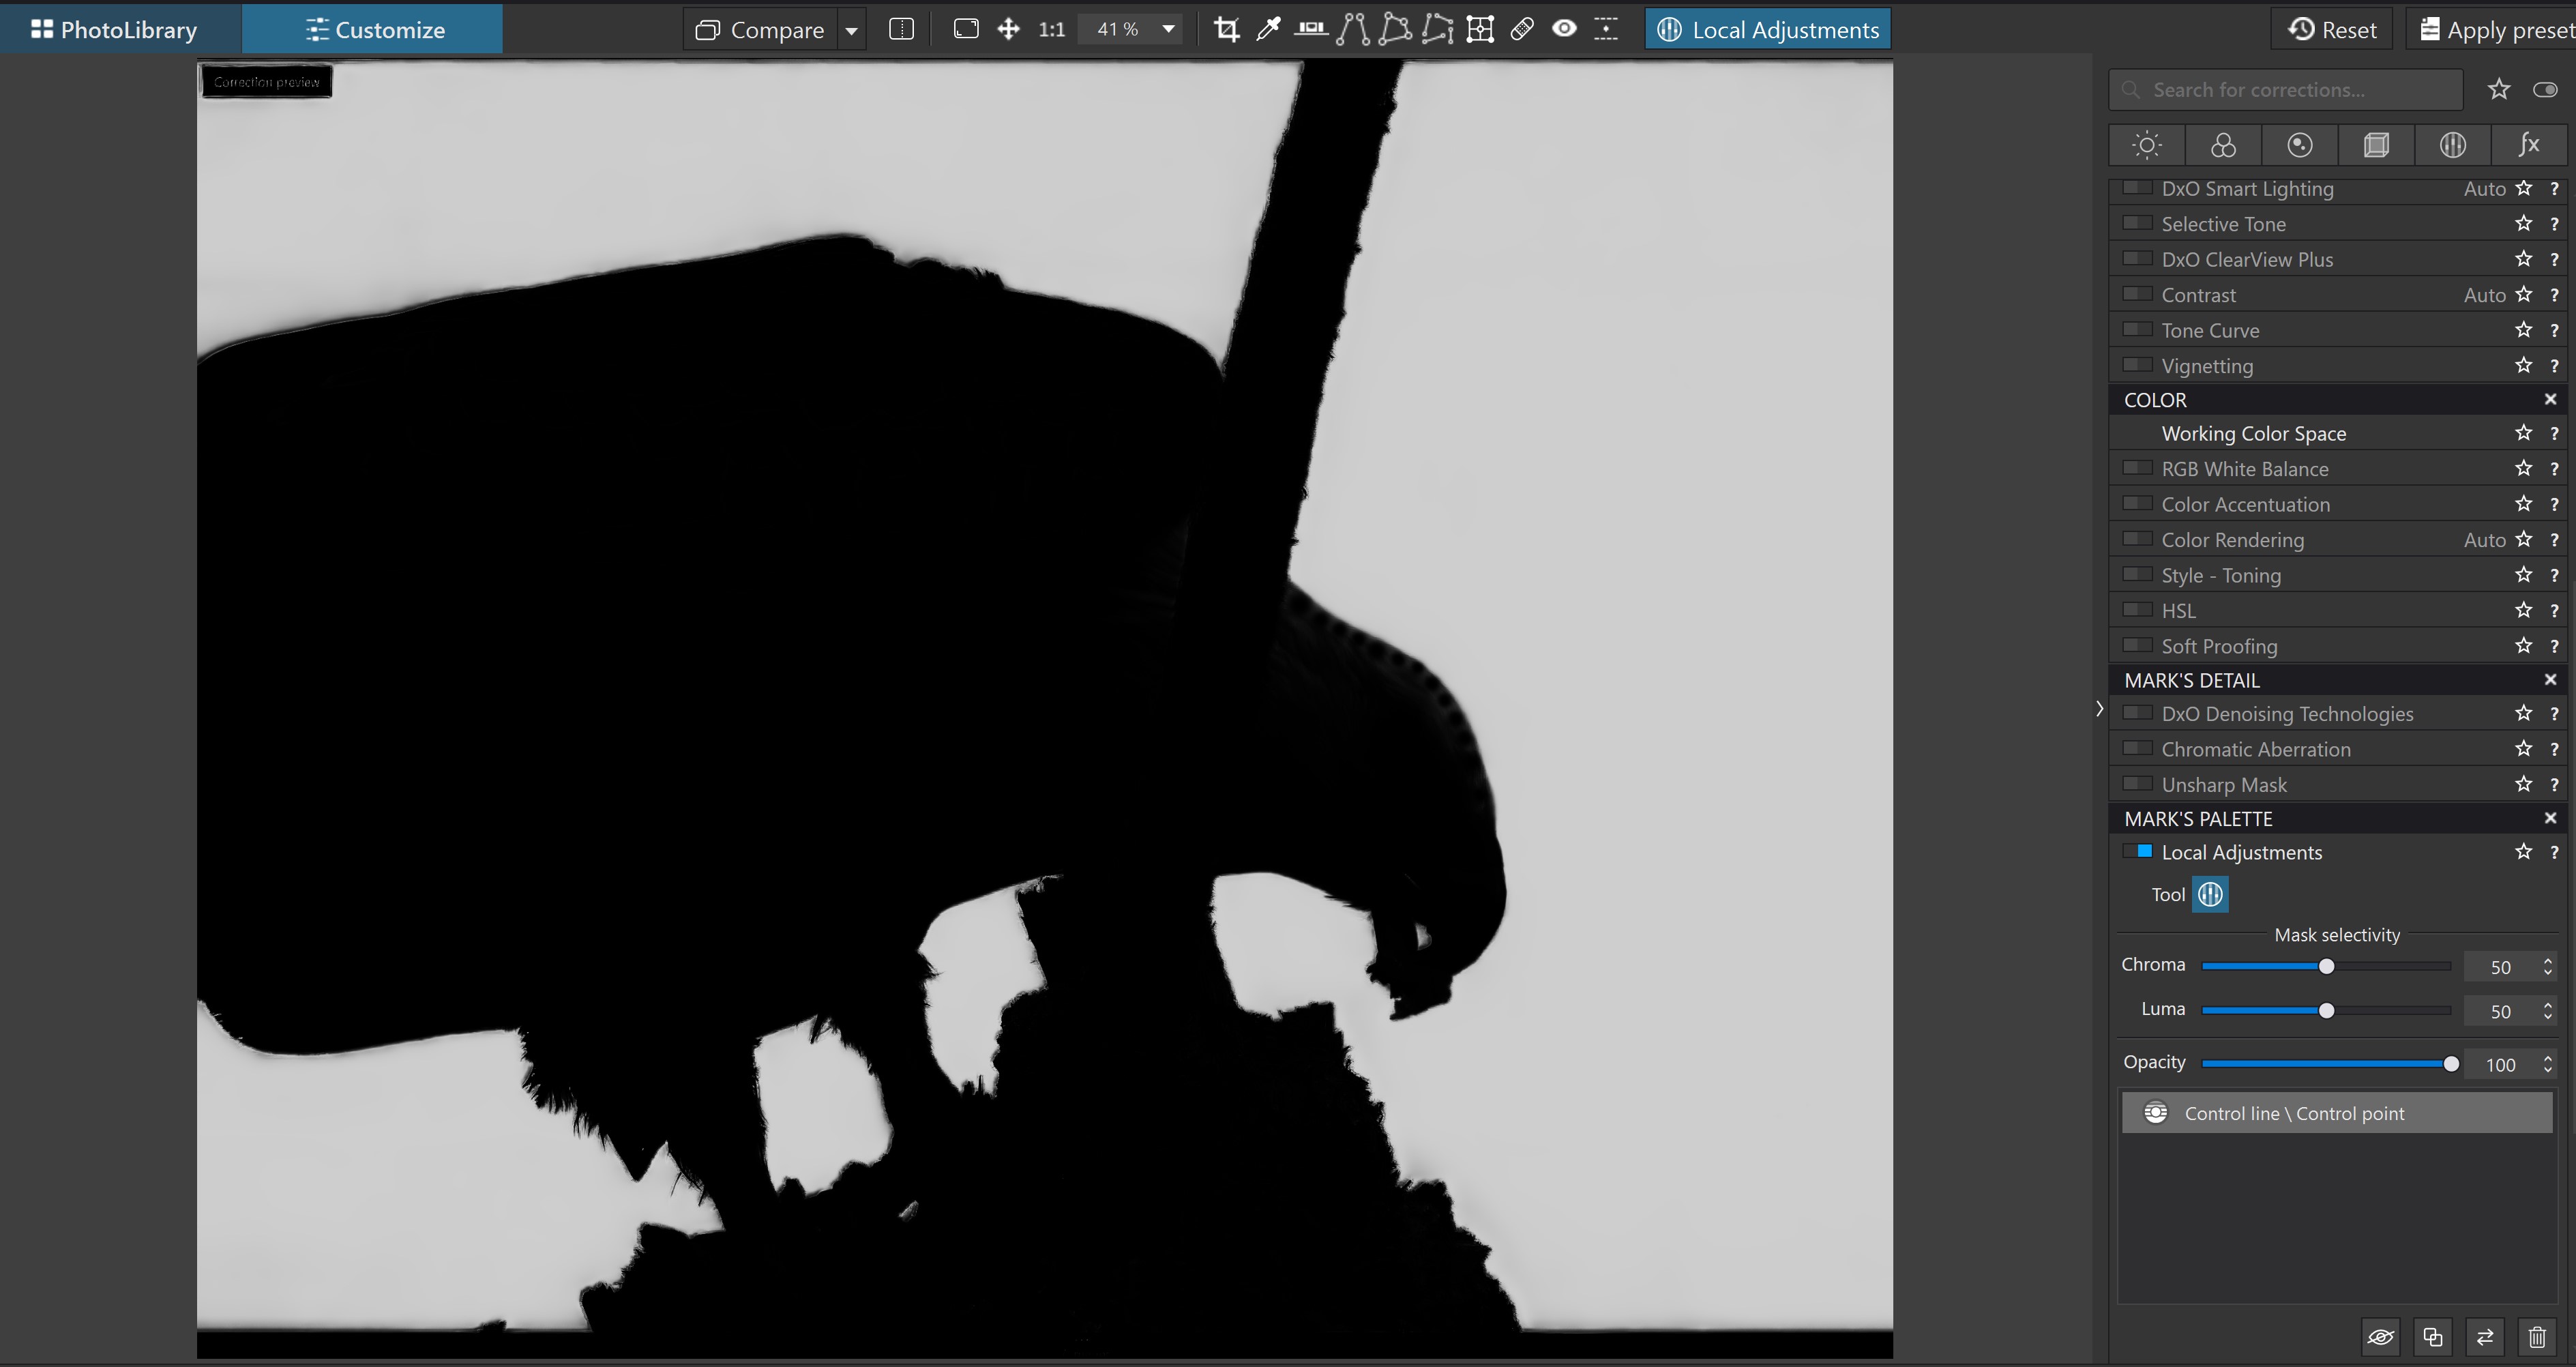
Another option is to go to the Local Adjustments palette on the right and select your control line then you can adjust the Luminance and Chrominance sliders to change the selectivity of the control line. Best to enable the Mask option so you can see what is being affected when you adjust these sliders.
You can also move the pipette to see if that helps too. The pipette indicates the location where color and lightness is sampled for the control line.
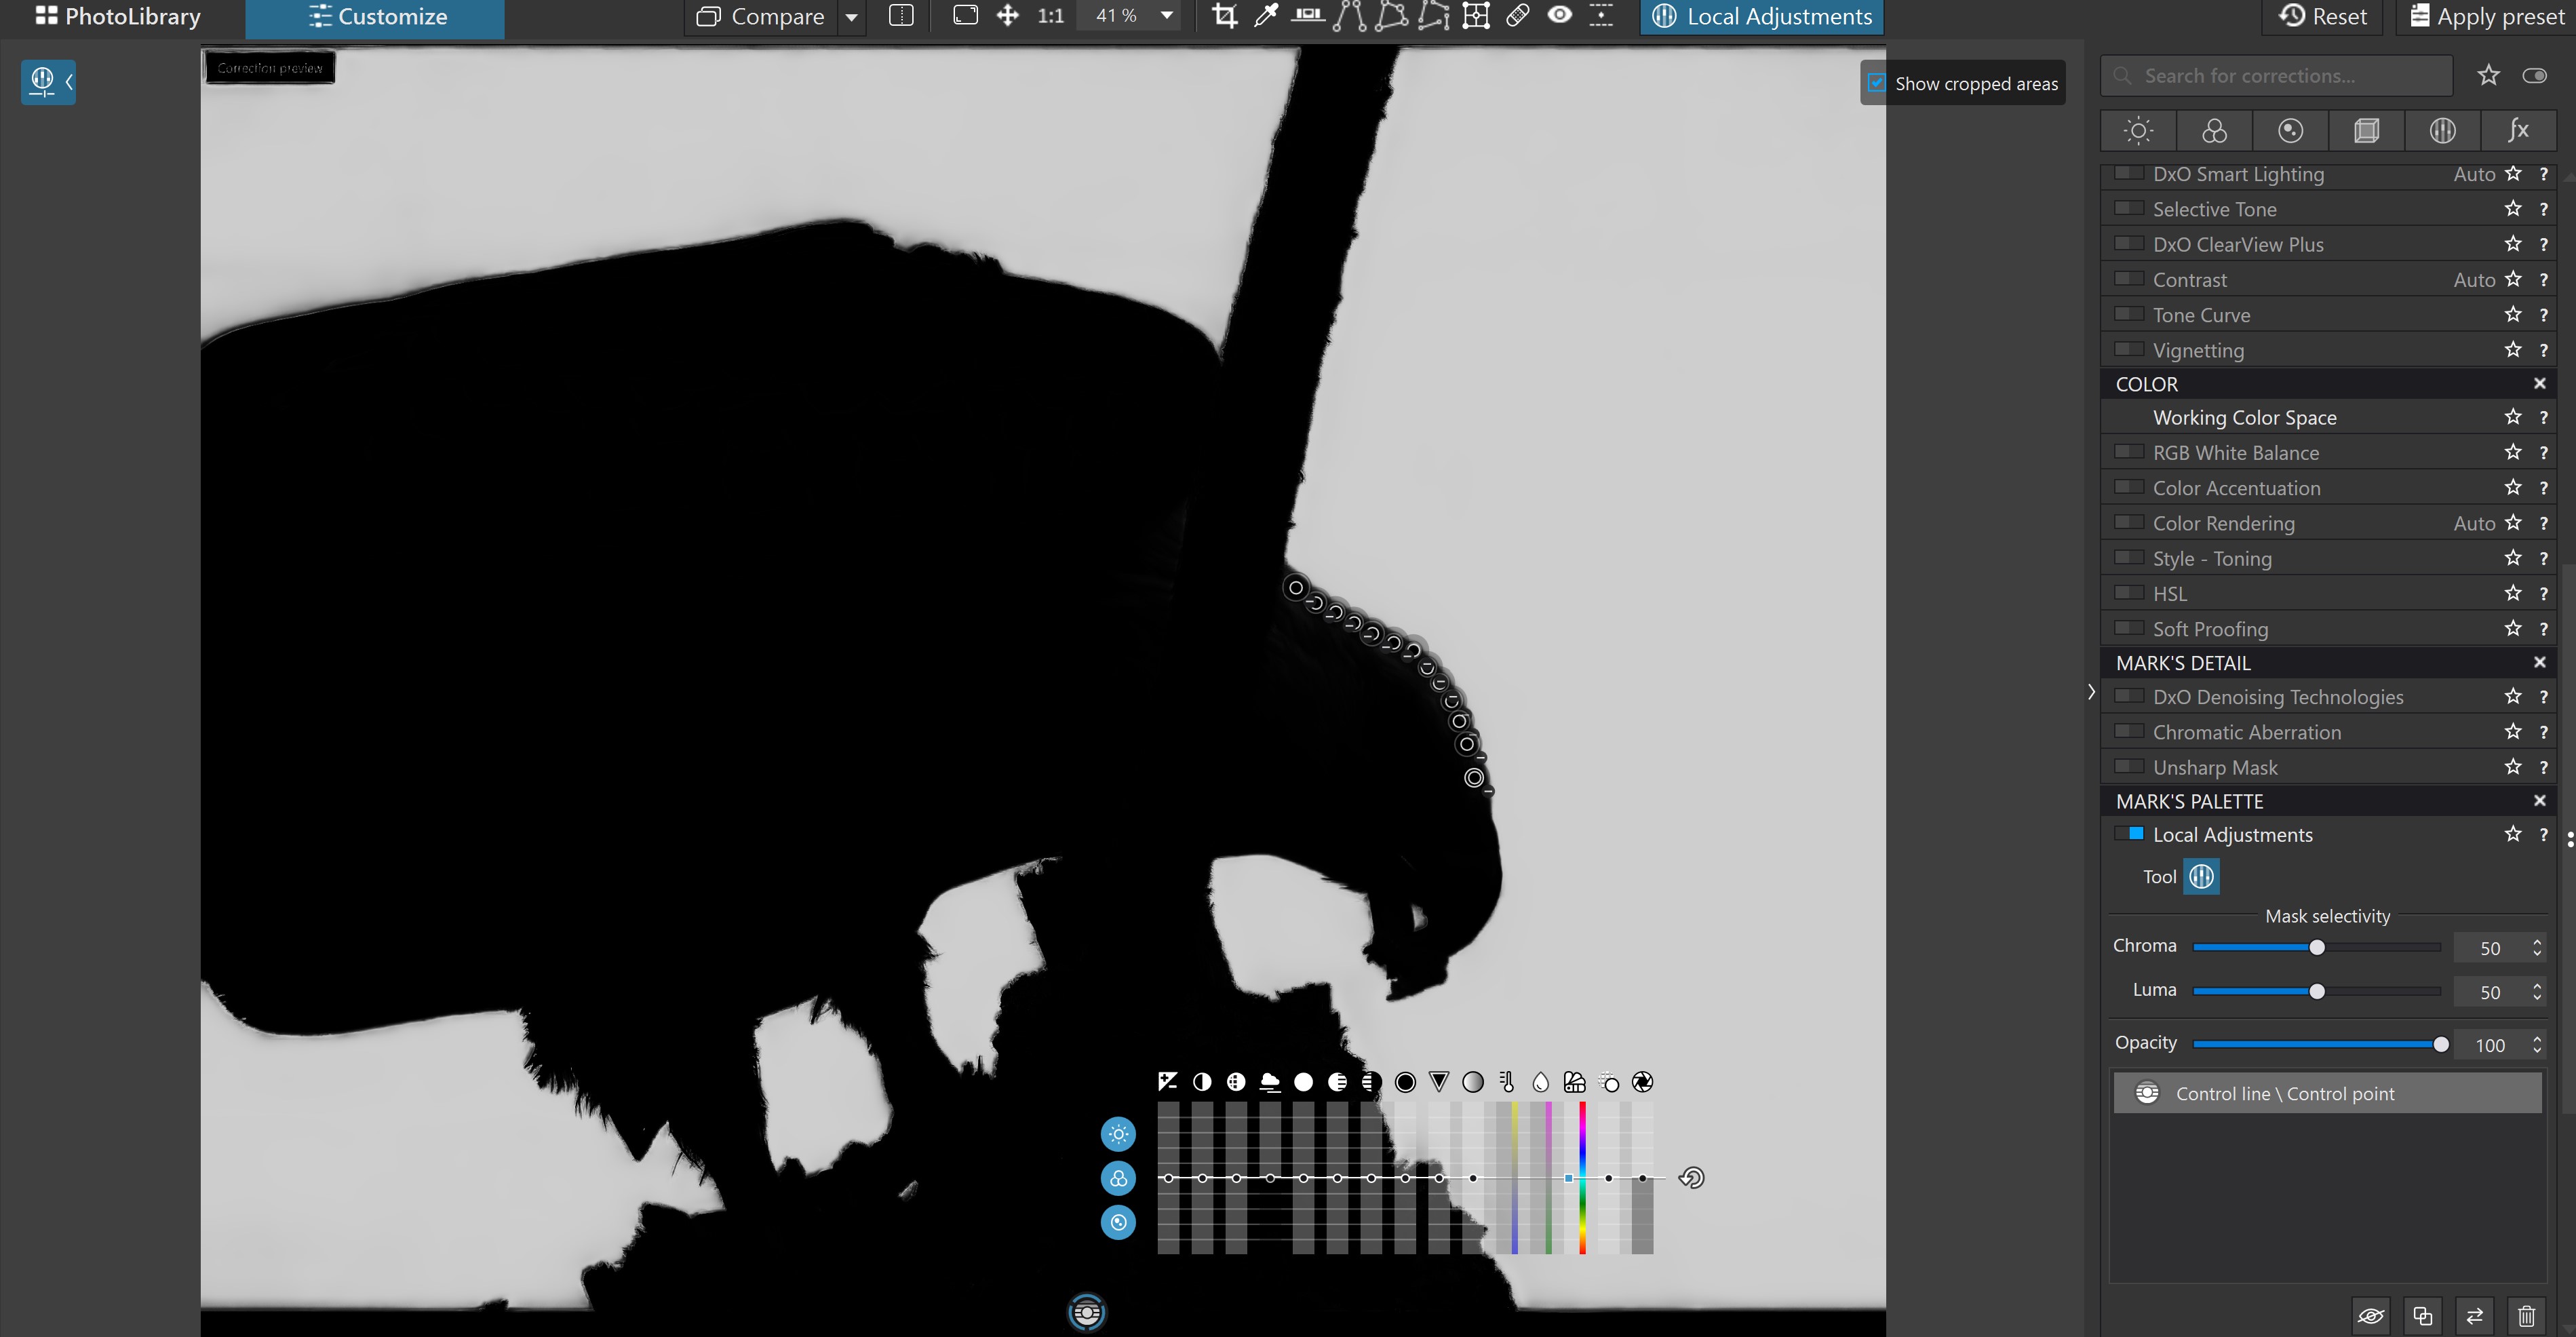
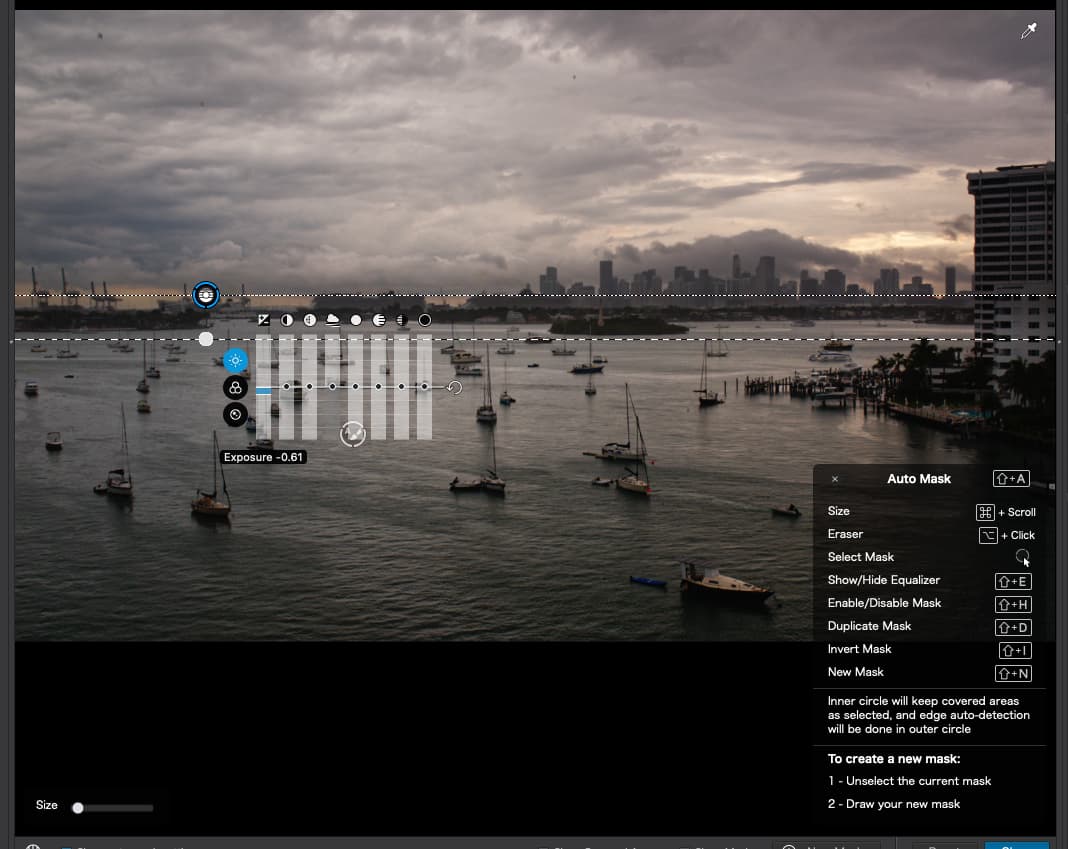
Now with the proper tool I set the pipette in the upper right of the sky and positioned the control line at the bottom of the photo. Then I set both chroma and luma sliders near 100. Next I zoomed way in and positioned the negative control points at the top of the bird’s head.
@rrblint Thank you for taking the time to show me your process. I was using the Control Line and had C & L up to 100 but as you noticed the top of the head still needed to be masked. That trick with the little control points works well but looks a bit tedious. However, I’m glad there’s a way to do it!
Not really but I guess it depends on your definition of “tedious”. Anyway it just took me about 5 minutes including making the screenshots. Without those it might have taken about 2 minutes. Not very “tedious” IMO. Glad I could help you out.
I’m really not sure but I don’t think so. The sliders just revert back to 50/50 when you change to CP from CL, but the actual Chroma/Luma values don’t change. That’s probably a bug that needs to be fixed.
This thread is about exactly what I’m trying to do. I have the control line set, but there is a small area at the right that I do not want to be darkened by the control line. So far, everything I have tried has not worked.
This is as far as I got in the other thread, but this thread is more appropriate to as in. There is a building at the right, the top part of it having been darkened by the control line. I want to “mask” the building so the control line makes the sky dark, but not the building.
Lots more editing to do, but I’m trying to learn all this, one step at a time.
Lots more adjustments to make, I’m just starting, but I don’t know how to add something to this adjustment that will protect the building - which I think means “painting the building” with a negative control line, or masking it, or ???