There’s a thread dealing with tone control that might help: Understanding Selective Tone control
1 Like
You can always use tone curves which gives you much better control. Alternatively, you can use local adjustments. There are many ways to achieve your required result.
This is a well known and often discussed issue with PhotoLab. In my experience the best way to address it is to use the highlight and shadows sliders in Local Adjustments to target those areas that need highlight and shadow detail recovery.
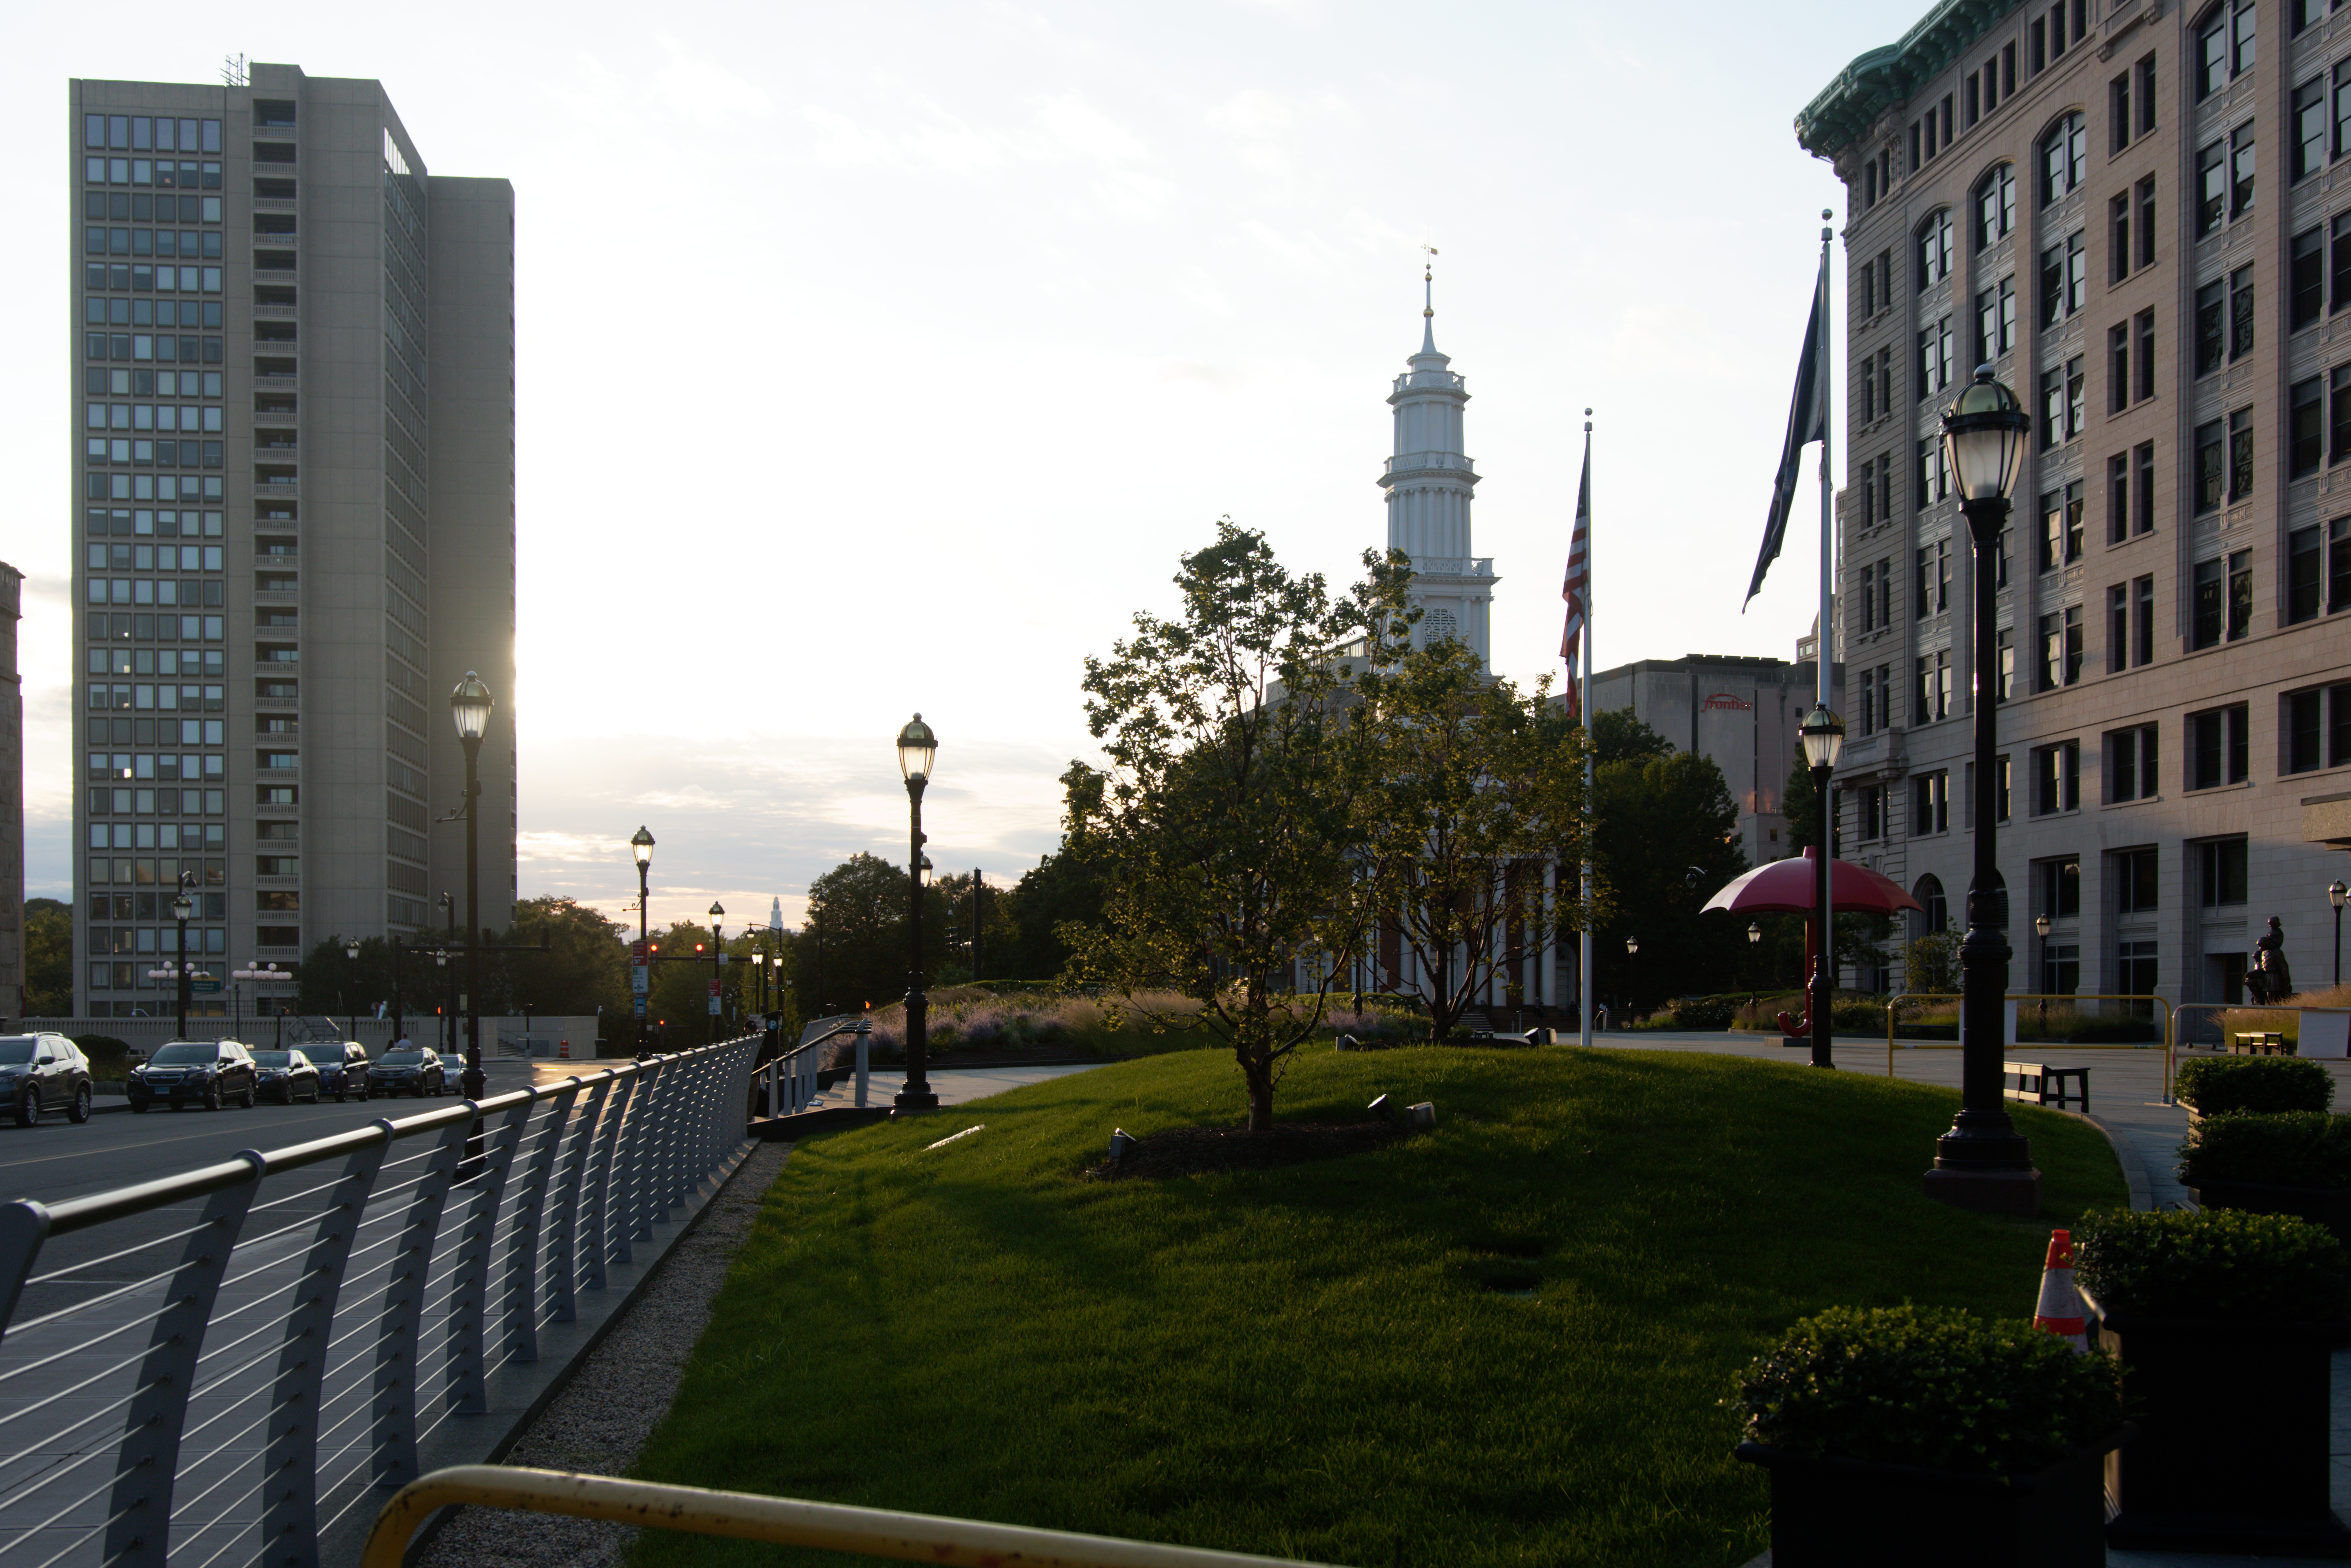
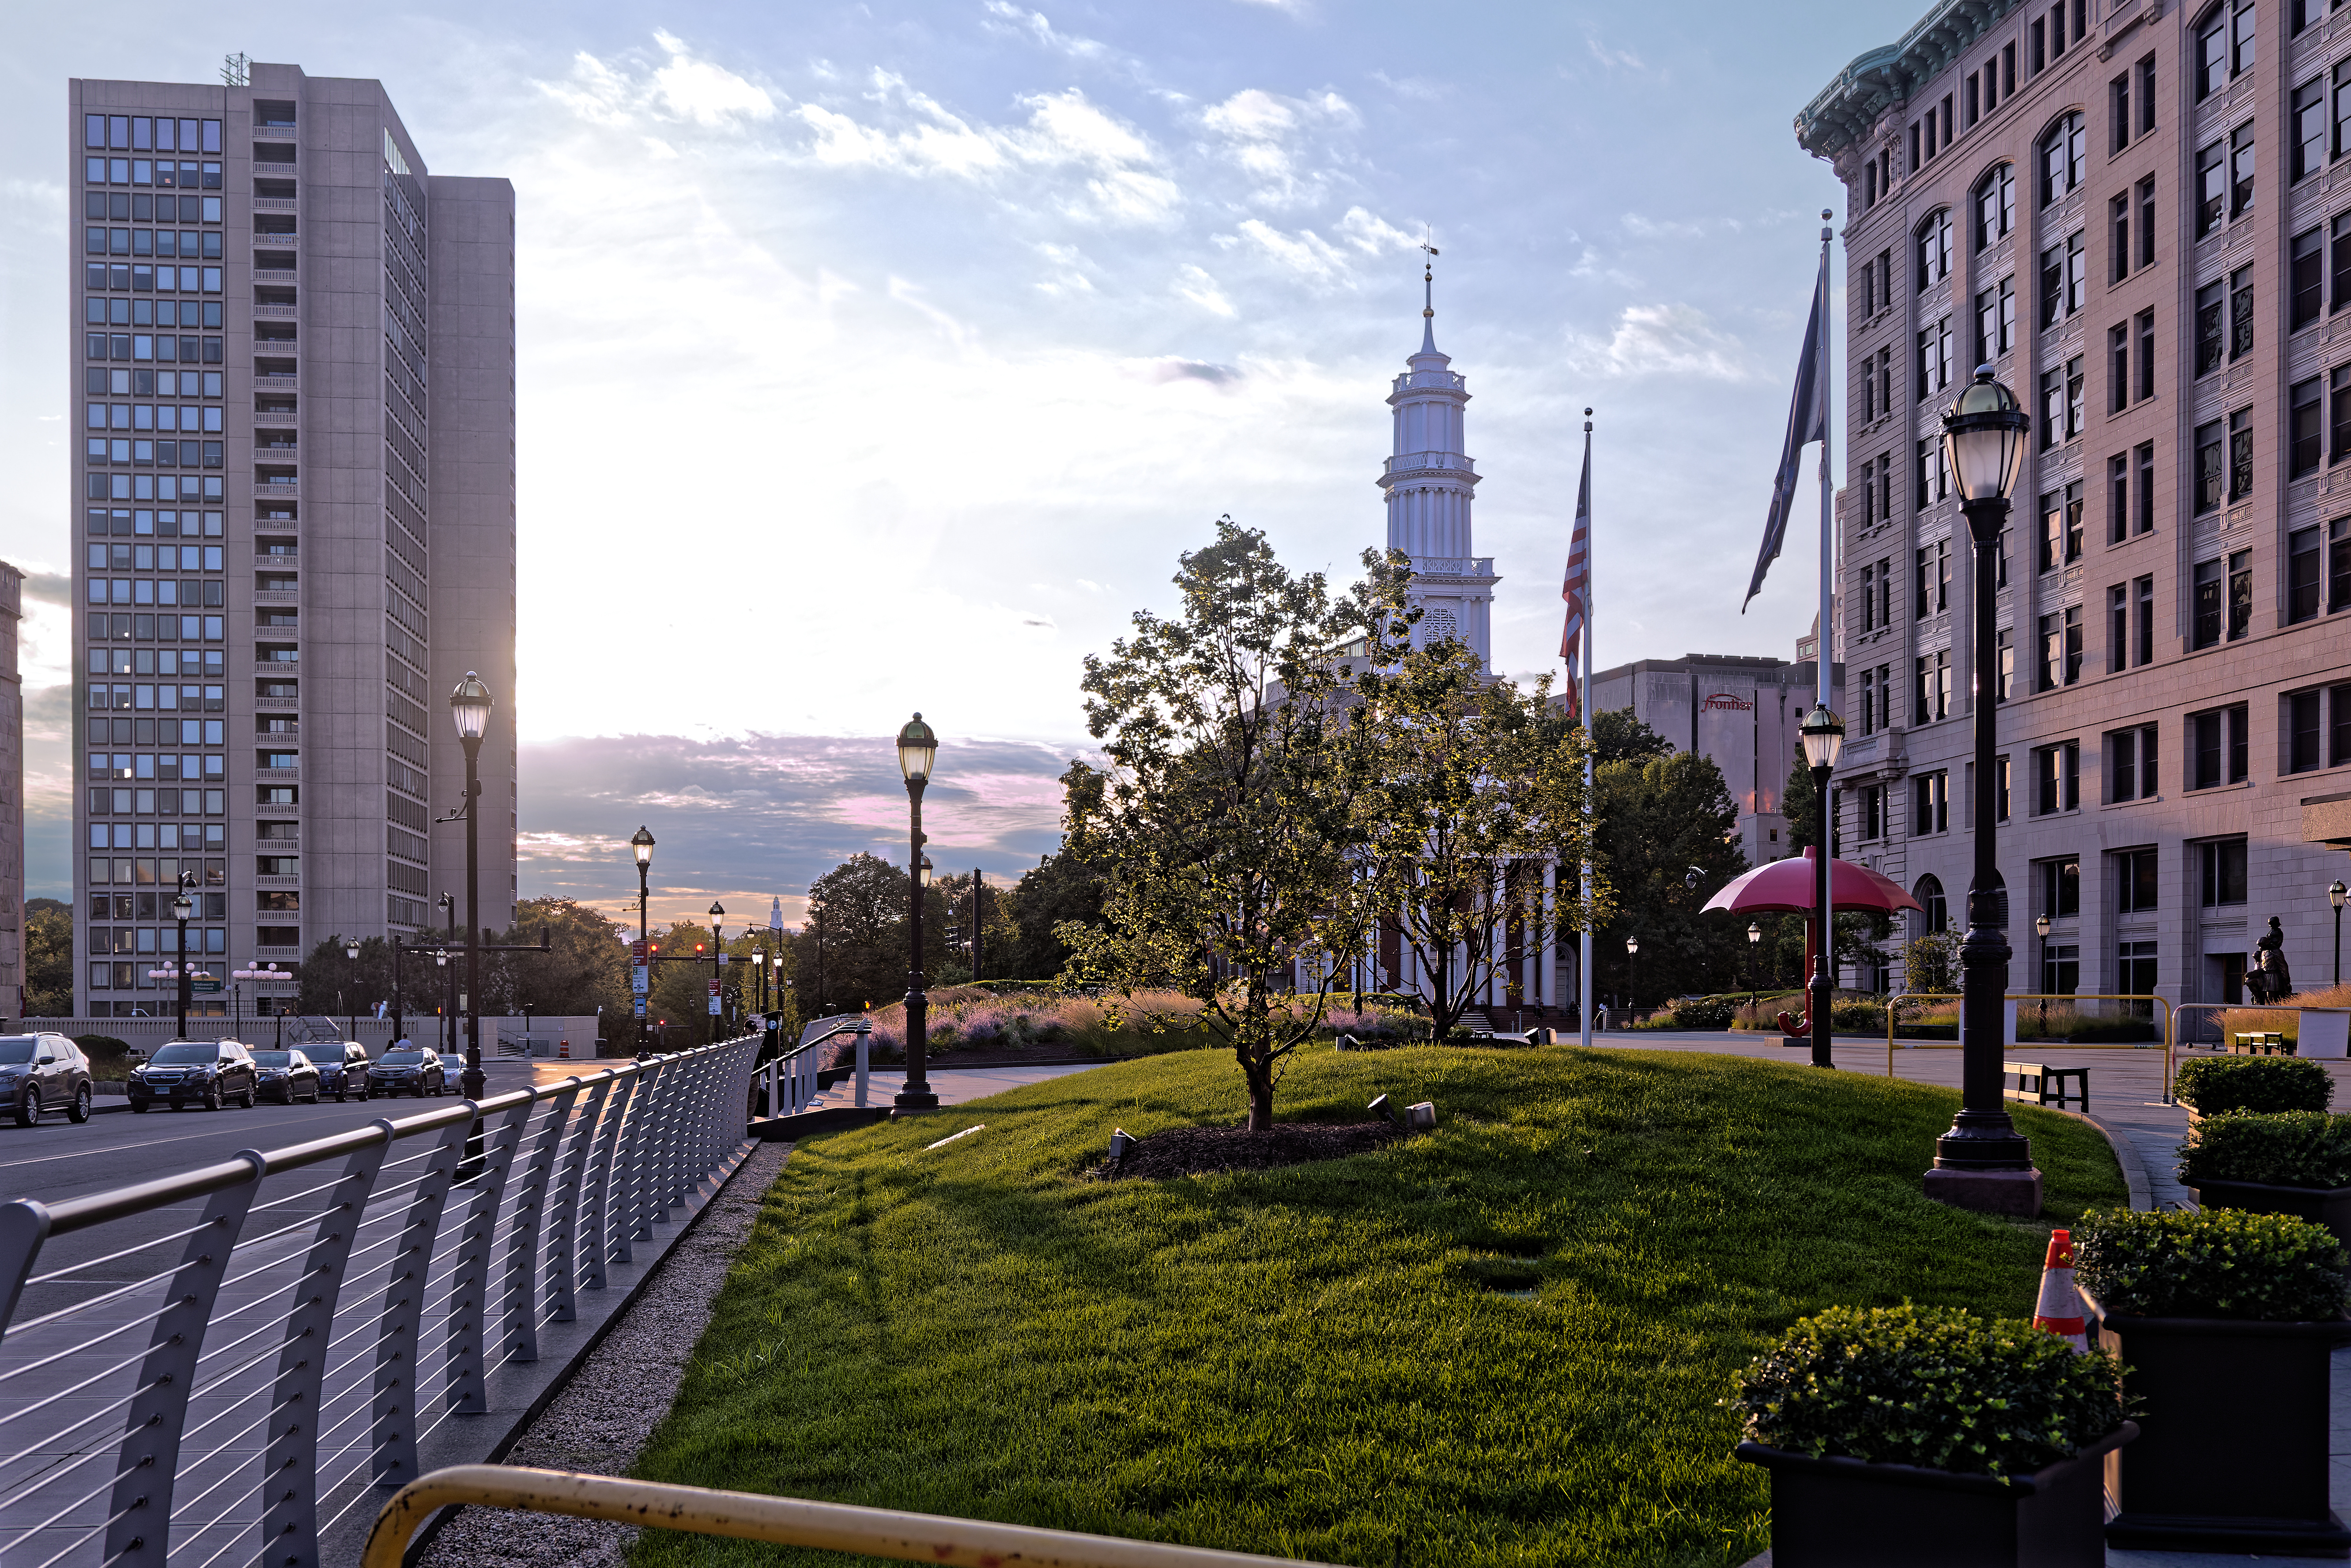
Detail recovery in this before and after image was accomplished using the local adjustment highlights and shadows sliders rather than the global sliders.
2 Likes
Hi all,
I know and actually use extensively all tips/best practice pointed in the already discussed topics.
What I’d expect is that all these things could be sorted out by using another algorithm to manipulate the highlights/shadows (namely something similar to LR “spatial + toning” space segmentation).
1 Like
This is definitely the best way to go. People have posted examples of LR “highlight recovery” before and I always find they are basically toning down an over-exposed area to be somewhat flat grey. My rule is - if you can’t recover highlights and keep them white, you have over-exposed the image - scrap it 
2 Likes
There are already several feature requests to make the adjustment of highlights and shadows in PL’s Selective Tone palette more like Lightroom’s. Perhaps this one is already duplicated in one of those? For example:
I agree that Highlight/shadow recovery could be improved.
Something more along the lines of Shadows/Highlights in Photoshop would target the areas you want to adjust more precisely. “Smart Lighting” is a bit hit or miss, even when you use the “Spot Weighted” tool. “Selective Tone” is not always selective enough.
I do sometimes use the “Local Adjustments” feature with good effect, adjusting the highlights bar.
Mark
Can you better explain your process ?
Have you only used local settings or have you started with global ?
Which global value lighting corrections ?
And patterned mask ?
Thanks
Pascal
Pascal,
Here is the link to the recent HDR thread where I described how I edited this image.
Mark
1 Like
+1 for better/easier highlight recovery. I am not very pleased with the fact that I need to use a lot of different tools including local adjustments and whatnot to do what I can do with a single slider in all my other raw processors. The “selective tone” tool is more something to achieve special effects, a bit “HDR-Tonemapping”-like, more than effective selective control over hightlights and shadows. In fact it’s everything but “selective”! When I move the highlight slider down to bring highlights back, this affects the whole image making it completely dull, then I must counteract this with other tools… that’s not a very efficient workflow, very counter intuitive.
Maybe the “selective tone” tool is appreciated by some, so I’d suggest moving it to the “effects” section and add a proper highlights/shadows/white/blacks tool to the basic adjustments panel.
1 Like
The truth of the matter is, if you have over-exposed an image, there is absolutely no way to recover those lost highlights - nothing, nada, zip. All most other software does is to dull them down from pure white or make an artificially intelligent guess at what might have been there.
The cure for blown highlights is to get to know your camera better and ensure that the exposure is correct and within the limits of the sensor.
However, if your image is only just within limits, you can always try the highlight fine contrast toll from FilmPack along with working with the tone curve instead of the selective tone tool.
True, nothing to recover… We can still do something about blown highlights:
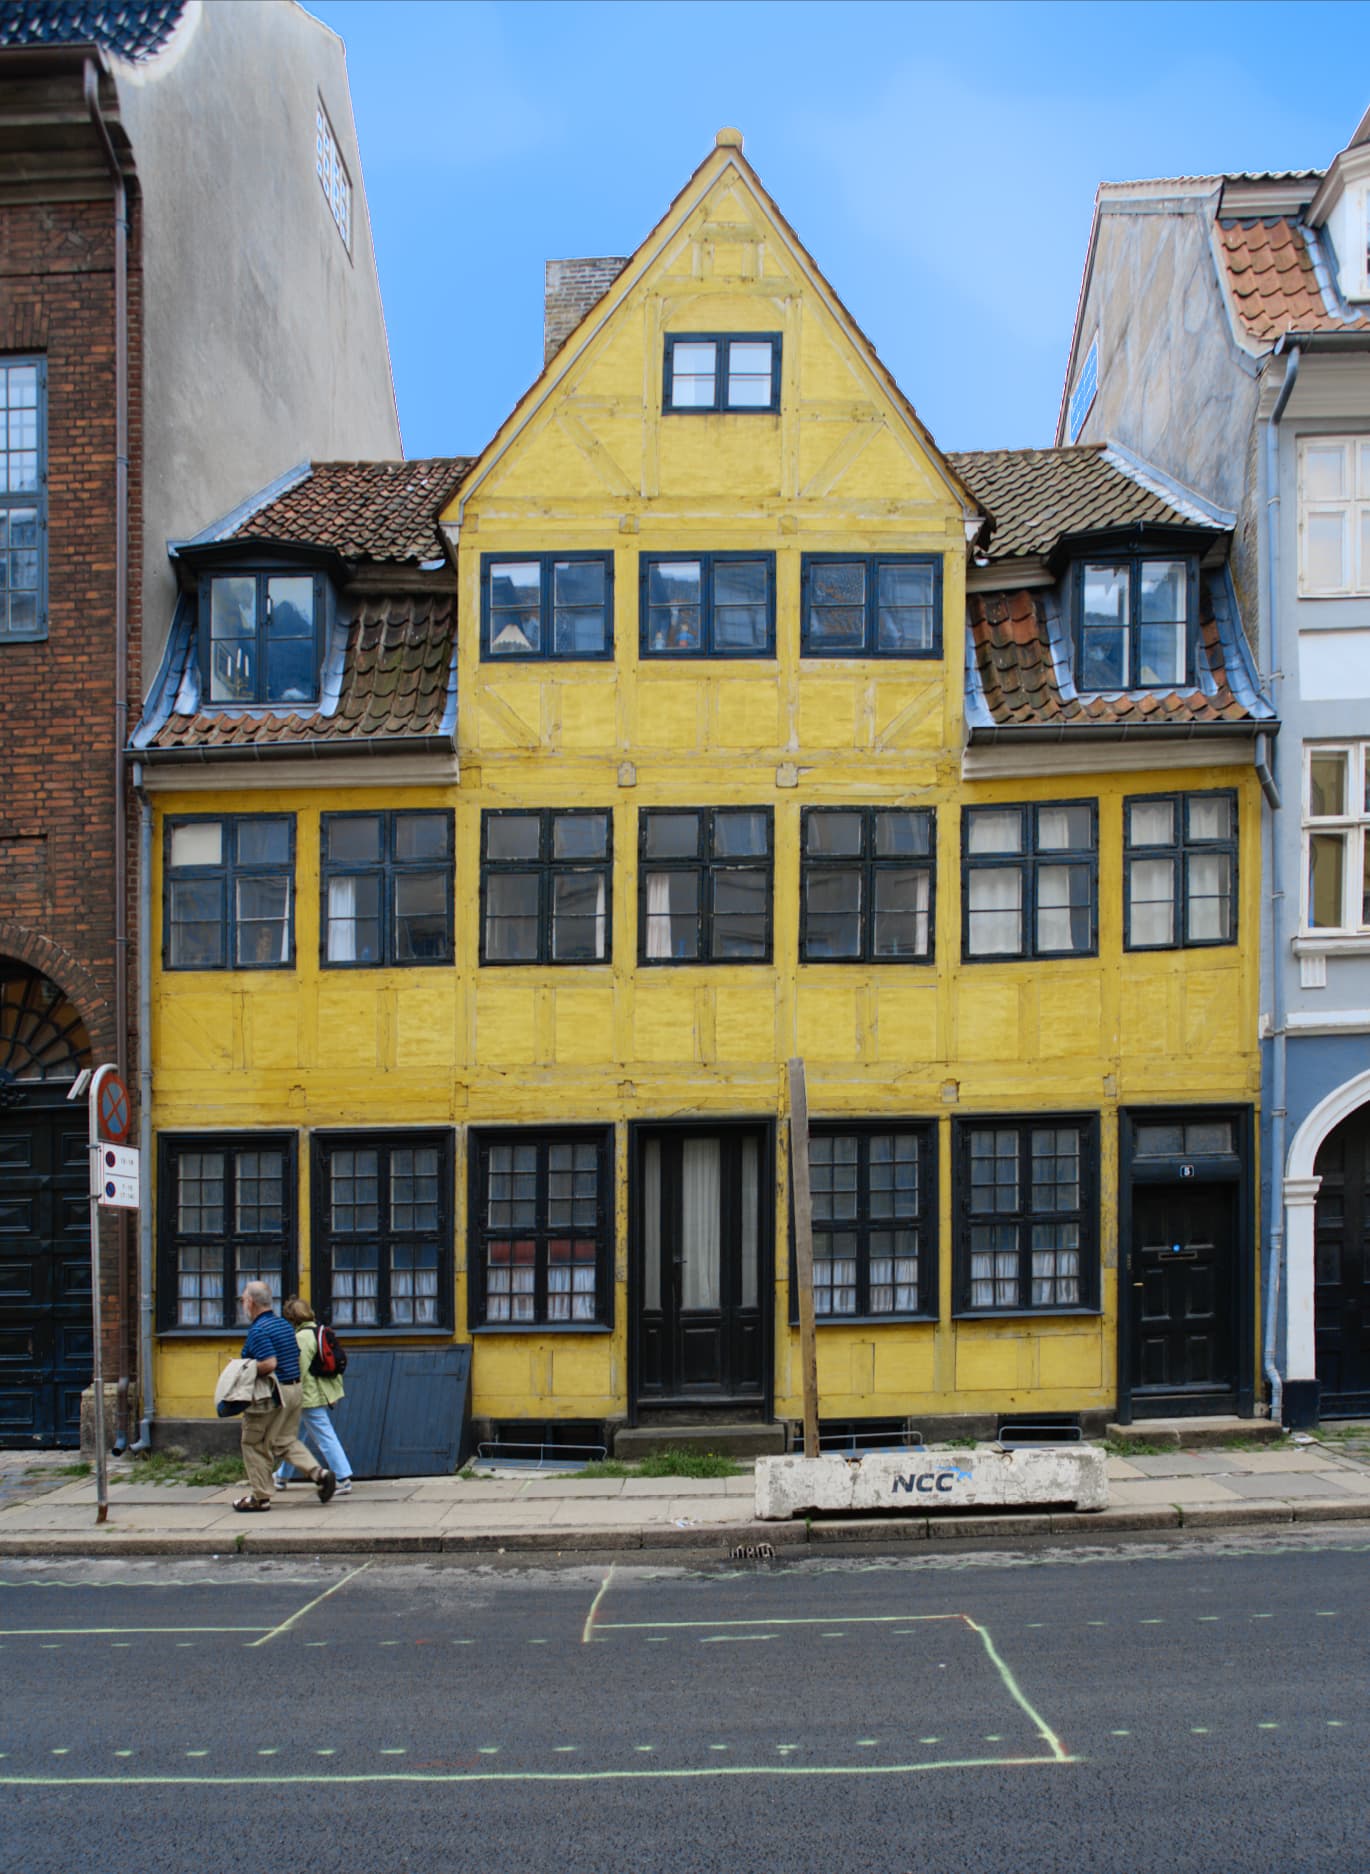
The sky is completely burnt…add a control line to darken the sky…add a gradient and change Kelvin…add a brush or two for fake clouds…et voilà (exaggerated to better show the fake)
Note: The house had this strange lemon-ish yellow.
I don’t think that anybody is talking about blown highlights.
The tone controls in LR work differently to PL - especially, the highlight control. It restricts itself to just the highlights and not the rest of the photo as PL does. Thus it is possible to smooth out the highlight and blend it into the rest of the photo. Examples would be sky and hot spots on a person’s skin.
I have a photo of a model taken with flash. There is a hot spot on her arm from the flash. In LR, this is smoothed out very easily to blend the hot spot with her skin. The same photo in PL requires messing around with local adjustments. Afterwards, it still does look as good as the LR version.
Another example is if you ETTR. In this case, highlight recovery in LR is far better than PL.
Allan
Hey! That’s my super secret trick 
1 Like
No please, this doesn’t help at all. I know you think that, I searched and read some of your replies, but no, sorry.
I’ve been doing this for decades, I absolutely know what I’m talking about, I use all major raw converters, I know what I can do with my files.
Indeed. The highlight slider is completely unusable to move highlights that are beyond the right side of the histogram back into the picture, so to speak. So we need to apply tons of workarounds and cascading adjustments, while in competing software it’s just a matter of bringing a single slider labeled “highlights” down. (And were not even talking about “highlight reconstruction”…)
I understand that each software has it’s own algoritms, but this is a basic function of a raw processor. Originality and creativity is great, but please don’t move the steering wheel to the back seat and the throttle in the trunk!
2 Likes
Sorry again, but couldn’t we just assume that we’re both experienced photographers? That would make things easier and we could avoid to waste each others time…
1 Like
in highlight recovery the highlight selective tone and highlight contrast slider should be connected.
when i need to pull highlight down in global manner i use -20 highlight toneslider and -20 highlightcontrast instead of only selective tone. (to prevent greying blobs in the whiteparts i lower contrast/details.
so in the first attemps they could be connected and got lose/disconnected if i attempt to change contrast from the original tone setting say in example above: -20 tone and -15 contrast.
(all of this is only possible when you have Filmpack elite)
my way is:
set smartlighting boxes at 15%
then correct global exposure compensation (midtones)
adjust highlight and shadow (tone and contrast)
and or use local adjustment tools.
(a Dehaze function is Fine contrast works fine on shadows and sometimes highlighted walls to get some detail back. (also a Filmpack feature)
1 Like
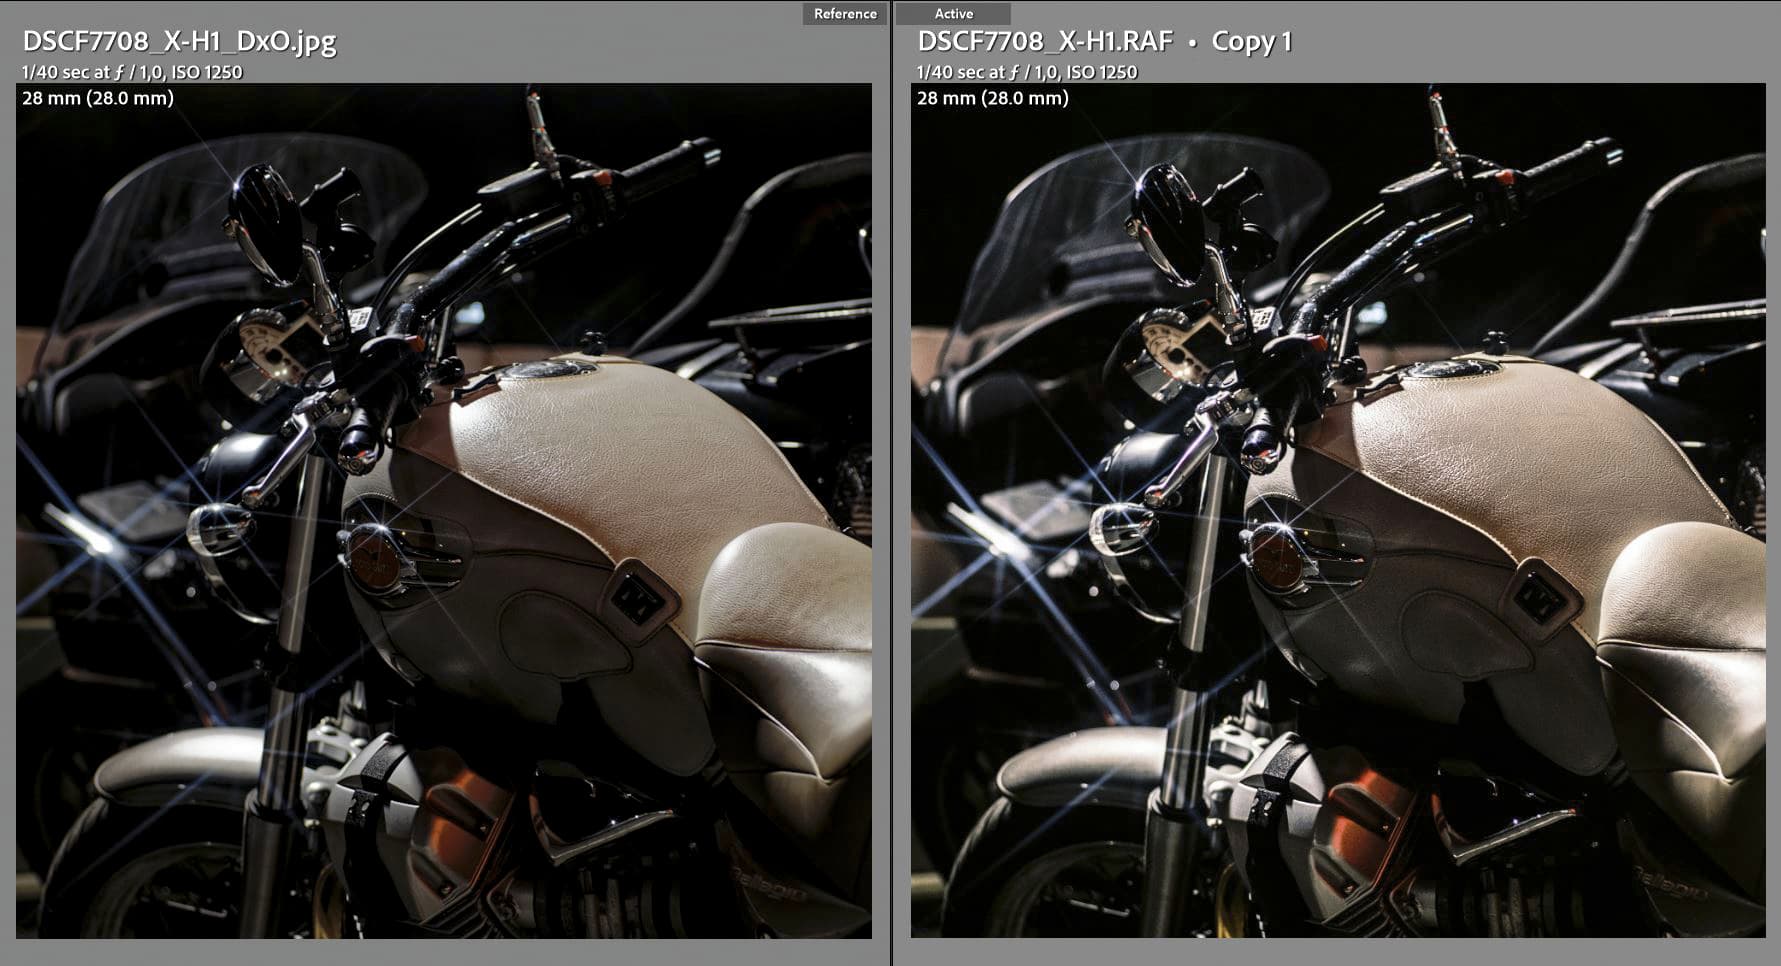
I tried a lot of your suggestions, doing my best, and ended up using Highlight contrast, selective tone, tone curve to produce the image on the left. On the right, some basic adjustments in Lightroom. (I decided not to post the usual “blown out sky” image  ) DXO jpeg had DeepPrime applied, Lightroom has default sharpening, no noise reduction at all which explains perhaps the slight “waxiness” of the DXO jpeg, but that’s not an issue because easily correctible and it’s not the point here. Even though at first sight, these images look close enough, I see many a detail that illustrates that I got stuck with the highlights in DPL5. For instance, the leather on the tank and seat, the reflection on the front mudguard are details I would discard the edit for. I also see the DXO image being overall a bit duller (because of the highlight slider: eg the bike’s signal light), which I tried to counteract but I could find a single parameter that didn’t lift the highlights again. (Hopegfully I embedded the right profile because screenshots from Wide Gamut screens don’t work for the web…)
A lot of fooling around in my opinion. This is why the tone controls in LR are far better - and, you don’t need an optional, pay for, plugin to achieve a good result.
I expect this is why I see a lot of people only using PL for DeepPrime and lens correction then exporting to LR for tonal and colour adjustments.
I try to do everything in PL as I bought into the system. However, occasionally, I do export into LR for things like Highlight control.
4 Likes
I guess so. I also bought the FilmPack, but because of such issues the whole integration-concept falls a bit apart. If we apply a Filmpack preset in PL5 and then export to Lightroom as a DNG for the tonal editing not only we have issues with the color rendering but also, if we do significant tonal edits, these will act upon (by degrading them) the grain of the Fimpack sims which are exceptionnaly good. So the workflow is really convoluted: export to DPL5, apply optical corrections, Noise reduction and a filmsim but NOT the corresponding grain layer, export back into Lightroom and do the tonal edits, export back again in PL5 to apply the grain layer, export back into Lightroom for final export and/or print. Whoah!!!
But the basics of DXO’s offering (DeepPrime, the optical corrections, the film sims) are top-notch so I signed up for EA willing to help getting this into the right direction 
Speaking of film sims, there are some REALLY weird renderings here and there…but that’s another story!