Volontiers.
Tu clones une première zone, l’image est modifiée.
Tu peux utiliser ce premier résultat comme source d’une nouvelle correction.
adobe ne sait pas le faire dans un workflow raw
Pascal
You clone a first zone, the image is modified.
You can use this first result as source of a new correction.
adobe can not do it in a raw workflow
One thing which is now a interesting feature, you can change from repair to clone and back on excisting editpoints.
Just select a pin and change settings.
Other thing repair is more a onestroke mask thing wile cloning can be used as knibbeling feature to replace a group of pixels.
But you can knibbel with repair and change halfway to clone by reselect pins and change the function.
Other thing: the not seen image by the mask as a plain blue and red blob is in backlog as improvement request.
As in speed, does zooming in helps? Less preview rendering i suppose does speedup the preview of changed pixels.
Thanks for these tips Mark. I’ll play around with them and see if I can’t get the clone/repair tools to work at a usable and useful pace. PhotoLab should automatically disable display options which slow down the clone/repair tool when it’s enabled. These are new features so DxO is no doubt working on optimising them. Field reports like ours are what they need to know where the pain points are though.
I will add another comment on using the clone tool, however. Having to hide the masks to see the effect of the cloning, then having to reshow them to make the next correction, is a real nuisance. I feel having a dotted coloured outline would be far better than a filled area - at least whilst editing an existing cloned region. I seem to be struggling for how to describe what would be best - can someone please help argue this out?
As of now, DPL’s implementation and use of the tool is clumsy compared to how Lightroom handles this: Both the source and target areas are encircled and can therefore be seen. You can move around the source and target circles and change their sizes.
DPL does hide the source and target areas - what an odd decision!
Have you noticed that using the clone tool on an image with no local adjustments is faster than on one that has them? It makes a huge difference on my older Windows 10 machine with all updates, an i7-6700 @3.4 ghz processor, 24gb of ram and an Nvidia GTX 745. Photolab runs on an SSD drive, while the raw files are on an IDE drive.
When I played around and also hid the local adjustment masks and deselected the local adjustment palette, I had a similar improvement in performance. I wonder if your computer is much higher spec’d than mine so that any performance difference is less noticeable?
Has not someone from DXO already promised that the handling of source and target selection will be improved in the future? Can’t remember the exact post.
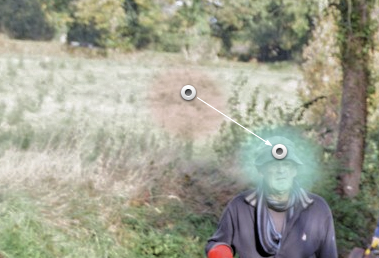
I have also found some odd areas being used totaly inconstamtly. When I have redone an imige the selecred area changes, I take it the area to be corrected must be slightly diffrent. I had an imige with water, grass and hills behind. At one stage it selected the sky when correcting a poll running through the grass redid and it corrcly went to grass, odd.
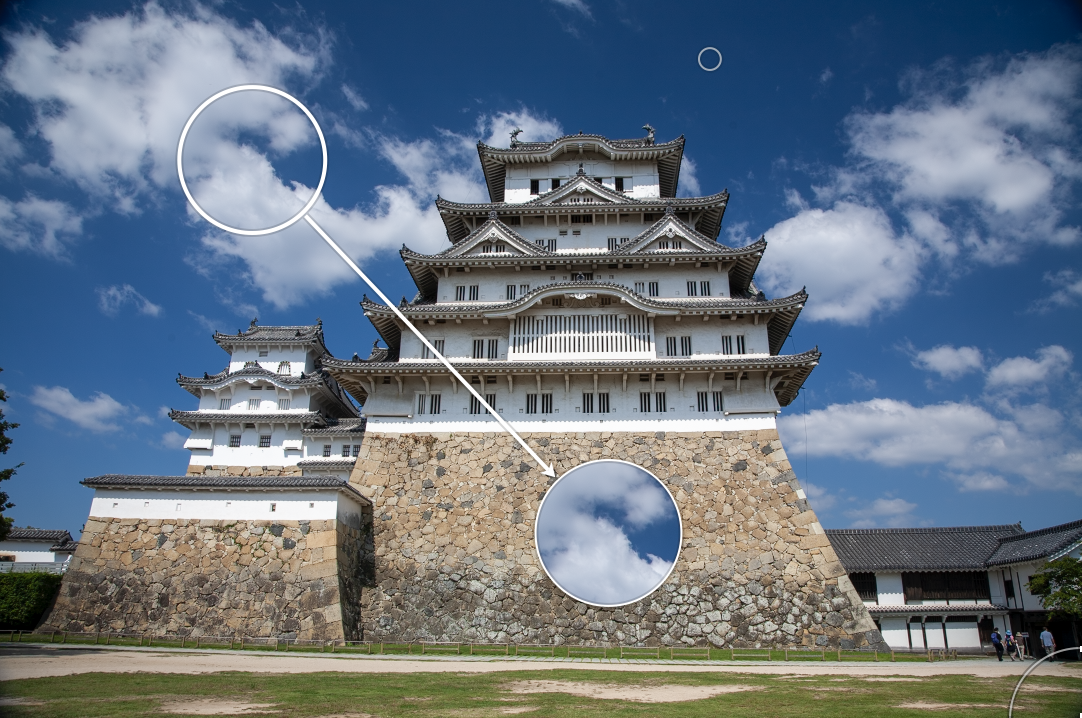
And there’s the problem that the new version of the tool in PL3 solves.
In PL2 the source for repairing was determined “somehow” and we had no control over it. With PL3 we can now determine the source for, not only repairing but, also, cloning. But you need to check the “show masks” option in order to see what is happening. Then you can move the source area to where you want that makes sense for the repair/clone you are doing
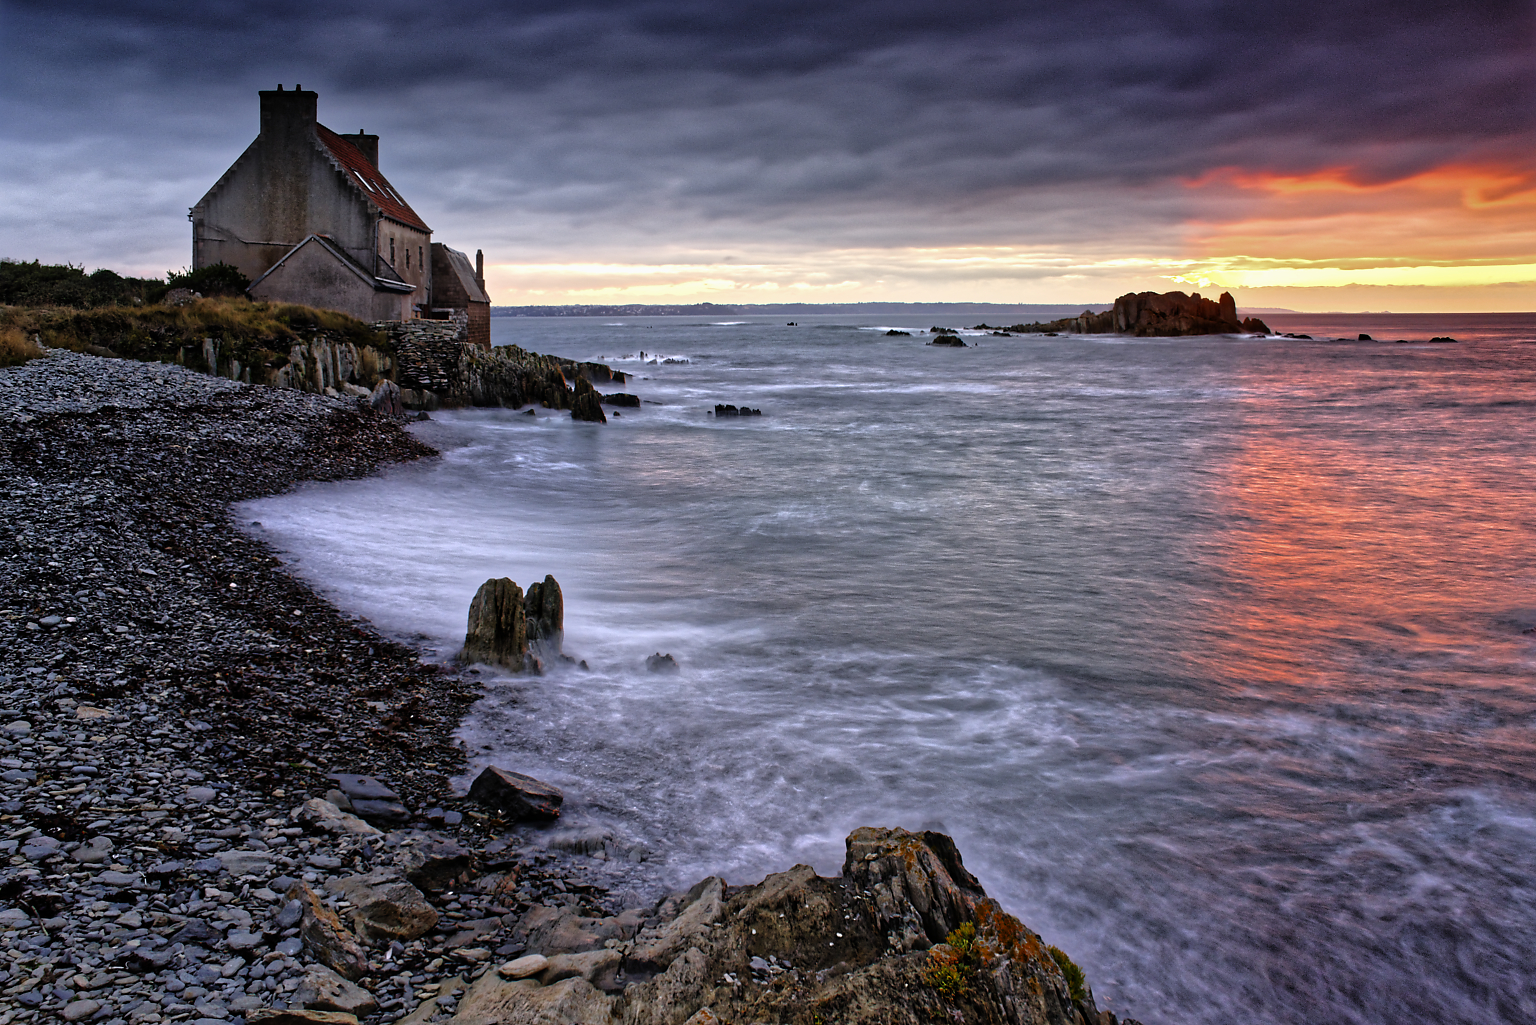
That new HSL tool is itching me to re edit some of my sky landscape foolarounds.
See how i can use the three main color corrections.
1 global vibrance and saturation with color rendering profile.
2 local adjustment toolset.
3 now new very good usable HSL tool.
And played with new repair tool.
it has some trouble leveling the horizon wile repairing and then is the re-adjusting location very handy.
got it quite well i think:video
And upoint dealing with colorcasting effect of a shadow due heavy color vibrancy adding: worked out quite well