Editing high dynamic range images in PhotoLab 5

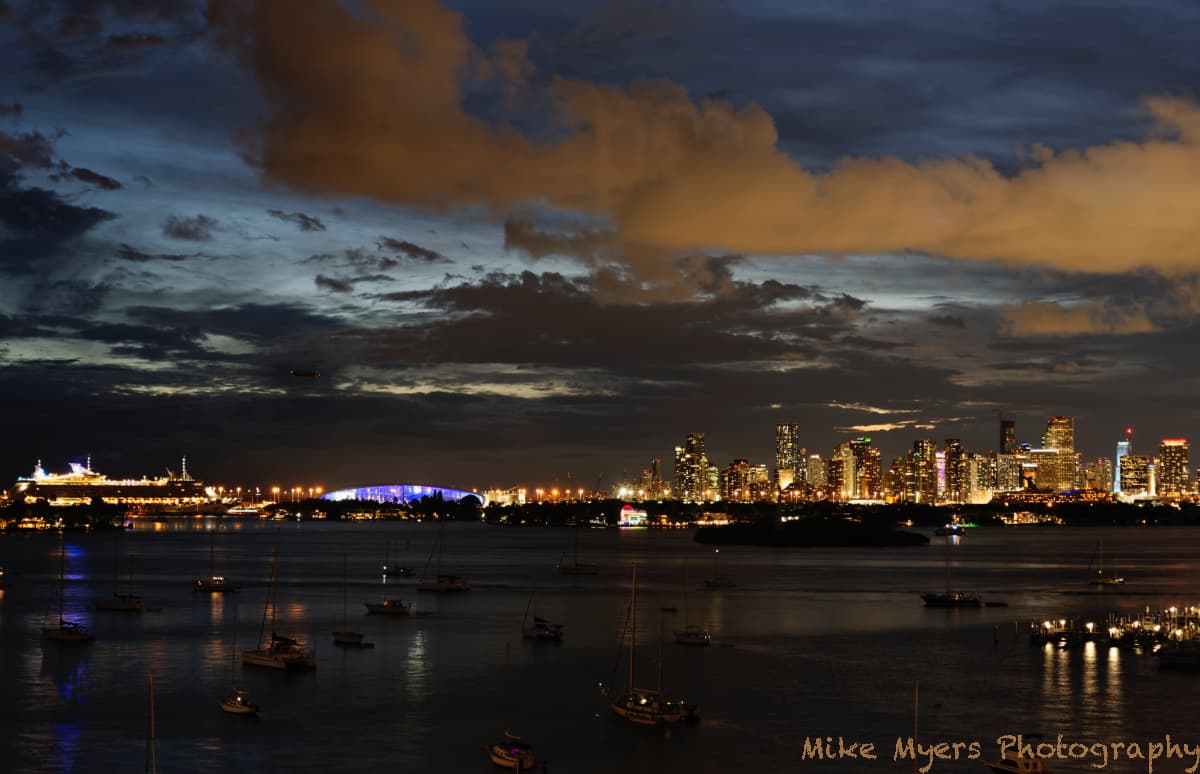
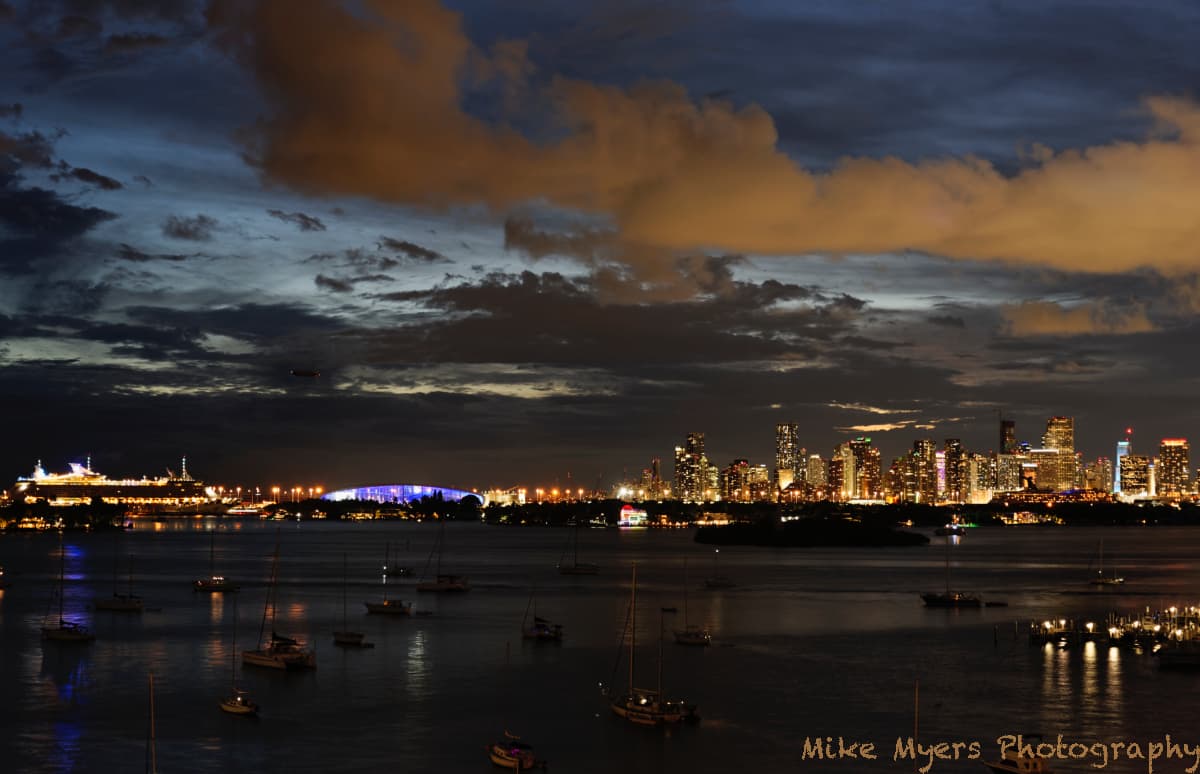
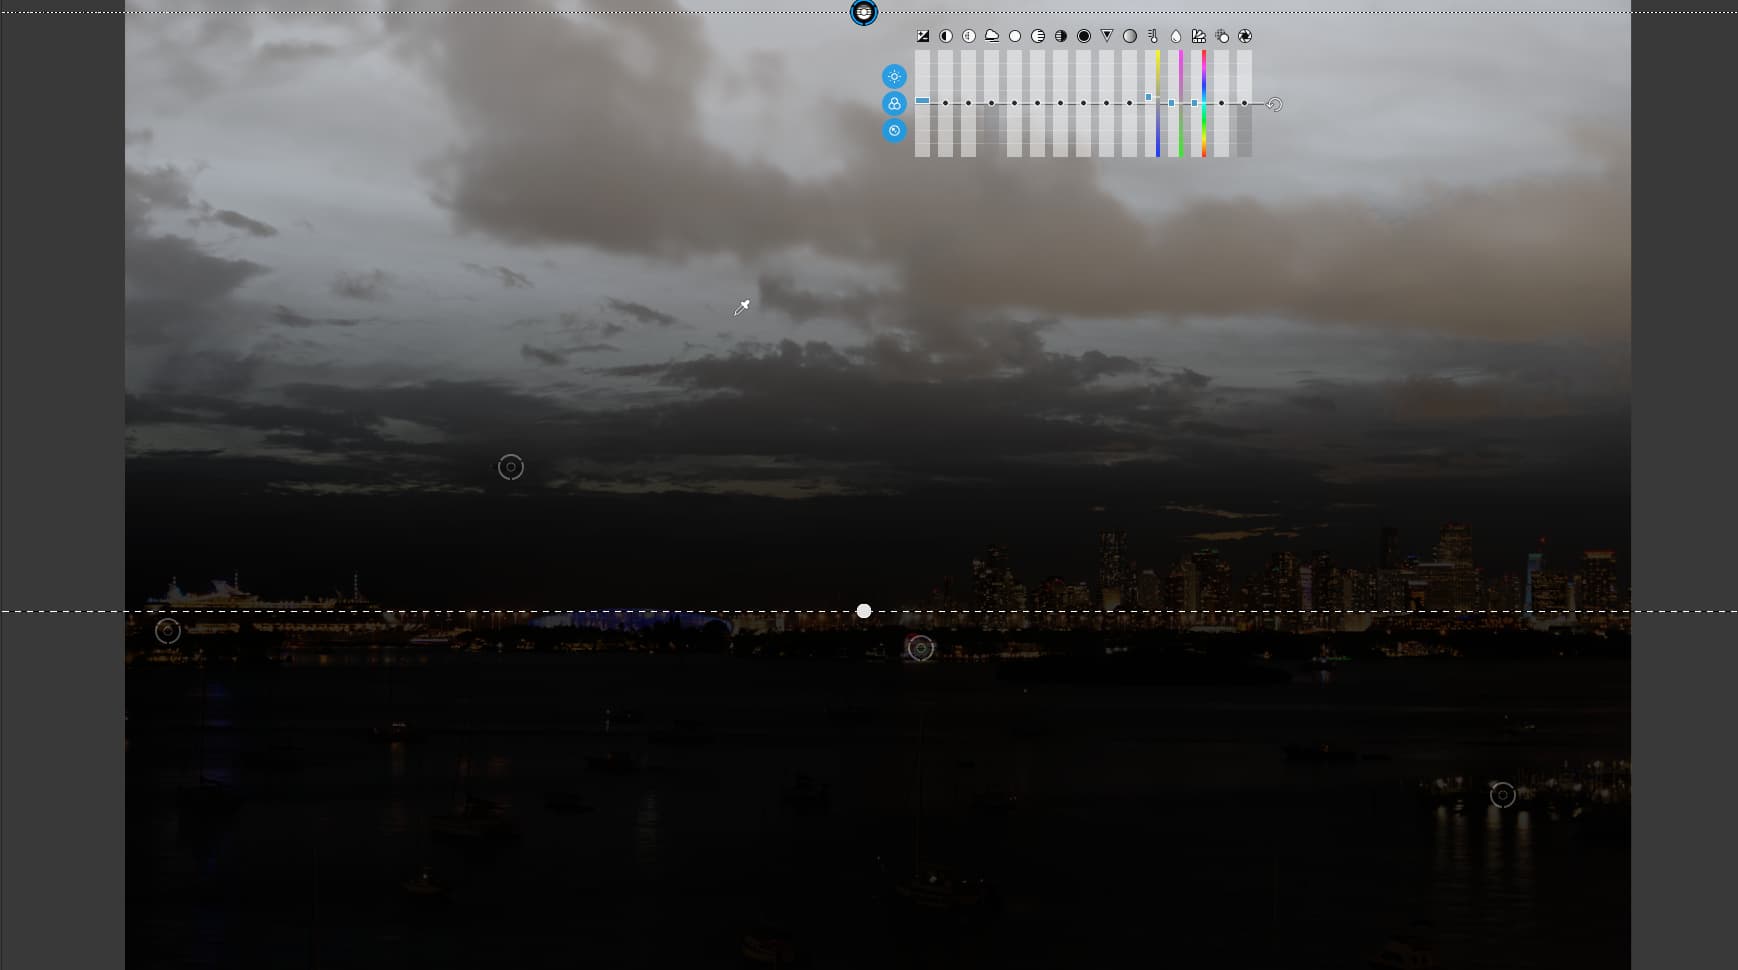
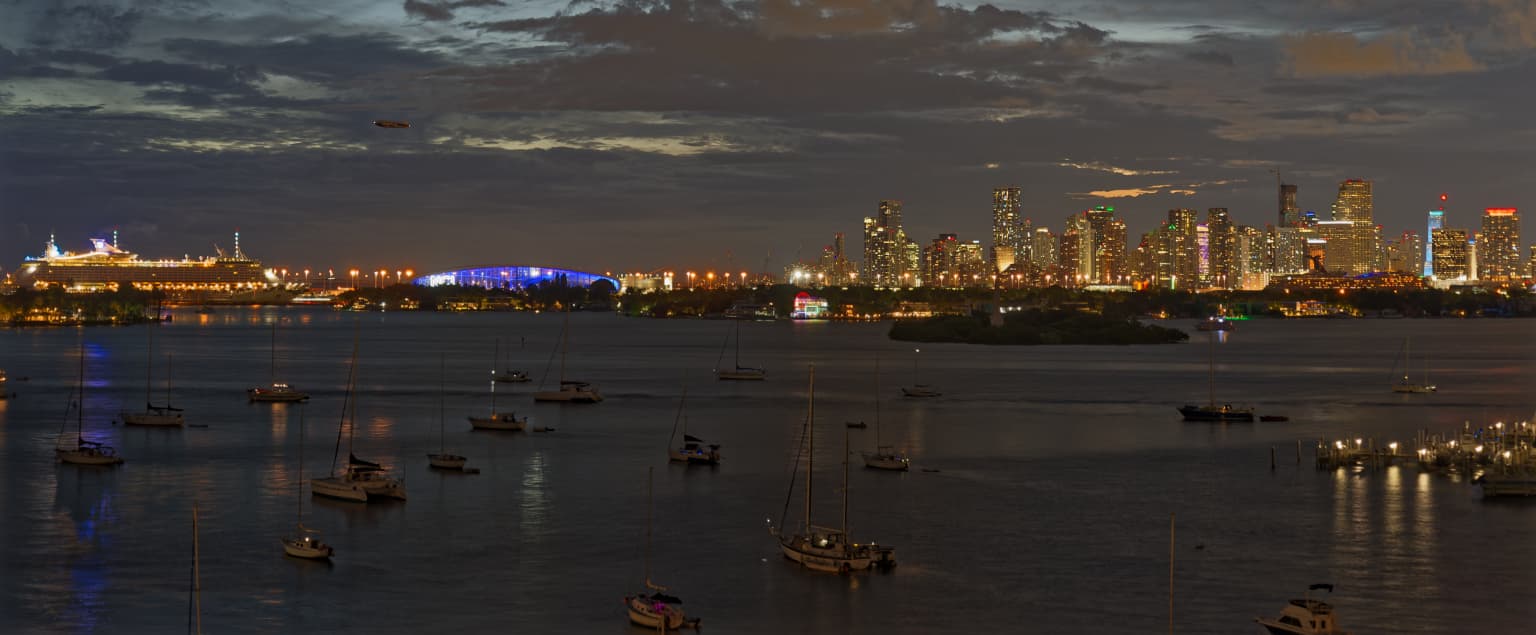
I don’t especially like this photo, as the “interesting part” is now so tiny

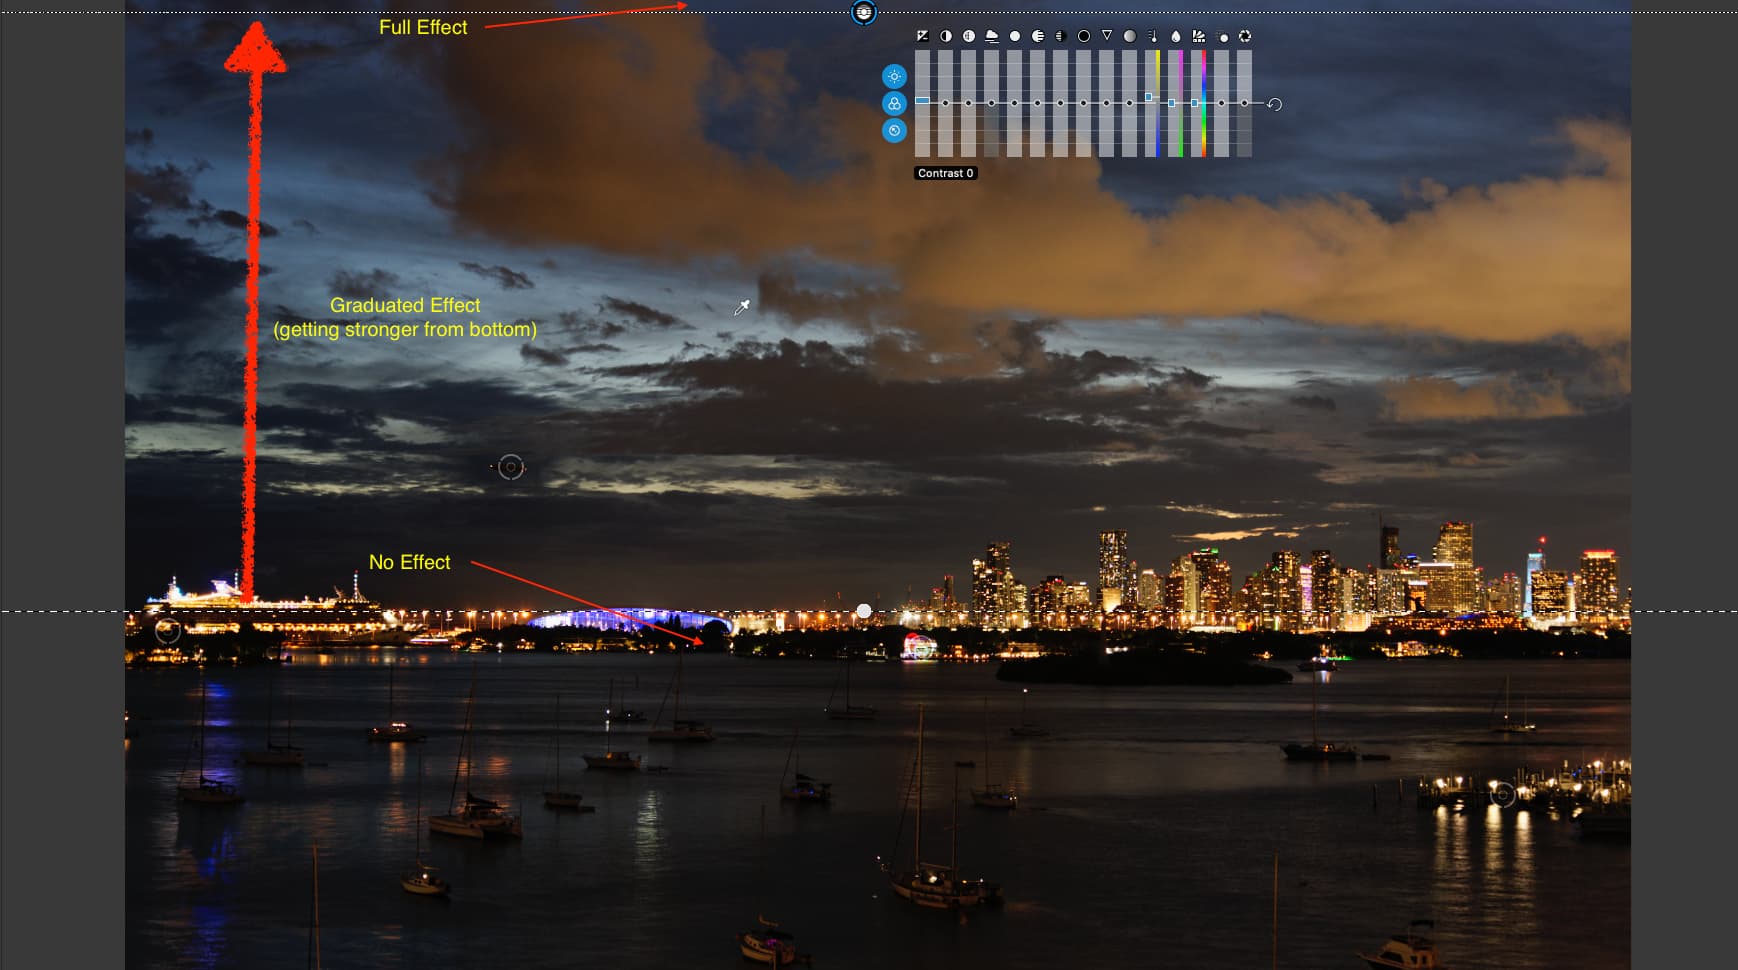
About the crop - in my version, almost everything in the image draws people’s eyes right to the sun - the clouds, the reflection, the city skyline. I like that, but perhaps I should have put the “horizon” only 1/3 up into the photo by cropping.

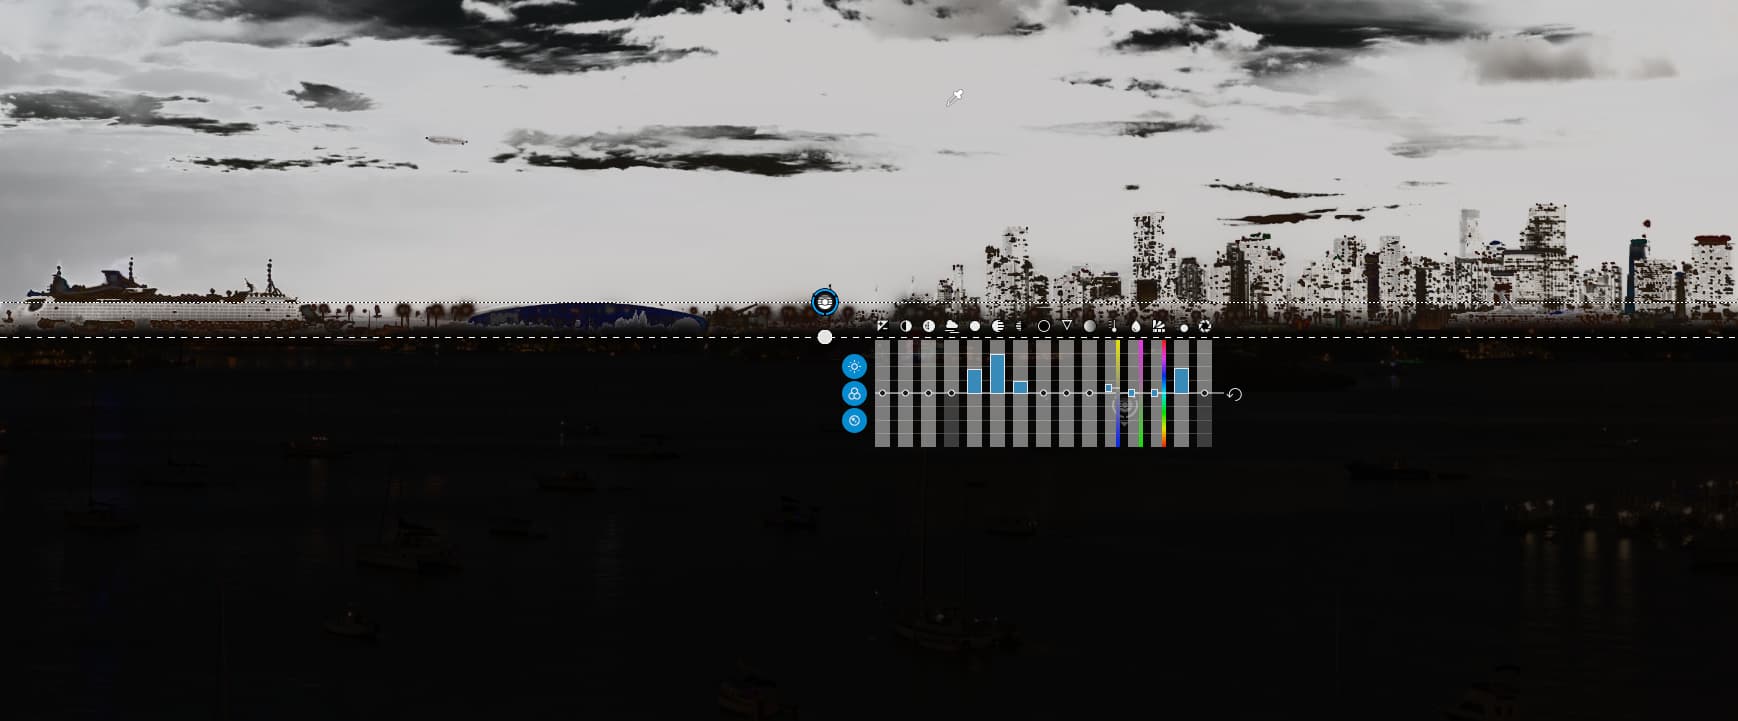
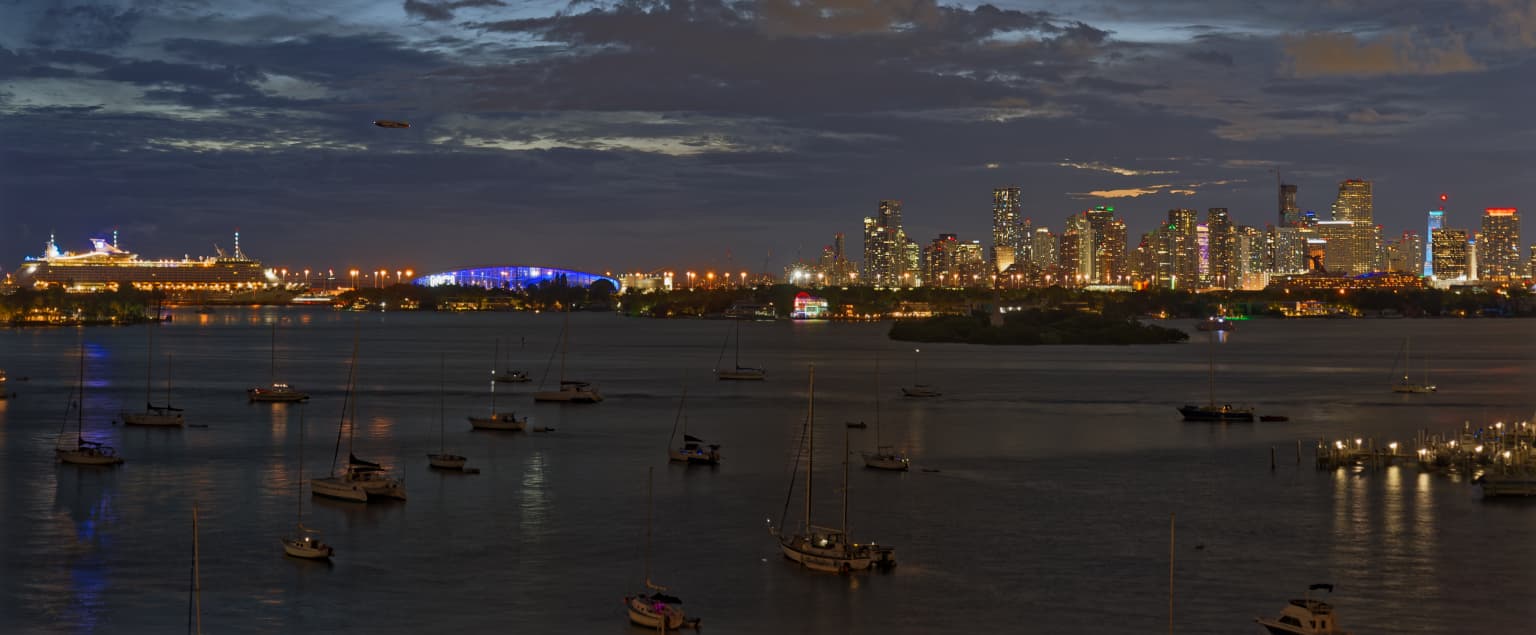
In your cropped version, my eye isn’t sure what to do - it’s almost like I’m being drawn to the bottom of the photo. I think if you were to put the horizon 1/3 of the way up into the photo, we would both be happier. There isn’t much reflection in the lowest part of the water.

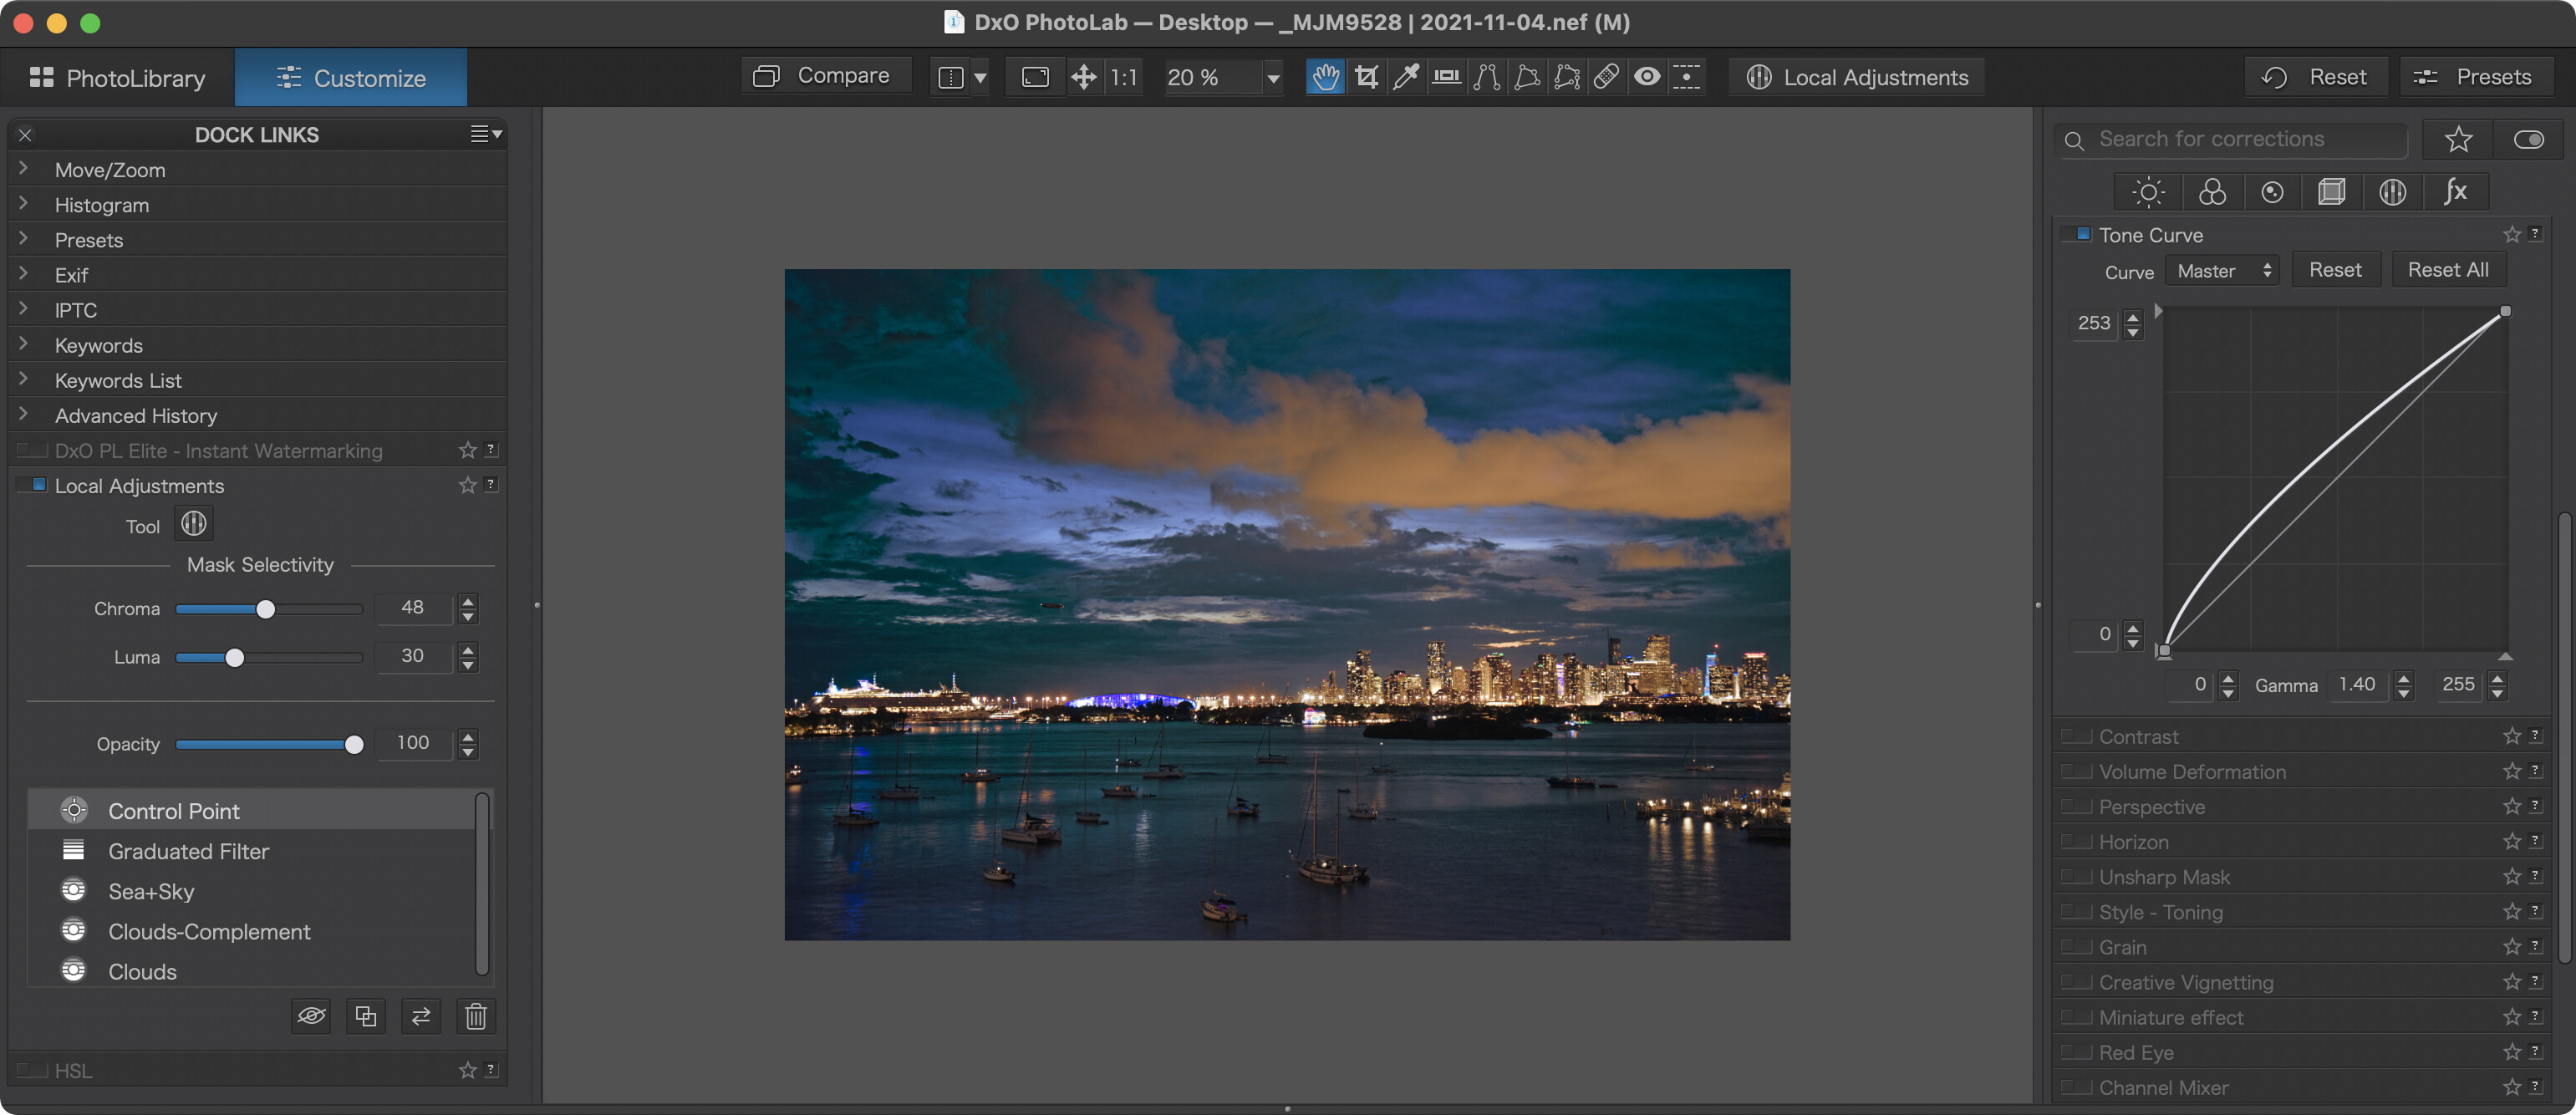
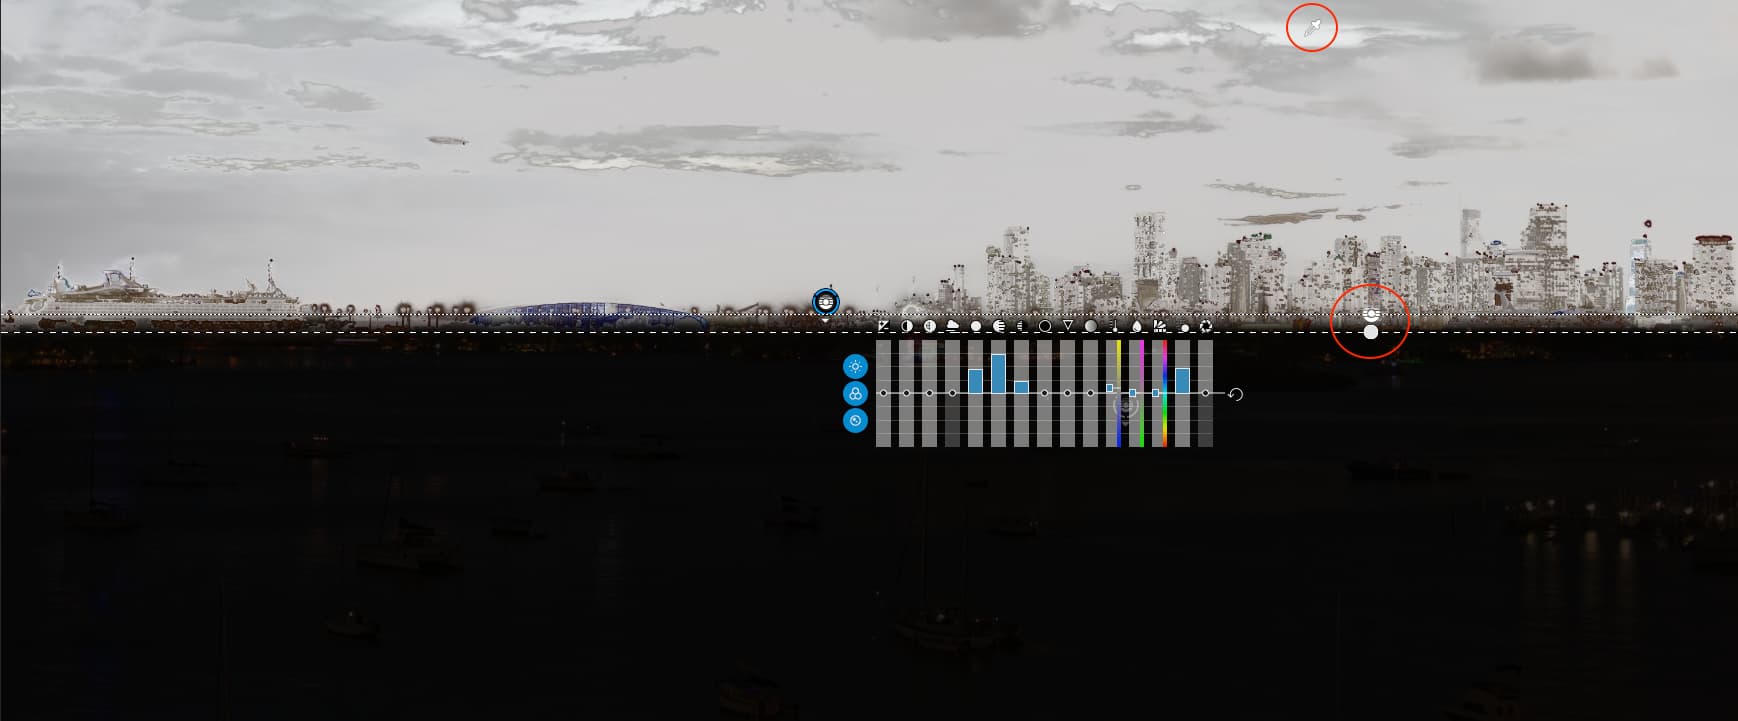
I will use your .dop file, but put the horizon higher, unless you beat me to it.

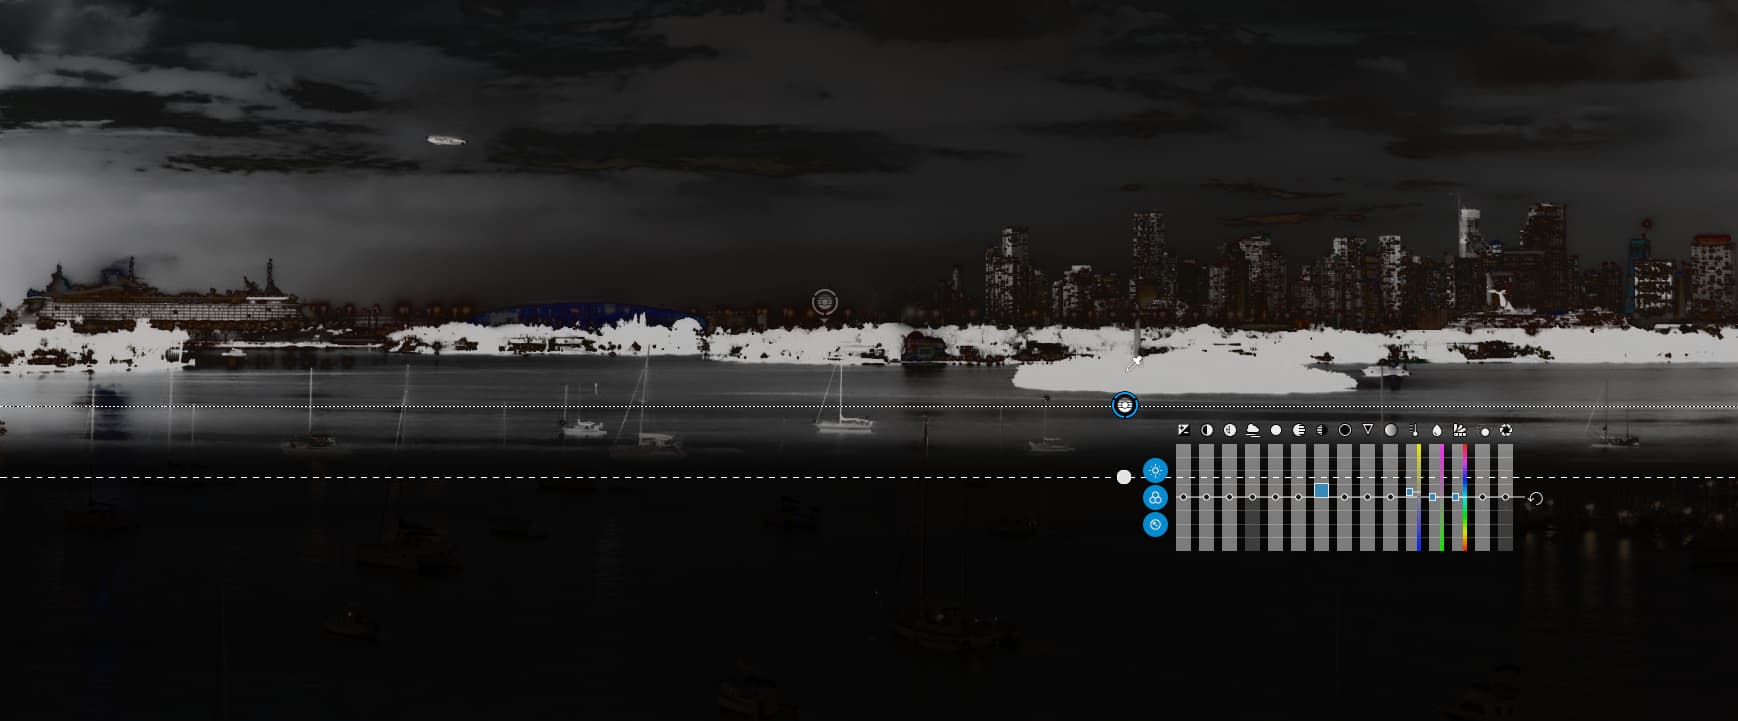
I’m not sure it’s worth the effort - the “wow” factor is lost, and the “crepuscular” rays are insignificant. Nice word, I need to try to remember it. As soon as those crepuscular rays showed up, I fell in love with them, and that is what I enjoy most in my original edit.

Have you downloaded Mike’s NEF file and then my DOP file?

I would agree. I just wanted to see how far I could go with a Control Line to bring out the crepuscular rays. More to establish technique than to create a stunning image.

Yes, it’s one of those words that “feels” nice. Here’s a page that I just looked up that might be interesting - it even mentions anti-crepuscular rays, which is something I didn’t know about and can’t remember if I’ve seen them, but I will now be on the lookout for them.

From shots at dusk to shots taken in the middle of a bright summer’s afternoon, against the light.

Before PL5…

After PL5…

Yes I did. I can see the lens data and the Copyright and author (Mike) But DXO seems to be using a standard preset as if there’d be no changes at all. Maybe it’s relevant that I’m on PL4?

Yes, you won’t see PL5 edits in PL4.

1 Like

When you have time, please post the link. I’d like to learn more about this.

1 Like

So, all those radial lines are actually parallel. Wow! Thanks for the link.

Despite converging toward (or radiating from) the light source, the beams are essentially [parallel] shafts of directly sunlit particles separated by shadowed ones. Their apparent convergence in the sky is an illusion. This illusion also causes the apparent convergence of the otherwise parallel lines of a long straight road or hallway at a distant vanishing point.

Oops! Thanks, I’ve added the link

Mike, your getting better in this game.
In taking and editing.
If those centre clouds where just a tad more deep in the image it would be much more powerfull. (nothing you could do)
Now you have two pieces of empty space on each side of the horizon in the centre.
Cropping does lose the sun strike on the water and cropping the cloud could damage the cloud structure, losing dept.
Maybe on both sides a inch
Bottom cut through the darker section of the sunstrike and at the top just above the yellow lining of the cloudstructure. Like squinting your eye’s.
Maybe a tad 1/3 max exposure level adding to the boats and skyline and two lower dark clouds to extract some details.
But anything else would make it worse.
Nicely done.

1 Like

I am very lucky to have met such wonderful and brilliant people to guide me, and to learn from.
I’ve also been spending much, much, much, much more time at this, and I keep looking for opportunities to use what I’ve learned.
Learning what NOT to do has been at least as important, if not more so, than learning what TO do.

99.9% of my improvement can be directly linked to this forum, and there are still things I know I’m very weak at, like Joanna’s ability to change a car color from red to green. I need to do it on my own, so it becomes part of my toolbox. Control Lines make more sense every time I work with them, just as Control Points did many months ago.

Thank you!

Hi Joanna,

just installed PL5 but can not open the virtual copies, just the original "M"version. Any idea what this internal errror should mean? Please see screenshot attacched. Thanks

Try and shut the computer down, then restart. Maybe that will help?

Hi Guido,
from your screenshot I see, you are following this long thread – and you are on Windows.

I always have to deactivate the watermark from Mike’s pics to be able to see them (missing the template – well no, I’m not ‘missing’ it, but it’s not on my machine). Check, if that helps.

viel Spaß, Wolfgang

Thanks Mike and Wolfgang,

Wolfgang, you got it, after de-activating Watermarking it worked. (Closing down DXO, re-downloading files and re-boot machine all did not)

Error-message should be “invalid Watermarking settings…” or so. handover to you Svetlana to adress accordingly. Thanks. @sgospodarenko

Vielen Dank und liebe Grüße
Guido

1 Like

Interesting evening - I was checking for a sunset photo, but it was too cloudy, so I made dinner. After doing the dishes I glanced outside and saw a rather pretty scene with a strange sky, with a blimp flying over Miami too. I didn’t have time to get my tripod, so I rested the camera on the balcony railing.

Photo came out well, and I enjoyed working on it with PL5. When it was all done, with DeepPRIME activated, I tried to export a copy, but it crashed PL5. I copied the very long report, and will send it to the appropriate person at DxO if they contact me. After re-starting PL5, I changed from DeepPRIME to PRIME and tried to export, but it told me the file was already saved - so I saved the jpg again under a new name.

_MJM9528 | 2021-11-04.nef (25.8 MB)

_MJM9528 | 2021-11-04.nef.dop (18.4 KB)

This apparently is the exported image, with DeepPRIME on, which must have been saved before PL5 crashed, which sounds impossible to me, but here’s the file:

This is the second Export, after I has switched to PRIME:

If you search carefully, you should be able to find the blimp. I’m sure Wolfgang will find it, even if nobody else can. :slight_smile:

And a question to Joanna - is the sky “good”, or “hopeless”? What might I have done to make it more photogenic?

As for me, I’m wondering, if PL5 was able to export the image using DeepPRIME, how and why did it crash? If I understood things like this, I’m sure the answer is in the crash report - anyone want me to send you the file?

How about some (moderate) teal and orange?


_MJM9528 | 2021-11-04.nef.dop (34.7 KB)
Note: Removed the boat sloppily to make space for the watermark

OK. Are you ready for this? :woozy_face: :sunglasses:

With the camera

  1. You over-exposed by about 1⅔ stops. Or, at least, that’s what it took in exposure compensation to bring down the excessive flare in the highlights

    The NCL sign shows this well.

    Yours…

    With -1.67 EV compensation…

    And there is also the clue that something on the left cruise liner is casting a purplish-blue light on the water. This appears to be the illuminated sign on the funnel, which is so over-exposed, it has lost its colour.

  2. You used centre-weighted metering - this caused the over-exposure by placing far too much emphasis on the predominant darker areas. Don’t forget Centre-weighted doesn’t just take into account the central area. Here is a slide from one of my tutorials…

    The red areas show where the measurement is taken from and, as you can see from the bottom-right image (centre-weighted in English), although the centre has a stronger influence, the rest of the image is also taken into account.

    Try changing to Manual mode and taking a spot reading from a sufficiently large enough bright light to cover the spot measuring zone, going to full zoom if necessary. It doesn’t even have to be in the shot - Helen suggested one of the lights on the dock at the right, or even going to the right of those where, if I remember from previous shots, there are walkway lights which might be bigger in the frame.

    Or you could also try experimenting with Highlight-weighted metering and comparing what you get.

  3. You shot with a wide aperture. With the lens you used, this has caused the sides of your image to be soft and “smeared”, especially on the right side…

    You really need to set the aperture to, at most, f/10 to avoid further diffraction.

Processing

  1. You didn’t use Spot Weighted Smart Lighting, which would have allowed you more control on how much shadow detail you want to show/ignore

    I placed one zone on the funnel of the left cruise liner and a second on the island with the monument…

    This then gave me a tone curve…

    Capture d’écran 2021-11-05 à 10.59.43

  2. You placed the Control Line so that it doesn’t fully affect the sky, only the very top…

    And you didn’t change the selectivity. Therefore any effect is very limited and minimal towards the bottom of the gradient…

    Was this intentional?

  3. I found the underlit clouds on the top right to be distracting and I have cropped the image to eliminate them and focus more attention on the skyline but still including the clouds above it. having done this, I then added Control Lines that fully covered the sky…

    This is the primary mask, with a Luma selectivity of 70, and its pipette…

    Here is the secondary mask, to add in the brighter areas of the sky, with its pipette…

    Don’t forget that the placement of the mask “tool circle” doesn’t affect the selectivity, it is solely where you place the pipette.

    You can see that the secondary mask has added in more of the sky to the selection.

  4. I added another Control Line, with a Luma selectivity of 85, to bring out just a bit more detail in the shrubbery on the islands…

The Result

And the DOP…

_MJM9528 | 2021-11-04.nef.dop (33,9 Ko)

Now, pick the bones out of that :nerd_face: :grin:

I like the increased blue in the sky but, as you will see from my attempt, I decided to take out the big underlit cloud as I felt it distracted. But that is a matter of personal choice.

Here is a version of my crop with a bit more blue in the sky…

I think it better matches the water.