Existing problem:
I’ve been scanning film with an Epson v800 scanner in Vuescan, then importing the 48 bit scans into PhotoLab. Whether by happy accident or hidden feature, the color correction and levels balancing on the images is probably the best and fastest I’ve ever seen for scans of negatives. It can be a bit more difficult if there’s not a clear grey area in the photo, but copying setting across images works well in that instance.
Proposed solution:
In the future, you might want to add features to take advantage of your image handling capabilities as applied to film. Removing color mask, white balancing, target-based color balancing might be things that the small community of film enthusiasts could find very useful.
I’m planning to photograph both B&W and color negatives with the NIKON ES-2 and want to invert them to positives and would also like to have the option of handling all of this during the raw conversion. I agree that inverting the image, removing color mask, white balancing, etc. would be extremely useful features.
Prerequisite: Custom WB the camera through an unexposed part of the film if available
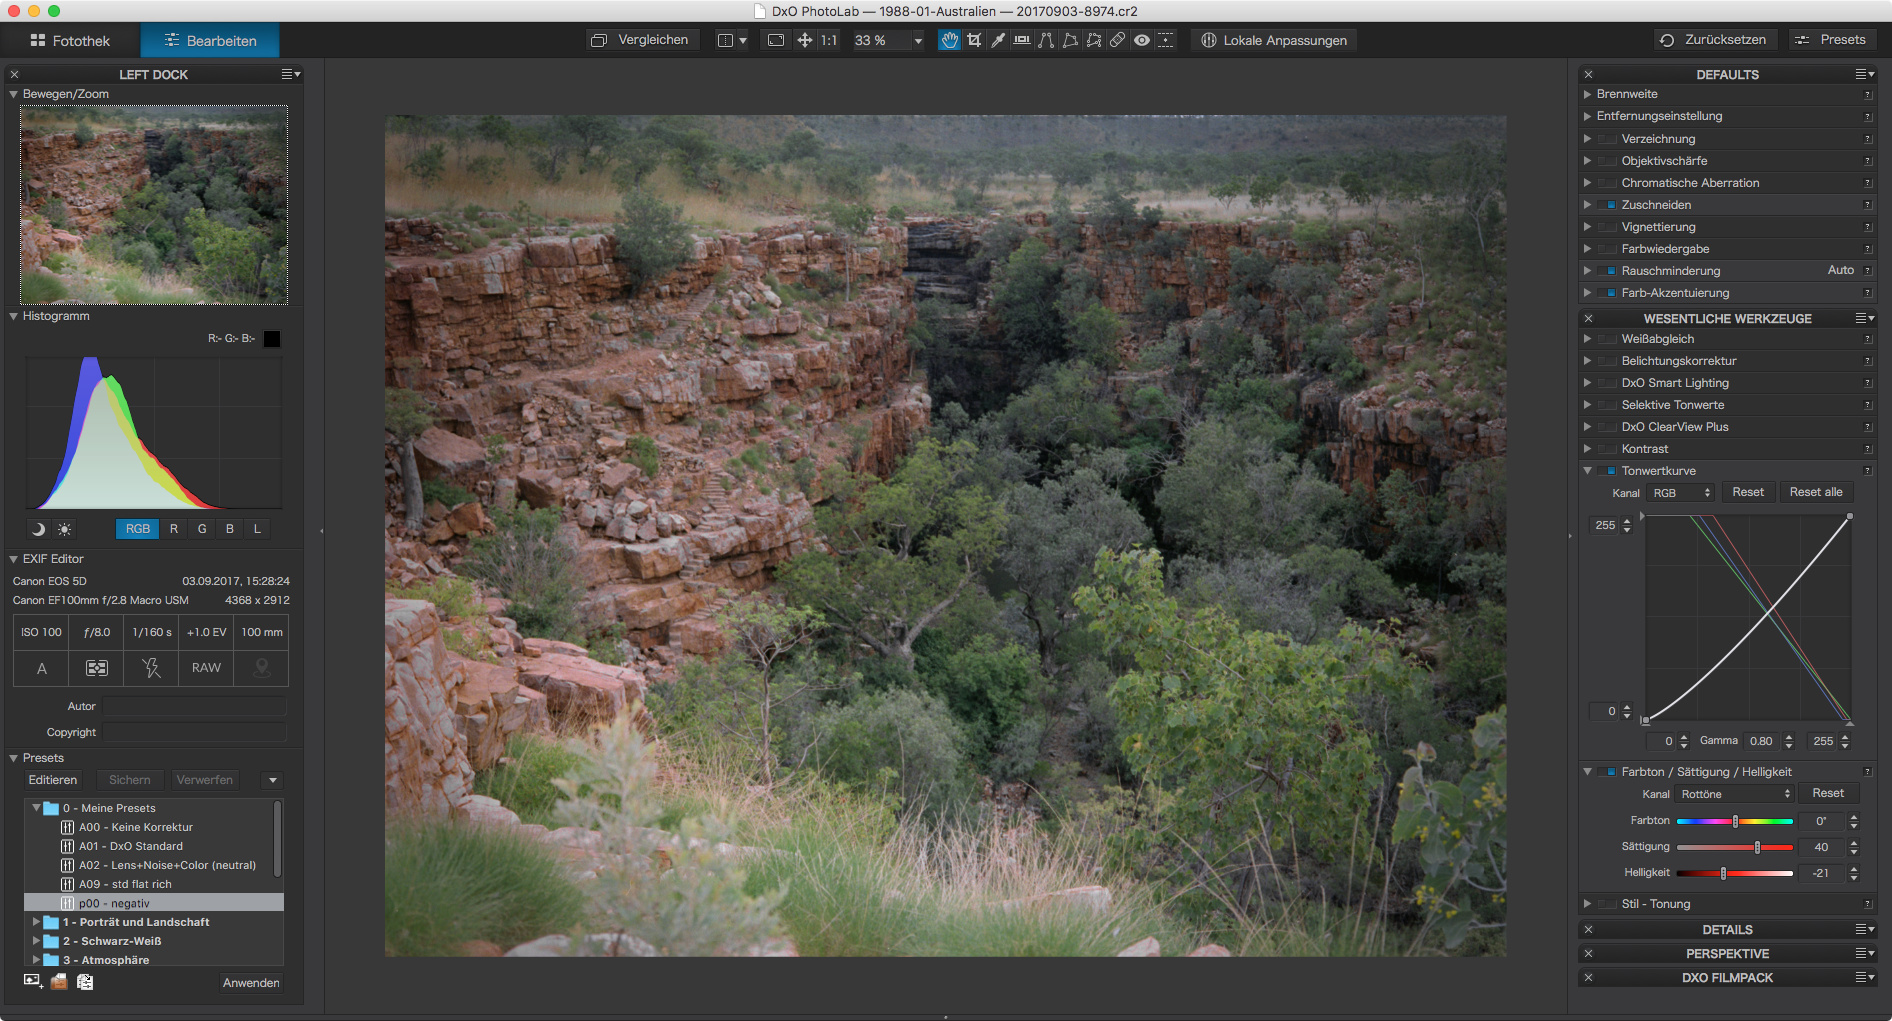
Negative conversion (NC) as illustrated by the screenshots (in the ZIP file)
Starting point: No Correction preset, use lens distortion/vignetting correction if needed
NC01: the image taken from the negative
NC02: image processed with the “negative” preset (note: I made it a partial preset)
NC03: image white balanced using the brightest part of the centre cloud
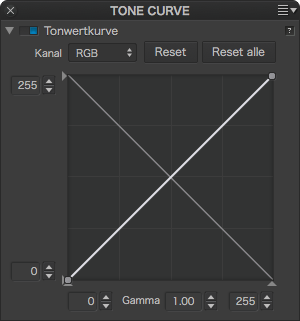
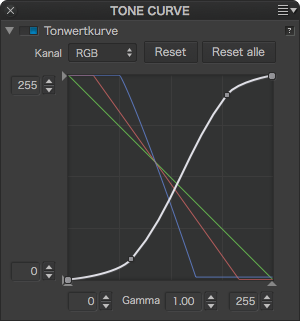
NC04: image brightened by shifting the RGB curve (check tone curve)
NC05R: image adjusted by shifting the R curve (check tone curve)
NC05G: image adjusted by shifting the G curve (check tone curve)
If you want or need further tweaking, you can use the HSB sliders for colour
or export to application (the NIKs) as 16 bit TIFF.
That’s it for an easy to convert image. This one was taken in summer in Australia, 1988 ct.
It gets more complicated with images taken in low light and/or when you don’t custom WB your camera.
I experimented with halogen and LED lights. Don’t remember what I used on this image though.
Forget JPG. Expose to the right or bright areas will be full of noise.
Forget exposure, contrast etc. sliders, the’ll make you crazy. Use tone curves sliders only.
Yes indeed. This example comes from a series of tests I ran in view of a (massive) project to digitise and make books of images I took in times when mobile phones weighed a bucket full of bricks and mail was written on paper.
The example copy was taken with my elderly EOS 5D because I have a Minolta angle finder that fits. Future copies will be taken with a mirrorless camera (easier focus) with a flippy screen (easier viewing).
Here, you can see that I did a few additional adjustments
noise reduction: Not really necessary in this shot. The grainy surface of the stone must remain.
Colour Accentuation: Vibrancy increased. Saturation at 0, other settings introduce odd effects.
HSB: Works as expected. I wish there was an orange slider!
Vignette: Looks too strong in the screenshot. Is ok on screen though.
Again. this is done from a fairly easy to work with negative film. I usually bought 400 ASA Kodak films, but this one has no code printed on it and I don’t remember what it was.
Dear Platypus,
Thank you for your step by step description/images for the conversion of color negatives. I tried it out and it works quite well. I agree that the majority of the work can be done by adjusting the inverted tone curves. I also needed to up the vibrancy in many of the images. Interestingly, trying to adjust the saturation slider led to massive changes in color balance. I set up new presets for B&W and color negative conversions with inverted RGB and individual tone curves, respectively. At least it served as a start. I also agree that this should stay in DPL.
Thanks,
jim
i was pointed to this post and, i think i am not in the same street here.(knowledge wise)
1 what is negative conversion? (like the old days of a roll of negative images developing to a picture?)
2 why would you want to convert a image scan? or are you scanning real strips of negatives?
3 i did looked at the nc01-05r and that’s it, what am i looking at?
(this is all out of interest, i am not having old negatives which i would like to scan.)
regards
Ah ok , my dad did buy a special scanner for negatives and dia’s 8x8 (colorpositives?) can’t remember if the software which came with it did this for him. (changing the negative colors in to positive)
But i assume you use the vertikal setup and a negative viewer(backlite) and want to use the camera “raw” 2x3 format in DPL.
and you did create a “preset” to automate the conversion.
clever
Is this a macrolens you use to get maximum 1:1?
I looked at all sorts of scanners and decided that I‘d not invest in something that I didn‘t know it worked well. I have medium format negatives too, which require more expensive scanners. I know my cameras and had almost all the things I needed:
an enlarger that can light 6x9 negatives
camera with flippy screen
100 mm macro lens
tripod clamp on a stand so that the camera points up
The Epson 750 M (pro model) totally rocks - handles 8x10’s, medium format of all types, 35mm, fluid mounting available, etc. etc.
Image quality is very good - not drum scan quality (nor drum scan $$$$) - but I’ve never been disappointed with the output. I have scanned almost 20,000 images: negs, positives, color, B&W, 35mm and up, & reflective artwork.
It is reasonably fast especially for home office use.
I bought mine used for $750 a few years ago - on any given day You will find it for this same price or maybe a little lower. The steady re-sale value is a testimony to how well it is liked.
There are several good reviews that helped cinch my decision - here’s one.
Platypus,
Thanks for sharing.
I took a quick look at the site and the feature list suggests a very capable plugin for converting negative scans. It is not clear to me if you could export images from PhotoLab. Have you tried that?
Regards, Joseph
Did not try, it‘s a Lightroom plug-in. Have not checked for any workarounds too. The tool does not create extra copies but fiddles with the rgb tone curves in a way that would take quite some time to produce comparable results by doing things manually. Change the tone curves to look like this \ instead of this / if you want to try it yourself.