Am I missing something - or is it just not possible to duplicate a Local Adjustment Mask in PL3?
I have created a fairly exact local adjustment mask with Brush - a dog in the foreground. I inverted it and made adjustments to the background. Now I’d like to copy the mask, invert it, and make adjustments to the dog itself. Darned if I can figure out how to duplicate the mask.
Sigi -
Your tutorial is brilliant and I have bookmarked it for ongoing reference. Thankyou. I don’t think it answers my question though. On my test image I used Brush to make a mask of the dog. Then I made adjustments to the background. Now I would like to make adjustments to the dog using the same mask, but inverted. How do I do that without having to laboriously re-draw the mask?

Inverted or not, Its is only a single mask with a single group of settings. What you seem to want is a single mask which will support two different groups of settings depending on whether it’s inverted or not. That sounds like an interesting idea, but I don’t believe it is currently supported.
Mark
Yes indeed !
Mark -
That’s right, except that I want to duplicate the mask, and modify the second version for the foreground object (dog!). Ah well… Thanks for the clarification.
I think my problem is that in PL3 I was hoping to be able to use masks as “layers” - as in Photoshop.
To date I’ve not used local adjustments in DXO much - my usual workflow is DXO, concentrating on its excellent optical enhancements and more general global effects, then PHOTOSHOP, where I do the more detailed work and finishing.
At least in PL3 I can now clean up my sensor muck and do most of my sky adjustments!

There does not seem to be any way to duplicate a mask In PL3. If someone knows how to do it, that would be very useful.
Mark
something like this?
Didn’t show on video but you also can select pasted local adjustment and erase and add paintmask change menu sliders.
On thing it’s all locals or nothing so you override the earlier local adjustment as in a holemask.
I tried that, I don’t believe you can paste a mask into the same image you copied it from to create a duplicate mask. If its possible, how do you do it?
Mark
owh a copy paste in the same image as in 1. i thought to replicate masks for burst images nearly the same image but different number. like 10 shots of the doggy.
that is like this video
i have a master and VC.
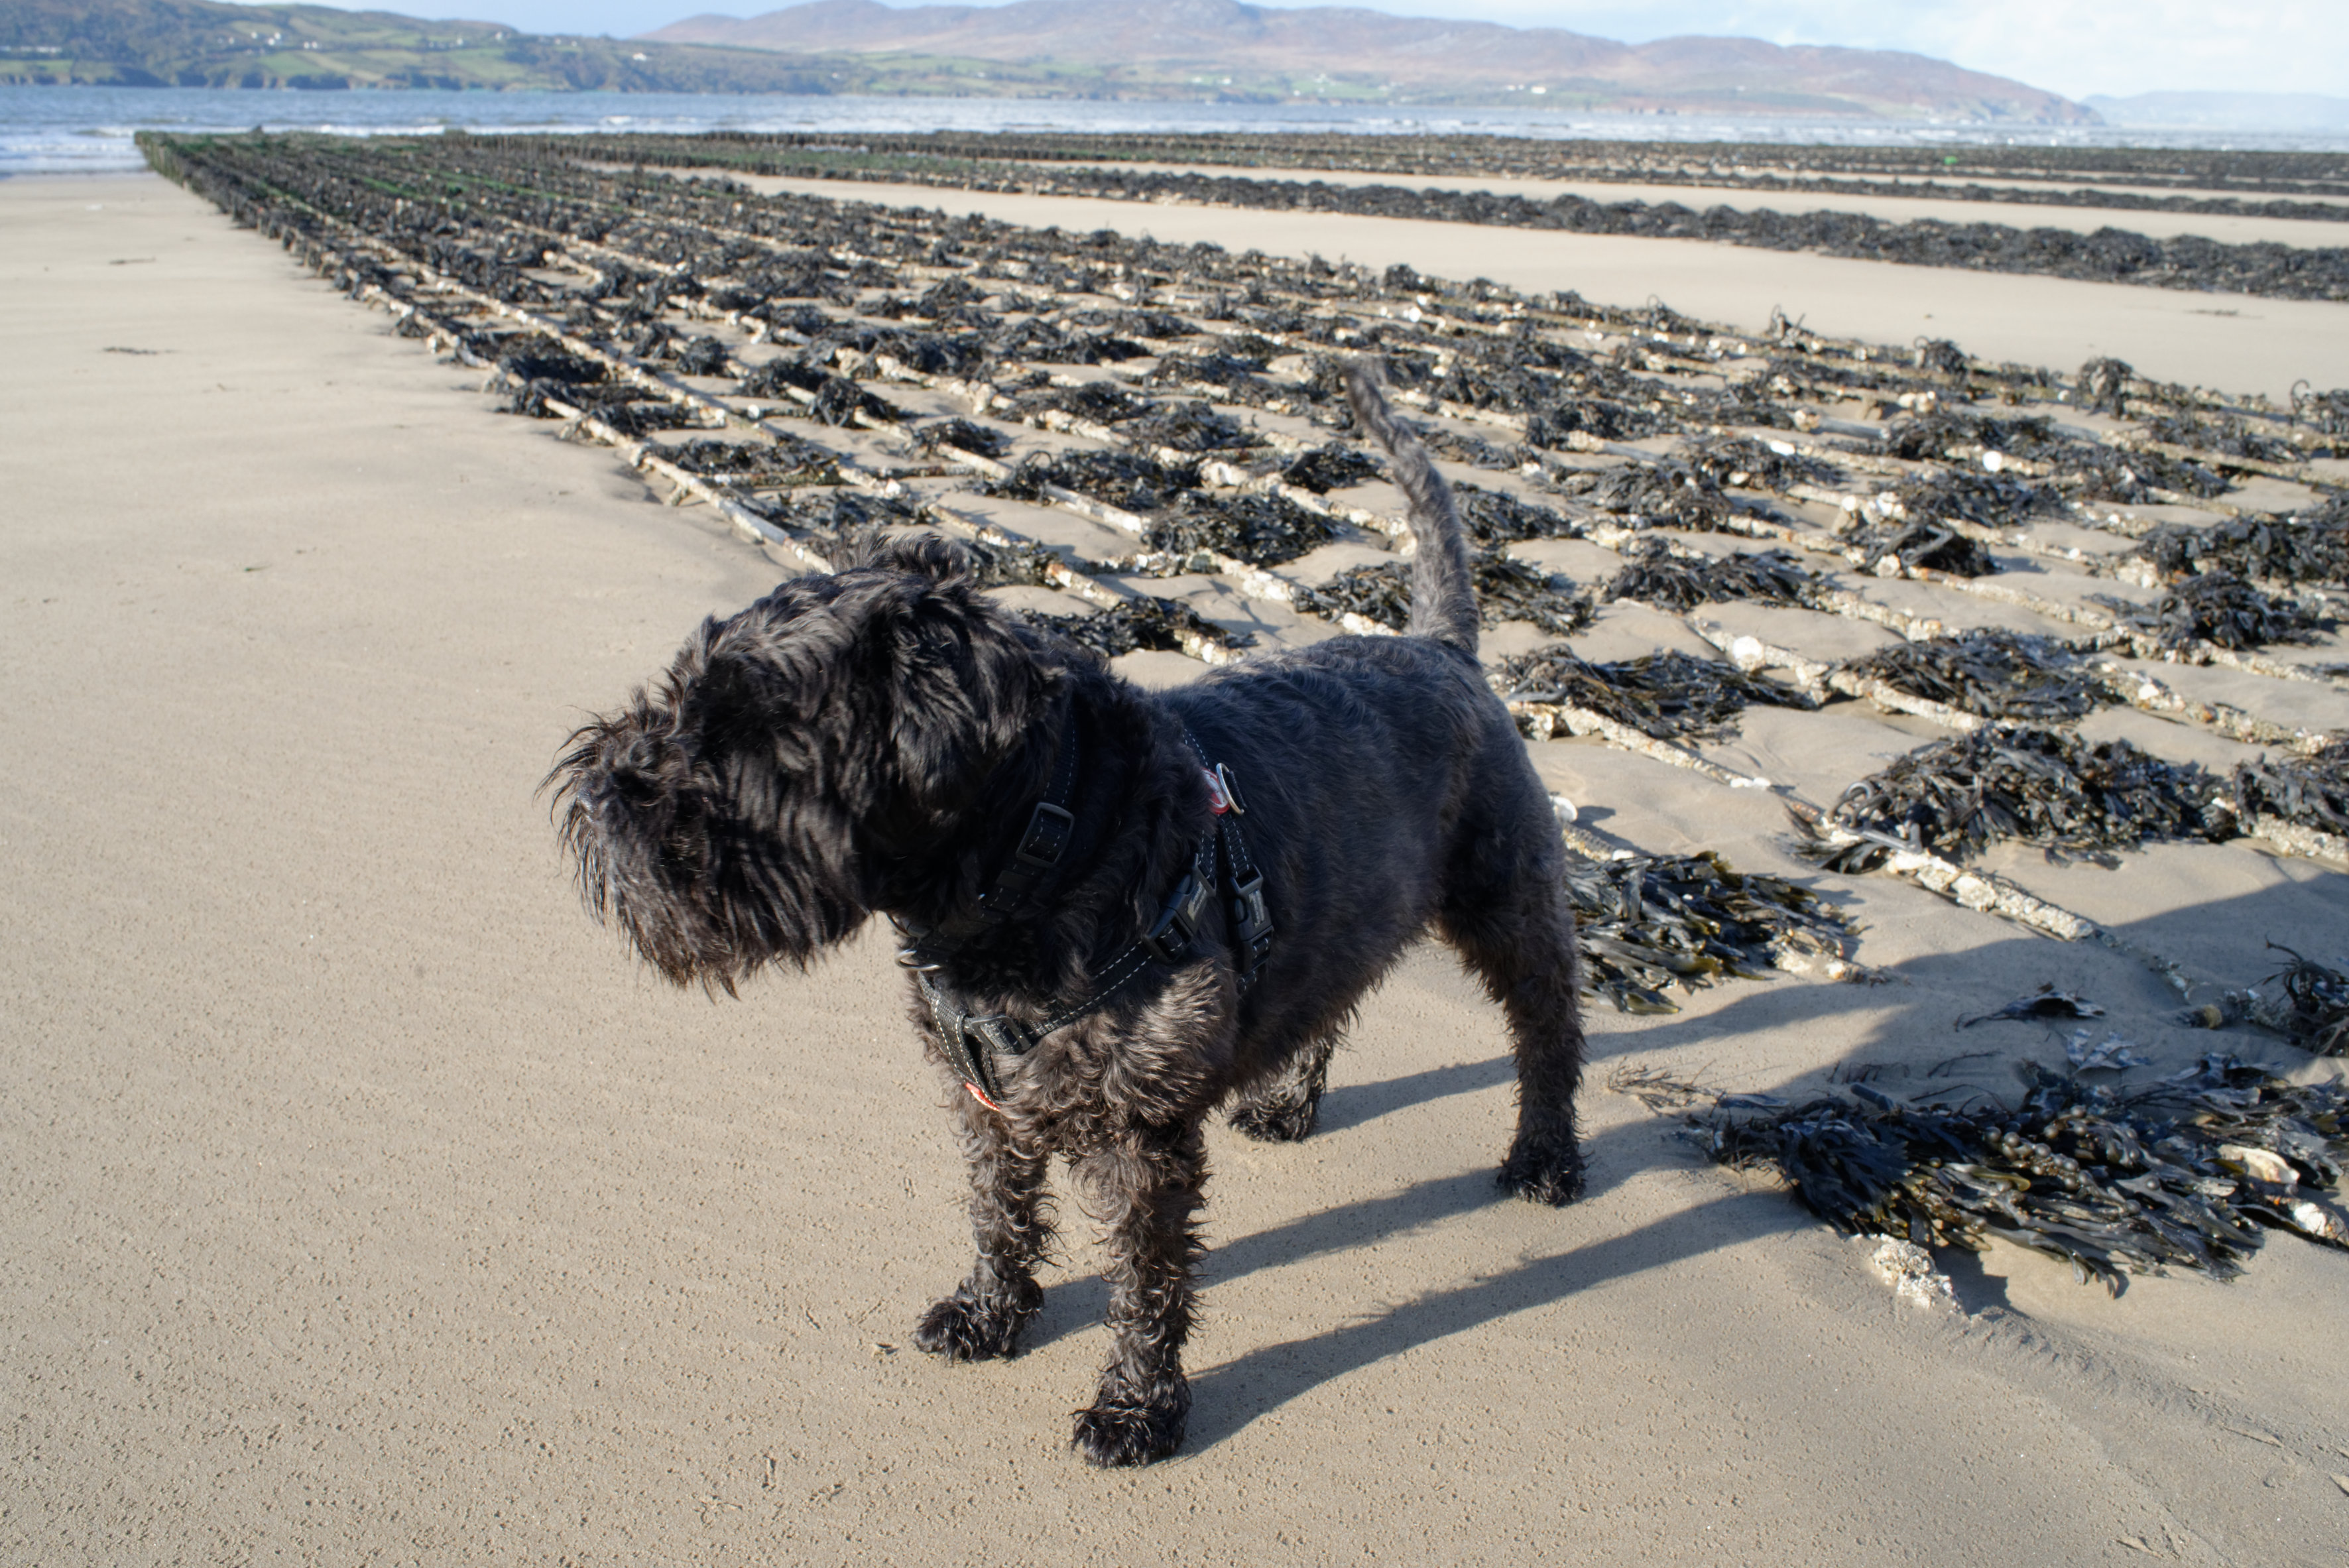
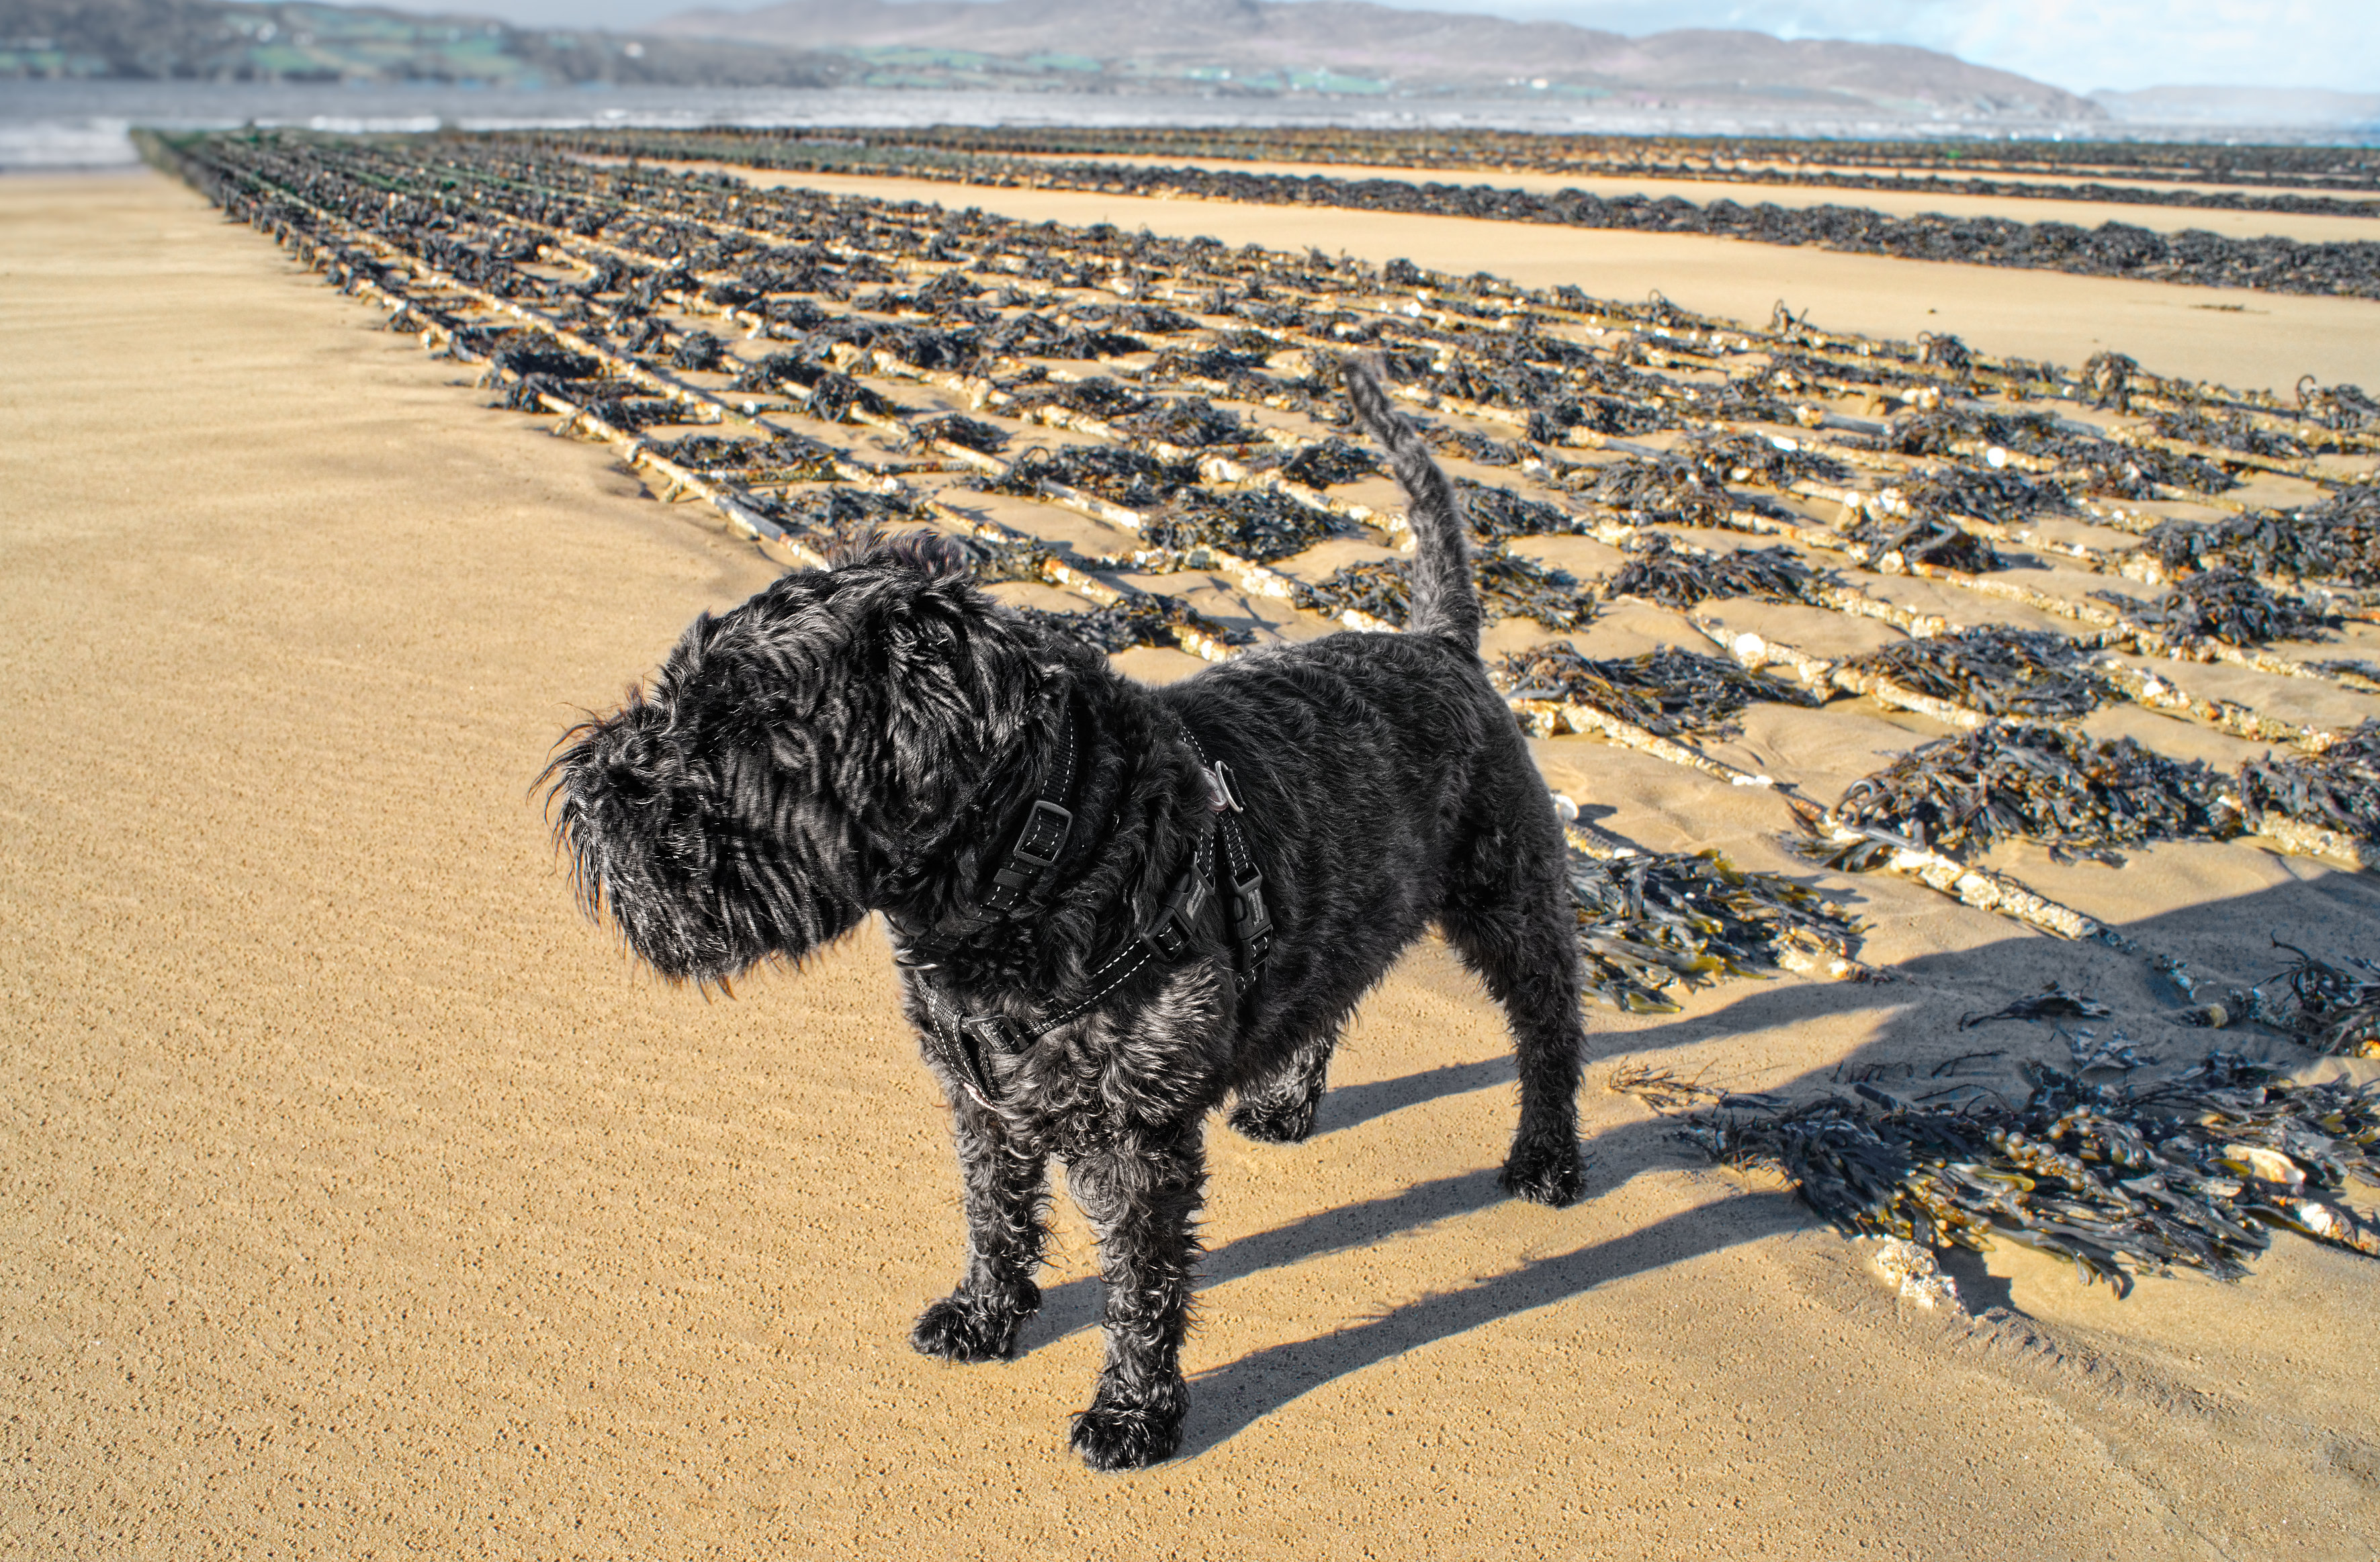
(image is a download from @Tom.) (Tom if you don’t like that i used your image as example let me know and i change the video.)
You can copy masks from one virtual copy to another, however, if you copy masks to a virtual copy that already has the same mask in it, it does not seem to duplicate the mask.
Mark
eh so if i have a local adjustment and copy paste this to VC1 , change this copied mask/local adjustment, and copy paste this back to master , nothing happens? The old mask settings remain?
Edit: i tried: make a mask in master, oversaturate, copy past local to a existing VC, change saturation to - (gray) copy paste back to master. that does work master becomes gray also. So make a new VC (2) of that grayed image part and oversaturate mask again in the master and copy paste to vc2 also this over ride the grayed mask. i can copy past locals everywhere as “one layer” and when its contains multiple layers i can delete/change each layer again. so i think it’s working also for clone/repair, ( he Shute that not, that would be great if we can do repair/clone paste also selectively.)
or i don’t understand your question.
if i take a local adjustment and copy and paste tit to a virtual copy modify in the virtual copy and paste it back to the original it will change the mask in the original. But what he wanted was the ability to have a copy of the original mask in addition to the original mask so that each copy could have different settings within the same version of the image. That way if you invert one of the masks the local adjustments could modify the inverted and non inverted versions of the mask differently. His query was intended to avoid having to draw and modify a second mask.
Mark
Thanks for all this. A lot to process here.
I’m going to walk my dog over the weekend and I’ll let you know how we get on…
2 Likes
AH! ok now i understand. No a “copy mask and Invert” isn’t a possibility yet.(it’s mentioned in the early testing so maybe it’s in backlog. make a feature request to support this.)
There is a workaround doh:
first: rawfile, make your image as ready as possible.
second: export as Tiff 16bit.
third: re-import your tiff and use the copy past locals on that tiff and invert mask and continue.
(Didn’t test it but it should be working.)
by the way, i tried to copy past repair and clone.
which is useful for burst files and or file who have lots of the same framing like timelaps images.
Seems no possibility to be able to copy your selected layer (activate with pin) and copy it for a next image or even the same image. Nor the hole bunch of repair/clone masks as in copy paste and selectively move/delete.
That would be a great step forward for time laps processors. (not that i do that alot but it’s one of the gimmics which has great fun on holiday: lazy chair, fully loaded/charged battery, tripod, beer,( more then one) nice view setup timlapssequence and sit wile the camera does it’s work for you!)
Peter
2 Likes
[quote=There is a workaround doh:
first: rawfile, make your image as ready as possible.
second: export as Tiff 16bit.
third: re-import your tiff and use the copy past locals on that tiff and invert mask and continue.
(Didn’t test it but it should be working.)
[/quote]
I can report that the only solution is Peter’s workaround - with one proviso - if the export to 16bit tif has been cropped, the cut & paste locals resize to suit. So turn off the crop before export, cut & paste locals from the original, invert and then adjust as required. Voila, perfectly matched foreground and background masks! All that remains is to re-crop.
Now to find a better image to apply it to…
Thanks everyone for your help with this.
Dave
5 Likes
I ran into the same issue. When I saw that I could invert a mask, I thought: Great! I can create a precise mask and then create its inverse–what a great time saver! So then I looked for the duplicate adjustment button. Oops!
Is there any great advantage to inversion on without duplication? I suppose the auto-mask tool, inverted, might allow you to do something useful that couldn’t easily be done some other way, but I’ve never managed to get auto-mask to generate a useful mask. Inverting a control point mask might actually be interesting. In general, though, invert is most useful with duplication. The TIFF round-trip workaround is a pain, but better than nothing when one needs to duplicate and invert a mask.
when drawing a one colored car and you want to adjust the surroundings?
automasking car and invert done. oh no i need to redo the selection a bit.
i use invert alot with tiny objects aldoh paint the hole image and erase the objects clean is also a solution.
But i agree duplicate and invert is the next step to get it done.
With the current build, shift-D (duplicate) followed by shift-I (invert) seems to do what the original poster requested
1 Like