I used a Panasonic g80 and this has “slow shutter correction” So it reduce the redisch hot sensor noise. on the Jpeg’s of coarse.
I shot some 1 min- 2 min night shots for fun ad 3200 iso, and the occ’s looked ok so i try to improve the raw files to be better.
In this case i would suspect the prime noise is cranking up low freq. and deadpixels but that’s stil 75 24.
So i did the old trick export to dfine2.
They look ok but pritty dull.
Below is a general overview of my equipment & techniques…
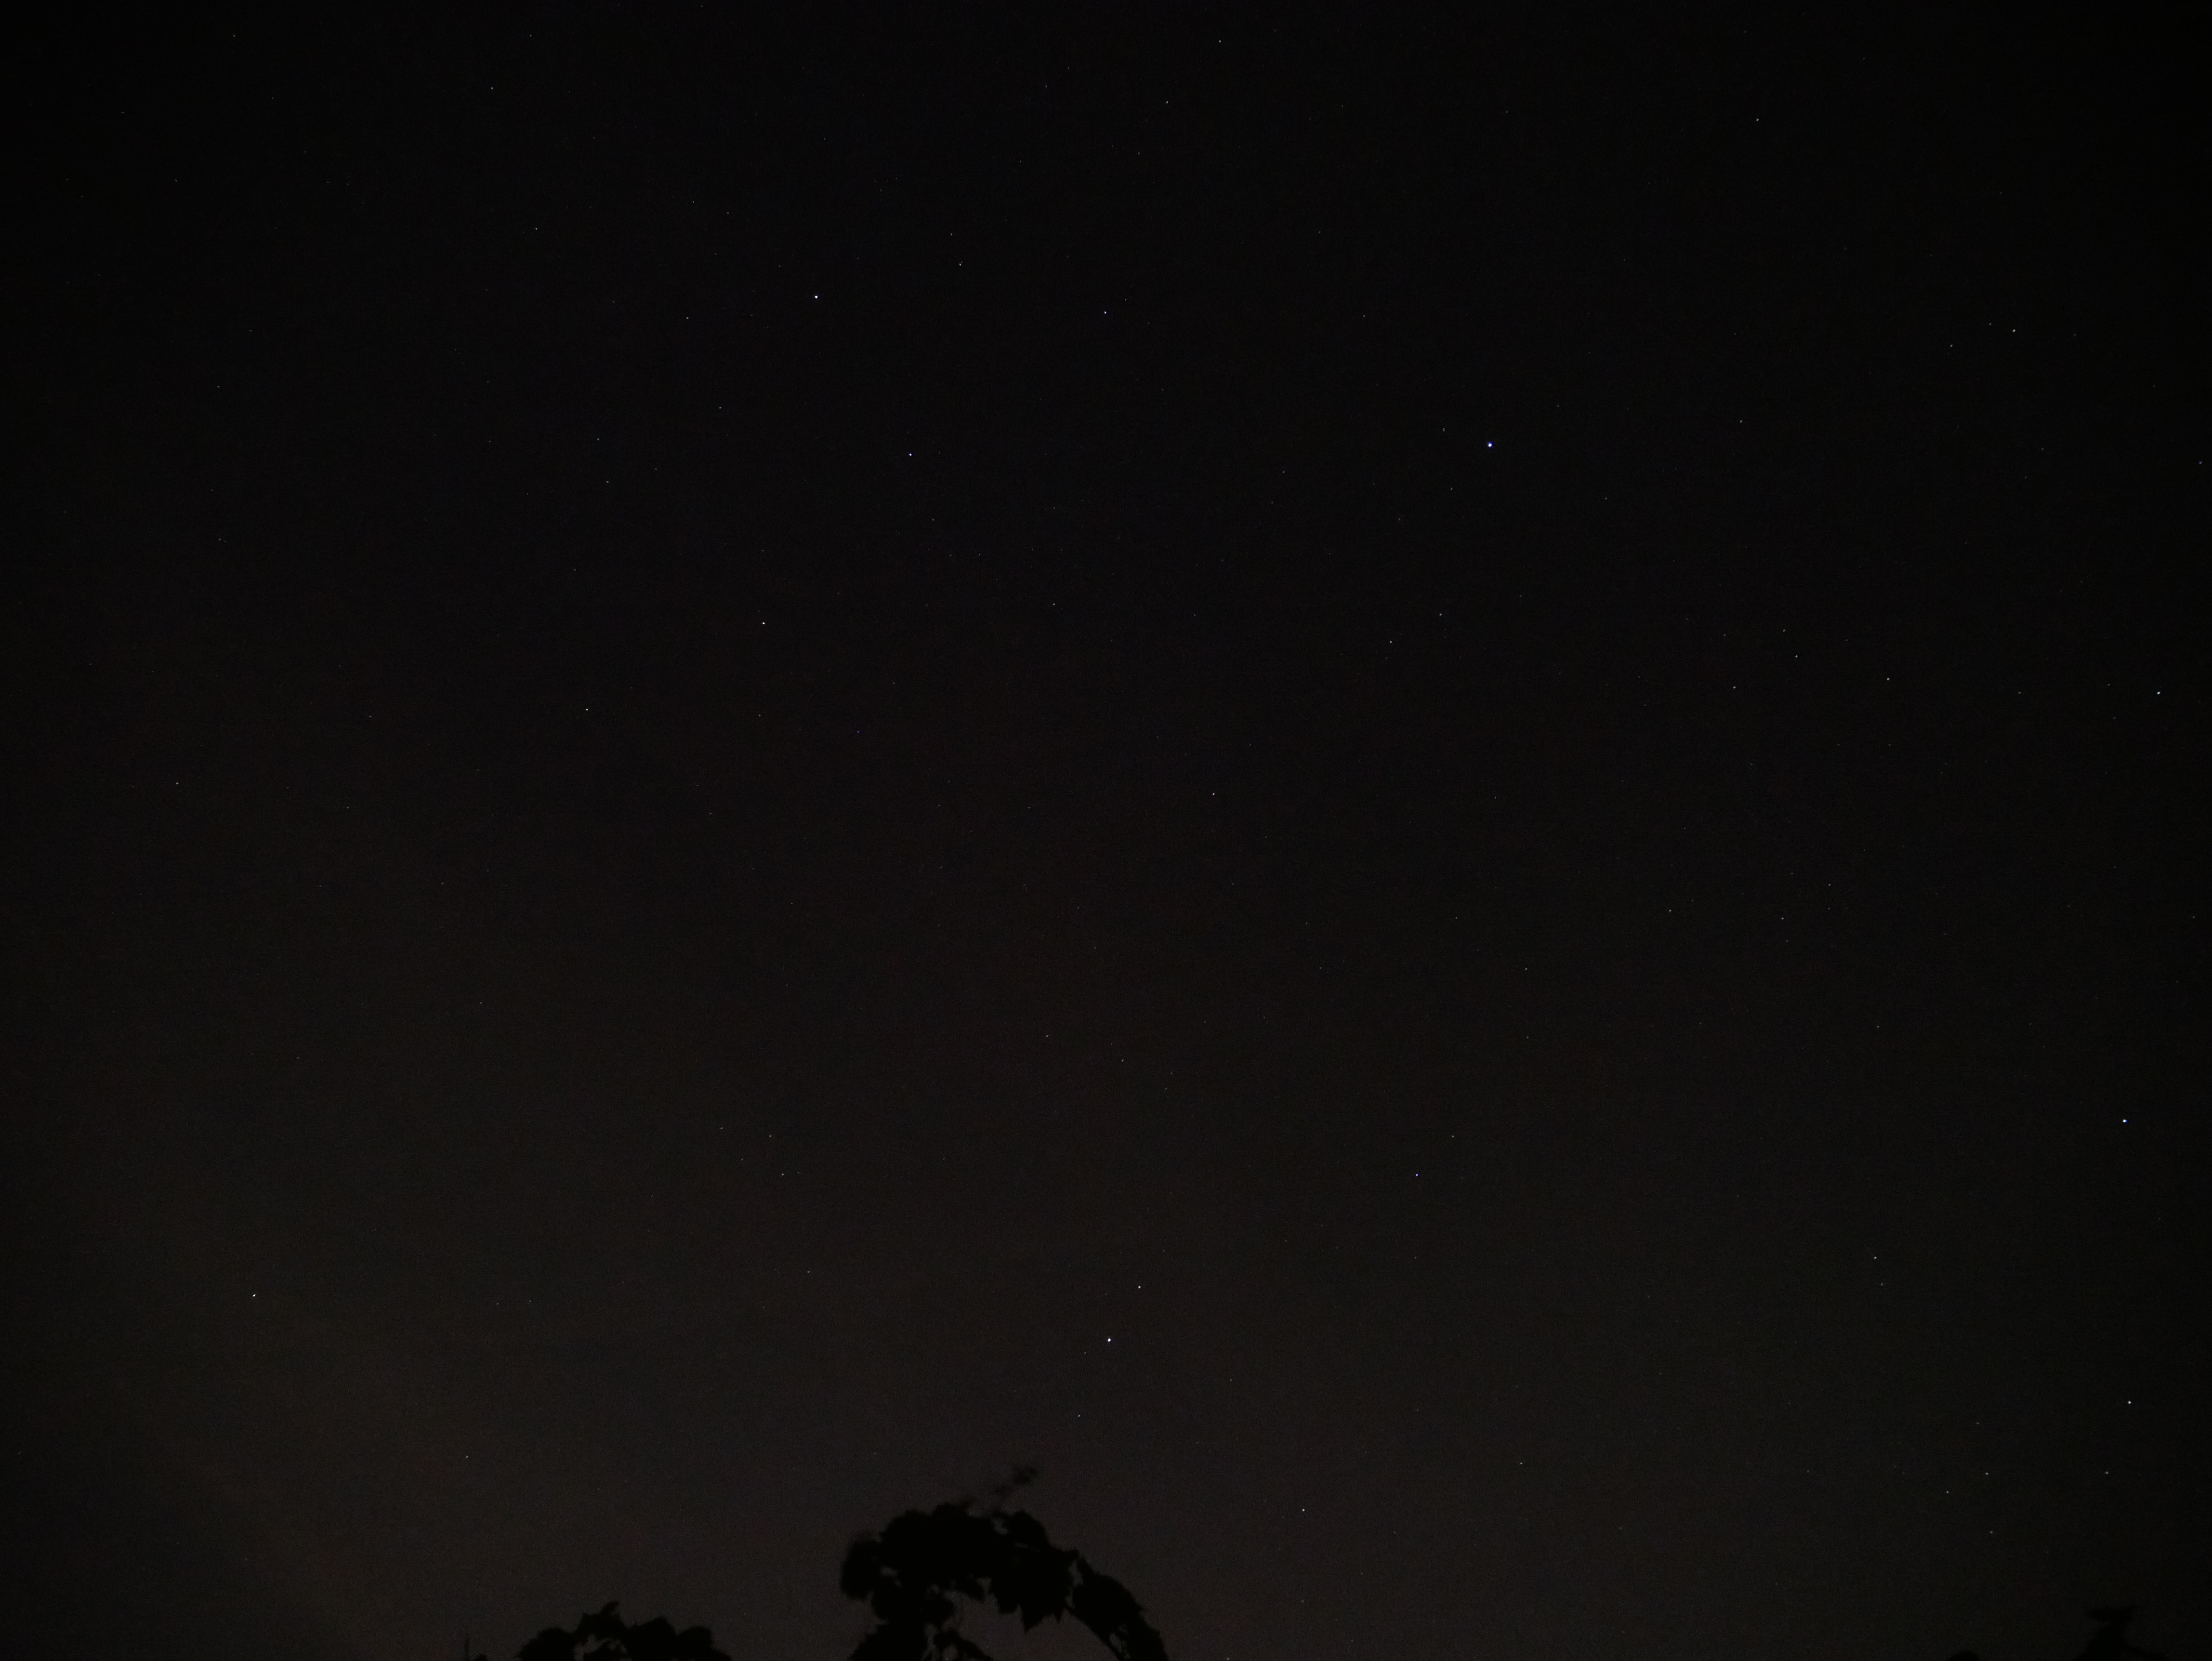
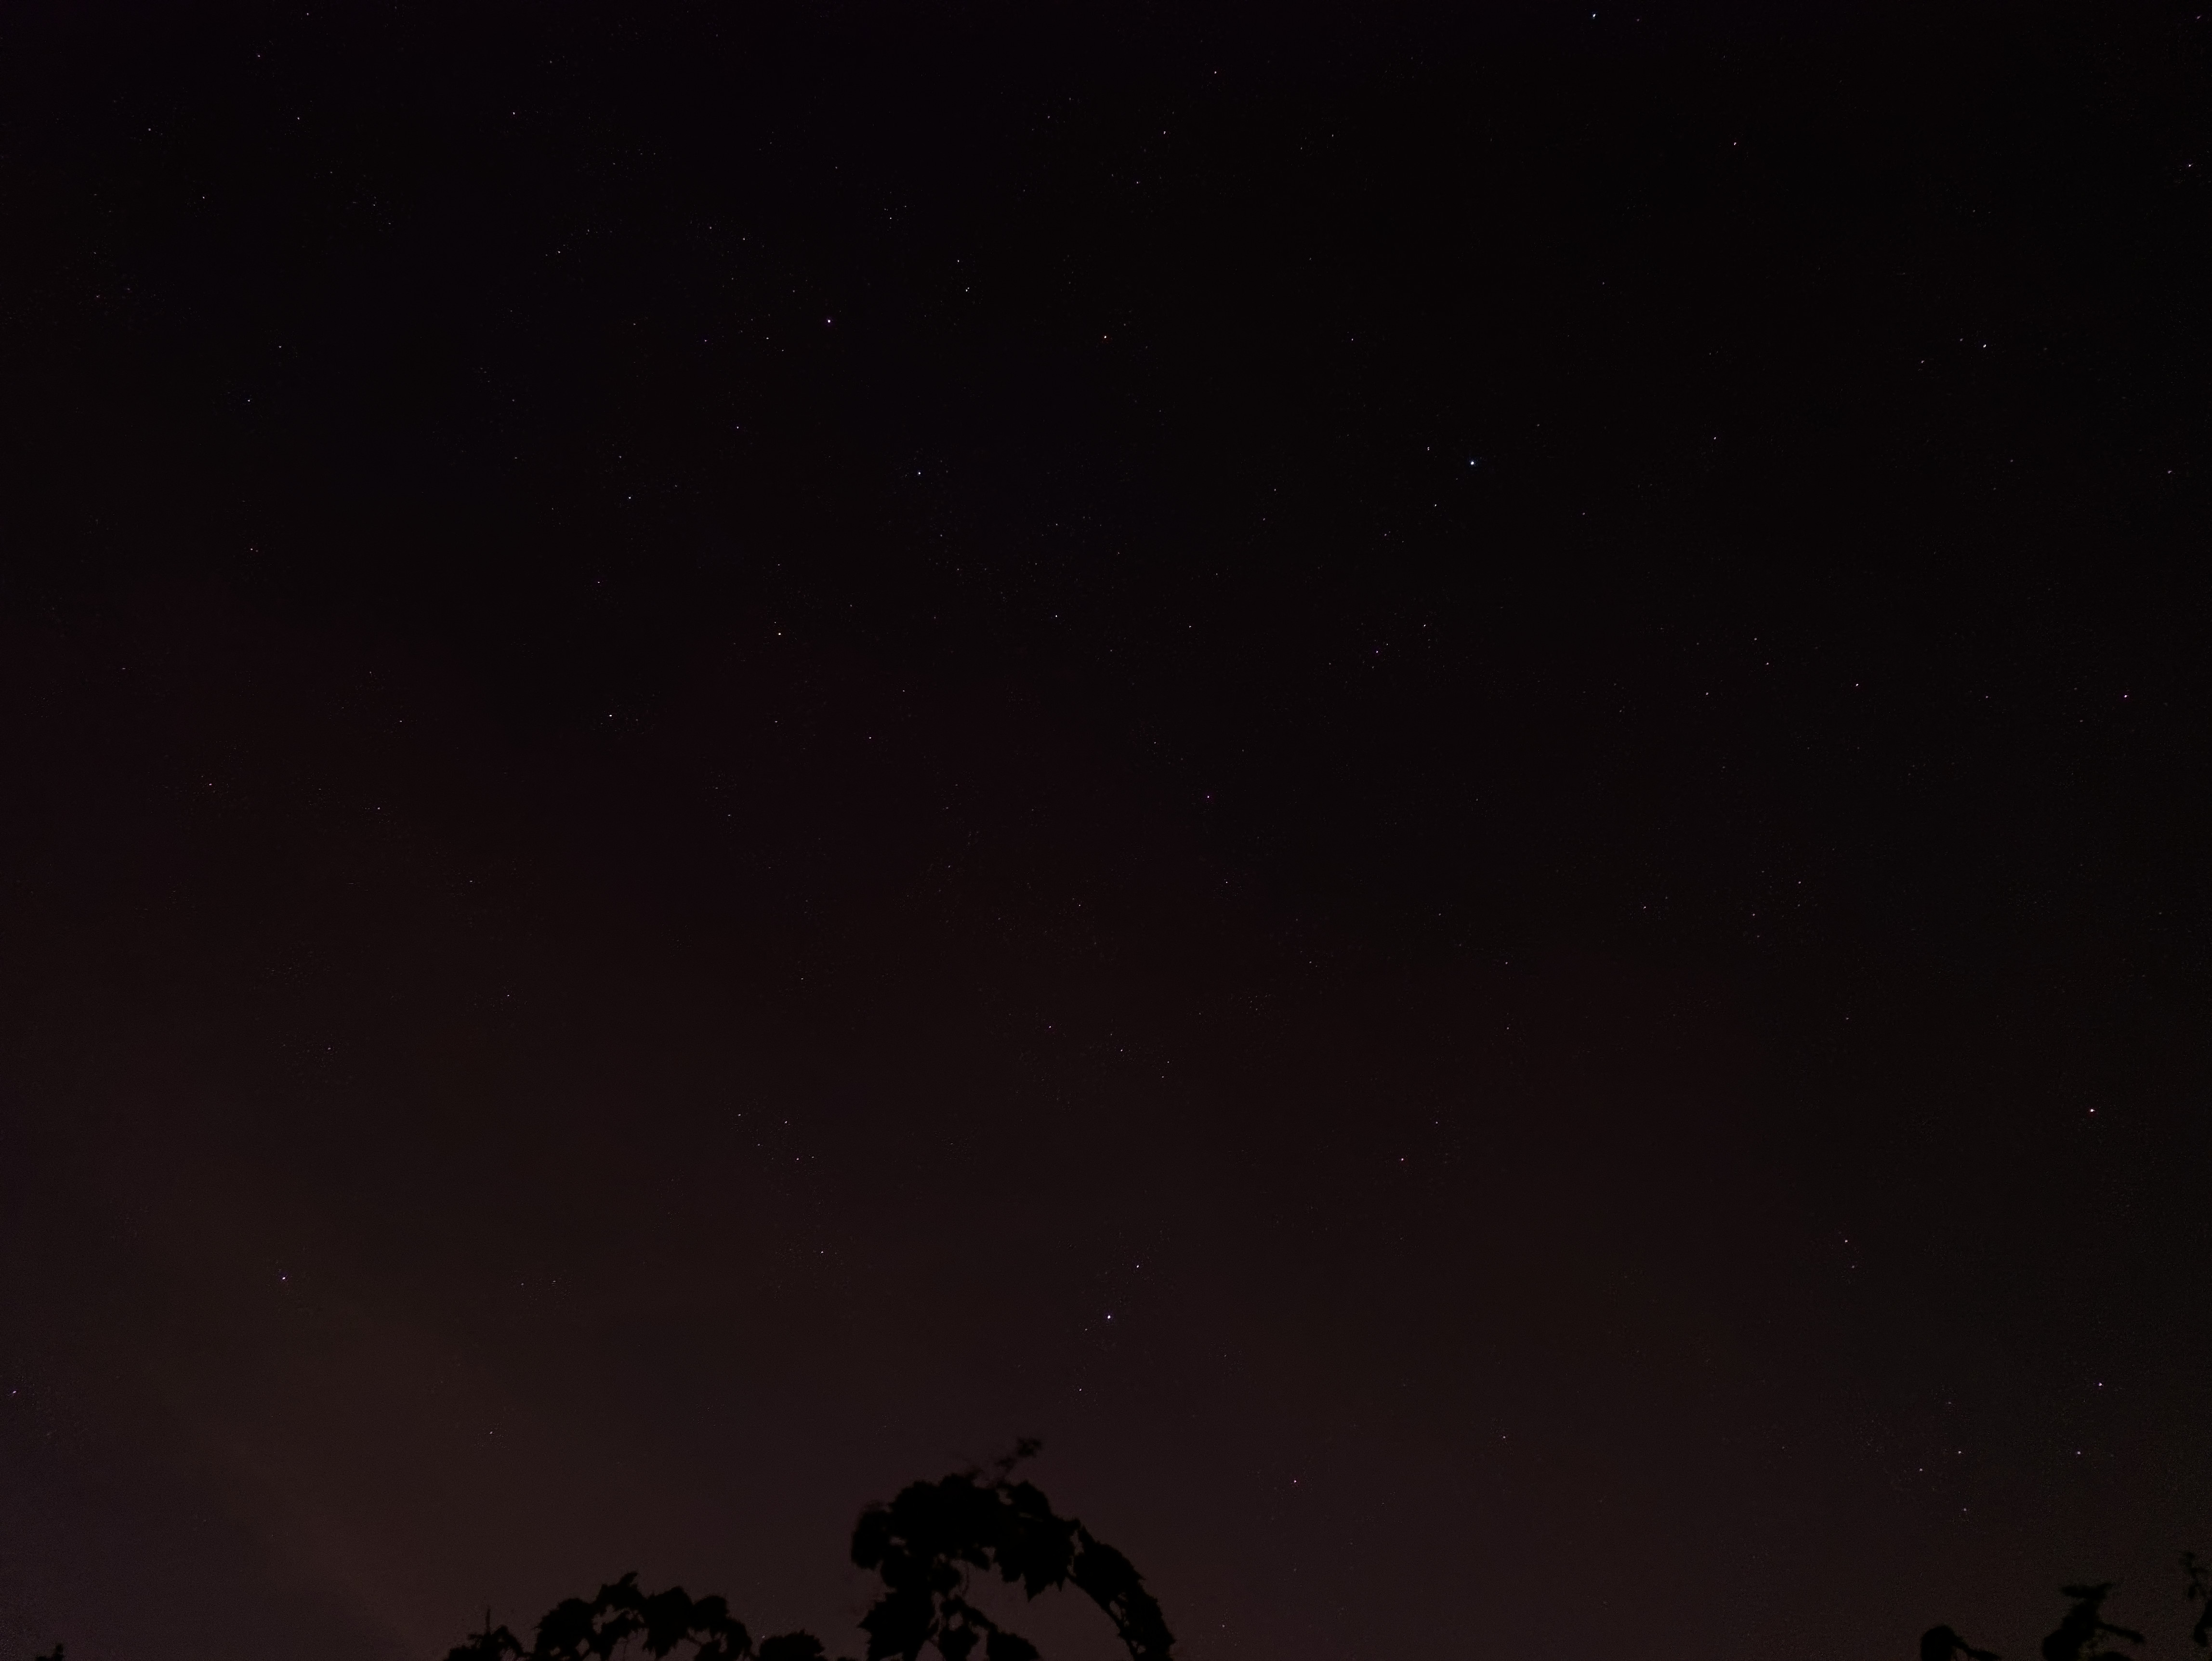
I use a Nikon D300 and two different lenses: a 10.5mm Nikkor full frame fisheye (15.75mm equiv) for star shots & a Nikkor 18-70 (27mm -105mm equiv) for the moon & planets; ISO 3200 for star shots &1600 for planets or the moon. A tripod is used - but no motorized tracking.
The wider your lens’ angle of view the longer the exposure You can take. With the full frame fisheye I can take up to 30 second exposures before the stars’ motion begins to become obvious (i.e. elongated instead of a pin point). The sweet spot is typically around 20 seconds - after that any atmospherics such as extremely thin clouds or slight haze (that isn’ t apparent to your eyes) begins to show up. The 18-70mm can go for about 22 seconds max for stars & planets before they begin to elongate at 18mm (27mm equiv). With the moon exposure length is a moot point as it is so bright.
Note: All the examples shown below (Figs.1-4) were processed with DxO Optics Pro v10 - but PhotoLab should create the same output using the same tools… have not experimented yet.
DxO’s prime noise reduction makes a huge difference with the ISO 3200 star shots of course; and no surprise - the lens sharpness tool is important too (I typically do not use unsharp masking). Chromatic aberration with “purple fringing” turned on is a must when using the full frame fisheye particularly for the stars at the outer edges of the image - can be useful at times with the 18-70mm. “Color Rendering” is usually set to Category: “Camera Body” with the “D300” rendering. Other than that I rarely need to manipulate the image very much.
One exception is for eclipse shots - I like to have stars visible with the moon. So the moon is exposed close to blowing out and after going through DxO Optics Pro v10 I used Photoshop to reduce the brightness of the moon back to what I experienced with my eyes. It will be interesting to see if PhotoLab’s local adjustment tools can pull off the same result - haven’t tried it out yet.
Please click on images for a larger size…
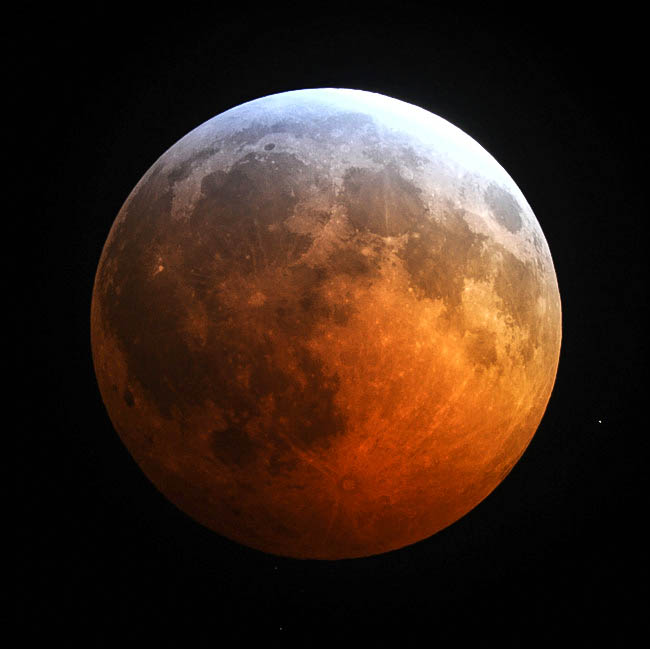
Fig.1Crop of a lunar eclipse (not the same one as in Fig. 2 below). 18-70mm lens.
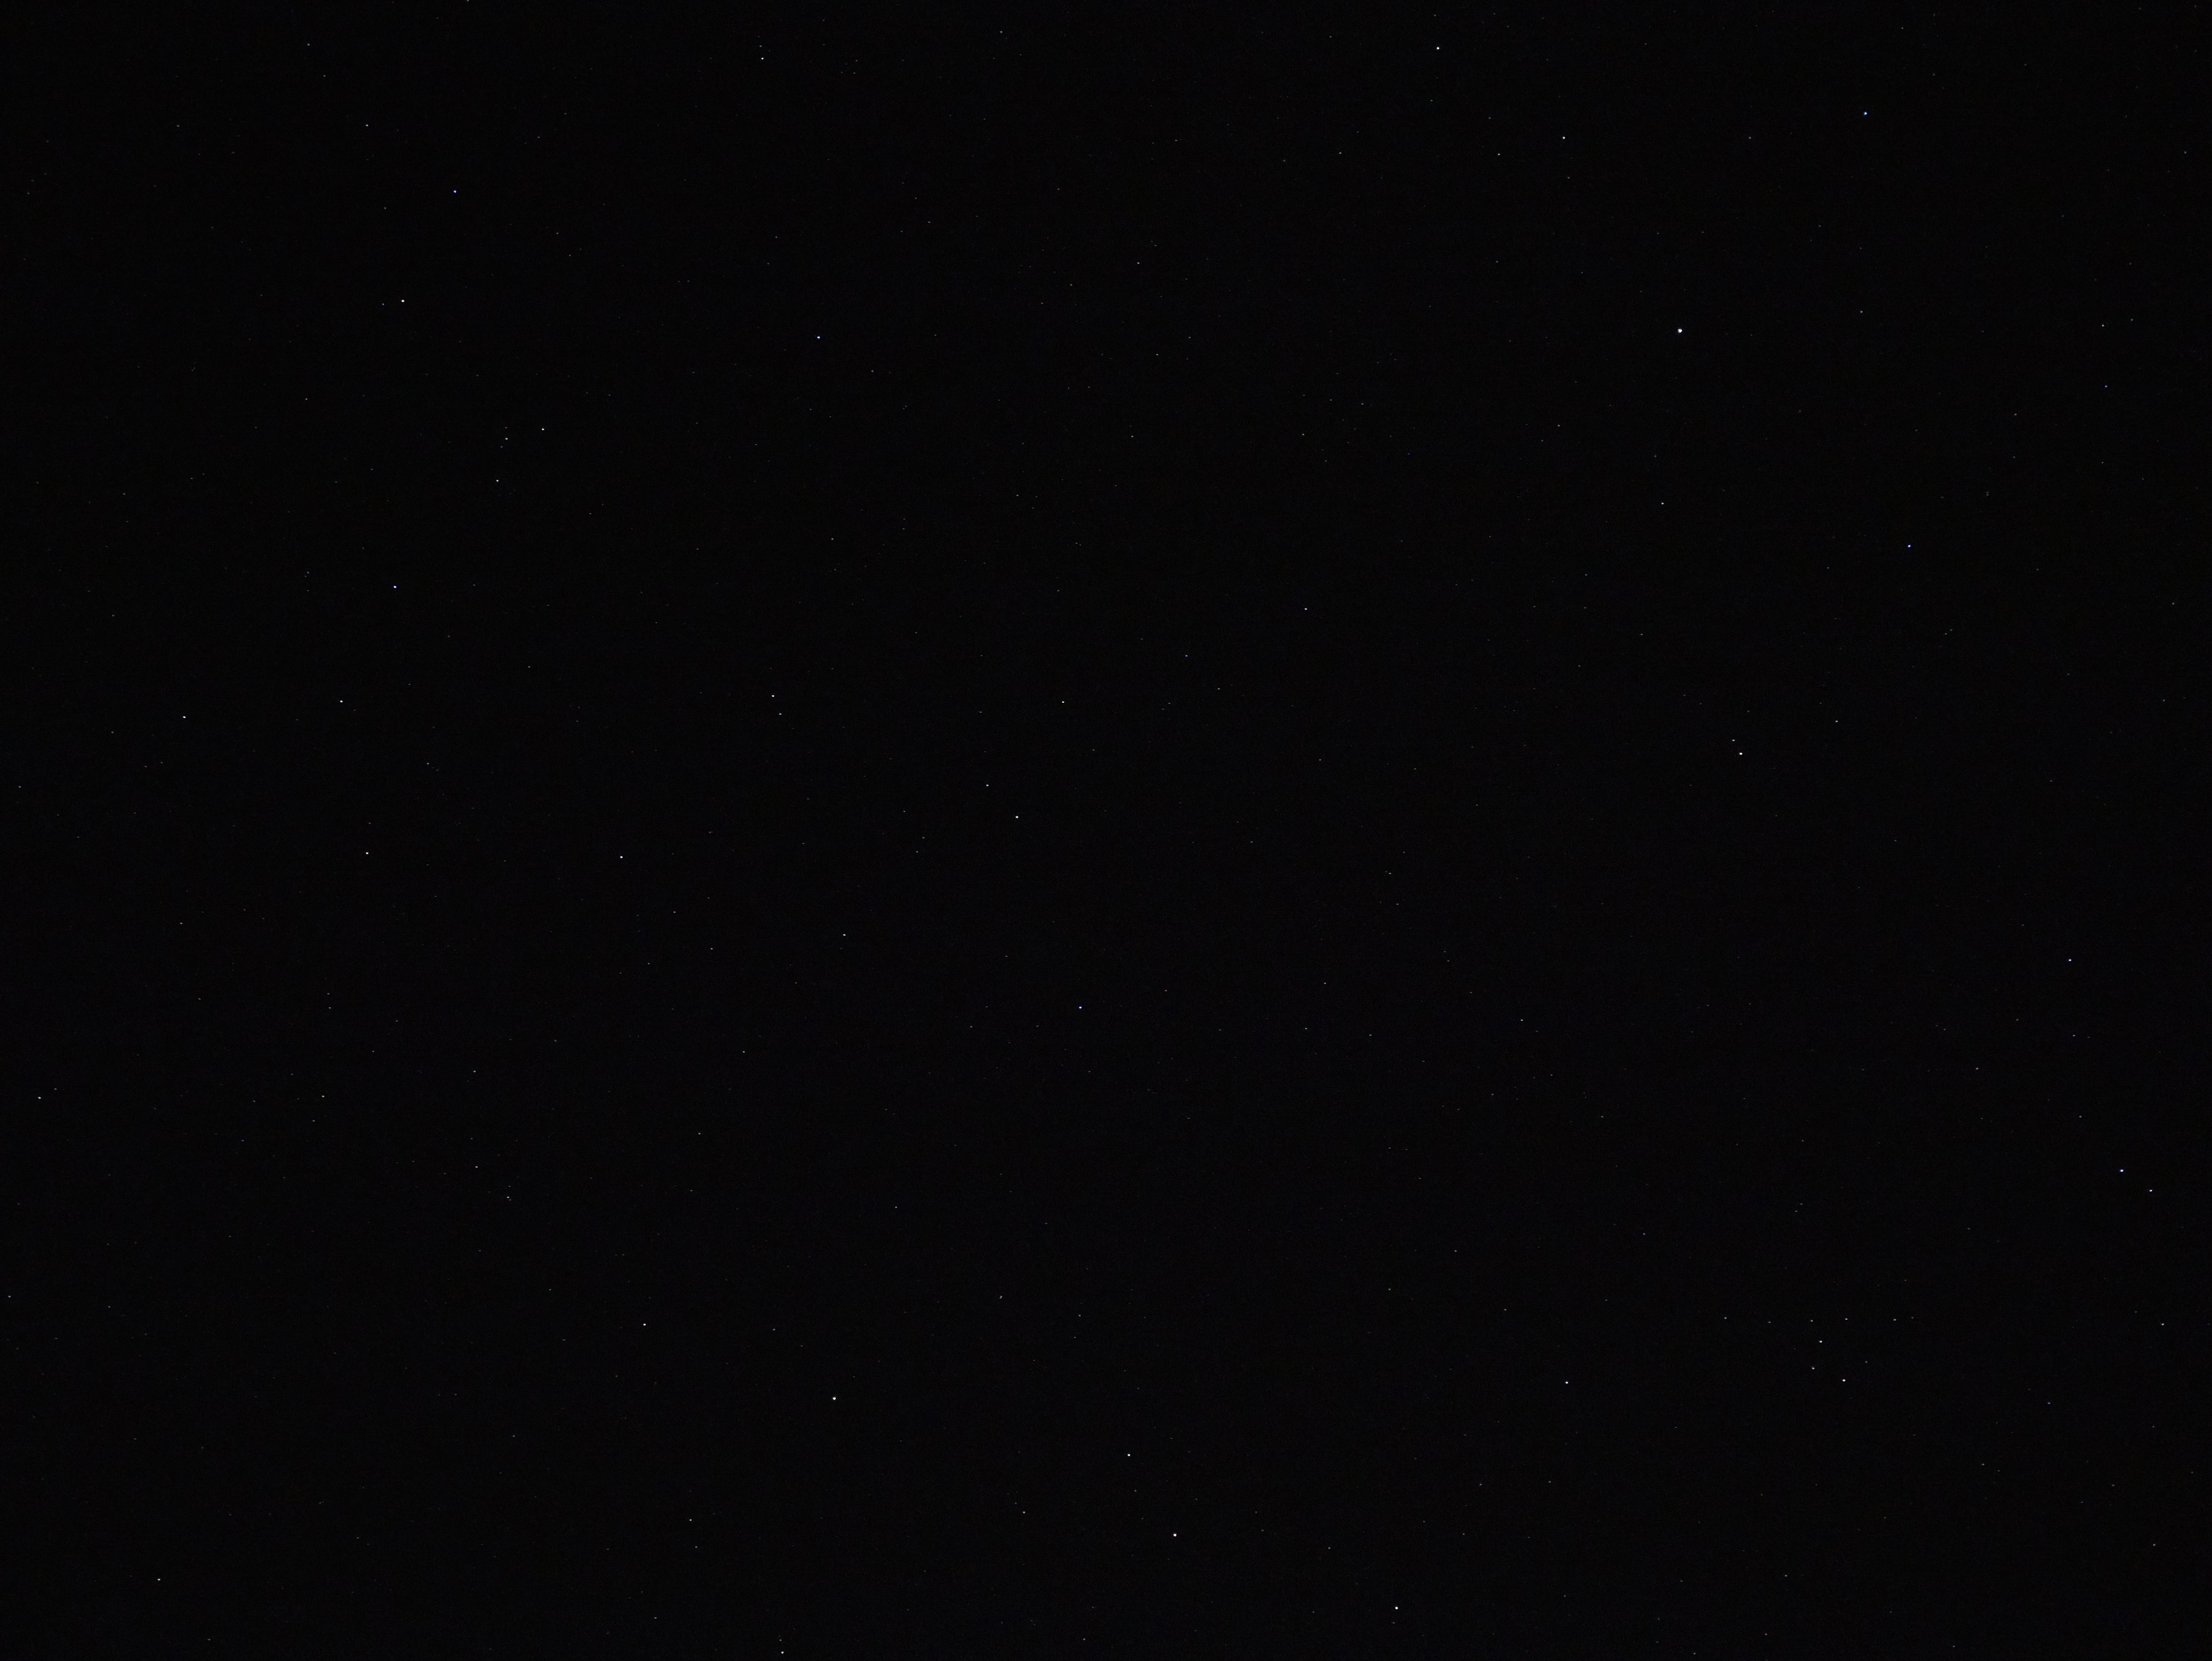
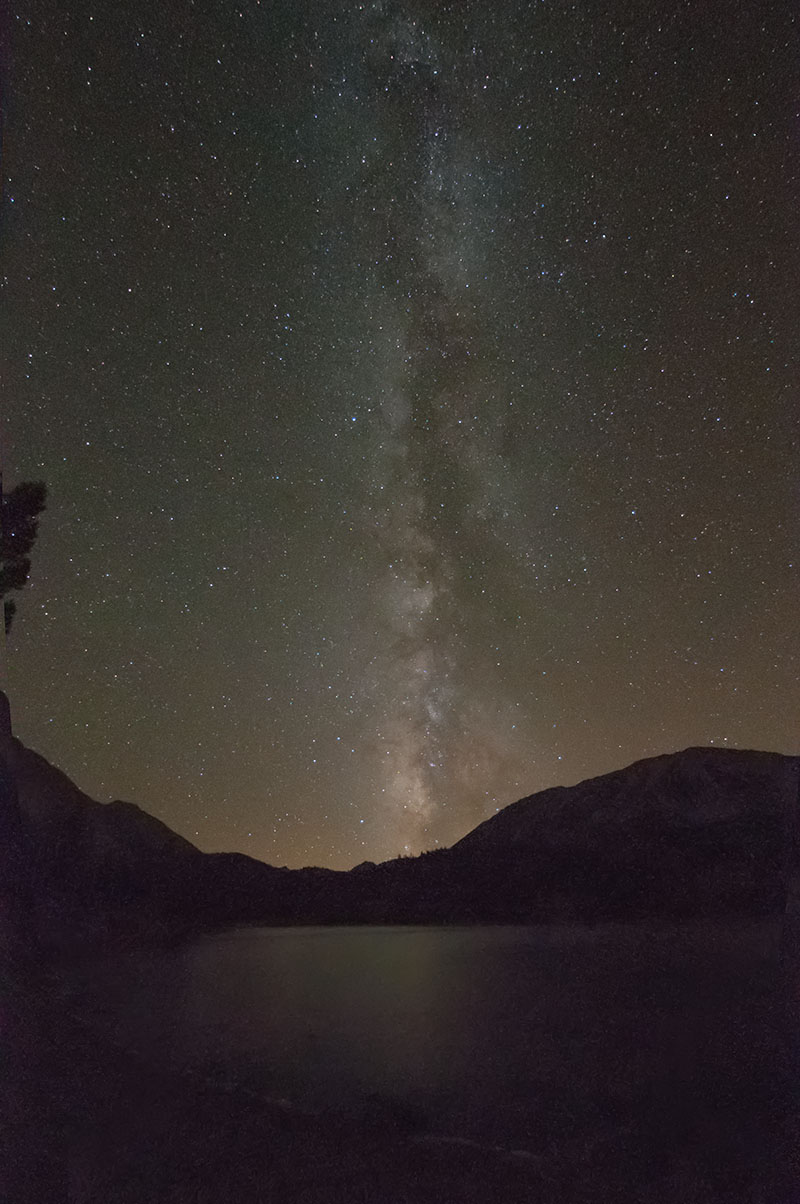
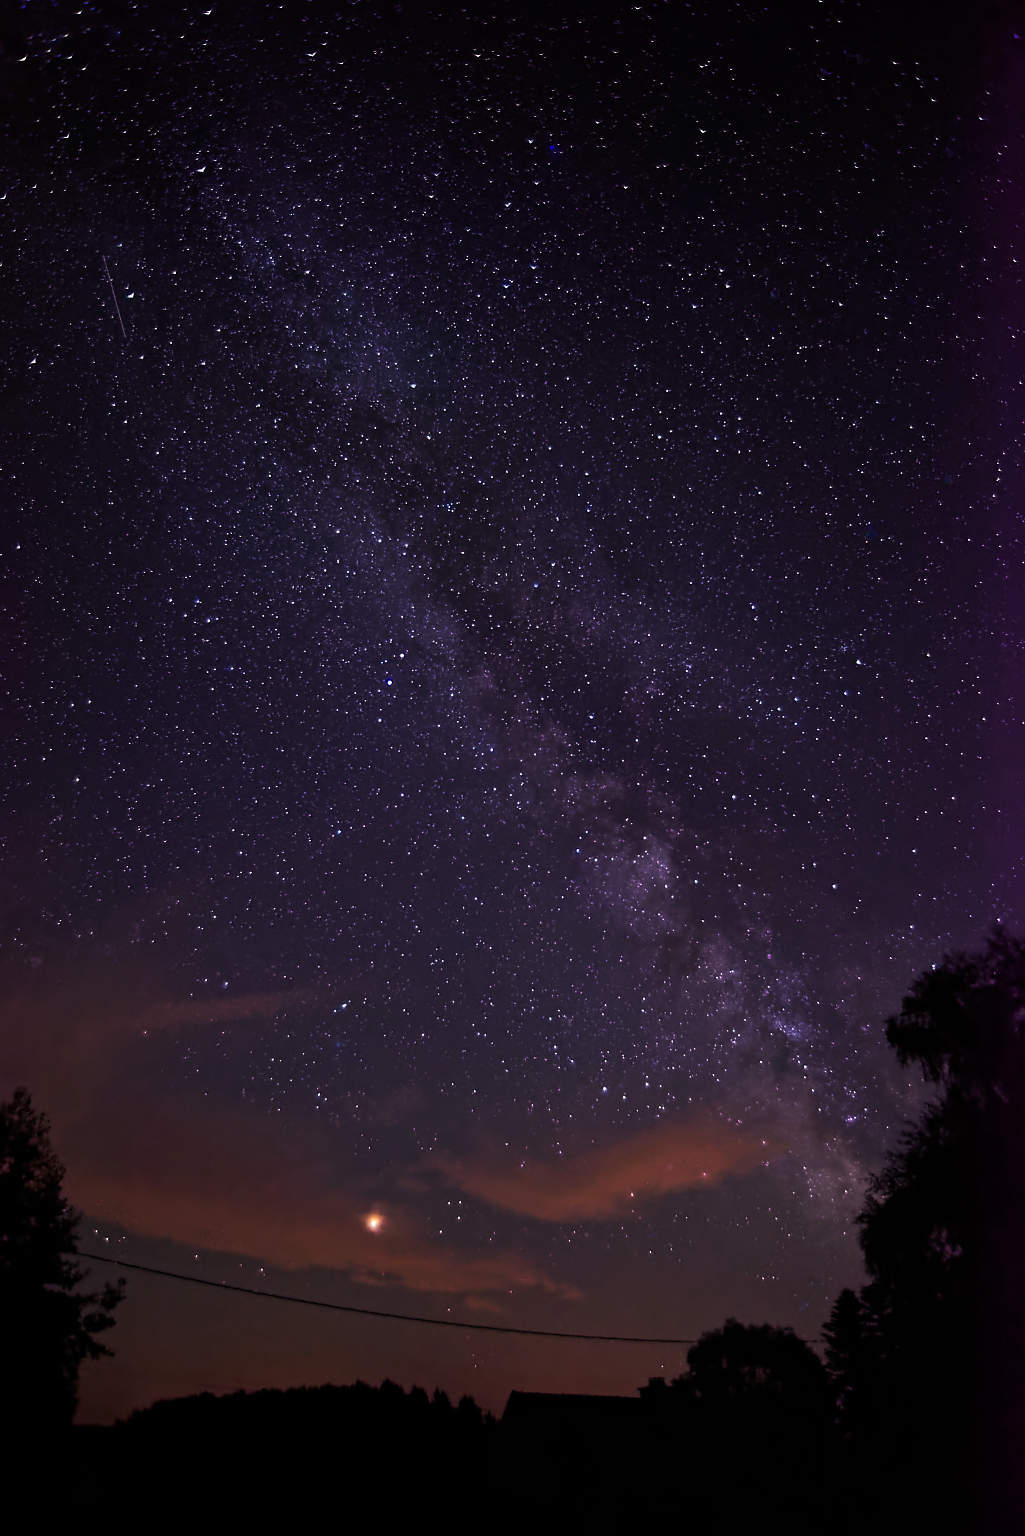
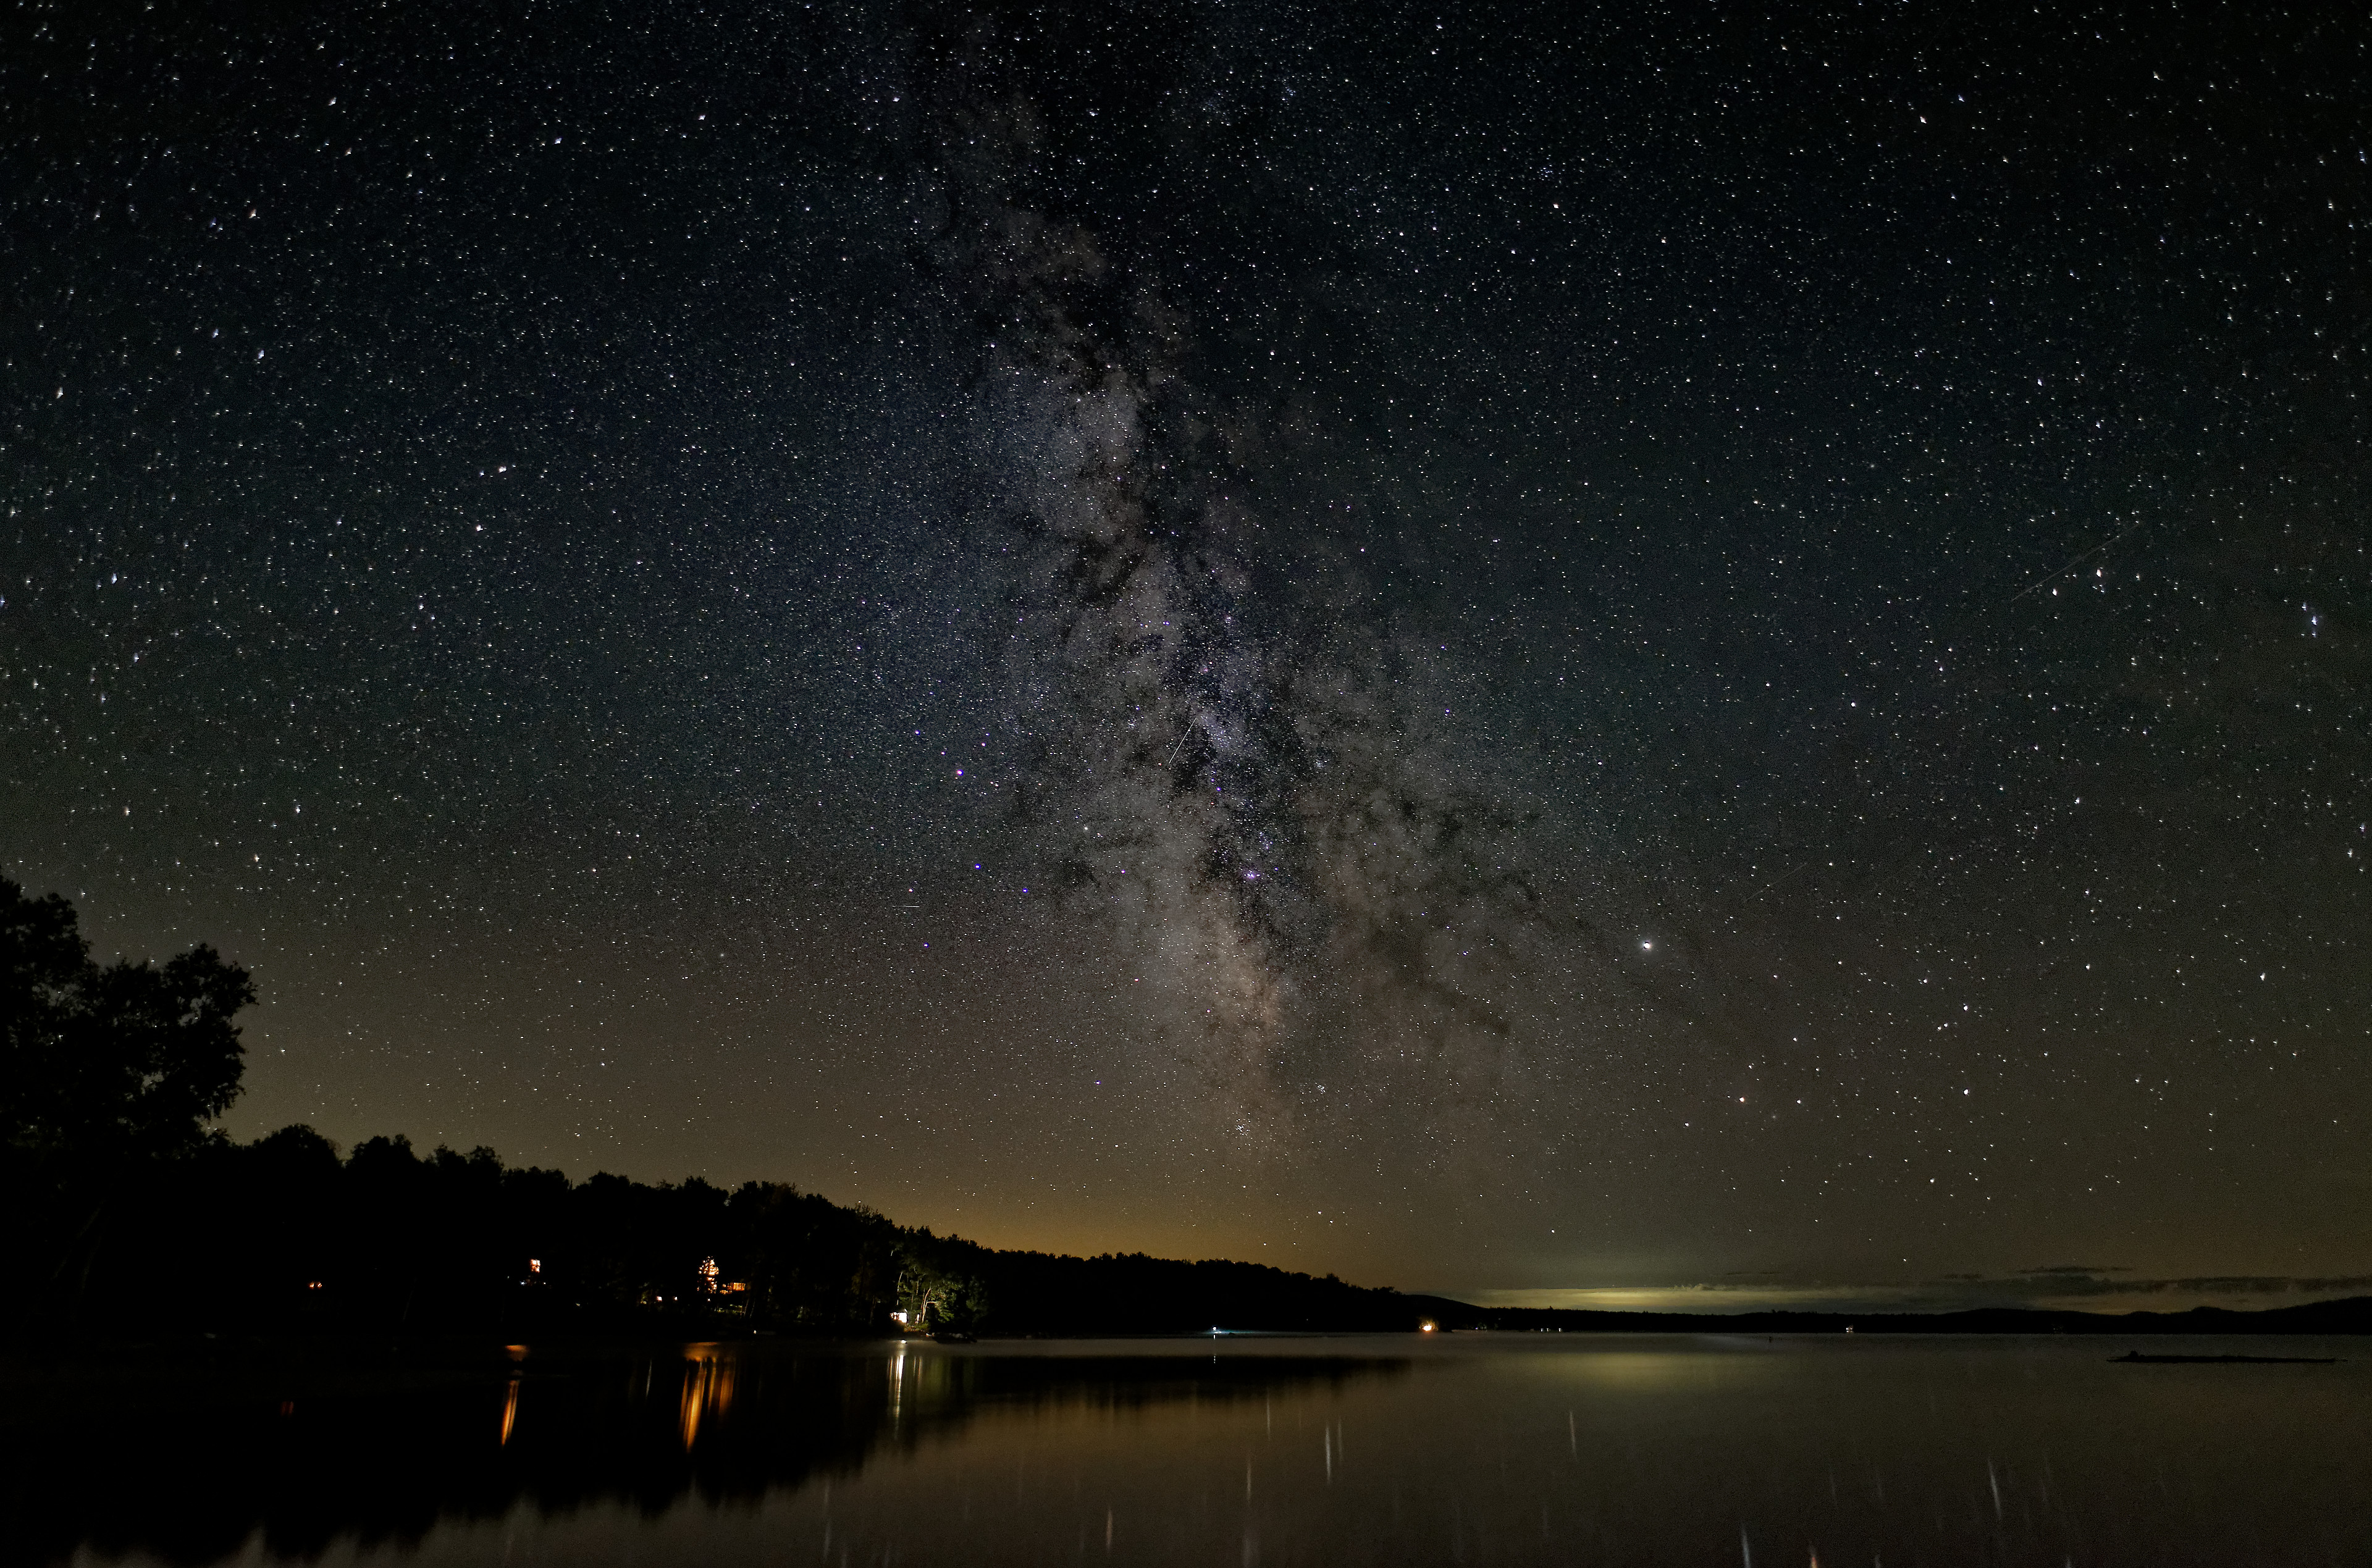
Fig.3Taken at 9600 feet (2,926 meters) in a remote area of a large mountain range.
The center of our galaxy (the Milky Way) framed by the constellation Sagittarius (near bottom). 18-70mm lens.
@JimScott
at first great images!
i could say it is the lack of light pollution where these are shot.and the D300 what did the differrence
but i think it 80% technic of the operator.
Do you use a specific color filter in dxo to avoid color in the sky by sensorheating or random light pollution?
and do you use microcontrast or global sharpening to sharpening extra above what dxo does?
about techic: are you using mf ot af?
i did ss prio and turn ss up until Aperture started to change one stopclosing of wide open( then i know exposurelevel is right )and on 10 sec shutterrelase delay.
Autofocus can probably not lock on a lunar eclipse unless you try it before or after the darkest phase.
Exposure time during the darkest phase is so long that you’d want a mount that enables you to follow the moom on its course. Following stars is easier, and again, shake or wobble reduce image quality. The easy way is to combine multiple images, a common practice among amateur astronomers.
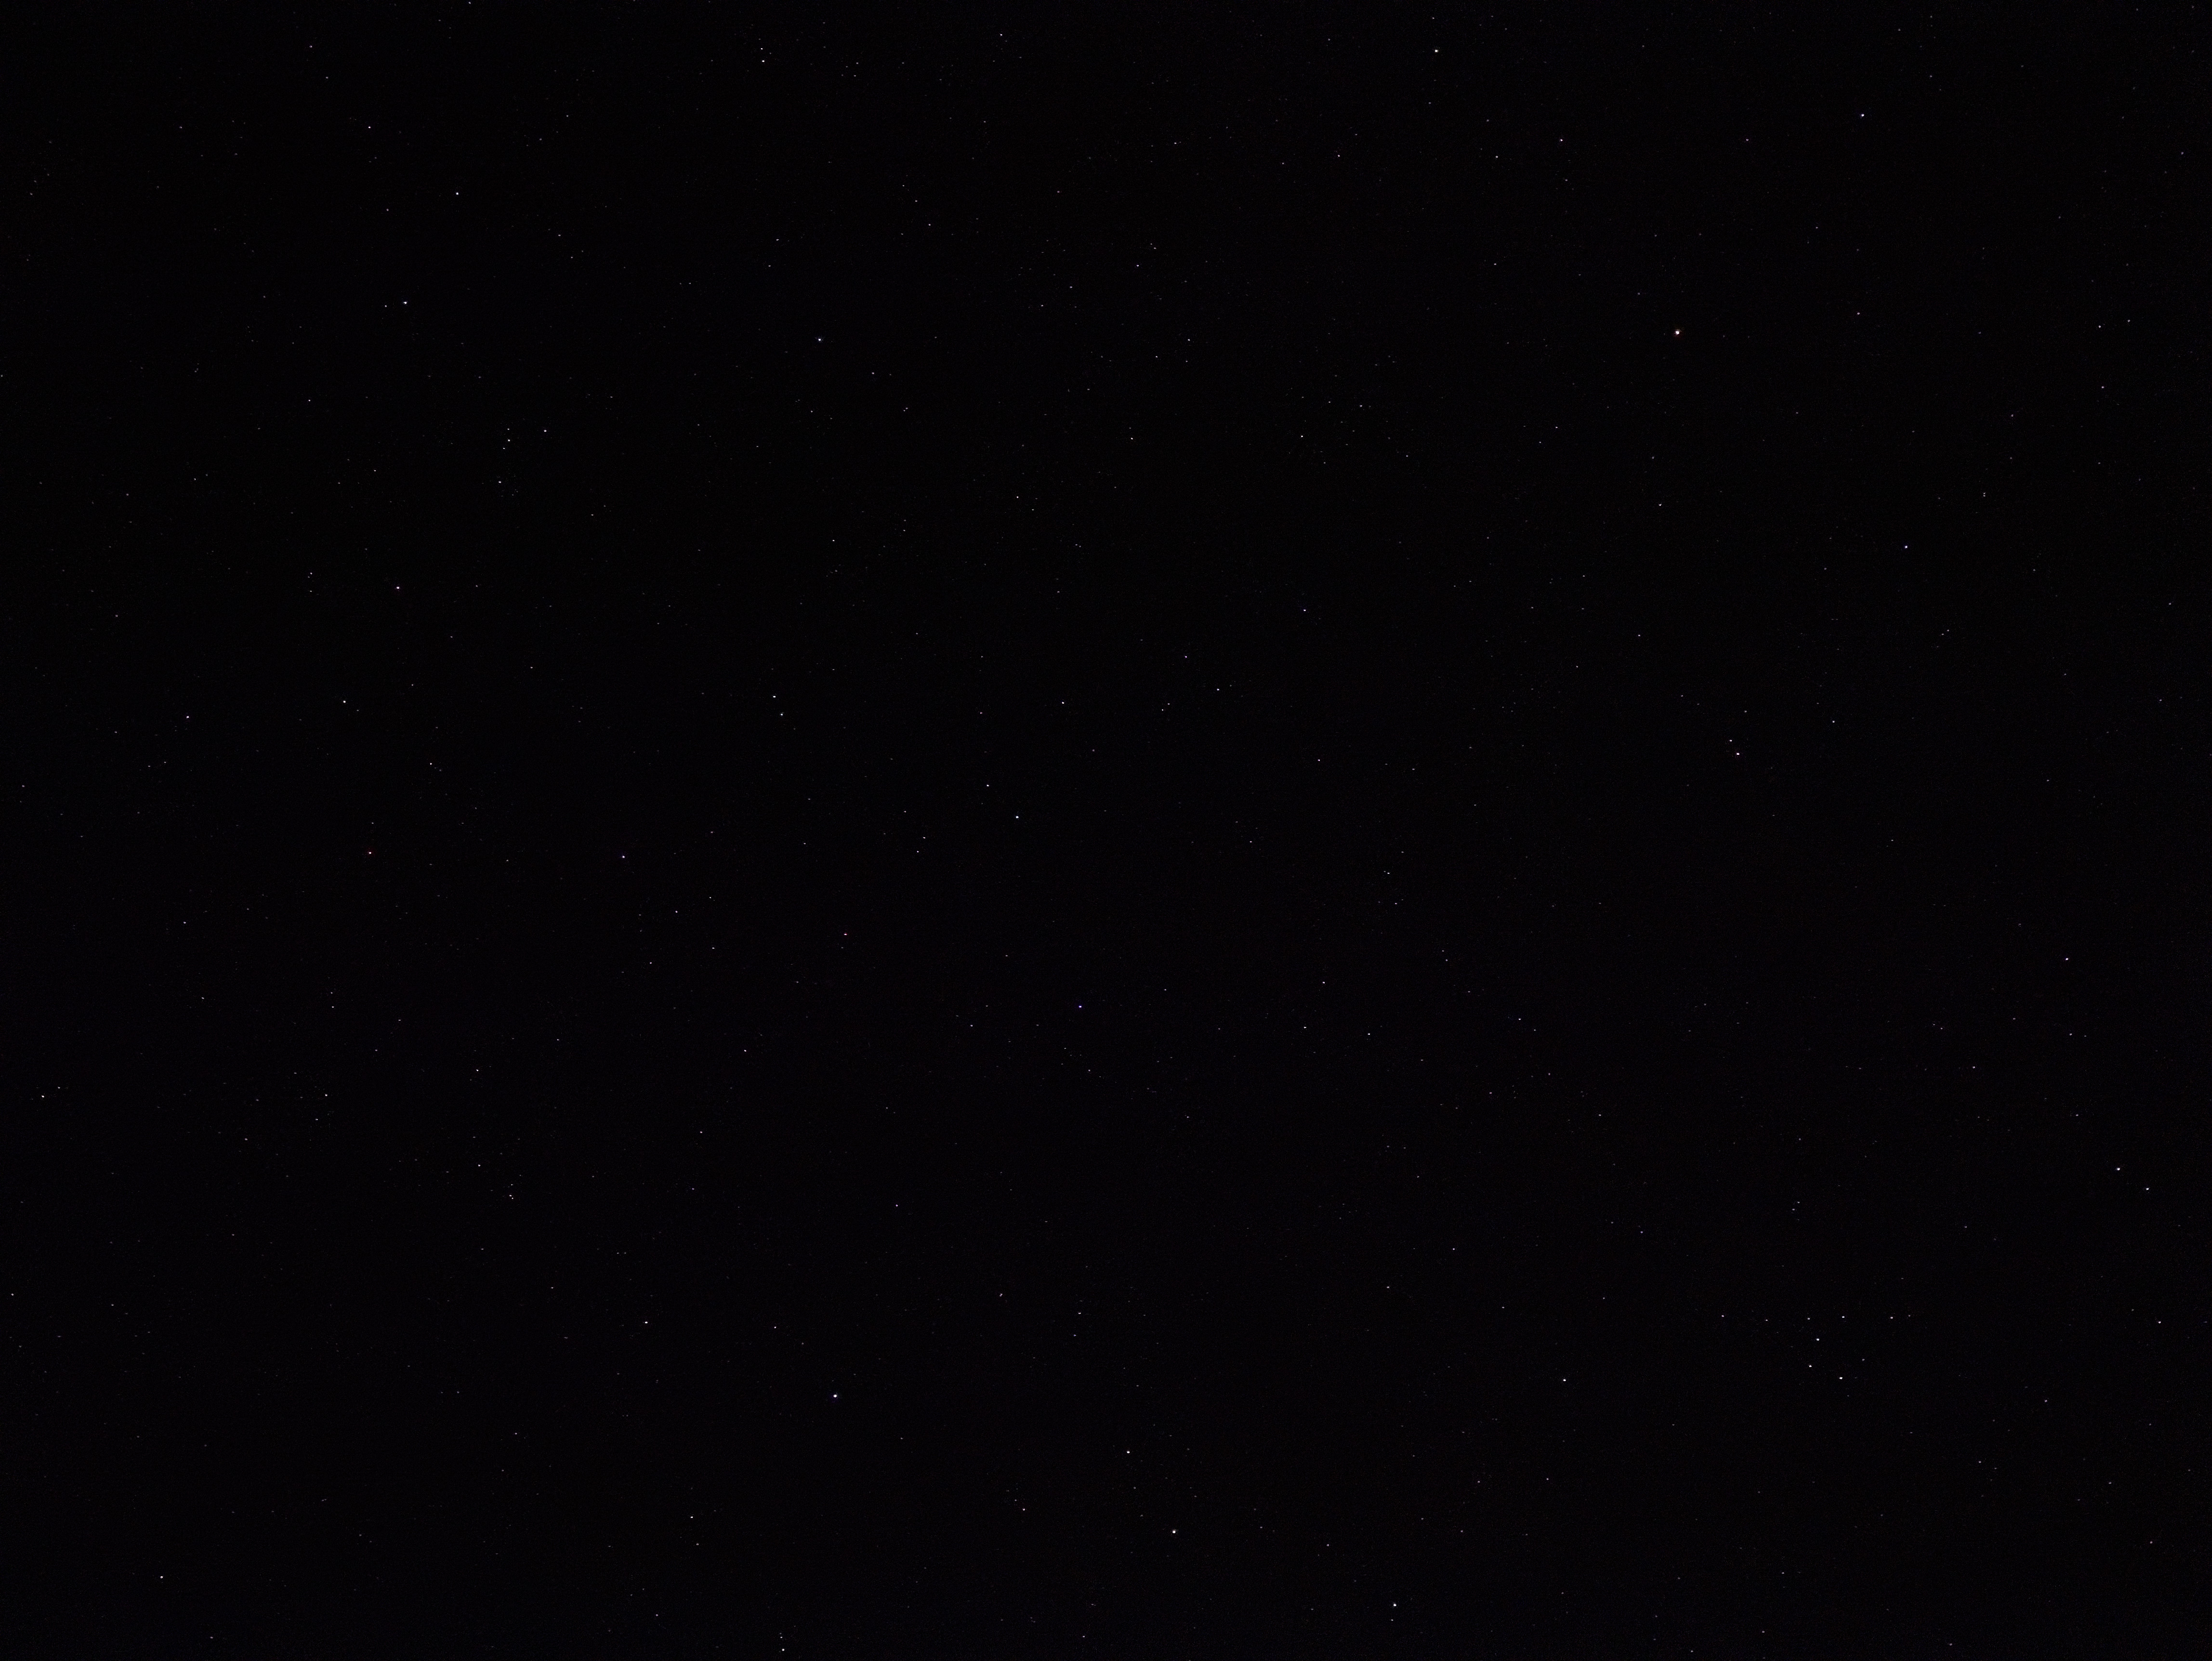
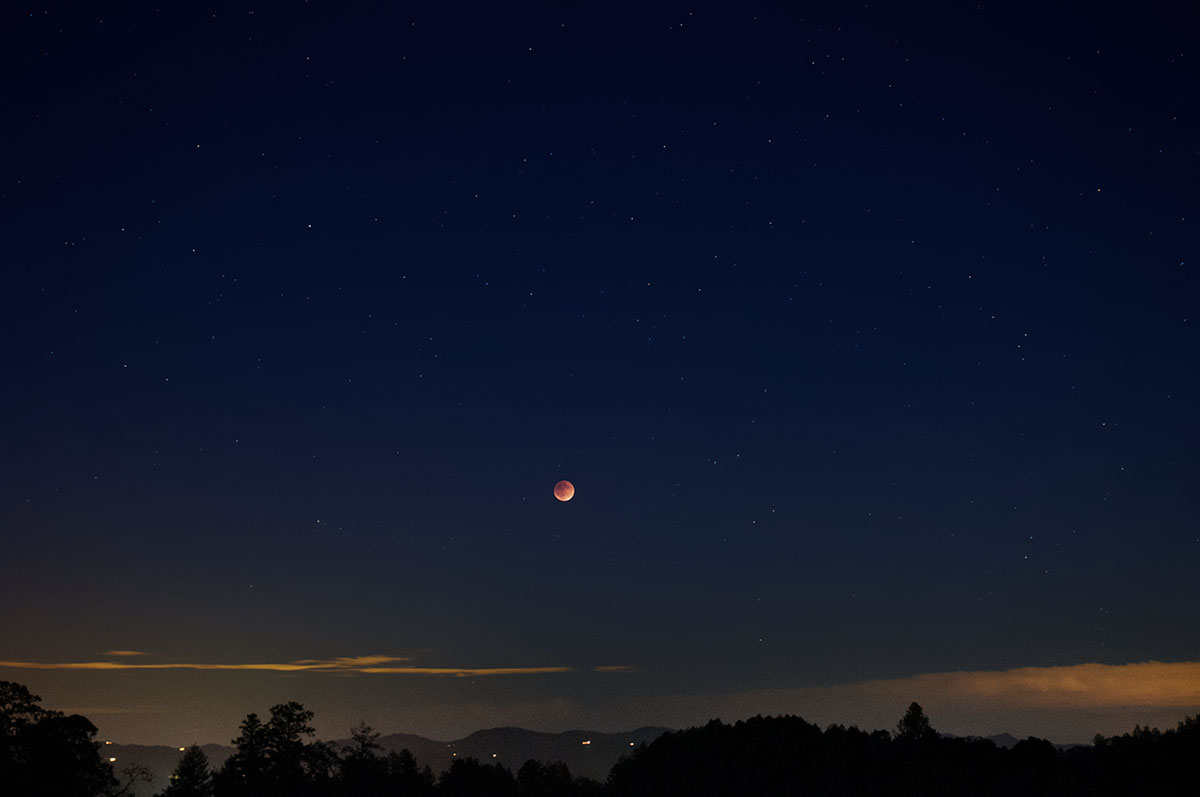
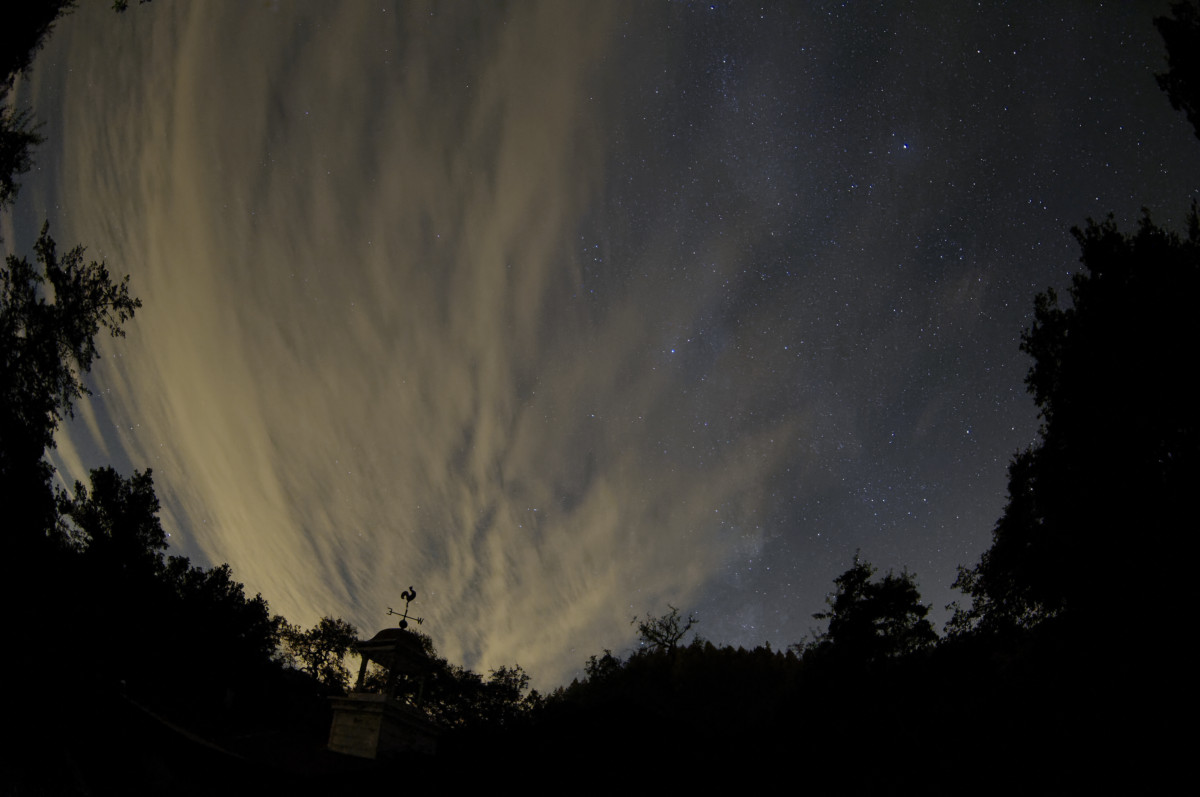
Glad You liked the images! It’s not a full-on astrophotography by any means - but yes clear skies and a good sensor are very important. Please see attached image at bottom - where a cloud layer moved in and light from the town on the other side of the mountain range from my home bounced off the clouds.
The flip side is exemplified by Fig.3 in my post above (Milky Way & Sagittarius). This image was taken at 9600 feet (2,926 meters) in a remote area of a large mountain range. Stunning star fields.
I do not use any filters. In the “old days” astrophotography enthusiasts used a filter that was designed to eliminate the frequency of sodium vapor street lights which were typically used to light towns (in the USA) - but that has changed in most places - and now there is often a mix of lighting so it would be hard (and expensive) to filter out all the different frequencies with out impacting the image and the exposure time would have to be much longer.
I think this type of operation would be hard to do in software in terms of eliminating the full impact (particularly luminance) without affecting objects with low surface luminance such as nebula, fuzzy star clusters, etc. Otherwise You can adjust the offending color(s) by simply desaturating them.
I typically avoid sharpening other than the lens sharpness which I leave at its default. One exception: the Moon. In Fig.1 in my post above I applied mild sharpening and slightly increased the contrast.
I use manual focus.
Light from a town on the other side of the mountain range from my home bouncing off clouds.
(Please click to enlarge.)
Ok to resume:
1- use MF in wide angle full open Aperture. (AF can be is less reliable)
2- use around 1600-3200 iso to shorten the shutter time: earthmovement and sensor heating.
3- no additinal sharpening only default lens sharpening and default preset dxo.
Things which are less easy controllable: dark surrounding., dark surrounding all around, clear sky!
This is a car drive to mid section of The Netherlands i think. Or up north east (i will do that attempt in the winter, earlier dark, less sky pollution of dust and stuff.)
Where we live in Brittany, we have very little light pollution and, thus, quite dark skies apart from the nearest large towns, which are about 20km away.
Bringing back an old topic, as it seems to be the only one touching on night sky photography w PL.
I’ve found WB easiest to set by magnifying to 400%, finding a sky area that should be black, color picker radius at 50, click on that area (same you would with the black level picker in PS)
Prime noise reduction same as you mention - but I (and maybe you?) are lucky enough to have no dead/hot pixels.
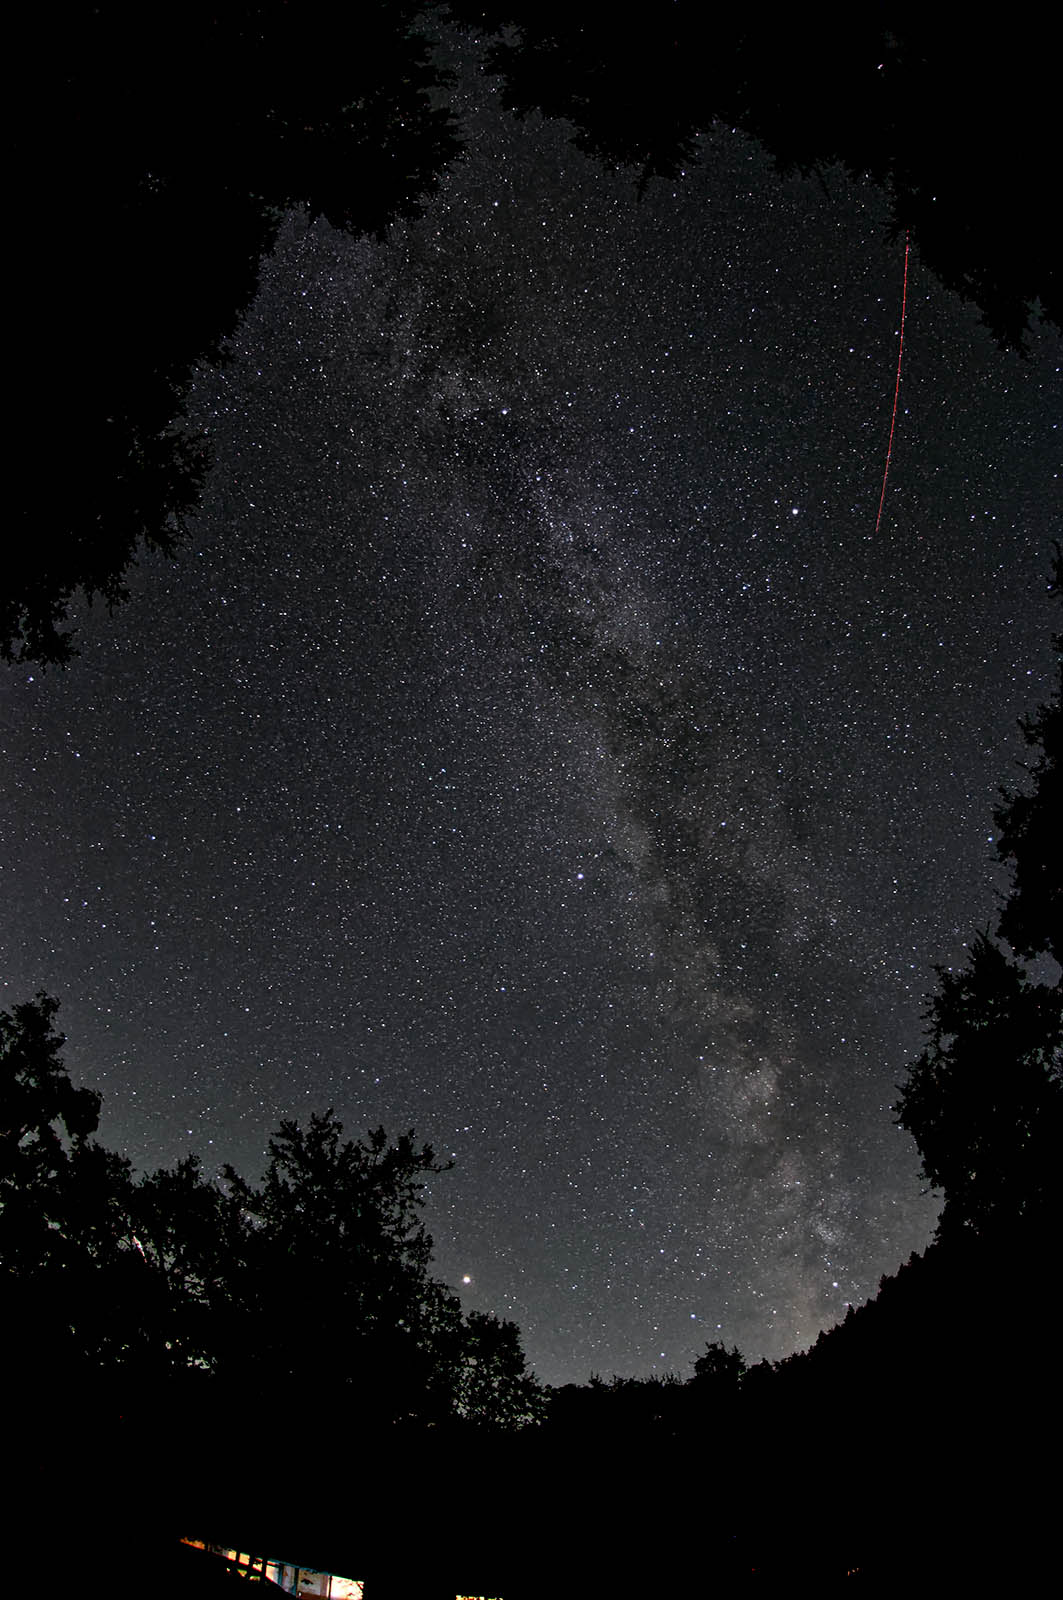
BTW, D750, 20mm /1.8 lens at f/2, 20 sec ISO 800 - focus dialed in earlier in the day* (on tripod, magnified live view, focus, switch lens to M-only, freeze focus ring w blue painters tape).
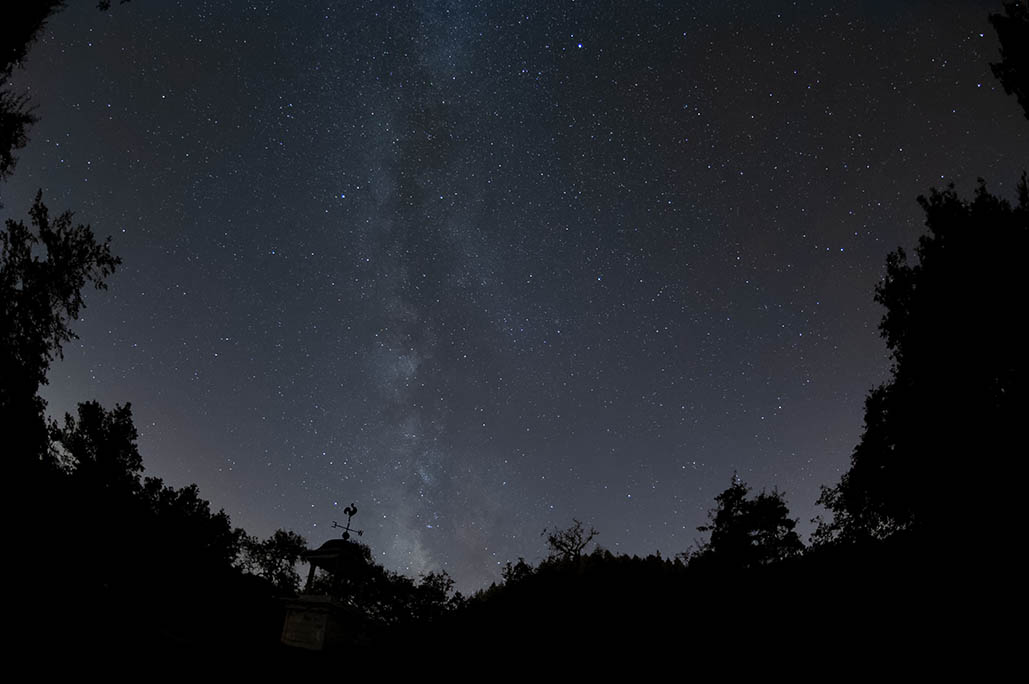
BTW this is at our lake house. Area is dark-ish except facing South, where the Milky Way is (sigh).
So I’ve some light pollution to reduce - which I’m doing in HSL (channel yellows, lightness -90, move hue slider until I get best result.
I get better results with this than focusing w a bahtinov mask (invented by Павел Бахтинов)
I’d also mention that, if your stars look at all purple - turn ‘purple fringing’ on in lens corrections.
I get this issue with my d750 and 20mm f/1.8 ‘gold ring’ Nikon lens medium high end). Surprising to me, as I never see purple fringing in my non-astro shots.
Unlike other lens corrections, the fix will not appear in the PL ‘preview’ pane, even at 1:1. Done on export, though.