Well, color temperature seems to be fairly variable:
RawDigger’s Exif output lists the following (edited for clarity) for one UniWB shot:
Color Temp As Shot = 4360
Color Temp Auto = 3317
Color Temp Measured = 3317
Color Temp Daylight = 5200
etc.
“…As Shot” seems to be the value set in camera,
DPL4 calls it 3628 / -194
Lightroom calls it 2050 / -150
“…Auto” and “…Measured” seem to be what the camera measured and would have used if set to AWB
“…Daylight” corresponds to the predefined daylight setting.
Values 1…3 are only equal to each other when the camera was set to AWB
Nevermind. Whatever your app is telling you about WB, it seems to be its own idea rather than simple truth. (Truth is never simple, but that’s another story)
Actually, that’s not the reason. I suppose it’s mainly because it’s a hangover from transparency film, which is traditionally 5600°K.
There is not and, in my mind, need not be any connection between the camera temperature and the rest of the (printing) workflow. What has to be properly managed is the relationship between the screen and the printer. Of course, if you are not printing, then you are at liberty to set your monitor to whatever you think appropriate…
The answer to this state it makes perfectly sense, but…
We didn’t applied it like this .
Or yes you nailed it we do WB before demosiacing.
My englisch isn’t good enough to grasp this nuances correct.
I am always thinking that a WB needs to be pinned on a colorspace which is the working space to be acrurate. Thus sRGB or AdobeRGB
It also states Chromatic Aberation is done before demosiacing and CA is part of the optical module so optical correction is thus also done before Demosiacing.
After that the workspace colorspace (sRGB or AdobeRGB) is applied with the colorprofile like generic. Then all tonality things as contrast and such.
After this all pixels are defined to preview on your screen and ready to be used in the pixel editing part as local adjustments and cloning and repair.
At least that’s how i resume all info i read splintered across several threads.
Testing an image captured in daylight (a sunny autumn day with a clear, blue sky).
The “As Shot” settings reflected by PL are: Temp = 5199K, Tint = 9 … which, I guess(?), confirms that my camera’s interpretation of Daylight is very close to 5200K (Tint = 0)
Very little visual difference; due only to the Tint = 9
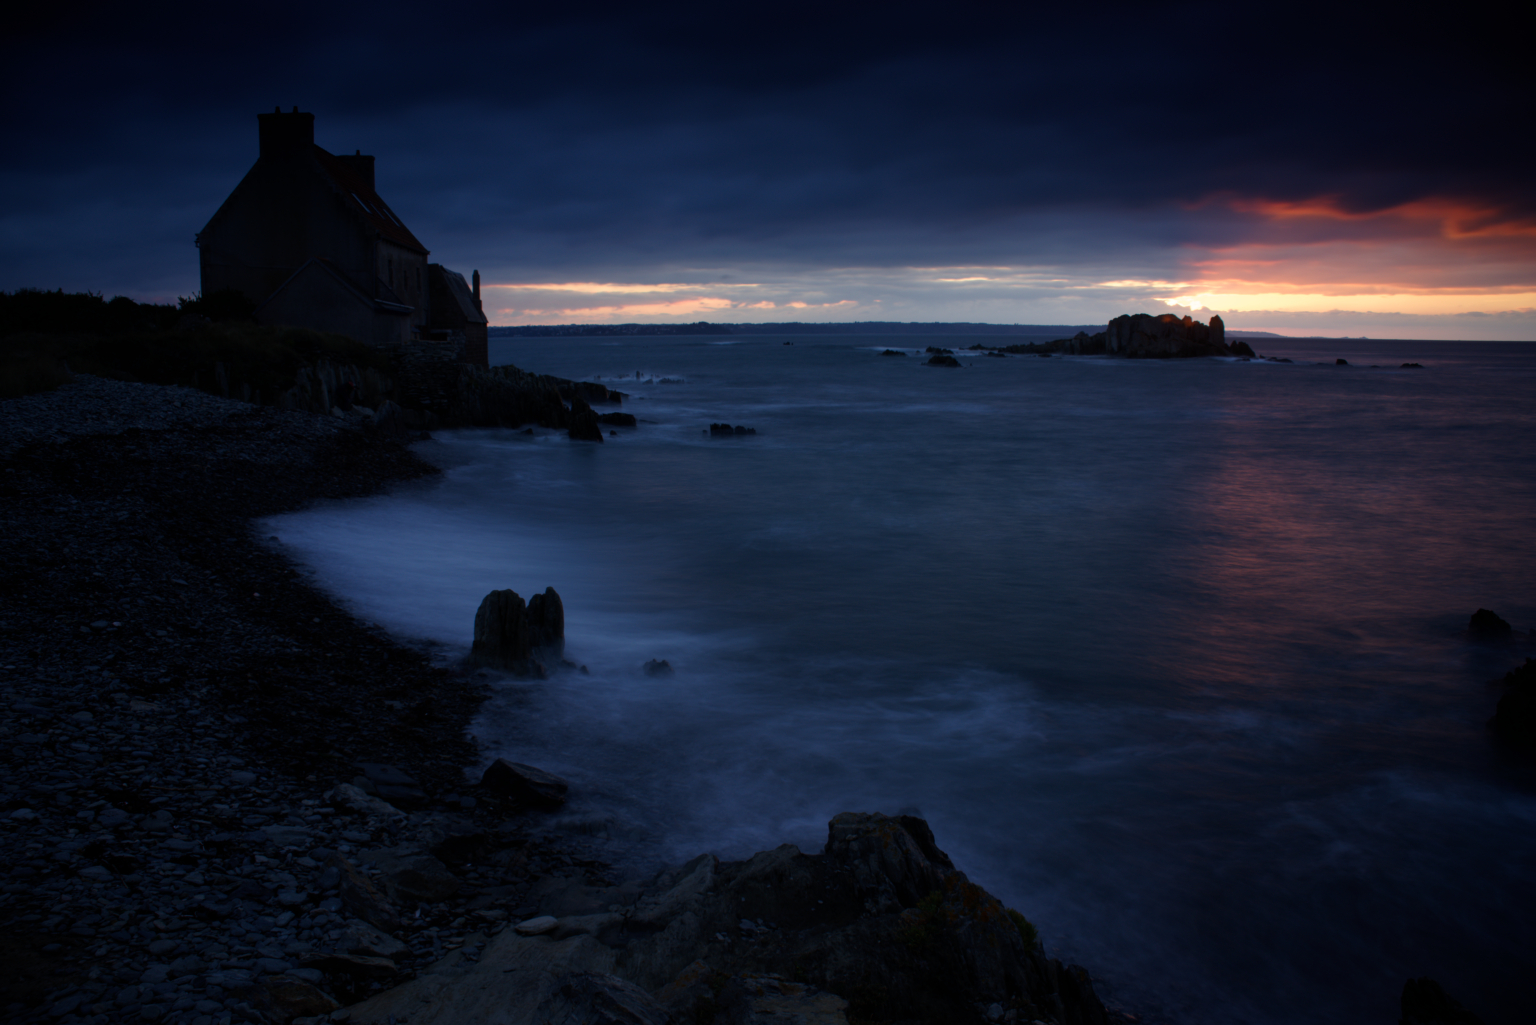
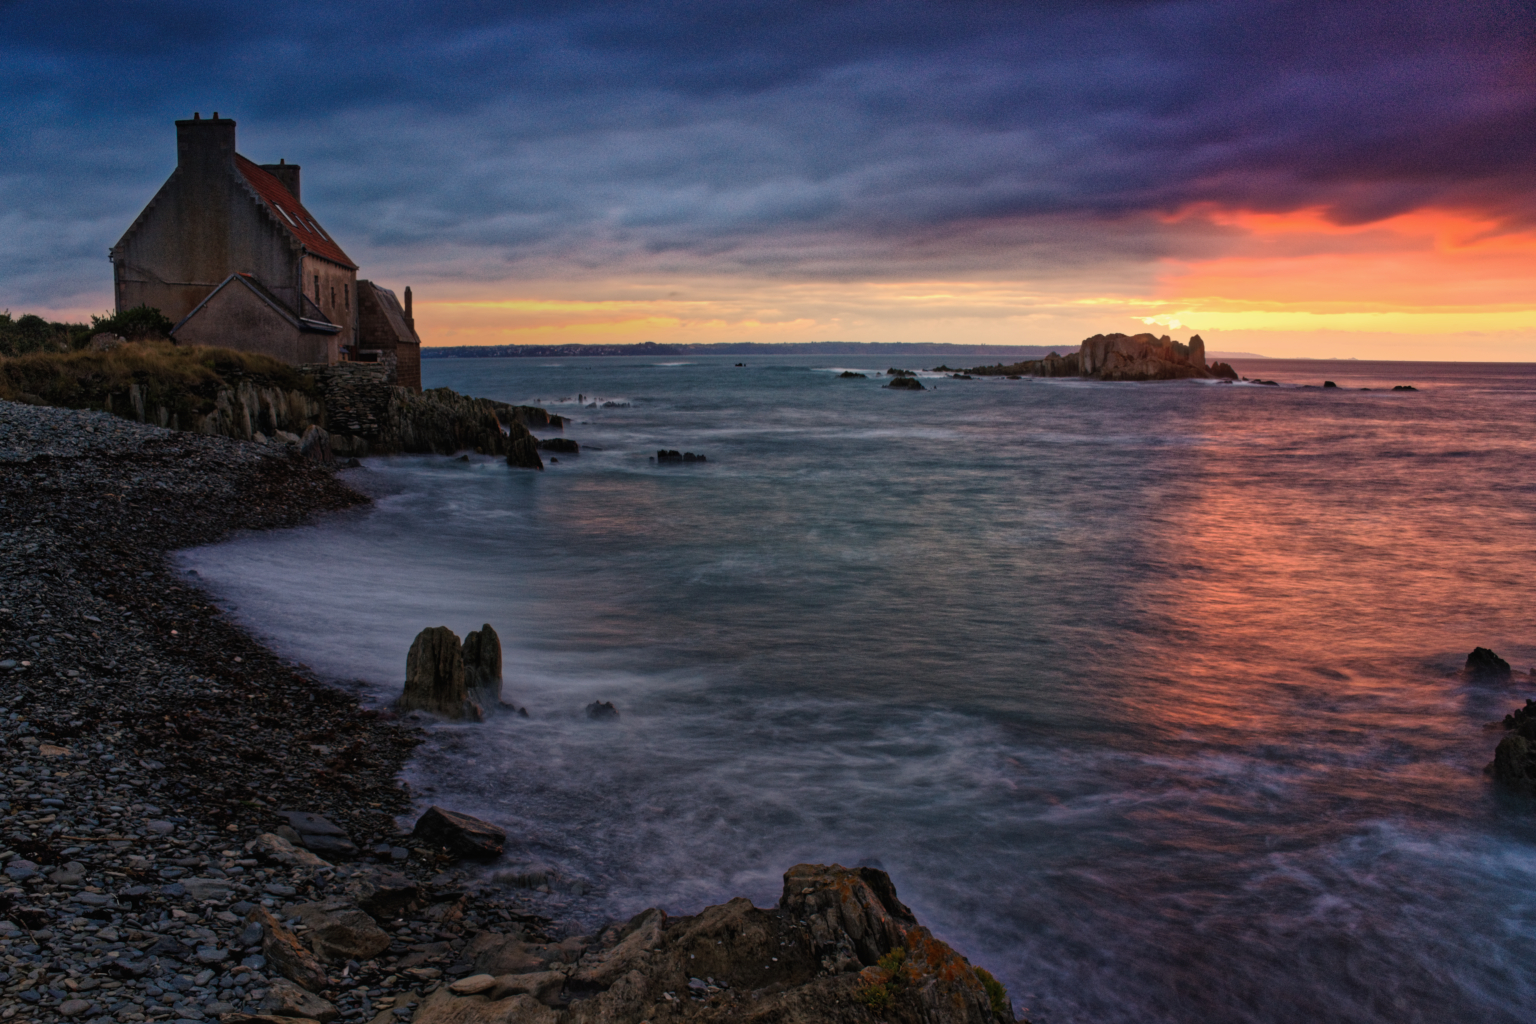
The As Shot version is noticeably “cooler” - or to express this differently; the 6500K version is “warmer” and, I’d say, looks more natural to my eye.
So, based on your recommendation, Greg, I guess that means I should use 6500K as my standard setting in PL … which would be fine if I was always taking shots in bright daylight. But, that’s not going to work for shots taken in, say, shady conditions - is it ? I remain confused about this.
All this talk about matching the camera to the monitor is something I have never needed to do in many years of photography.
Setting a WB on the camera simply means that the screen on the back of the camera, which shows the embedded jpeg, will look different. But, for the RAW file, it is only a “suggestion” as to how the image should be rendered, but which can be changed to personal taste.
Matching the WB on the camera to the prevailing light simply means that the dominant light will be made to be as close to white as possible. Thus, for example, sunsets will no longer appear that lovely warm colour and will look insipid. This is what auto WB tries to do.
On the other hand, most of the time, I shoot at 5600°K because it represents an average external light and then I look at the image in PL and, if necessary, adjust the temperature to suit how I remember the light “felt” when I took the shot.
The only time you absolutely need things like white cards and “perfect” colour matching is shen you are shooting stuff like brochure and catalogue shots where you need to very precise with colour representation.
So, set your camera to “daylight” or 5600°K, leave it there and if you like the colour when you view your images on the computer, you need do no more; if you don’t, change the temperature to what you think it should look like. For most people, it’s more about whether it “feels” right rather than some technical precision. Don’t forget photography is more an art than a science.
I have two pc’s and a laptop. On none of them I can regulate the color temperature. Can somebody tell me what happens when the color temp is changed to a higher value: is it moving to red or blue? I mean the color temperature of the monitor, not the camera.
Thank you very much for your efforts. As you pointed out, my white balance was indeed very off at the market. I corrected it and the red tint was almost gone. My finished JPEG looks just slightly more saturated than the preview in Photolab and is virtually identical with gerarto’s and your finished version.
I will be looking for this mistake in the future!
The dune is quite another problem because when i use your trick with the white paper it looks just aweful and not at all how i remember it. I will try to reshape it with other tools and see wheter the finished product looks better than before.
I actually had the same idea at some point this year but since i am still working on my workflow i might have gotten back to using the standard preset.
I see now that i should revert to using my preset I think I called “true color” or sth.
I think what you post here is misleading: The white balance on an image sets the white point for that image. The white point depends on the light source at the time of capturing the picture. Aspects of mood aside, if you want to have correct colors, as @Joanna demonstrated, you have to set the white balance according to the light source.
The white point of your monitor screen depends on what your eye sees as white at the time of looking at it. This may be different depending on the light source in the room, even though the brain will adapt eventually to most settings. So arguing about the “correct” setting of the white point of the monitor is kind of pointless as long as you don’t have a room with a calibrated light source and “white” walls where you do your editing.
Having both white points at the same K value may only make sense if you assume there would be no color management at all in your computer.
Actually, even if your screen is not calibrated, the computer makes assumptions about the white point and will transform the white point from the image to the white point of the monitor. 6500K (D65), by the way, is the standardized white point of the sRGB and AdobeRGB color spaces.
Did you watched my two video’s?
Funny thing is i can’t select 6500k in plv4.
And i know that the workspace colorspace is for my monitor to preview the rawfile.
I meant when there isn’t a real colorspace defined it’s no use to in a WB some where in the exposuredata. Thats just “charge”. So i quite sure you need demosiacing render to rgbg value’s before you can pin a whitepoint.
Ok, if your goal is too shoot pictures of monitors then you are right, set your camera to match the white point of the monitor. That’s because the light source is the monitor.
Now do an experiment as well: set your monitor to 5000K. How do the three pictures look like on a neutral background (all RGB values identical). Is the left one white and the two on the right side blue? Or is it still the middle one that appears white after your eyes and brain accommodated to the new white point?
Sorry, Greg, but I’m not grasping/understanding the point/purpose of your suggestion.
On the other hand, you have helped me realise (the now obvious fact) that my monitor has a white point of 6500K, which will be useful in my colour management.
In which case, why not simply set one’s camera to AWB and “leave it there and if you like the colour when you view your images on the computer, you need do no more; if you don’t, change the temperature to what you think it should look like” … With that approach I’d expect there to be a much higher probability of a result that “looks right” (rather than only for daylight/5600K scenes) - Right ?
Here’s something I discovered, which may be useful to others;
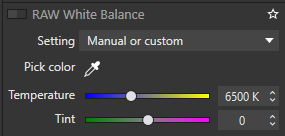
Have you noticed, when you switch your RAW White Balance setting fromAs Shot (or anything else, in fact) toManual/Custom, that the resulting default Temperature setting changes to 5400 (?).
I found that this is due to a setting in my default Preset (as applied to all newly encountered RAW files).
For my Win10 environment, it’s this line:
… As you can see, I’ve changed it to 6500 - which (as @gregor helped me to find) is the white point of my monitor … which is, therefore, for my set-up, a better starting point for manual WB assignment.
HTH - John M
Edit: Even better …
I’ve changed my default Preset to this;
With my RAW White Balance correction de-activated - it’s equivalent to “As Shot”.
Now, simply by activating my RAW White Balance correction it will match my monitor’s white point.
You could certainly do that. I have found that, by using 5600°K all the time, that it gives me an indication of whether the scene was originally warm or cool. With AWB, because it “tracks” the dominant colour, it doesn’t give me that visual clue. But you are right, it really doesn’t matter what you choose on the camera for a RAW file, as long as you are happy with the ensuing workflow.
The only other consideration is by setting it to 5600 the jpeg preview on the back of the camera gives me a better indication of warmth, etc. if I want to review shots in the field.
If I then use the pipette in the HSL palette to sample the sun as a source for WB, thus emulating what auto WB does to some extent, I get something like this
I have been watching this thread and thought I would add a few very important facts about colour management.
RAW files have no white balance setting and the WB seet on your camera has NO affect on your RAW file.
If you want to edit photos in a colour managed environment then you must calibrate your monitor and then never change your monitor white balance or any other setting except maybe brightness. The calibration process will adjust your monitor to display correct colours.
The colour balance setting you can choose in PL are what the camera will apply to the RAW file when generating a jpg with those same settings.
Edit your RAW files any way you like and the way it looks on your monitor is how it will look when you print it on a properly colour managed printer.
The whole purpose of colour management is to have the same colours on your output device to that of your monitor when you edited your photo. Once you have calibrated your monitor there is nothing more you have to do as long as you output on a colour managed device. You can now edit your photos to be exactly how you want it to appear.