Hi All
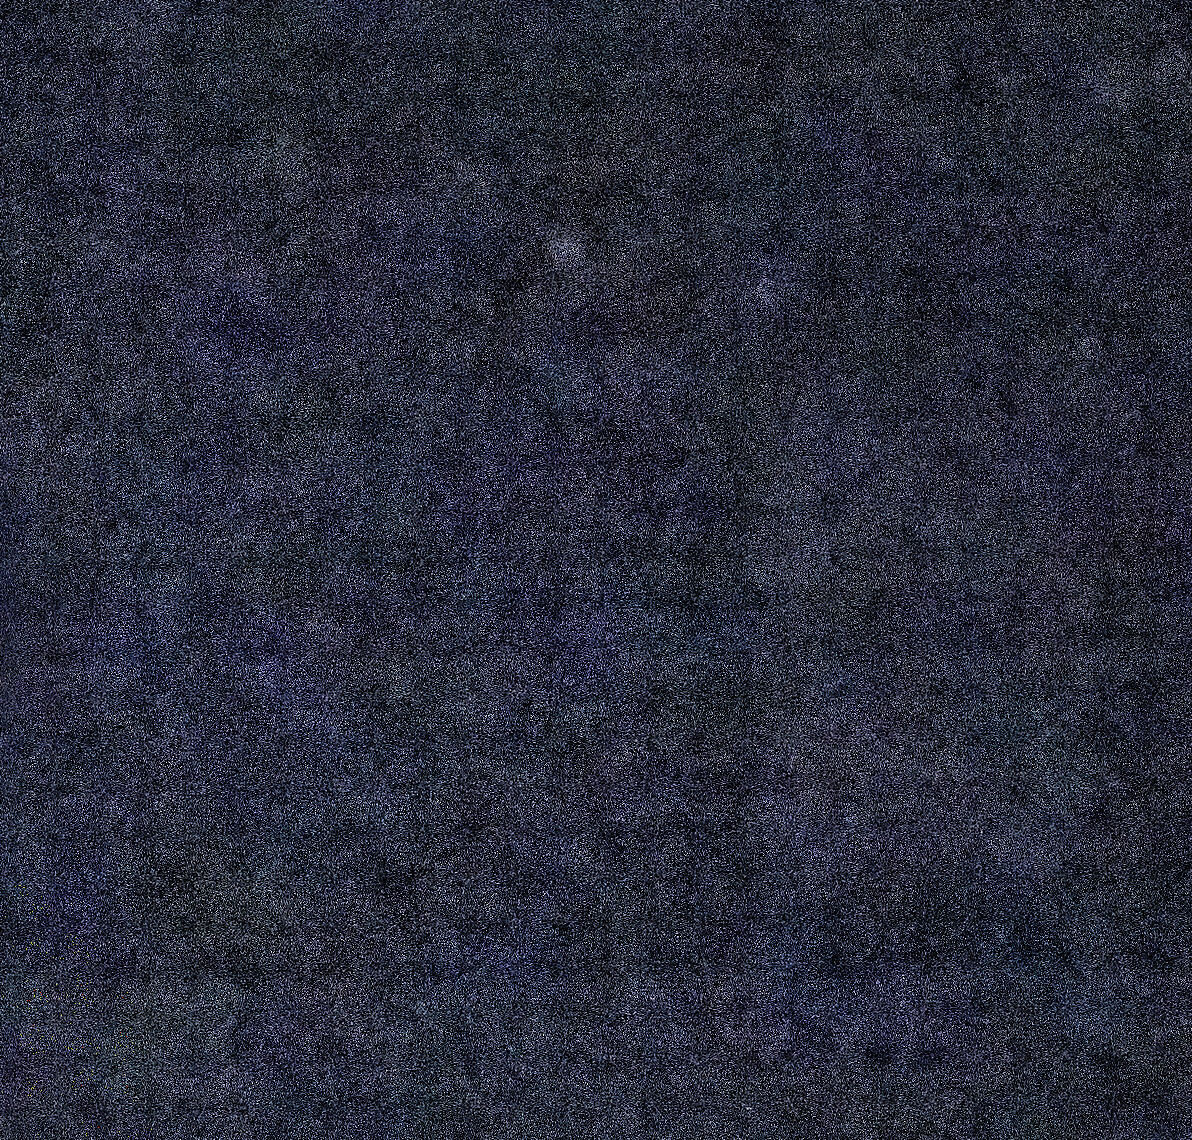
Does anyone have any tips for removing this kind of check pattern that occurs in the shadows when photographing night football under floodlight.
Thanks
Mike
I assume you mean in your raw files. Have you tried exporting the image with DeepPRIME applied to it?
Mark
Yes, I do mean the raw files. This is a screenshot before export but it still shows up in the jpg file exported using DeepPrime. Not as bad but still quite obvious.
Mike
Might it be a job for the Moiré tool … 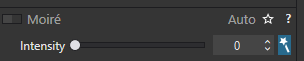 ??
??
John M
Doesn’t really help @John-M, unfortunately, probably because it isn’t a real pattern, like material.
Thanks, anyway.
Mike
1 Like
Try Dfine 2 in the Nik Collection.
I think I’ve found the cause. If the unsharp mask is on, even at default, it causes the pattern to occur. Just turn up sharpening to see it happen. It only seems to affect the dark areas, not well-lit subjects. I’ll try Dfine 2 as an option as well, though, @Egregius
Thanks all for the input - it got me on track.
Mike
Try increasing the Threshold slider or the Edge Offset slider. Just slightly as a “little bit” goes a long way with these sliders.
4 Likes
Wow, @rrblint, you’re dead right! It seems there is a direct relationship, in dark areas, between sharpening, the pattern and the Threshold slider. The more you sharpen, the higher the threshold you need to get rid of the pattern. I guess it becomes a bit self-defeating at a point but finding the sweet spot between the two works wonders.
Thank you very much for pointing me in that direction, as I would have never have made a connection. As an aside, I have found that careful use of the various contrast sliders can add a significant sharpening impact, without actually sharpening.
Again, appreciate your input!
Mike
1 Like
The Micro Contrast slider is especially useful for giving the impression of greater sharpness.
Mark
2 Likes
I have experienced this as well, but only in one batch of dark, high ISO photos in a cave.
As others have noticed it seems to be linked to sharpening, although I also found that fine contrast was highlighting it even more. I was deliberately producing very sharp, high contrast images so this made the “effect” really stand out.
Interestingly enough I did not encounter this issue everywhere, it seemed to only manifest in areas where there were subtle natural textures (vague patterns of shades or textures) in the darkest shadows.
This may not work for every situation, but I did not want to dial back the sharpening of the whole photo enough to fix the problem, so I selected the affected areas using control points and dialed back the sharpening and contrast settings using the control points.
I often use control points for this kind of selective adjustment, they can be stunningly good for tweaks like this.
Alun
2 Likes
Glad but not glad I’m not alone @alung! Yes, Shadows contrast makes it stand out more, too. Mine occurred in the background of trees, away from the spotlit soccer field, although I have seen it on other photos, too. Always in badly lit situations.
Good to know that control points is a solution. I put up 70 shots or so of a game, so that’s not an option for me with the time constraints. I agree that, for other work, control points are great.
Of interest to me is that, in search of solutions, I took the same images into Canon’s own software. In spite of sharpening and increasing contrast, there was no way I could get the pattern to emerge. I don’t intend using that software in preference to PL4 but it does tell me that there is something about the way PL4 handles sharpening/contrast that allows the pattern to happen, in certain situations. Definitely worth knowing the work-arounds.
Thanks for your input.
Mike
If you have Filmpack 5 elite, then backing off the Fine Contrast slider is also effective for reducing these types of patterns. Also I would use Lens Sharpening instead of Unsharp Mask for sharpening, if there is a camera/lens module for your camera and lens.
Good thoughts, thanks. Agree on both points. A couple of my major shooting options don’t have profiles, unfortunately. EF 400mm 2.8 II +1.4 Ext and EF 200mm 2.0. Both are highly popular so I’m not sure why they don’t a module on the R5. Here’s hoping…
1 Like
Mike: The Unsharp Mask tool is provided just as a fall-back if there’s not an Optics Module for your lens (+body) … If an OM is available then it’s not recommended to use Unsharp Mask at all.
From the PL help text:
- The Unsharp Mask correction is disabled by default. It is unnecessary for JPEG files, as in-camera processing has already sharpened them, and it is usually unnecessary for RAW images for which a DxO Module is available. This means its use is really confined to unsharpened JPEG files and RAW files without a DxO Optics Module.
John M
Edit: I just noticed your post (just above this one) which perhaps explains why you’re using UsM (?)
2 Likes
Thanks @John-M! Yes, saw your last comment and it there are no optics modules for my most-used camera/lens configurations, although they are widely used by sports and bird shooters. So, the unsharp mask it is. That said, I only had it at default value but now have work-arounds. The pattern can be reduced to almost invisible with a combination of the above but doesn’t occur at all on Canon’s software, so must be something unique to PL4. At least I have an acceptable work-around.
Appreciate your input!
Mike
1 Like