I’m new to DXO Photolab, trying to make a switch from Lightroom.
One thing I cannot figure out is:
When I select a photo in the Customize tab, there will be a short loading after which the program will apply some corrections to the image, resulting in a more contrasty/vibrant photo
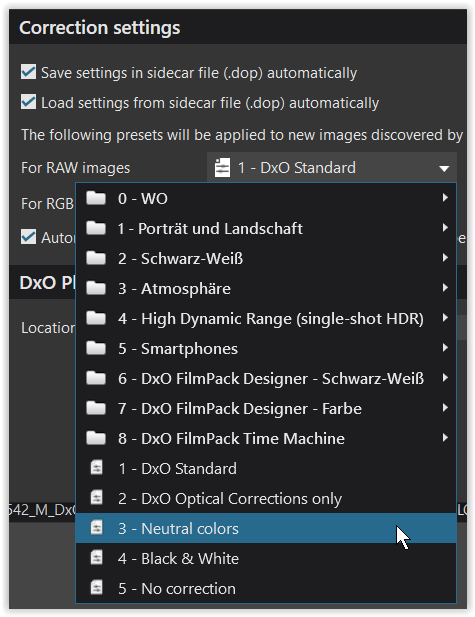
In the Preferences → Correction Settings, I have the RAW and RBG images set to “No Correction”, yet some correction is still being applied
Are there any other settings I should be aware of that control this behaviour? I would like to start the editing with a “raw”, unedited image
Please let me know if you’ve had similar experience and know how to fully turn off these automatic corrections.
What you are seeing is not “corrections” but simply the process of demosaïcing. What you see to start with is the JPEG preview, followed by the demosaïced image.
Yes, this is how I find photolab demosaicer behave with no correction for my camera. To contrasty, to vibrant, and with some kind of color shift.
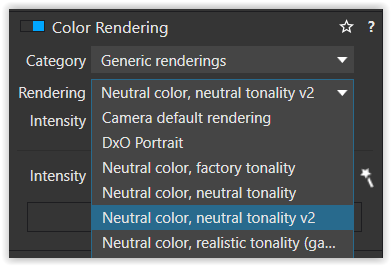
I now generally begin with neutral color realistic tonality (in color rendering tab - I have a nikon camera, I don’t know what curve you can use with your body), and tweak the intensity as starting point. Combined with exposure compensation/contrast/selective tone/tone curve/color accentuation help getting better values. I tend to avoid smart lighting because I prefer to choose rather than letting the software to choose for me, but sometime it allows to achieve thing hard to do otherwise.
This is the best I found (for now) to try to keep more natural and subtil color than photolab provides by default.
Have you already opened the photo in PL5 before you changed the preferences to “No Corrections”? If so, PL5’s database will remember the original preset used(DXO Standard is the default). Try putting the photo into a new folder that PL5 has never seen before(Inkheart test folder or whatever) using File Explorer and then restart PL5 and point to the new folder to open the photo. If this doesn’t work, you may have to delete the database. Please remember to back-up the database first.
Optical corrections includes vignetting corrections which, depending on the photo, can have a very pronounced effect on tone levels. I don’t think OP wants these corrections at the start of editing.
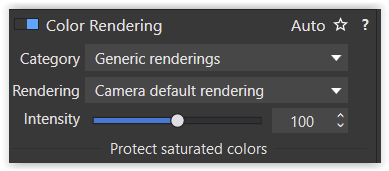
Did you try to activate and change options in color rendering tab, and tweak its slider ?
This changes the starting point (kind of transfer curve from your raw to your bitmap displayable image).
I didn’t keep the default one in order to limit this oversaturated starting point.
What is your camera ? Mine react the same way (D850) if I keep default starting point.
I did play a bit with these settings, and some of them improve the initial state a lot, but my understanding is that this is also applying color corrections, and I just would like to have the original RAW colors after opening it in DxO
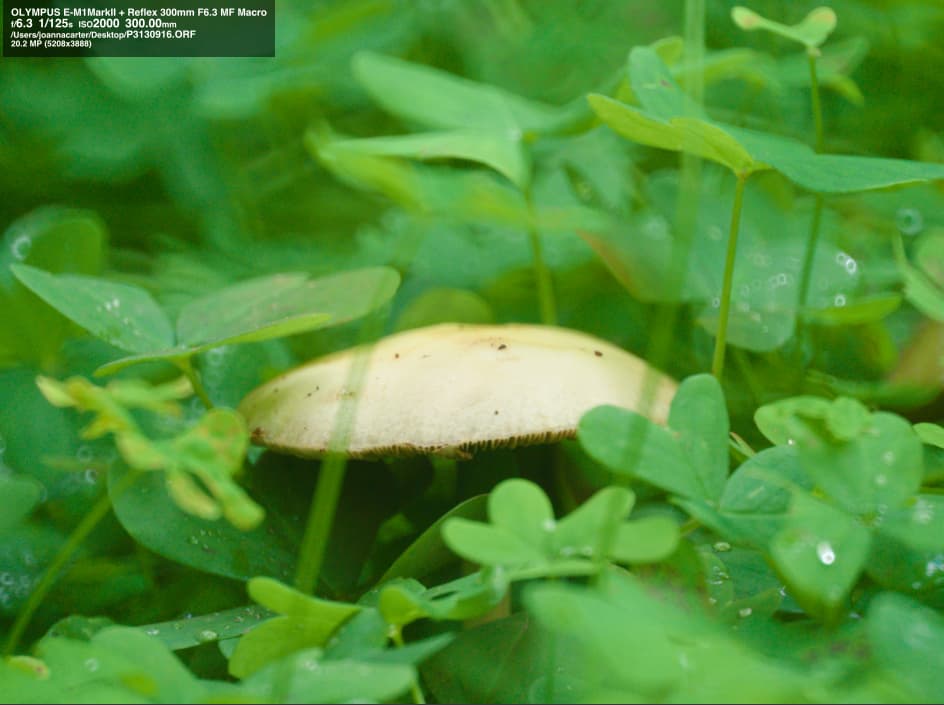
My camera is Olympus E-M1 II, so looks like this is not limited to any specific camera brand.
When you open a file the first time im PL, for a short moment you see the embedded JPG and as soon the raw-file is developped you see PL’s interpretation (talking about the “no correction” preset)
– which can be different as it can be from Lightroom’s interpretation or e.g. FastRawViewer,
while the jpg appearance simply mirrors your in camera settings → PhotoLab 5 Color rendering picks wrong camera body
If you don’t like PL’s interpretation for your cam
choose a different Color Rendering
and set it as standard (new images discovered by PL)
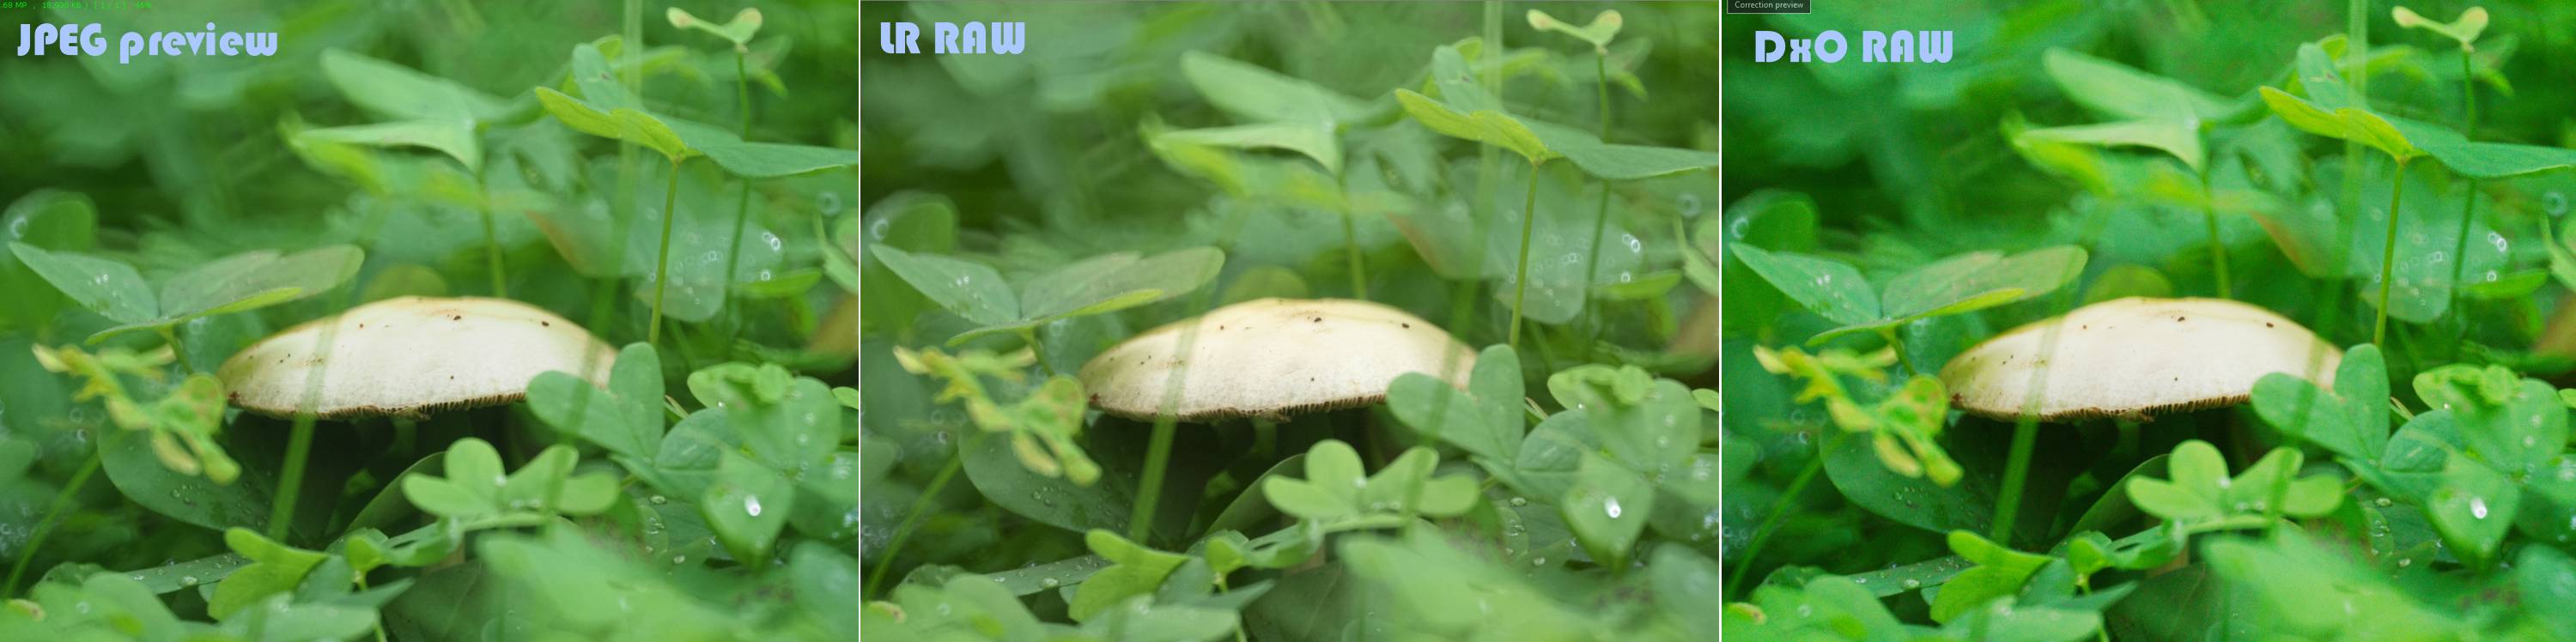
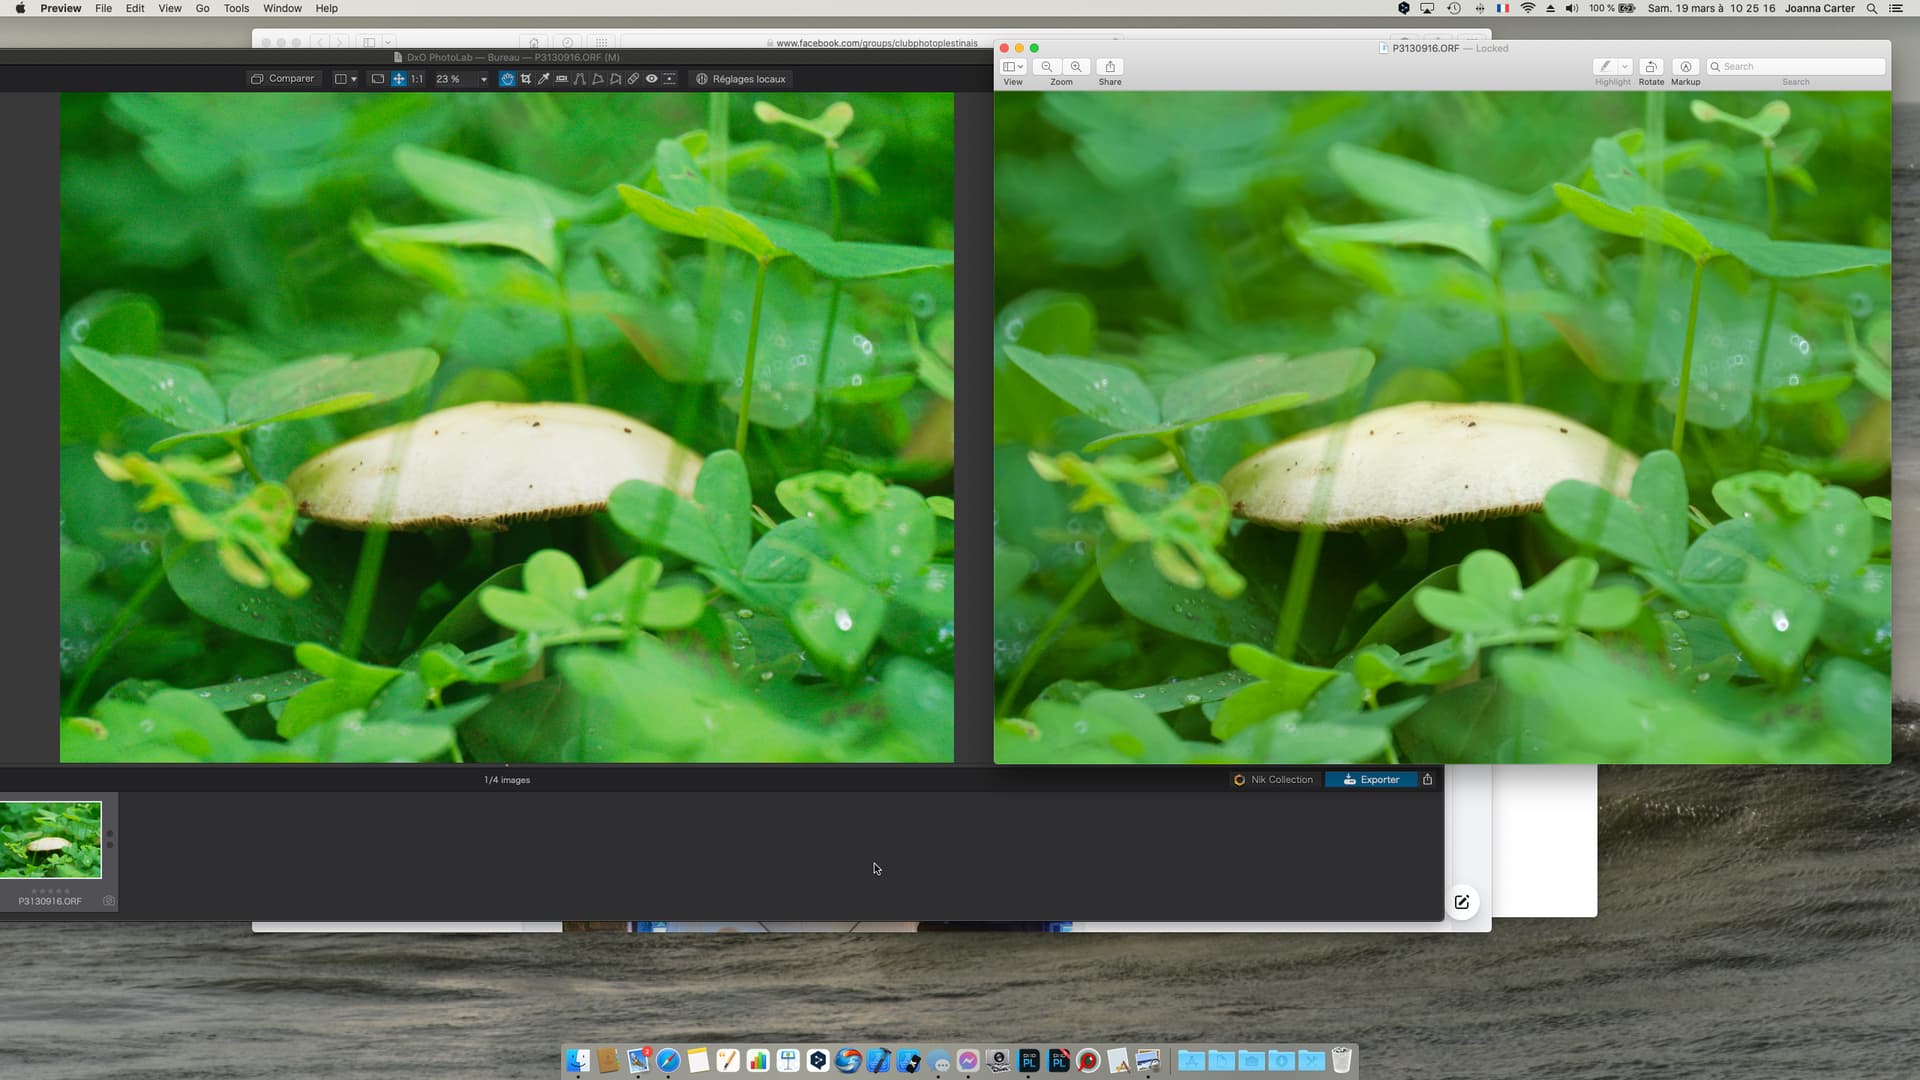
I took your file, opened it in Apple’s default Preview app on my Mac and opened it in PL5, with no corrections applied. Then, I took a screenshot of the two side by side…
There is the slightest of difference, caused by the demosaïcing process, not by corrections.
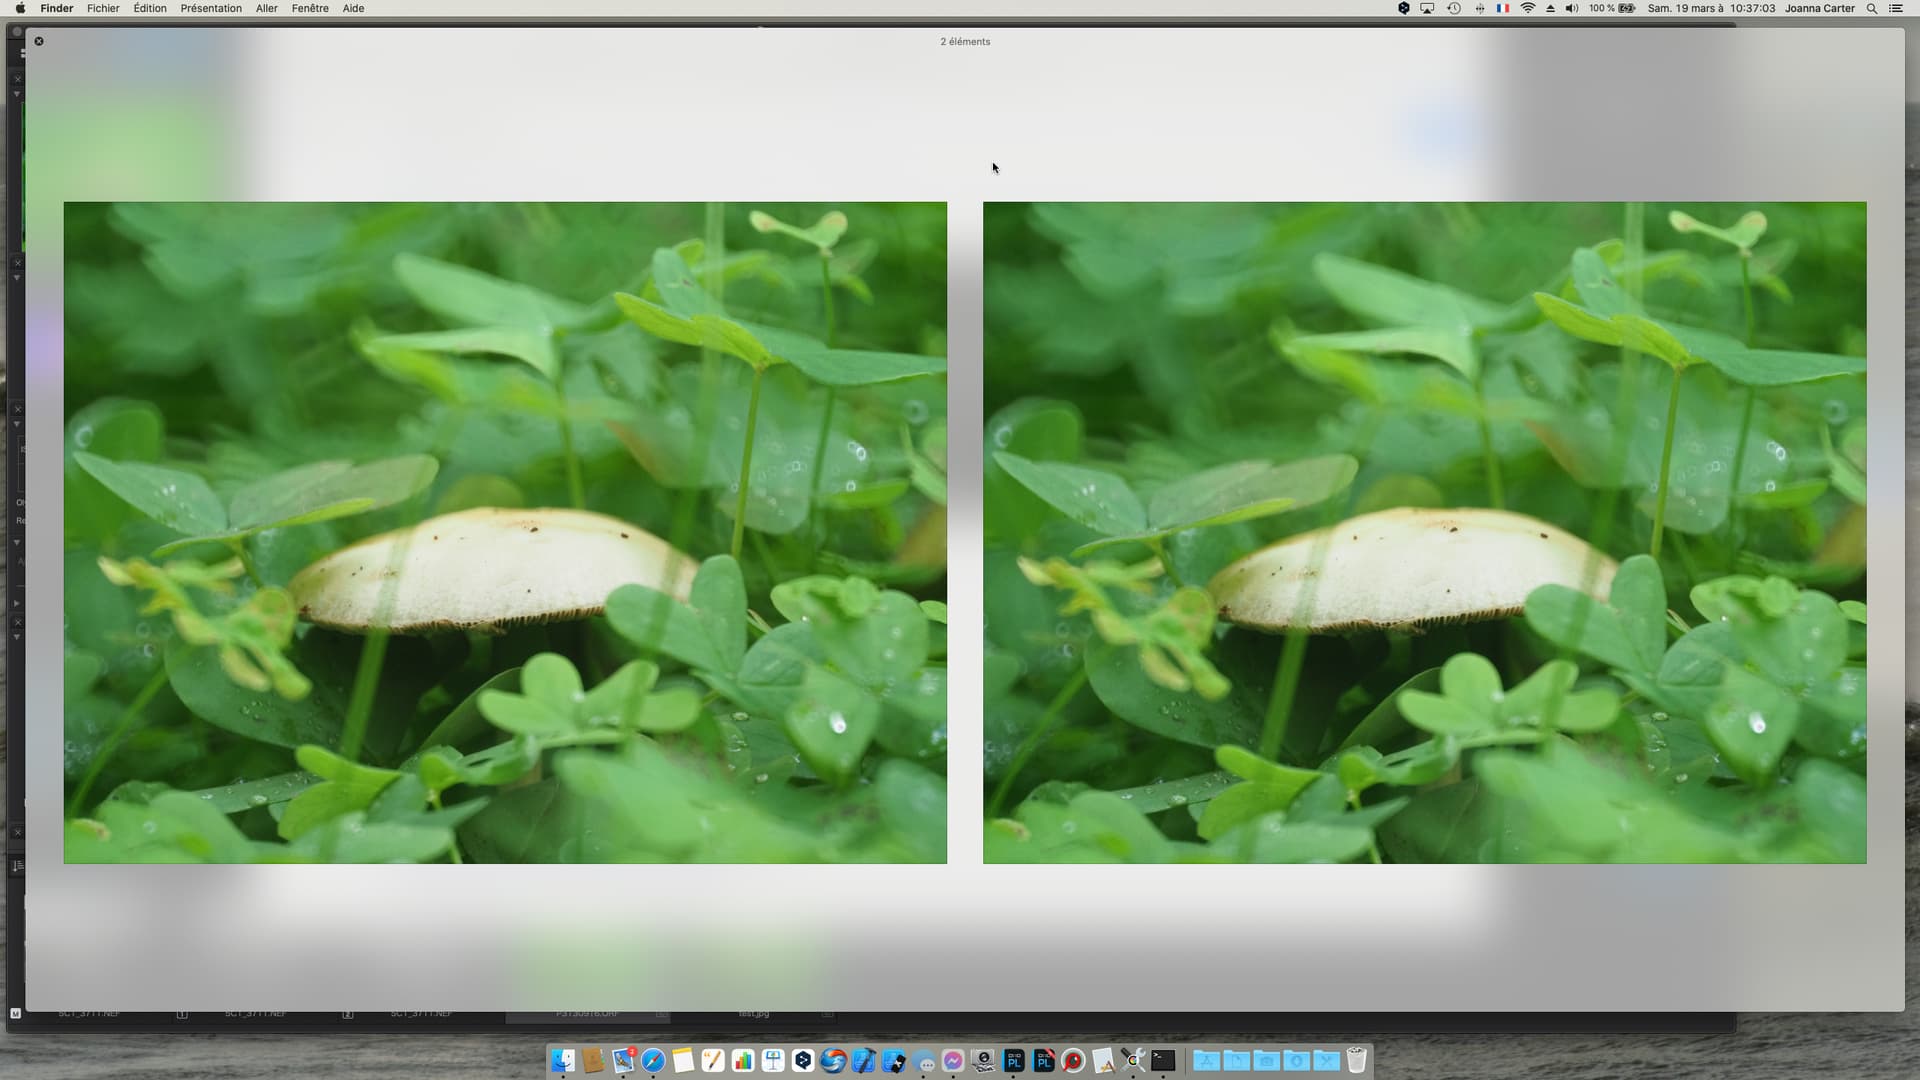
On the other hand, if I extract the JPEG preview from your RAW file and open show it in a QuickLook pane, alongside the default preview that QuickLook gives from the RAW file…
There really is no difference, because the preview shown by Finder is the inbuilt JPEG preview image.
As I and @Wolfgang have both said before, what you are seeing when PL first opens the image, is the JPEG preview image being shown whist the demosaïcing is happening. And as Wolfgang says, not all apps use the same demosaïcing algorithm, so you will see differences between what Lightroom gives and what PL gives.
But, rest assured, what you are seeing has nothing to do with any corrections being applied. You have every chance that Lightroom isn’t showing you the “correct” RAW rendering.
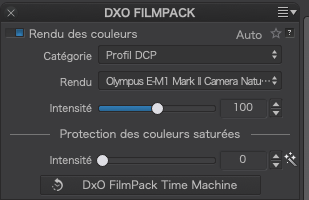
Out off interest, in PL5, I selected the Adobe DCP “natural” rendering for your camera…
So, what PL5 is showing appears to be the same as that as its default.
A RAW image is what it says on the tin - a collection of raw data, which can be interpreted to suit the photographer’s preference. Just as there was no standard way of printing a film negative.
Imo, there is no “correct” raw rendering, only dialects of whatever colour language was used when the photo was taken. All raw developers have their own ideas of how raw image data should be transformed into something that we can recognise as a representation of what was photographed.
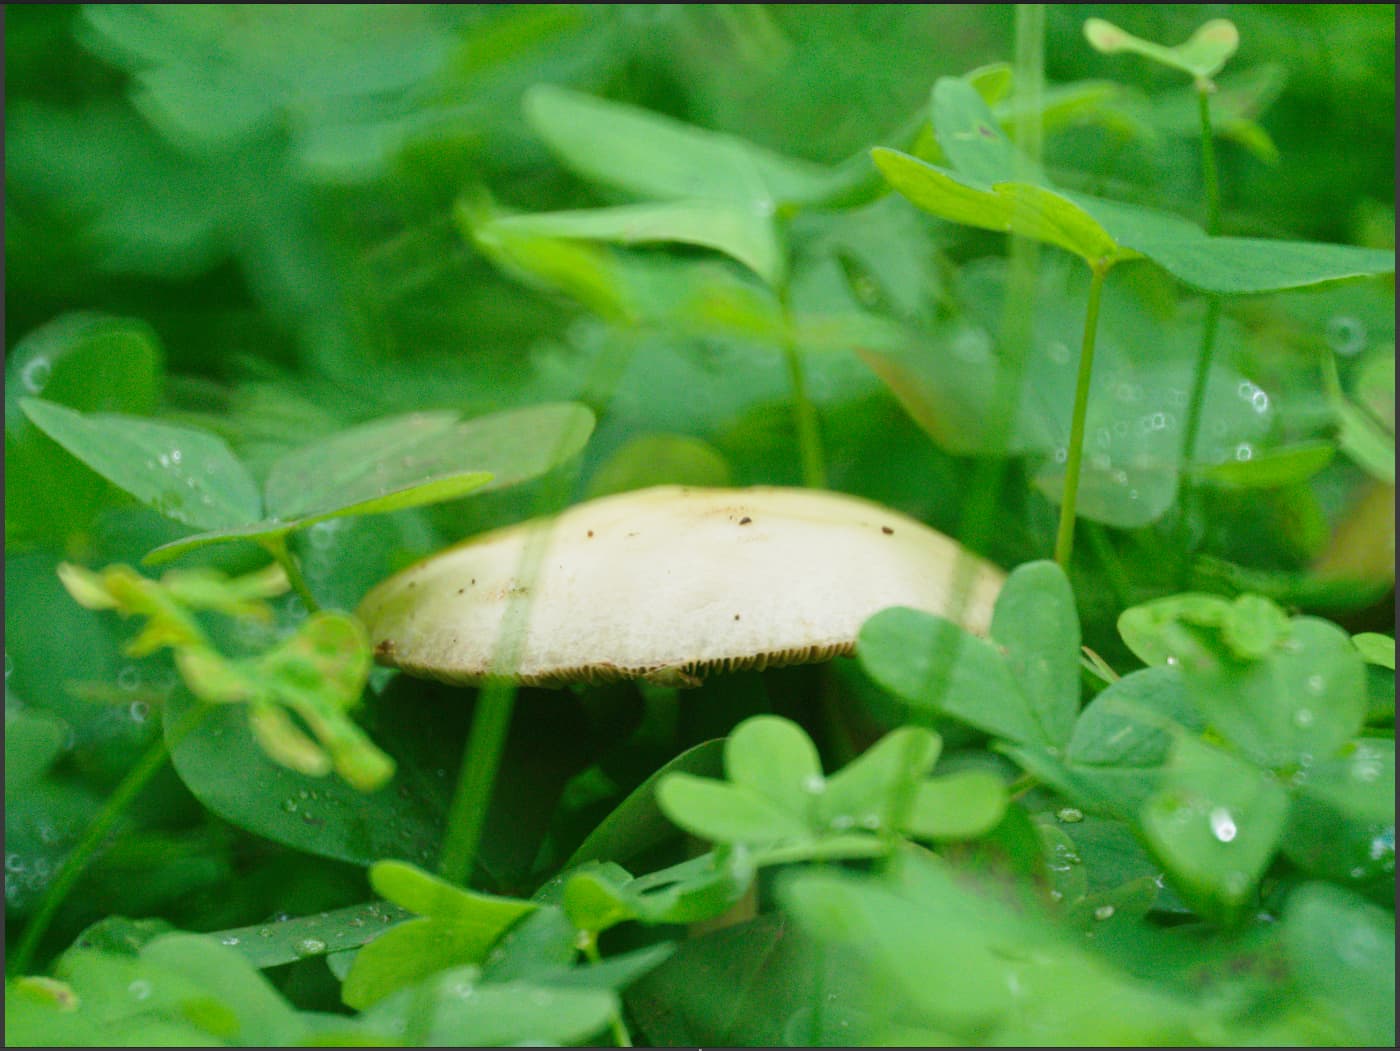
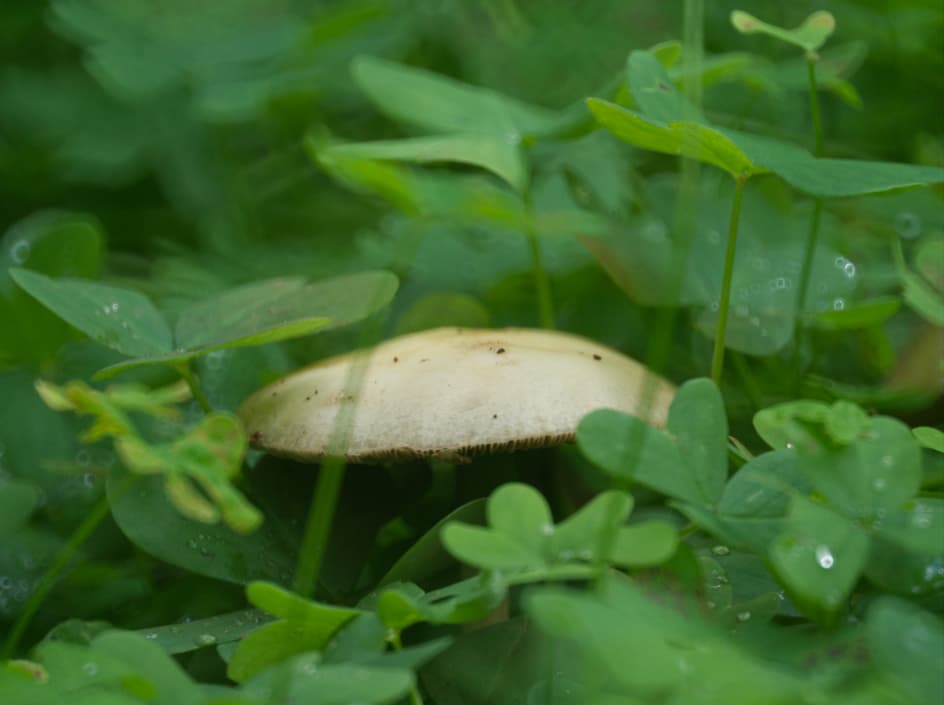
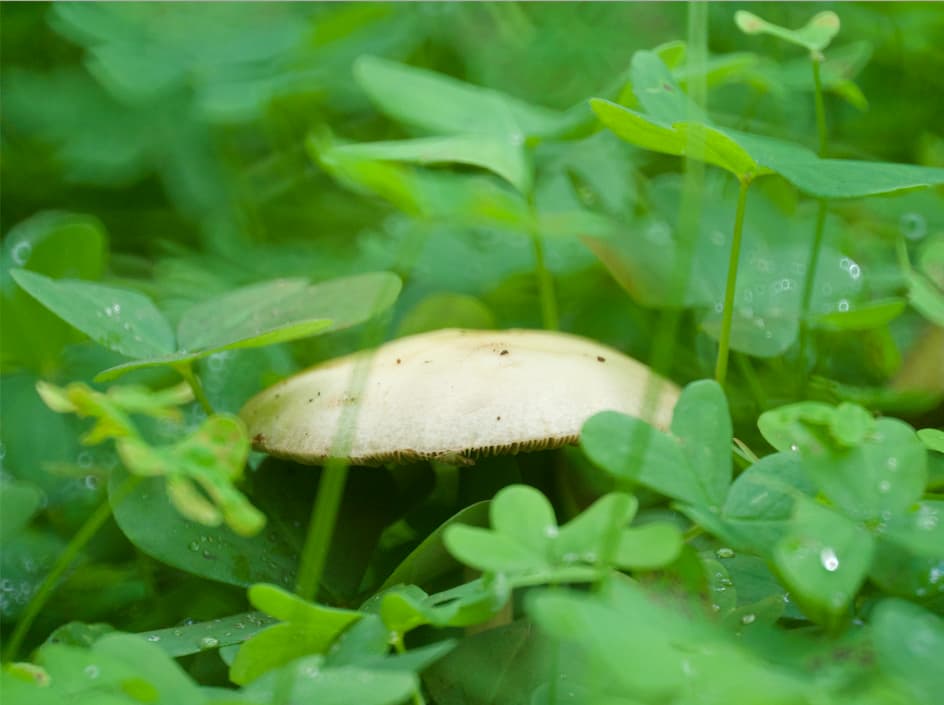
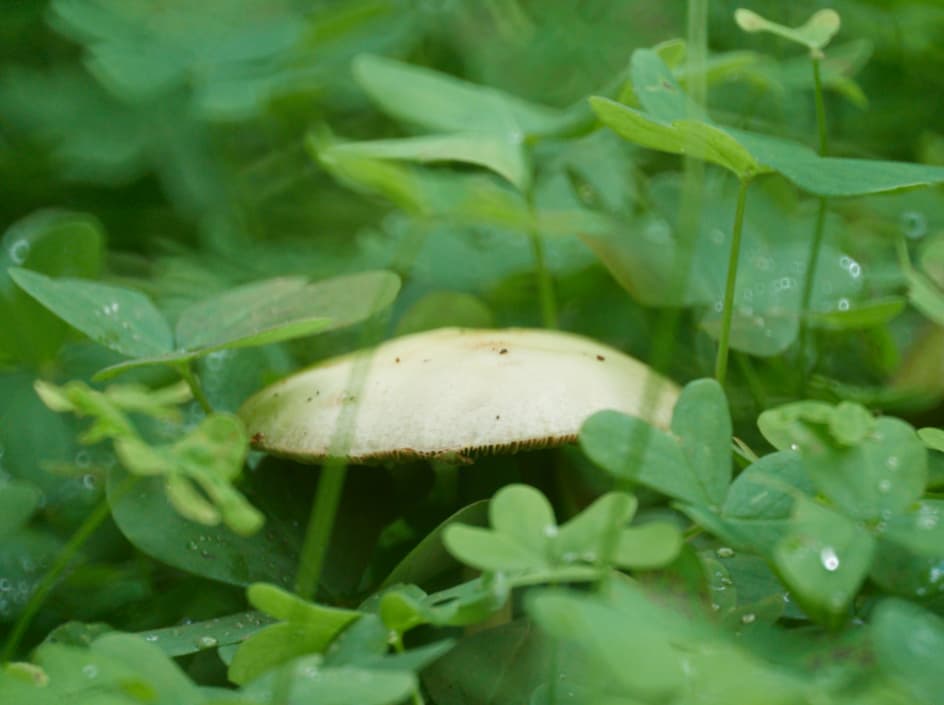
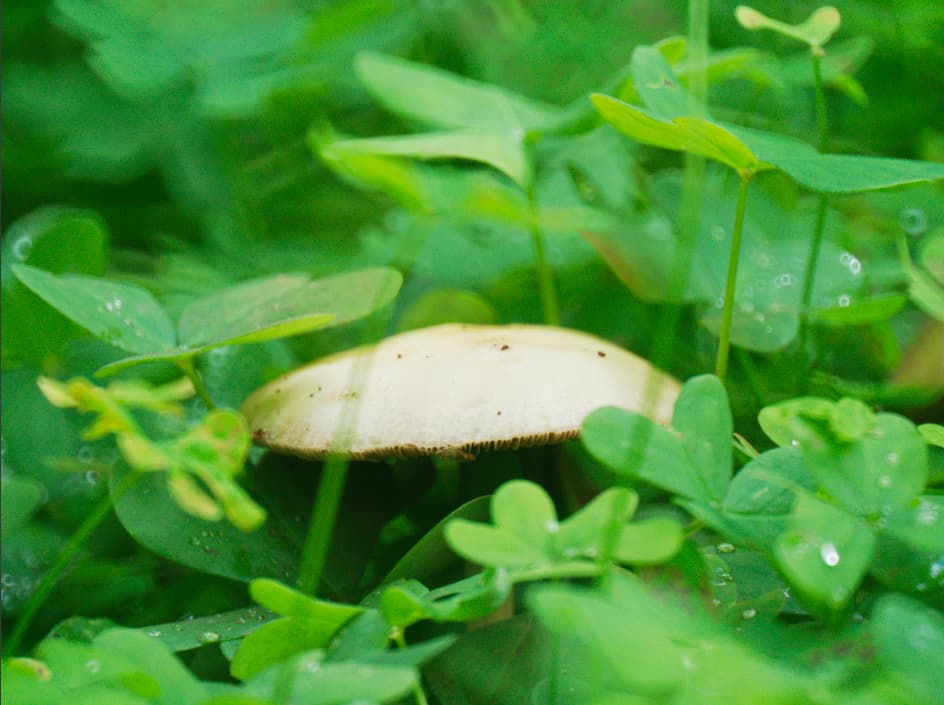
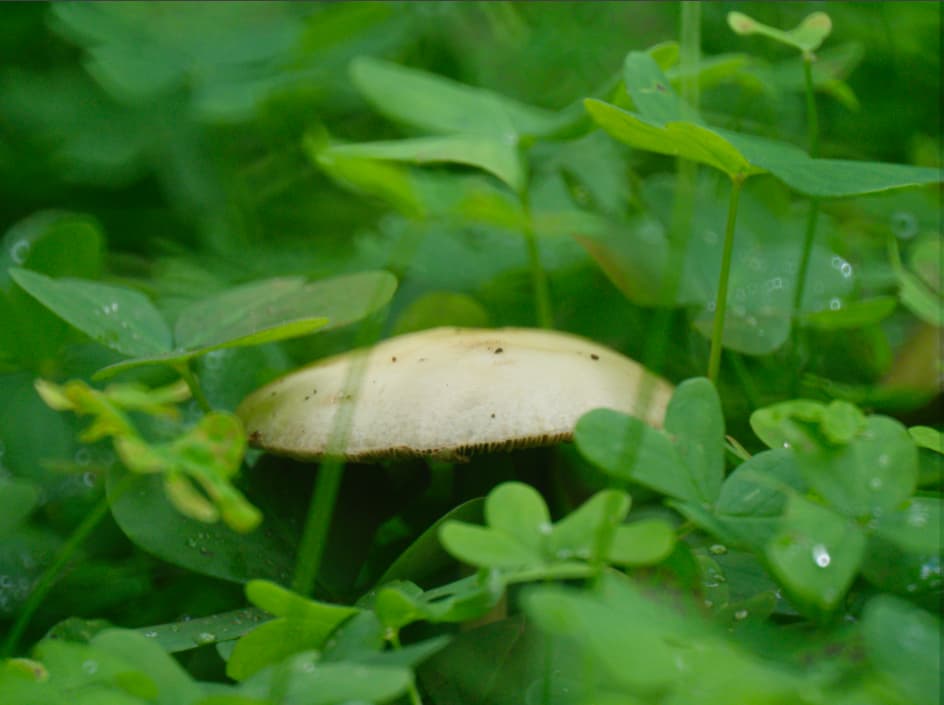
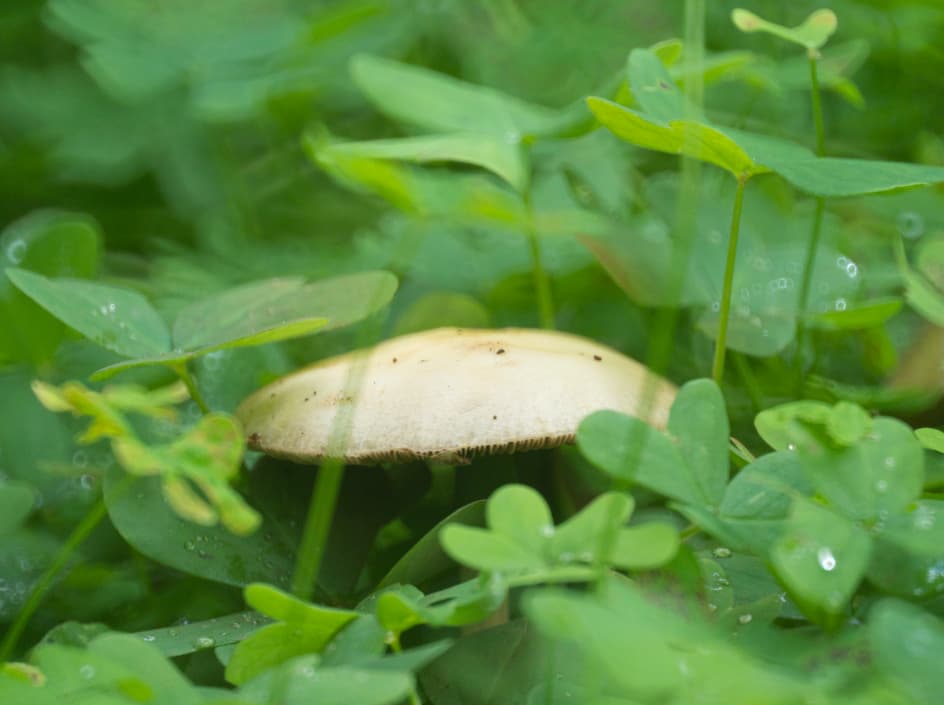
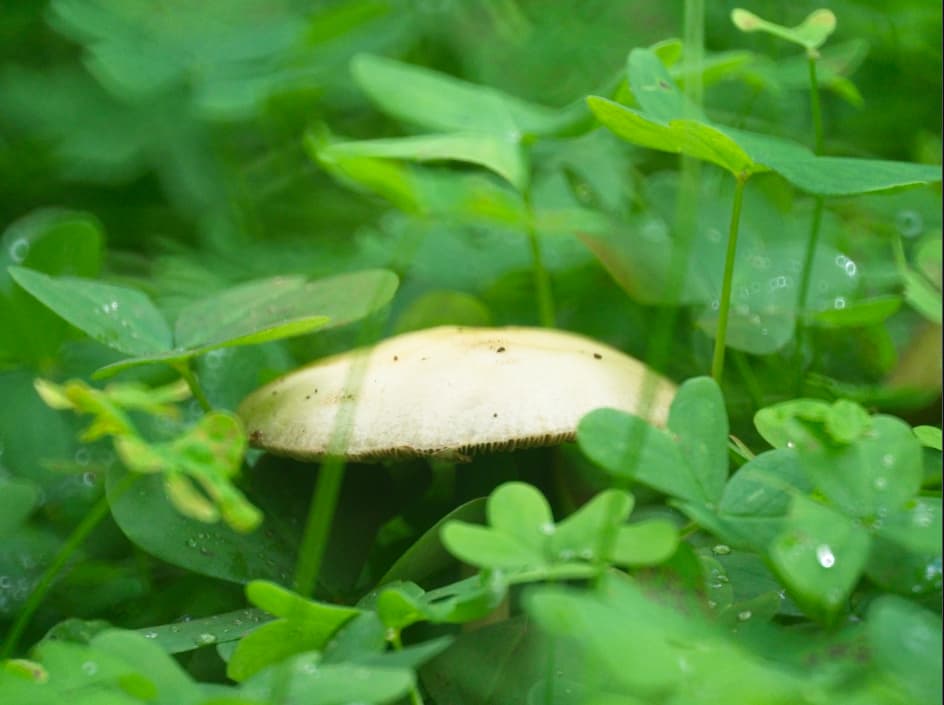
Because I’m a bit OCD, here’s a series of screenshots from each of the 9 RAW processors/viewers that I possess (app names are in the screenshot filename)
What is truth in photography? It can be told in a hundred different ways. Every thirtieth of a second when the shutter snaps, it’s capturing a different piece of information


 < /tin hat off >