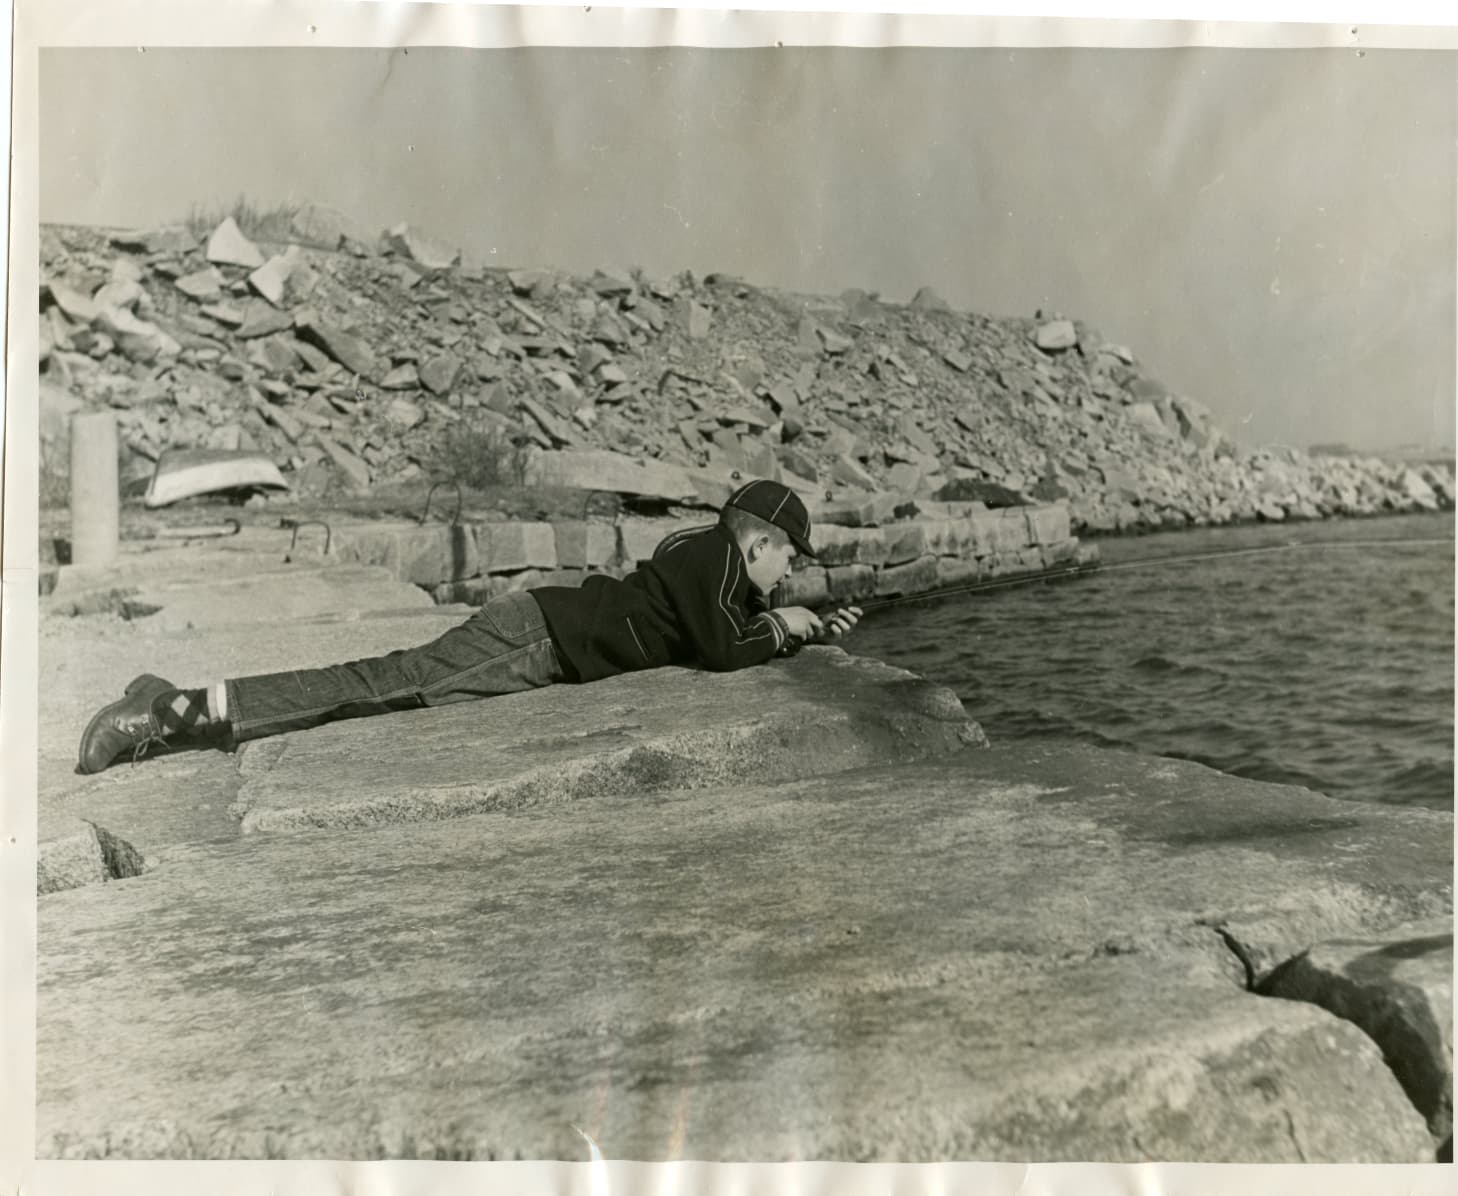
I do voluntary photo restoration for a historical society. The following photo is about 70 years old, It had been stuffed in a loose leaf binder and is very wrinkled. I placed it in a book press for several days to flatten it and succeeded in smoothing most of the wrinkles, but a few remain at the top, and less so, the bottom of the photo. I fixed the top with a graduated filter and a little blurring. The bottom is the problem. I can crop out the wrinkled part, but I’d like to save the texture and cracks in the granite blocks.
Scan the print’s reverse and make a mask out of it, that, when flipped, should be able to compensate the wrinkles…but PhotoLab can’t do that today…unless (and with a big maybe) FilmPack can (be convinced to) import the mask as texture or light leak file…
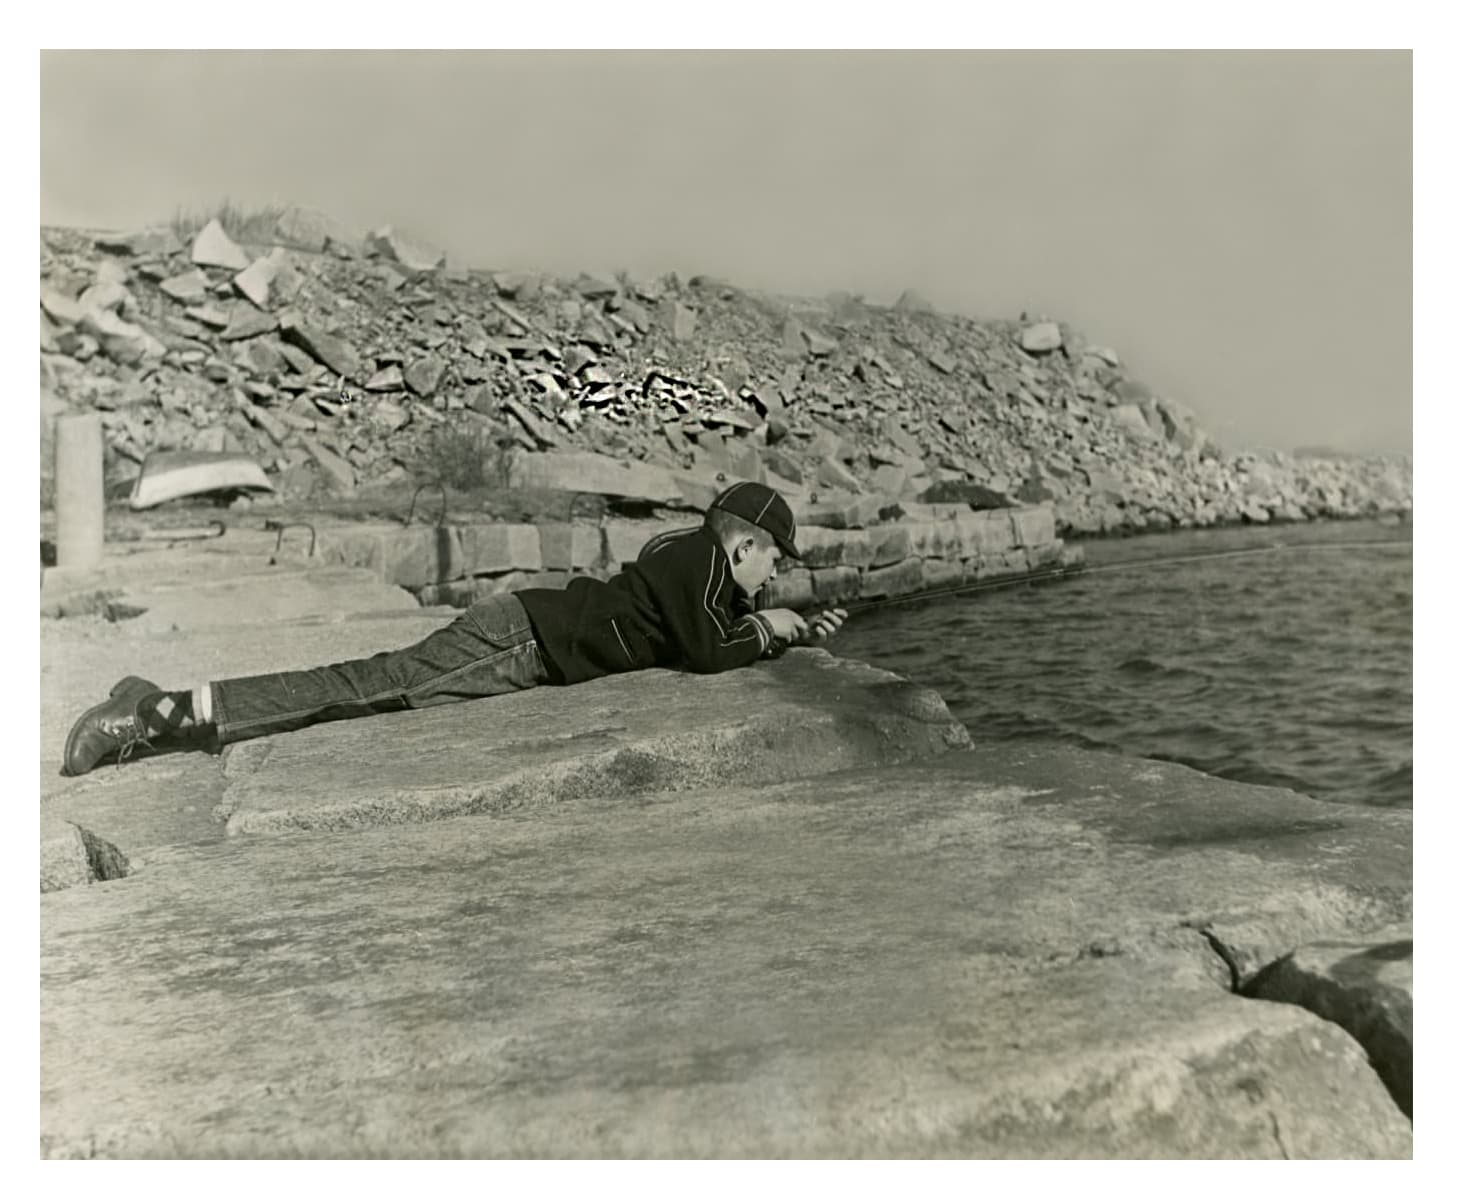
Scan the image in portrait orientation and see if it makes any difference.
Photo scan with very even lighting.
No try to get rid of the wrinkles, after all, they are a witness to the photo’s history.
Stenis
(Sten-Åke Sändh (Sony, Win 11, PL 6, CO 16, PM Plus 6, XnView))
3
Before I got retired I worked a lot with the photo antiquarians at The City Museum of Stockholm since I was the technical project leader for their then new “Digitalastadsmuseet” (The digital City museum) and the main developer as well.
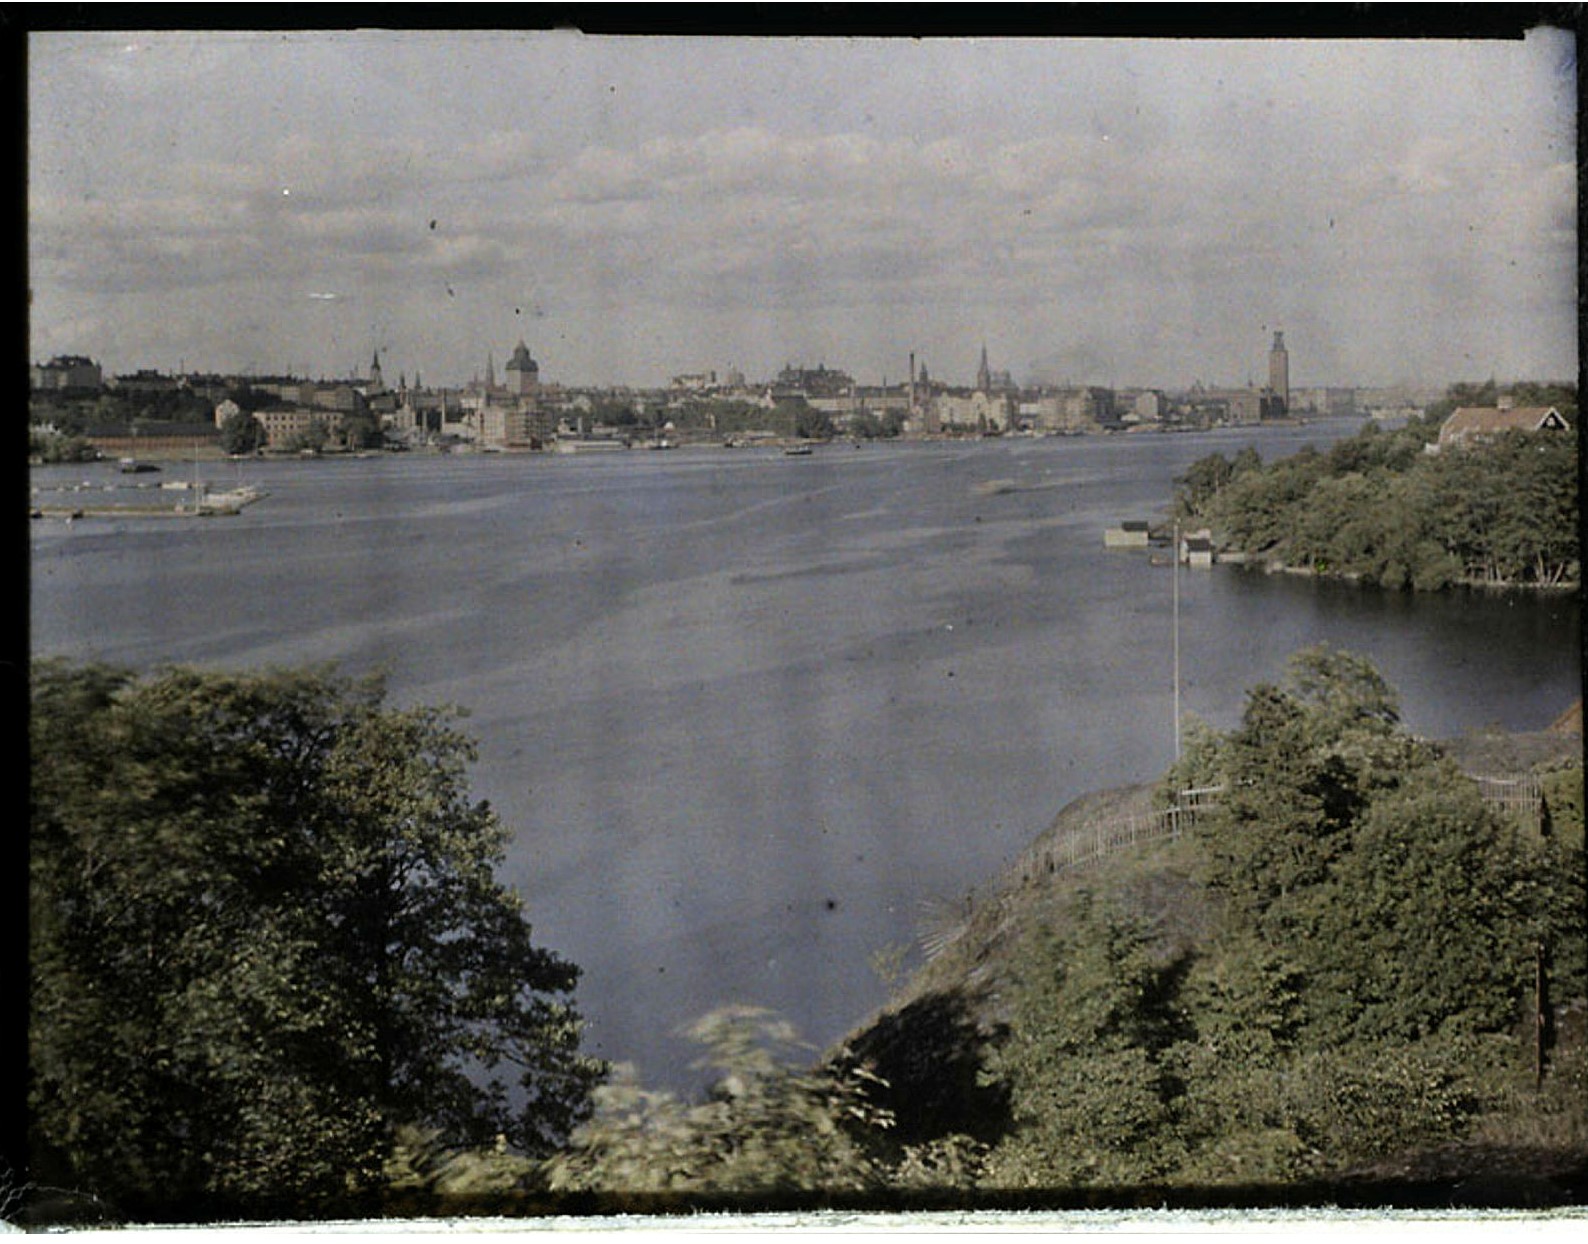
Stockholm 1930 seen från the fresh water lake Mälaren
As an example you can see what they have done when digitizing the old images of a famous Stockholm photographer called Cronquist who is famous to have taken a lot of the museums early color images made by the auto chrome method developed by the Lumiere-brothers in France. As you can see they have been left very much as is since I think that was the policy of the museum. Just 600 of these auto chrome images are saved today. So they are pretty rare.
Of course they did some “polishing” for exibitions and images used in printed books and so but most of them are not “polished” at all.
Here’s the DOP file. It’s a slightly different version from the one that I posted above. In my experience with my scanned negatives it’s better to create a TIFF file and apply NR, Sharpening and Resizing via the Topaz apps first before editing in PL5. This is what I did to produce the version posted above, so that DOP file would be useless to you. I recreated my editing in PL5 for the original file and added HQ NR and unsharp mask to approximate the effects of the Topaz apps. This is that DOP. The result looks somewhat different from the above posted edit, sorry but it was the best I could do with the original(small) posted JPEG. The subject of interest is on the virtual copy 1. Please ignore the Tiff that is included in the DOP.
You also have to consider the amount of time spent editing an image when comparing software. Using a pixel editor, namely Photoshop, took less than two minutes to make the corrections.