I just received an email advert from a DxO competitor that states:
Get HDR Looks From a Single Photo!
You don’t have to shoot a bracket of exposures to create an HDR look. With ON1 HDR you can open a single, well exposed raw photo and use the HDR toolset to reveal all of the shadow and highlight detail. End excerpt.
Note that there is a plugin to do the above that works with: Each app provides compatibility with Adobe® Lightroom® Classic, Photoshop®, Affinity Photo, Apple Photos, and Corel PaintShop Pro, with Capture One support coming soon. Note that PL is not on the list because PL does not accept, other than Nik, plugins designed for the Adobe products, etc. Is there a preset, configuration, or plugin that will have the same functionality? Clearly, if the raw pixel is “black” or “blown”, any HDR is using artistic license to add light to “black” or to add data to “blown”, although the result may well be aesthetically and/or client pleasing.
PL is well able to extract the full dynamic range from a RAW file. As long as the image was properly exposed, there are 12-14 stops of detail but, with any software, you need to know how to manipulate the image to recover everything.
By proper exposure, I mean that you use ETTR (expose to the right) to place the exposure within 1⅓ to 2 stops of the brightest part of the scene.
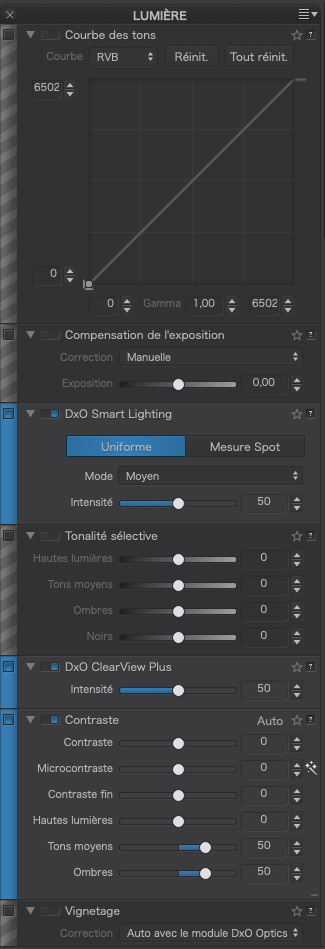
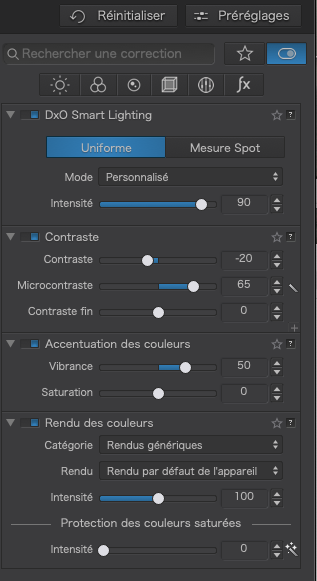
With PL you should start by optimising the histogram by using the Smart Lighting tool.
Thank you. I have been using that, and the four sliders (black, highlights, etc.). To save time, I was hoping to find a more “automated” tool from which to start. A separate question: I have custom presets. Is it possible to establish presets (say HDR1 to HDR-N for some N) that emulate the sorts of things one sees advertised by that other workflow? These would be done via custom sliders, and then previewing what each preset would do before continuing. I assume for the foreseeable future, DxO PL will not allow the use of plugins from other sources (e.g., plugins designed to work with Adobe products), so that the advertised plugin would be of no use to me. Note that I may need to crop as well – which would not part of the preset.
… can sometimes do a far better job than the selective tone tools
As to presets, why not? Just edit a picture with the changes you want and create a preset from there. Just make sure it is a partial preset that doesn’t wipe out all other changes made so far.
I can add that PhotoLab includes a few presets that can give you what some people call the “HDR look” - a compressed dynamic range (lifted shadows, pulled-back highlights) and very high contrast and saturation for that crunchy “painterly” style. Of course, one can adjust to taste.
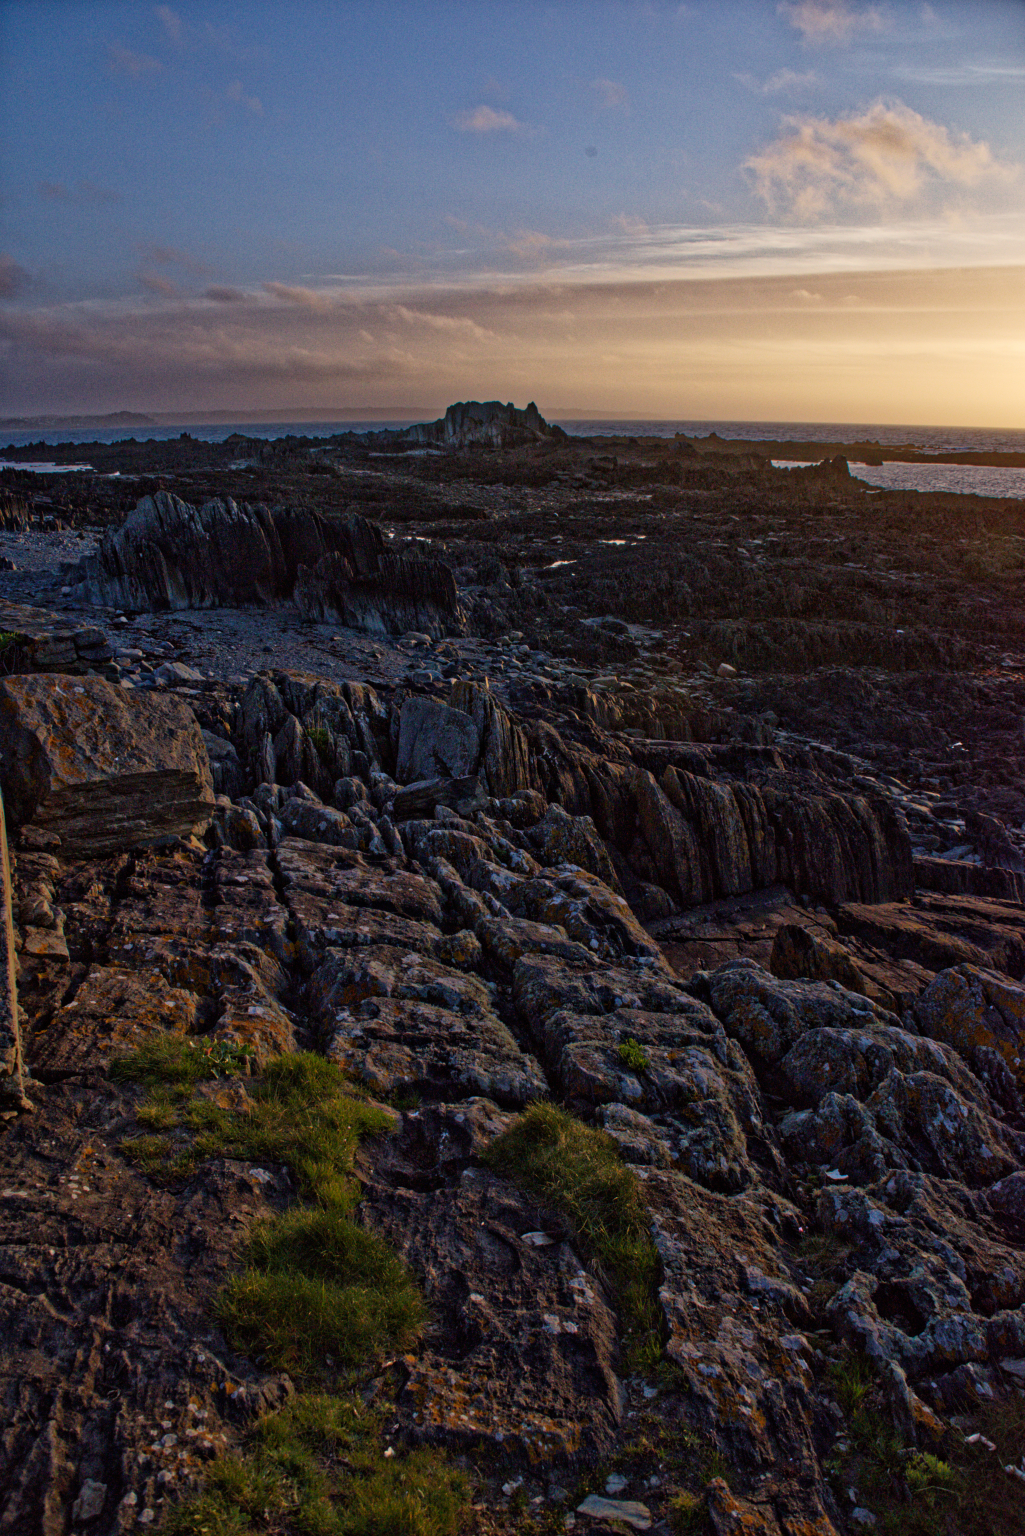
In addition to @Joanna’s example, I also use Local Adjustments extensively to lift shadow details or to bring out sky and other details without changing the overall global exposure. In addition, I generally use the global shadows control sparingly because higher values impact too much of the mid-tones. I did not modify global shadows at all for this image. I then export using DeepPRIME which results in a huge amount of clean shadow detail that may have been barely visible in the original image.
I see no significant advantage to using a different application to create the sense of a greater dynamic range, or any need to use bracketed shots in a full featured HDR program.
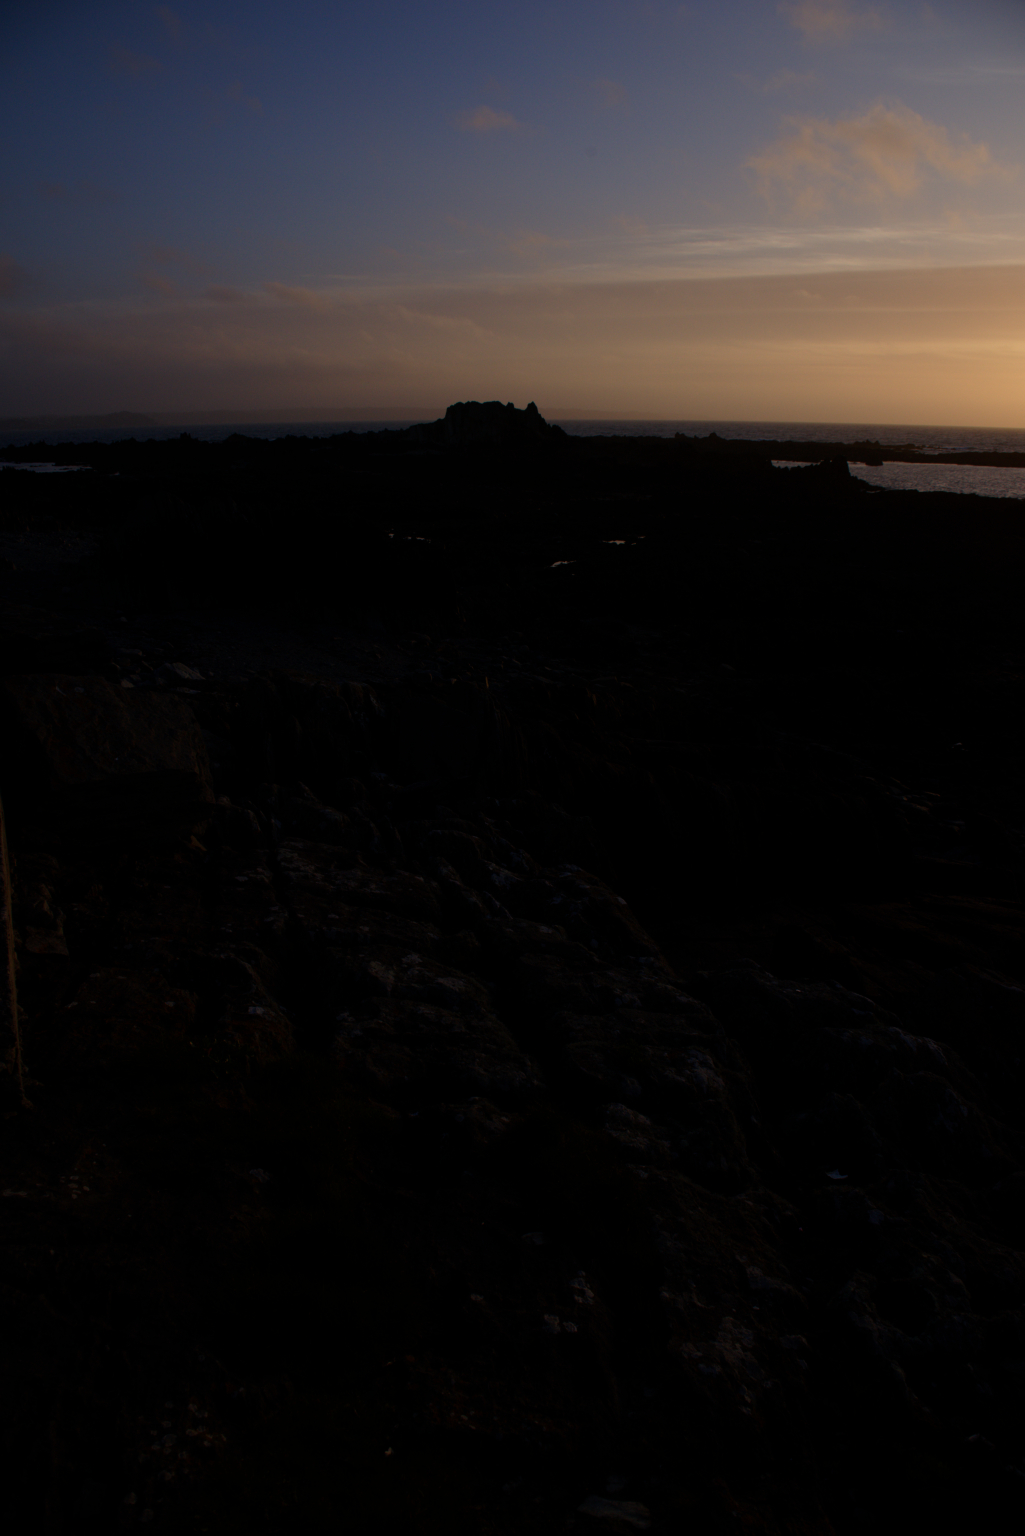
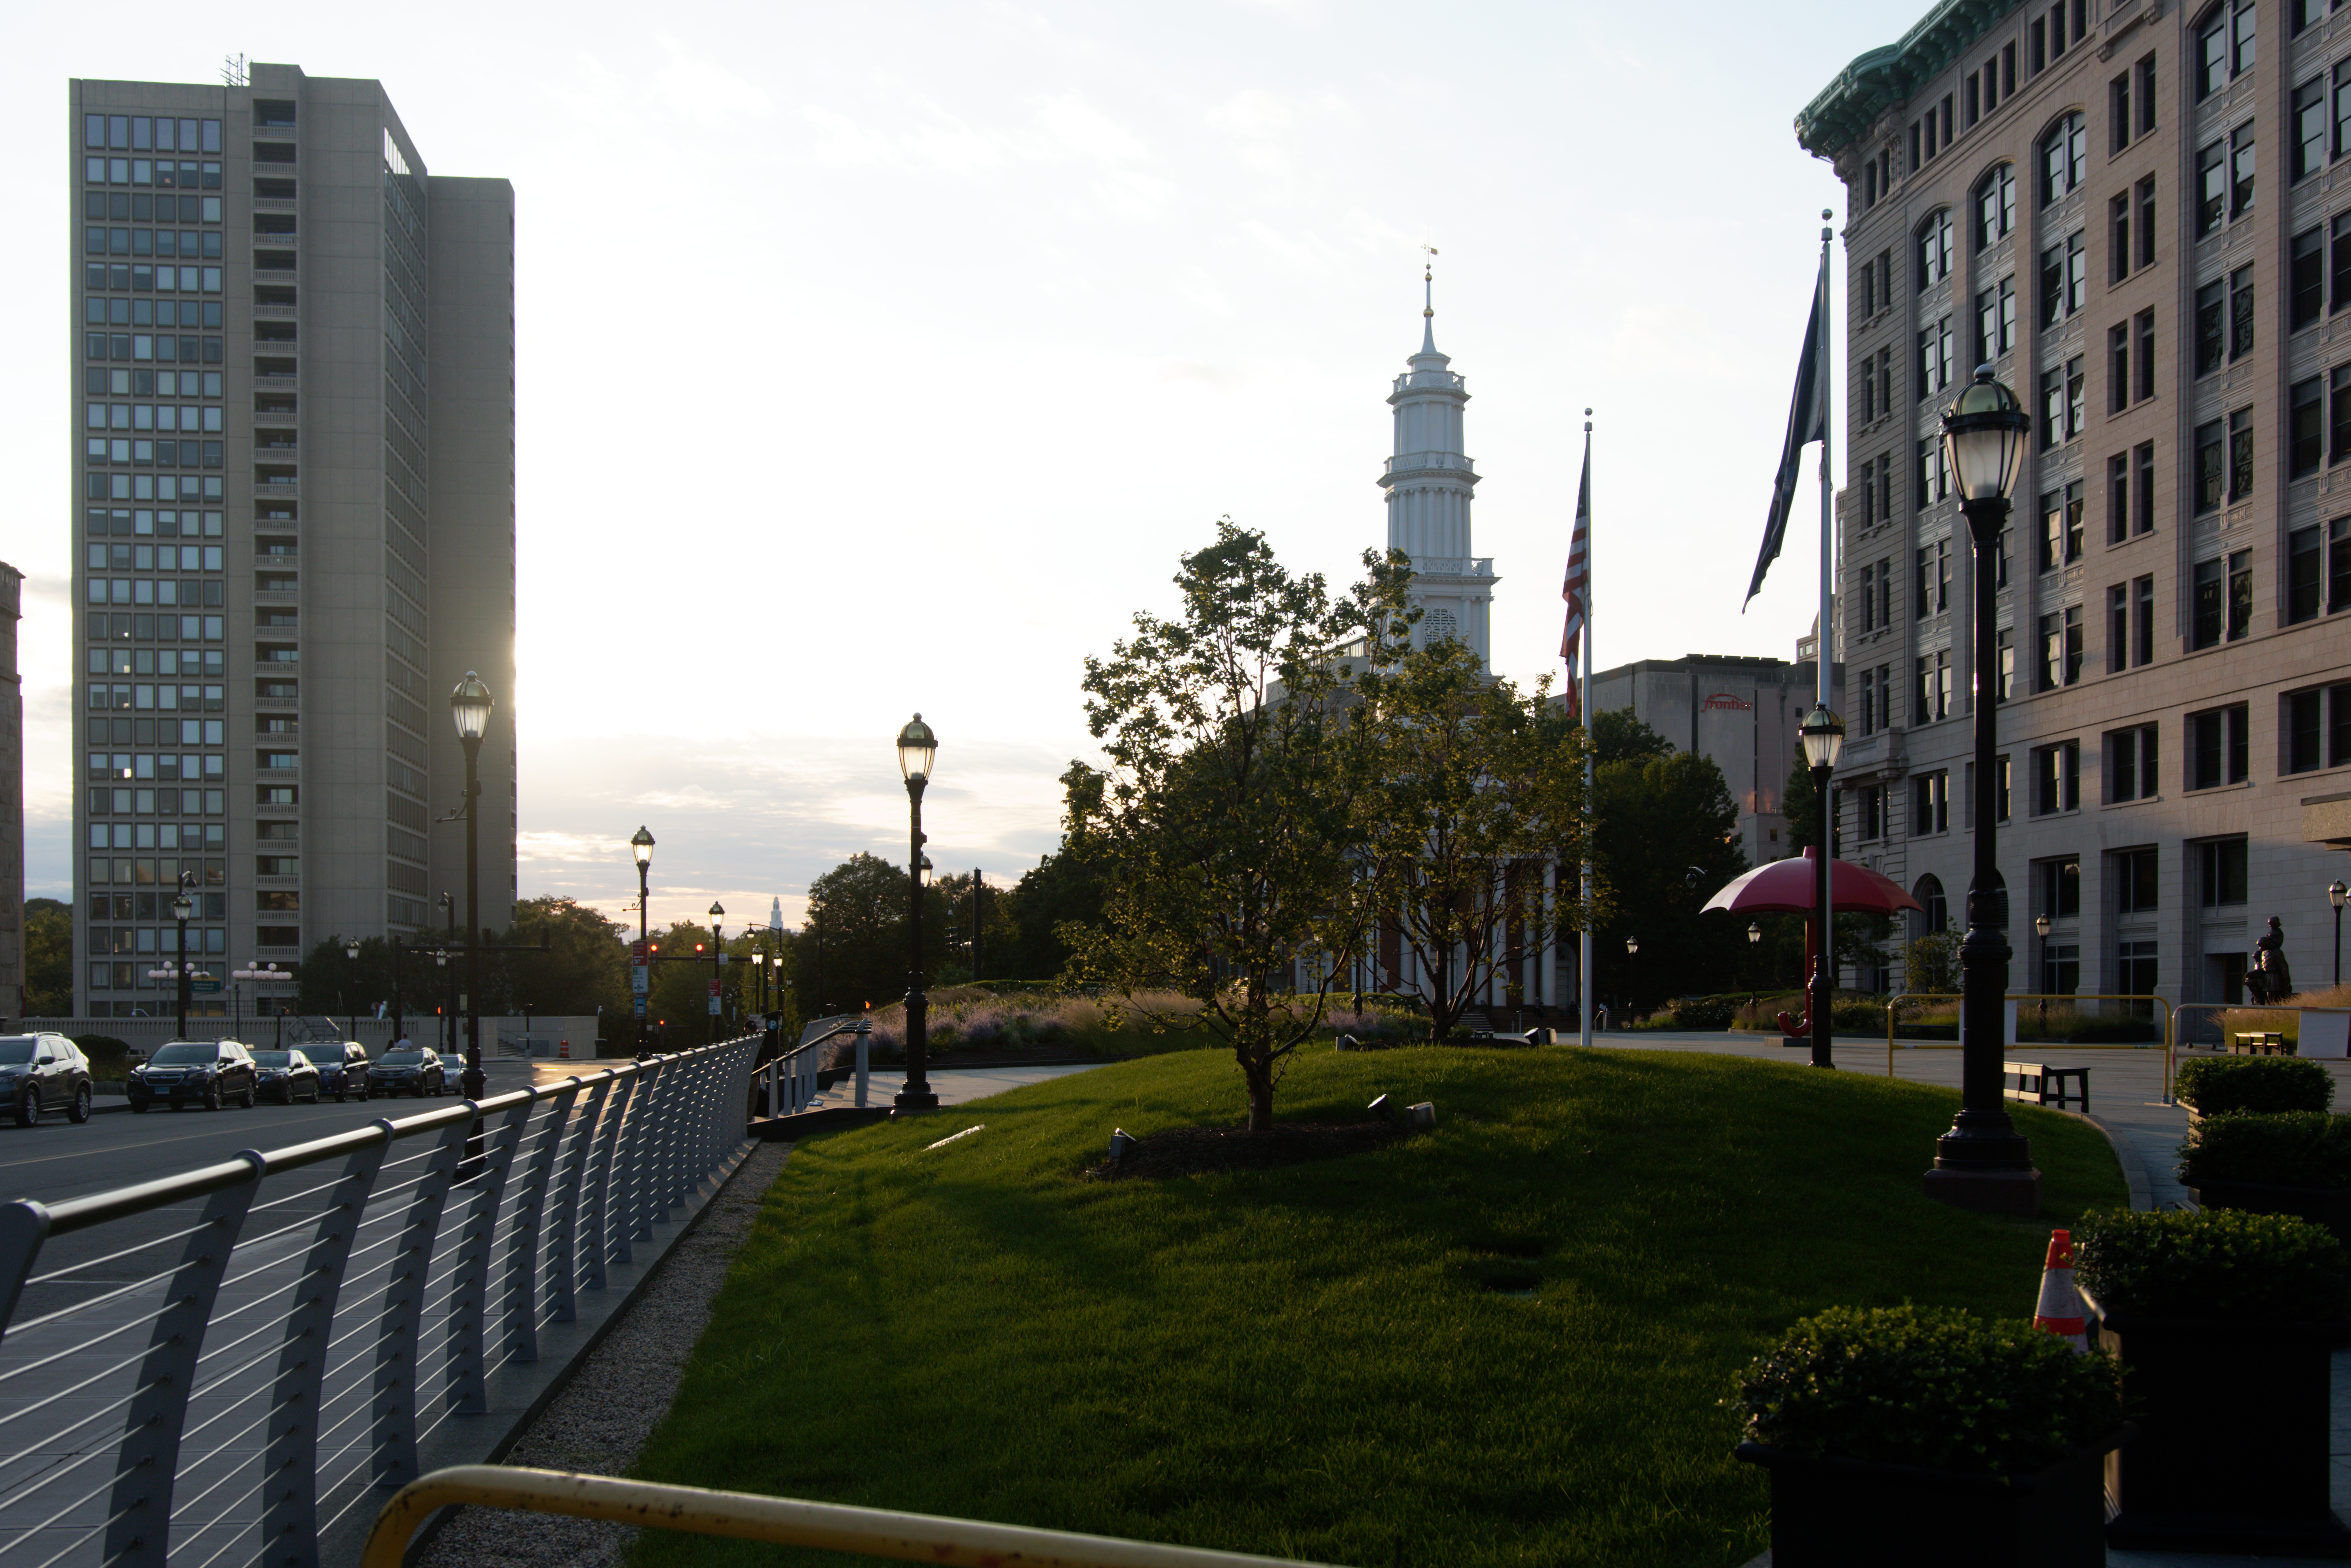
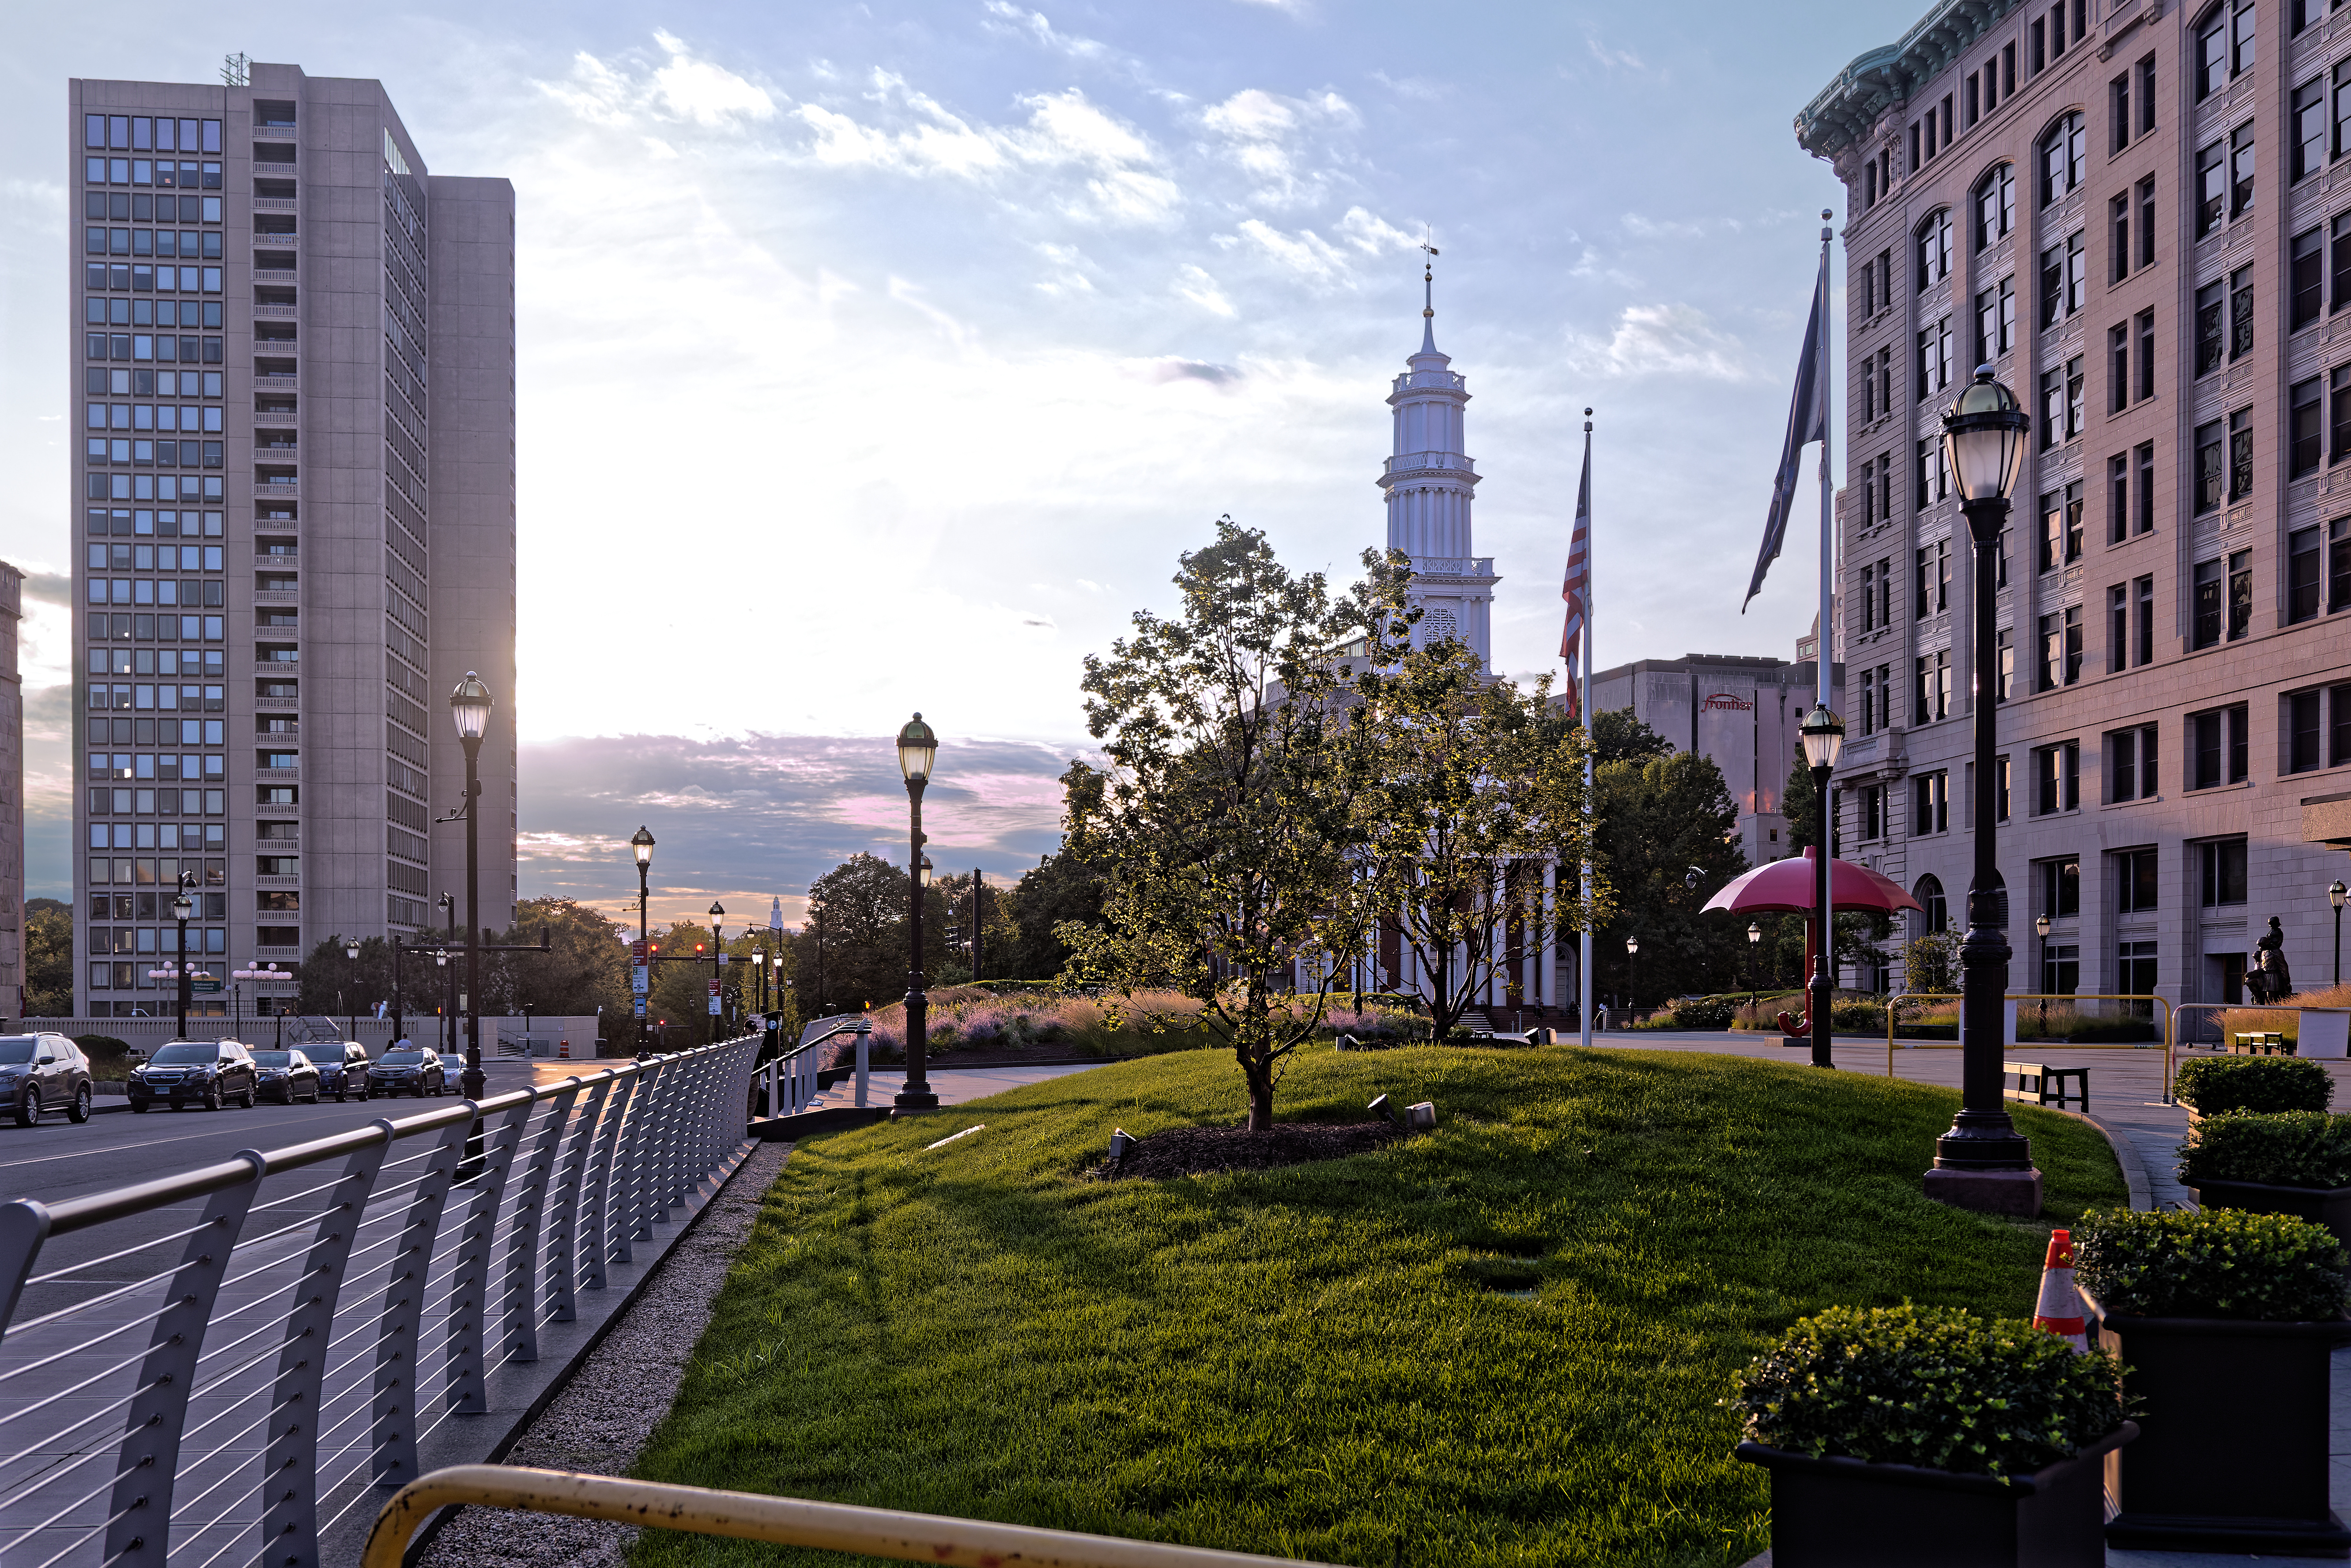
Here is an image taken in Hartford, Connecticut, USA shortly before sunset
My image just above also uses shadow contrast. Some people seem to believe that FilmPack 5 Elite is primarily about film emulations. It is much more than that.
I have not experimented with the current HDR Efex Pro within PL4 Elite current. Does this plugin work as (most of) the plugins for the Adobe product, not requiring the manual creation (export) of an intermediate file (e.g., a TIFF) for the plugin to use, but rather “automatically” using the internal representation of the working image file in PL4 or creating a temporary file without any intervention from the user and then removing such files when the Adobe application is closed? I much prefer the latter, only exporting to a full pixel-level information file (in most ways, equivalent to a raw file such as a NEF) when I choose to do so for other purposes.
From the PL4 manual (PDF that I have downloaded as a more useful reference than attempting to find on the web), High Dynamic Range (single-shot HDR)
This category contains four presets that simulate HDR effects - that is, images with an extended dynamic range but with a tonal range that
is redistributed to be used without having to use special software or 32-bit files. These single-shot image presets do not require combining
multiple images shot at different exposures, and can be used on both RAW and JPEG files:
HDR - Realistic: Provides a less-pronounced HDR effect. Restores highlights, lightens shadows, and has a reasonable effect on
the tone curve and vibrancy.
HDR - Artistic: Provides a marked HDR effect. Restores highlights, strongly brightens shadows, and emphasizes the tone curve
and vibrancy.
HDR - Backlight correction: strongly lightens shadows under backlighting conditions, while still preserving a natural look.
Are any of these similar enough to what you used? If so, can I use one of these with my additional “favourite” settings, that is, as a “partial preset” upon which to build a new local-to-my-PL preset? I have played a bit with these as I do not need HDR very often – but I had an otherwise “keeper” image that would have benefitted from such and thus I experimented. I became more interested when a DxO-competitor email advert had a display of what appeared to be AI technology for this purpose (AI as with PL “deep Prime”) that would decrease my workflow time interval and effort to the endpoint of a preliminary image to submit to a client.
While I can’t speak for @Joanna, I don’t use any of those HDR presets. They are primarily just adjustments lto Smart Lighting, a couple of contrast sliders and vibrance and don’t work equally well for every image. They don’t apply any Local Adjustments, of course, and Local Adjustments are a critical component for any of my attempts at HDR. Since I know what I want to achieve, I just apply global and local adjustments as needed for the specific image I’m working on. In general I tend to use global presets infrequently because I usually find I have to undo some of the preset’s settings anyway. As a result, I often find it quick and easier to just adjust things on my own from scratch to reach my goals.
Certainly I don’t normally use those presets, although they can be interesting. As you say, they are mainly Smart Lighting and a couple of other small tweaks, and are not necessarily what I would want as an end result.
In my opinion, this is nowhere near where I would want to end up with an image, but it does demonstrate the kind of corrections that contribute to a certain overall look and feel.
I think it is important to say that, unless you have created your own custom presets, they should only ever be regarded a starting point, which you are free to tweak to your hearts content.
If you want to know what a certain preset actually does, all you need to do is apply it to a “virgin” image and then select the “Active corrections” switch at the top of the right palettes (in PL4 at least). Then you will only see what that preset has done in terms of corrections.
A “full preset” is only a collection of corrections, applied at one time. You are free to alter any of those corrections or add more as you wish.
You can also create “partial presets”, which only affects certain corrections and you can apply those in much the same way as doing a list of corrections after the fact without changing everything from scratch.
Of course, if your partial preset touches a correction that you have already done, then that particular correction will be overwritten.
You are correct. However, the TIFF file that was created was not available after the HDR Nik module failed to operate. I then attempted to get to another Nik module that ultimately did launch, but required me to create another copy of the TIFF file from the NEF, and was not able to use (perhaps to locate) the TIFF file that already had been created. In the PL4 version I have, the TIFF file actually is listed as an export in the same list as the JPEG files that I export for a client, but there seems to be no mechanism to transmit this listed TIFF to the second Nik module after the first one (HDR) failed to launch. Is my statement of the order of events clear or have I been unclear?
Have you found why the Nik module failed to operate ? If you experience bugs, the forum is not the best place to discuss them. There is a customer support ticket system.
I did not have problems using the Nik-Photolab interface.
If you have already created a Nik_TIFF file that you wish to send to a second Nik module without creating a second TIFF copy then you must choose the Nik_TIFF that was created and then click the Nik Collection button then on Export Settings and choose “Export without processing” before clicking on the new Nik module that you wish to send it to.