I found every time new ways and combinations to correct exposure and tone curve.
I am sure most of you know them all but i start to be amazed how lots of people talk about "i can’t life without the Layers of LR/adobe cc… wile DxO exposure control palette is so much more then the first glans. So, i though lets line up the possibility’s:
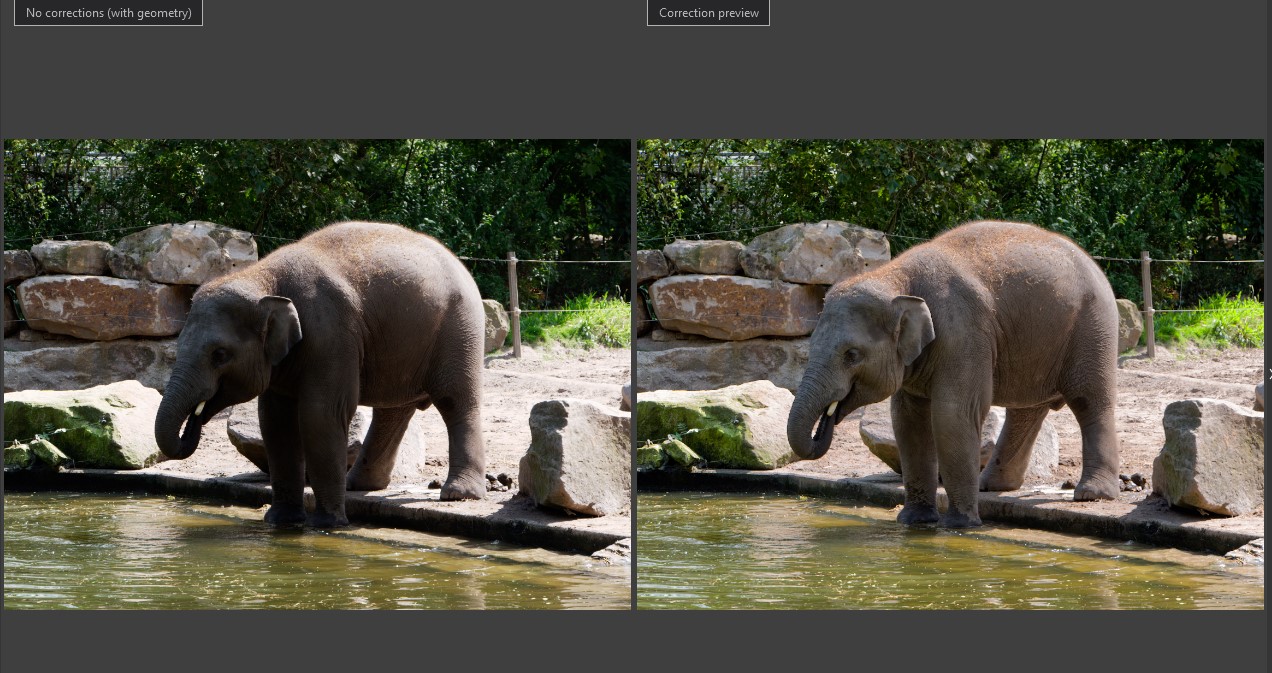
1- Combination of Smartlighting with the boxes and exposure compensation.
(Use the boxes to protect highlight for further lift , mark the important object with a box and raise shadow by exposure compensation.
2- Tone curve tool: master the tonecurve adjustment explained a bit by @platypus.
3- Local adjustment controlpoints masks gradient filter (all kinds of things: color, vibrancy, exposure enz.
4 Simple quick two controlpoint system:
one on a shadow, push mask see if all darker area’s are selected click some extra points if needed.
second new group on the highlights same system click a (one) point, adjust exposure and start clicking on bright spots to lower exposure with copies (group)…
Now you got two masks a highlight mask and a shadow mask. select and slide exposure sliders of both to fine tune and done. 1 minute work. (fine tune with negative’s if needed)
5- and ofcaorse selective tone tool with advanged settings of contrast tool.
To use the premade global maskes of DXO for shadow and highlight.
And you can use all in almost all combinations.
some examples.
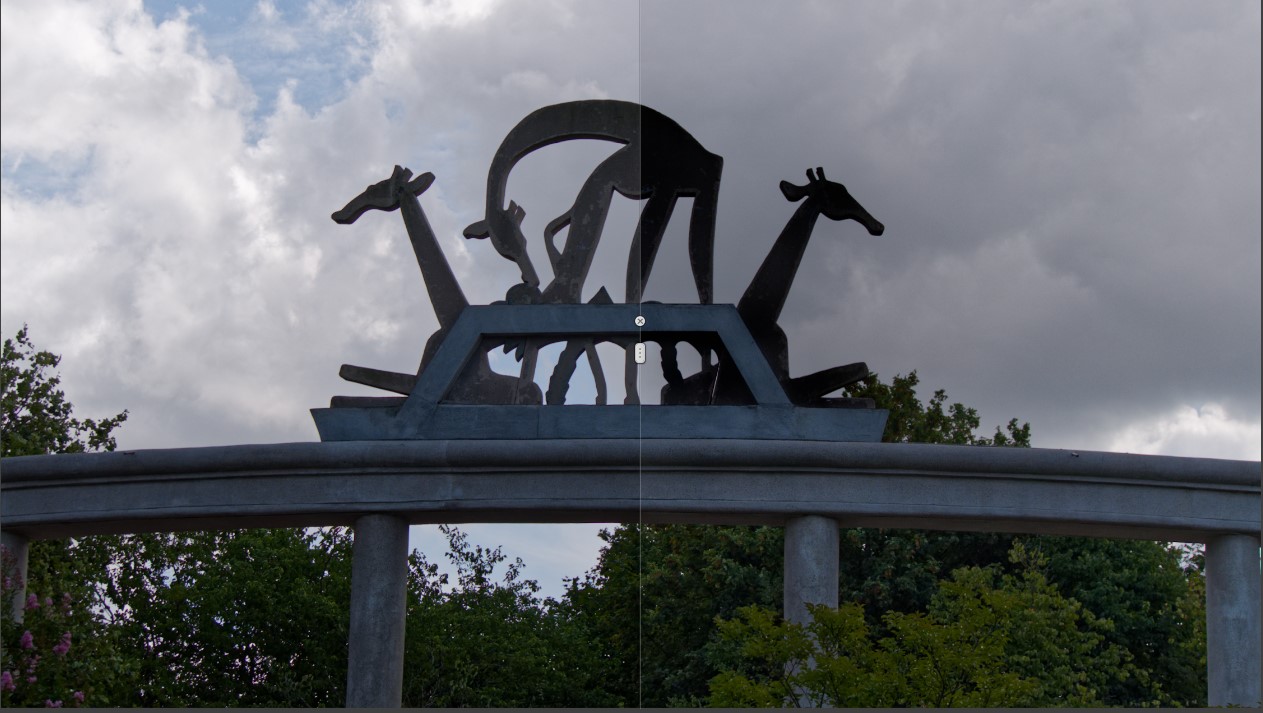
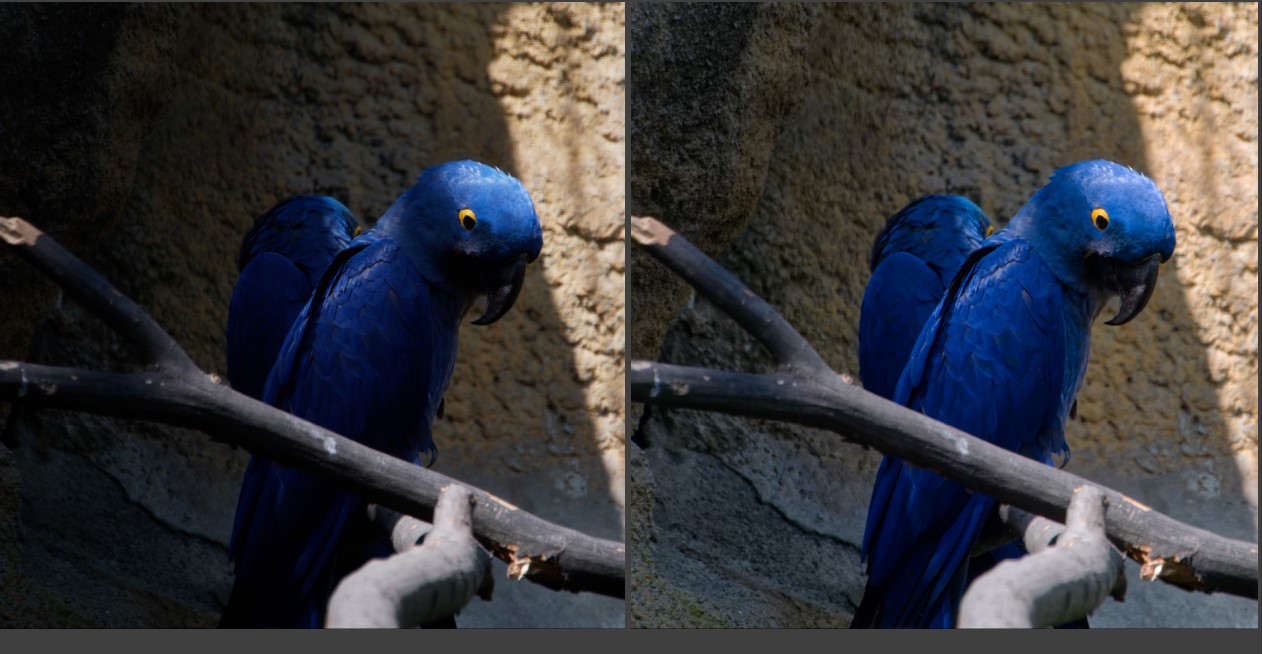
I wanted the concrete girafes like a shadow wile the rest was “normal”
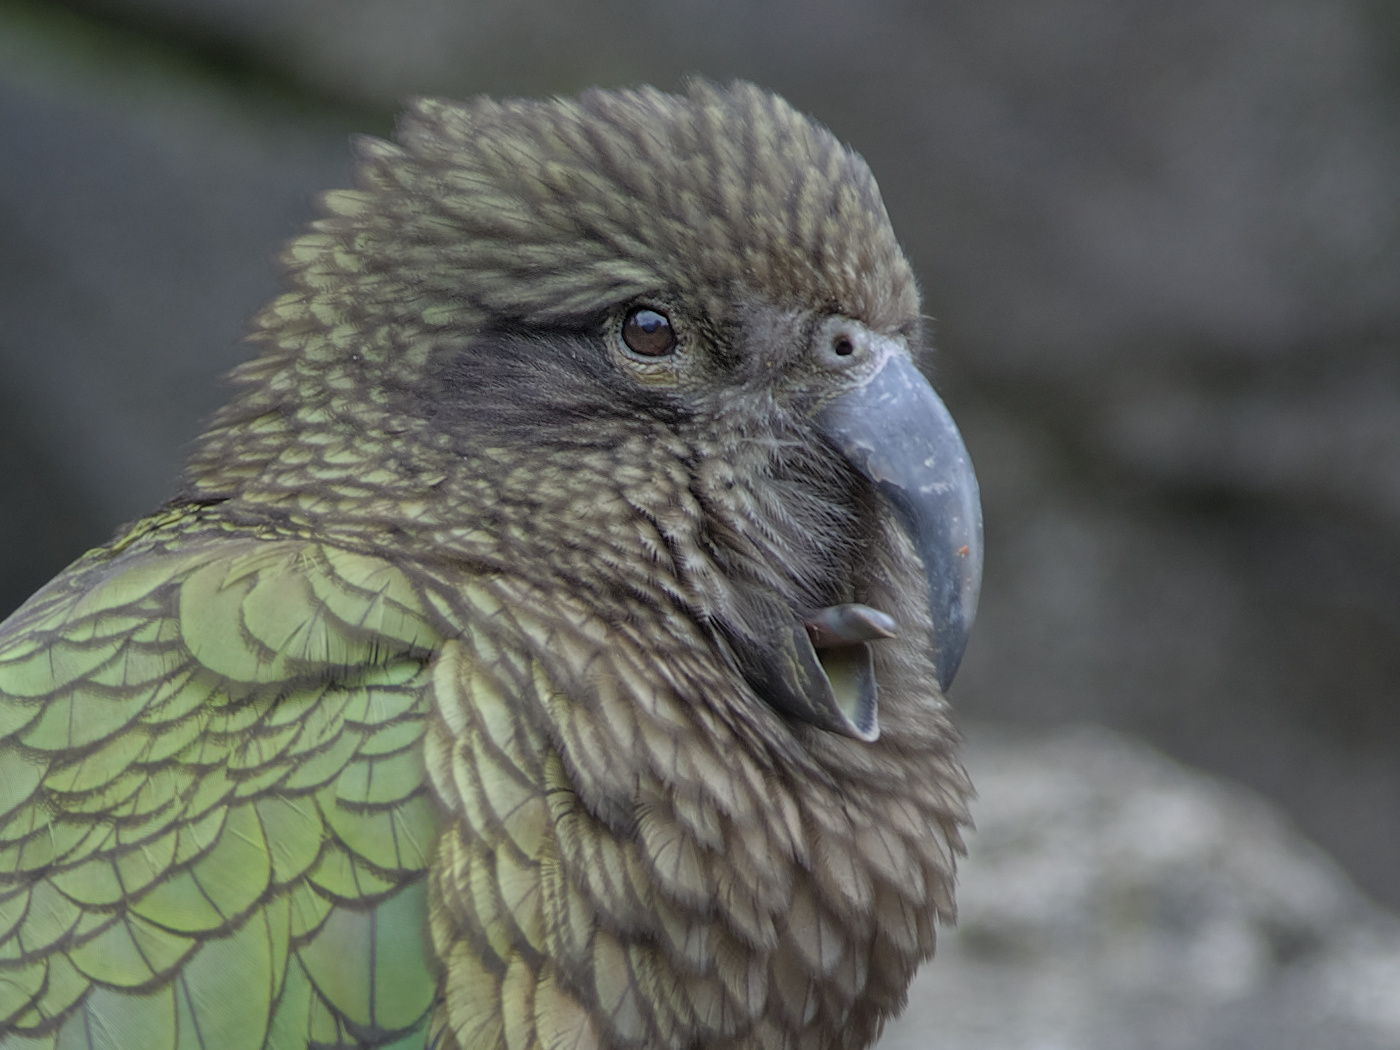
Kea, singing in full motion on an early and cold New Zealand morning. Wing feathers slightly warmed, the rest is almost as shot: exposed at +1 to reduce shadow noise and brought down again.
Nice,, warmed by global colorcontrol as in WB? Or vibrance slider.?
Good focuspoint on the eye
Are you using tone curve? And creating contrast with that tool too?
Or just the sliders of selective tone?
In order to keep the overall image cool, I set the u-point near the lower edge about 1/4 from left with the circle covering the wings and some of the breast feathers and pushed WB as well as vibrancy and saturation just a little bit. As usual, my starting point was my own “standard” preset that uses “neutral…realistic…gamma 2.2” colour rendition which creates the wonderfully analogue image which is my starting point.
Another route is to choose various settings in the “Color Rendering” tab which can have a major (or subtle) effect on the over all look~tone of an image.
Somehow i choose one profile, in my case huelight dcp designed for g80 at this time and stick with it.
If run through the camera profiles a bit when i bought photolab but ended up using generic and vibrance +18. I always get “choise fever” when the list of possibilties is large.
Are you useing those profiles as a kind of preset? To generate a color taste?
I just use them to experiment when images for the “project-at-hand” offer the chance to go free form in their interpretation - rather than the “as it was shot” looks of the “default camera” settings.

 i though lets line up the possibility’s:
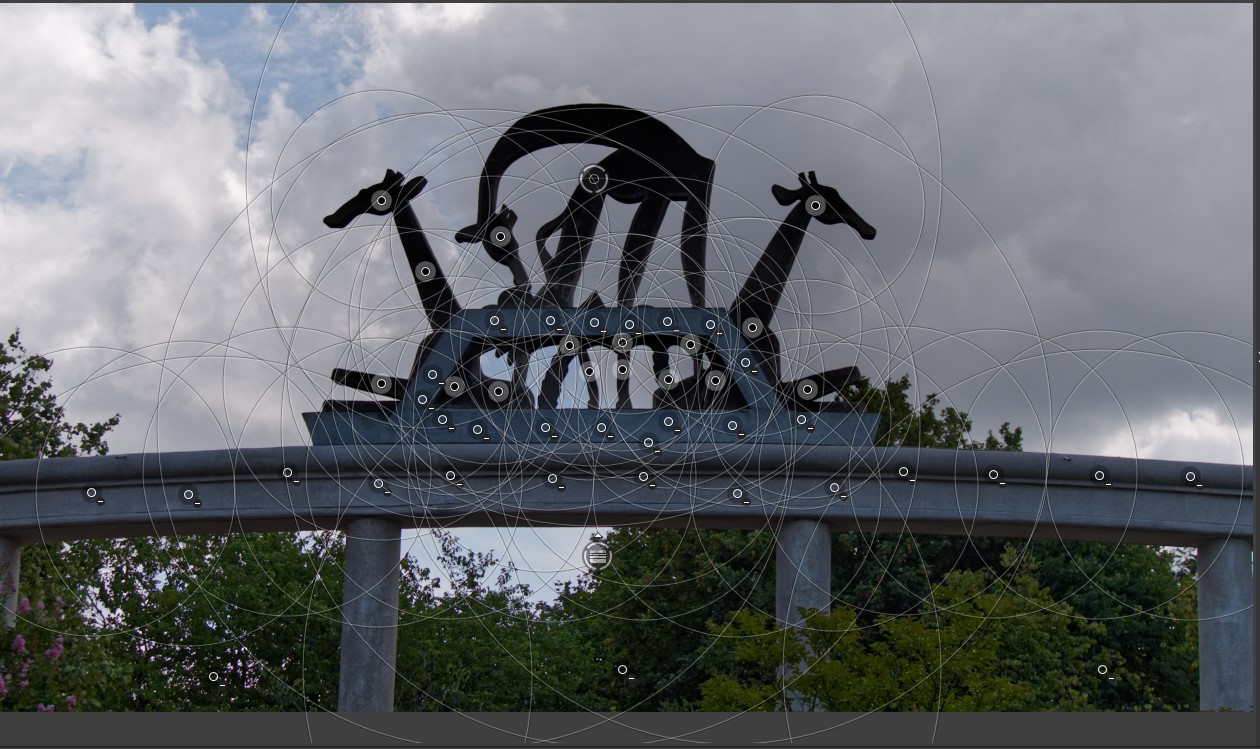
 , warmed by global colorcontrol as in WB? Or vibrance slider.?
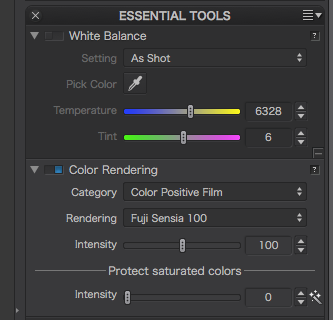
 when the list of possibilties is large.